
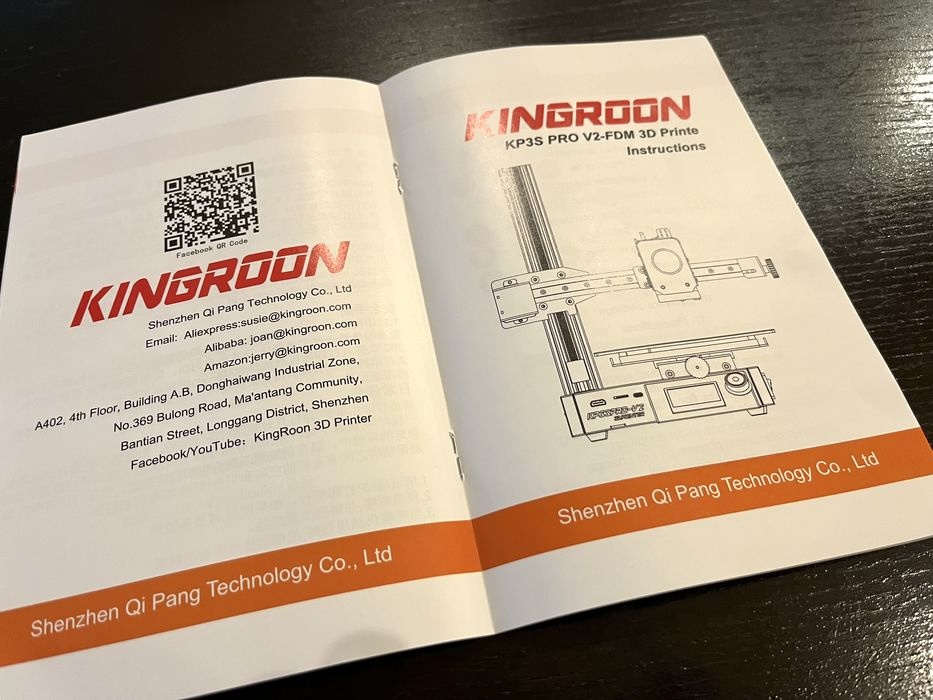
We’ve been testing the new high speed 3D printer from Kingroon, the KP3S Pro V2.
This is part one of a three part series, please read parts two and three.
Kingroon KP3S Pro V2 Background
Kingroon, a Shenzhen / Hong Kong-based company, has been a notable player in the desktop 3D printer market for nearly a decade. Specializing in FFF printers, they’ve launched various models, including the KP5L and KP3S bed slinger types and the KLP1 core XY type, marking their venture into high-speed printing. Our experiences with their devices have consistently impressed us, especially considering their affordability.
Recently, we had the opportunity to test the KP3S Pro V2, the latest addition to the KP3S lineup. This model stands out as the first to achieve high-speed printing within the series, featuring innovative accelerometer-based input shaping. We were quite excited to see how well this latest version would perform and whether it would meet or exceed our expectations.
Kingroon KP3S Pro V2 Specifications and Features
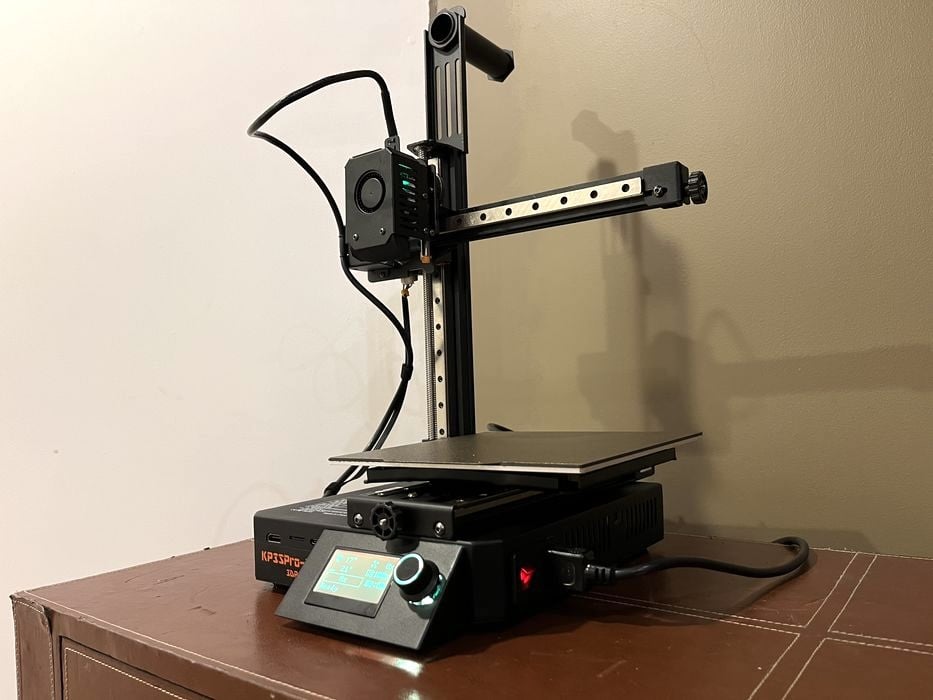
The KP3S Pro V2 immediately impresses with its robust metal extrusion construction, designed in a cantilever style for FFF printing. It incorporates linear rail guides across all axes, ensuring both speed and stability, and is equipped with a single z-axis screw. However, there’s more to this printer than just the motion system.
According to Kingroon’s official website, the printer boasts a build volume of 200 x 200 x 200 mm. At its heart, it features an all-in-one Klipper mainboard, pre-installed with Klipper firmware. This integrated approach eliminates the need for external devices like a Raspberry Pi, streamlining the printing process.
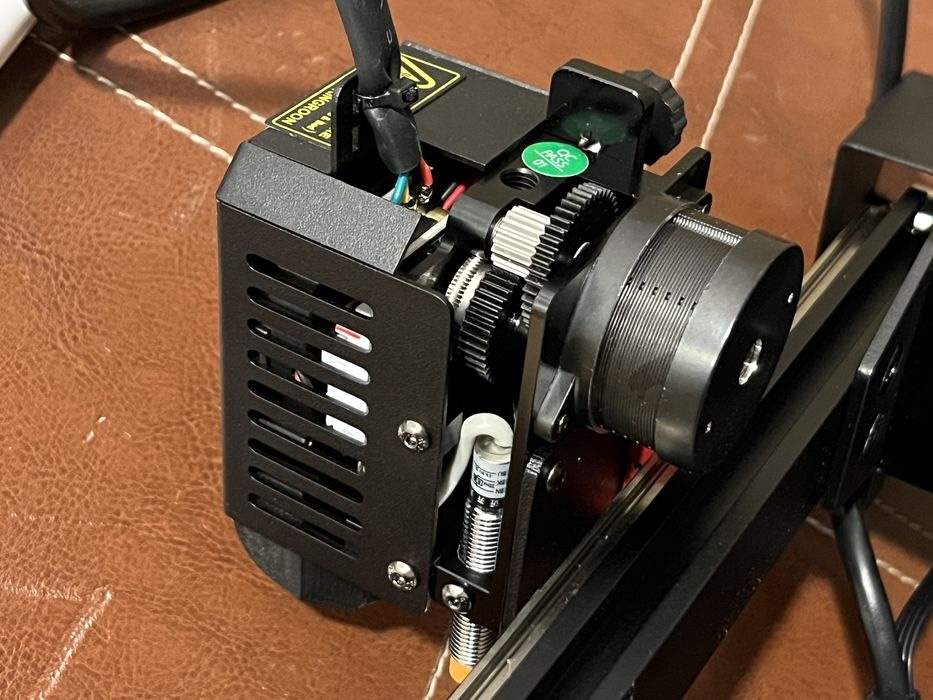
The KP3S Pro V2 is designed to handle 1.75mm filament, thanks to its extruder assembly that includes a 9.5:1 gear ratio, all-metal extruder, and a standard 0.4mm hot end. This hot end features a ceramic heating tube for uniform temperature stability, capable of quickly reaching up to 265°C for high-speed extrusion.
Enhanced heat dissipation and cooling are ensured by a 3010 fan on the extruder to prevent heat creep, alongside a ducted 5015 fan for cooling parts efficiently. Enhanced cooling is an important feature for any high speed system.
The heatbed is capable of reaching 100°C, and the plate is constructed from aluminum for durability. This heatbed is complemented by a magnetically attached, PEI-coated flexible steel build sheet, offering excellent adhesion and easy print removal. The addition of sensor-based auto bed leveling should ensure a consistently level print surface, making printing much more reliable.
The KP3S Pro V2 comes equipped with an ADXL345 module, leveraging Input Shaping to actively compensate for vibrations. This technology, combined with Pressure Advance, significantly reduces ghosting and ringing, allowing for high-quality prints at speeds of up to 350 mm/s and accelerations up to 10,000 mm/s².
The printer features a 1.28-inch LCD screen with a rotary knob for input. It has built-in WIFI and RJ-45 connections that enable remote control from any network-connected screen, offering a bit more flexibility in printer management. Should network access be unavailable, the included USB stick allows for manual GCODE transfer.
Kingroon KP3S Pro V2 Unboxing and Assembly

The printer arrived in the Kingroon’s typical sturdy double-walled cardboard box, efficiently packed together with all the delicate components nestled in form fitting foam inserts.
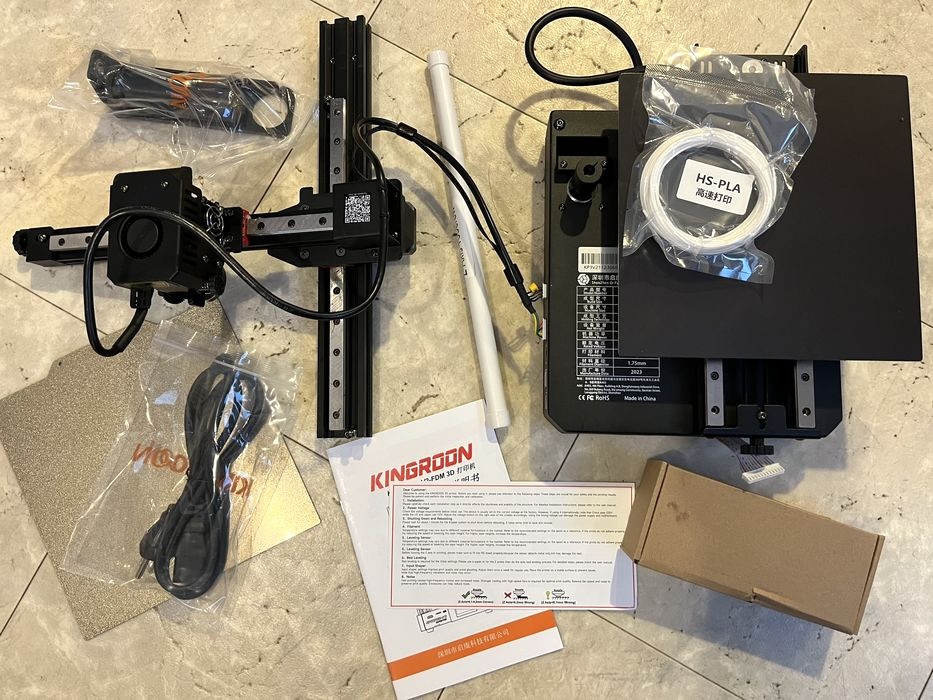
Here we saw the two main pre-assembled components of the printer – the base of the printer with the Y-axis, internal power supply, motherboard, heatbed, etc., and the X&Z axis assembly containing the toolhead carriage.
Separate items included in the box were a filament spool holder assembly, Z-axis lead screw, power cable, small sample coil of filament and box of goodies. Curiously, there was no printed user manual to be seen, so we lifted the remaining large foam insert out of the box and found what we were looking for beneath it. Perhaps this should be placed at the top instead?
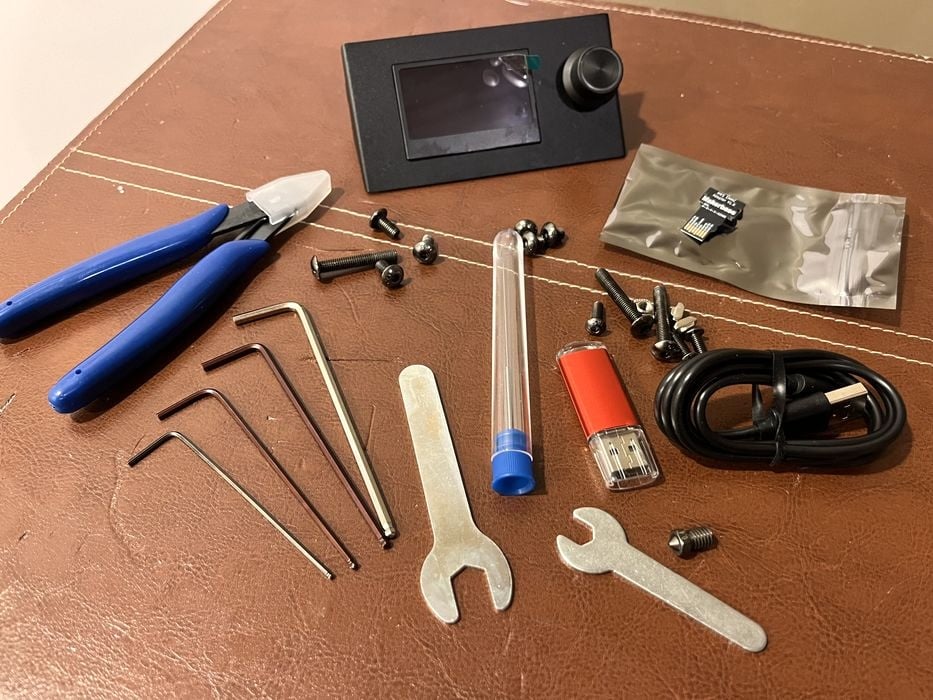
We moved all these items over to our assembly area to finish unpacking and take stock of everything. Inside the box of goodies was a EMMC adaptor for flashing firmware, a USB flash drive, spare nozzle & wrench, some hex wrenches & larger open end wrench, side cutters, needle for clearing filament jams, USB-C cable and an assortment of screws and t-nuts for assembly purposes. This is a very good set of accessories for the device.
We perused the manual to get acquainted with the printer and the assembly process. The very first page had a few important notes that sounded a bit odd when read aloud, but we got the gist.
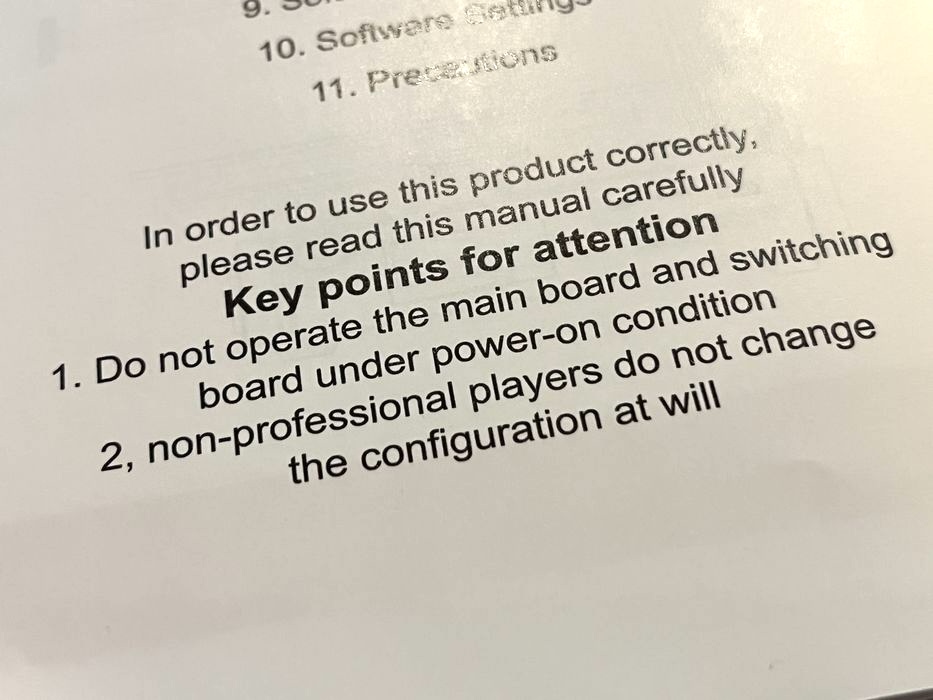
They said:
“Do not operate the main board and switching board under power-on condition. Non-professional players do not change the configuration at will.”
Starting with the manual’s guidance, we began the build by attaching the X/Z axis assembly to the base, though the instructions were notably vague, particularly missing a crucial detail about using two T-nuts and screws for securing the assembly to the aluminum extrusion.
This oversight could pose a challenge for beginners, but our previous experience with assembling a KP3S Pro S1 came in handy, allowing us to navigate this step. The process involved attaching the screws and T-nuts to the fixing block, sliding the T-nuts into the extrusion channel while positioning it onto the base, and then tightening the screws to secure it.
Following this, we tipped the printer on its side to attach the extrusion to the bottom of the base with additional screws, completing this phase of the assembly.

Moving on to the Z-axis, we installed the lead screw, carefully tightening it into the coupler to ensure smooth motion. At the top of the printer, we secured the filament spool holder bracket with a few screws. This bracket served a dual purpose: it not only held the filament spool but also contained the bearing that captured the top of the Z-axis screw, ensuring stable vertical movement. Additionally, the filament holder tube was inserted into the top of this bracket from the back, integrating storage and mechanical stability in a clever design.
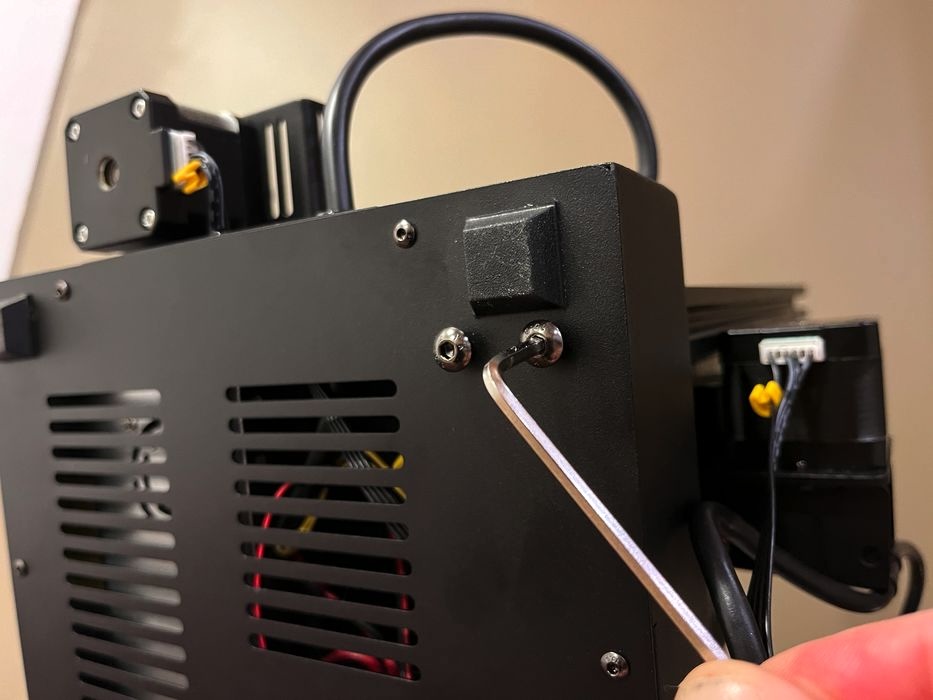
The installation of the LCD display screen was a straightforward step, simply clipping it onto the front of the machine and connecting the cable. After this, we took a moment to double-check all other cable connections, ensuring they were properly seated, and verified the drive belts were correctly tensioned.
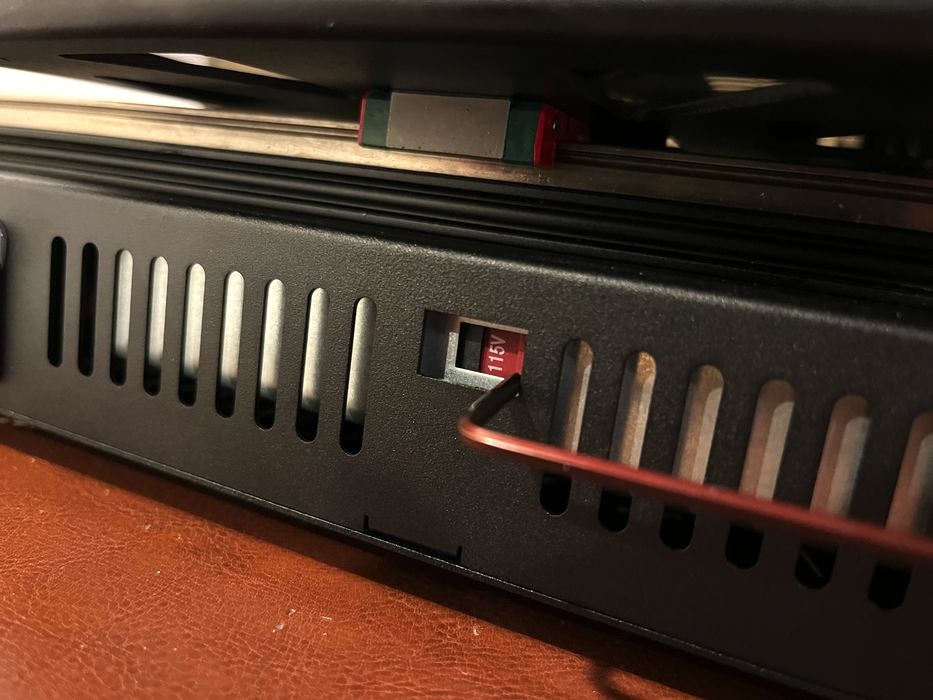
The final check involved ensuring the power supply’s voltage input matched our country’s voltage.
With that done, we placed the spring steel build sheet onto the printer. And with these steps completed, our setup was finished, leaving us ready to move on to the calibration process.
This is part one of a three part series, please read parts two and three.
Via Kingroon