
My look at the Kobra X desktop 3D printer from Anycubic continues with setup, calibration and operations.
This is part two of a three-part series; please read parts one and three.
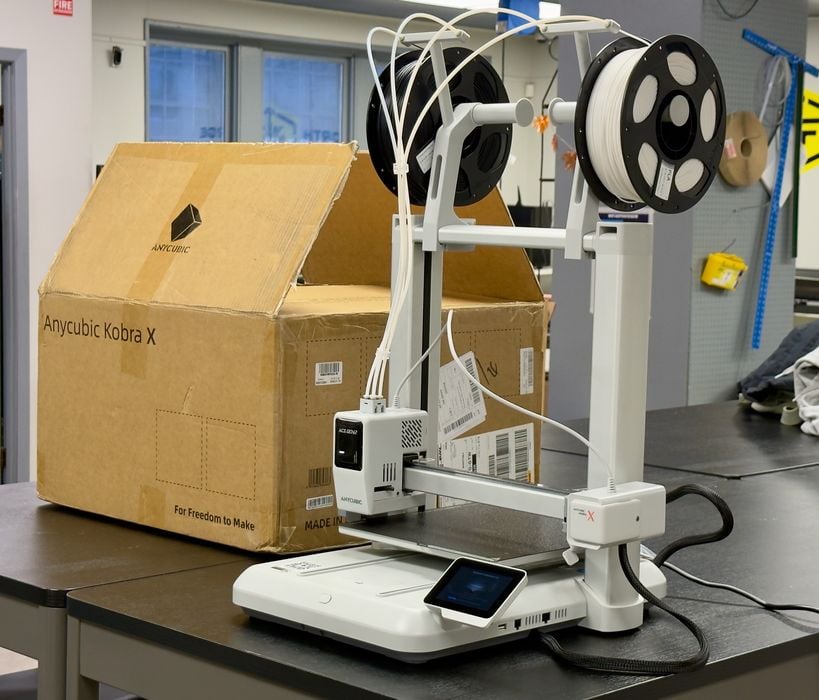
Anycubic Kobra X Setup and Calibration
The first thing to do after powering up the Kobra X is to bind it to your Anycubic App. This is a smartphone app that is used to control the device remotely and even observe operations through the machine’s webcam. The binding process is straightforward; just scan a QR code, and it’s set up.
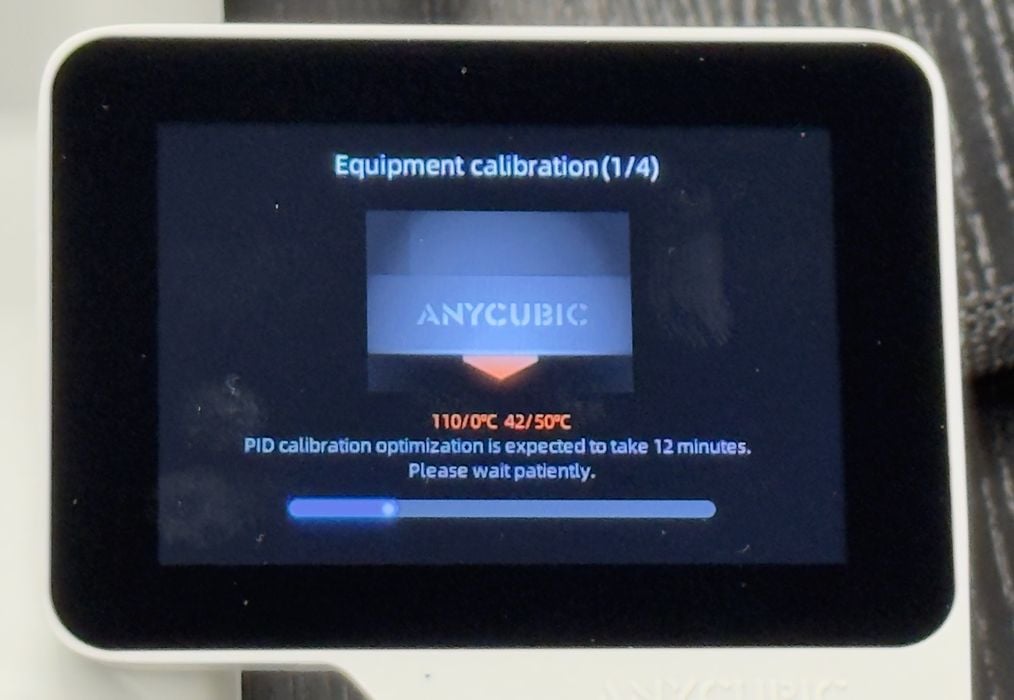
Next is a calibration sequence, and that takes some time. The machine is figuring out where the limits of motion are defined, the Z-gap between the nozzle and the print plate, and the levelling of the print plate.
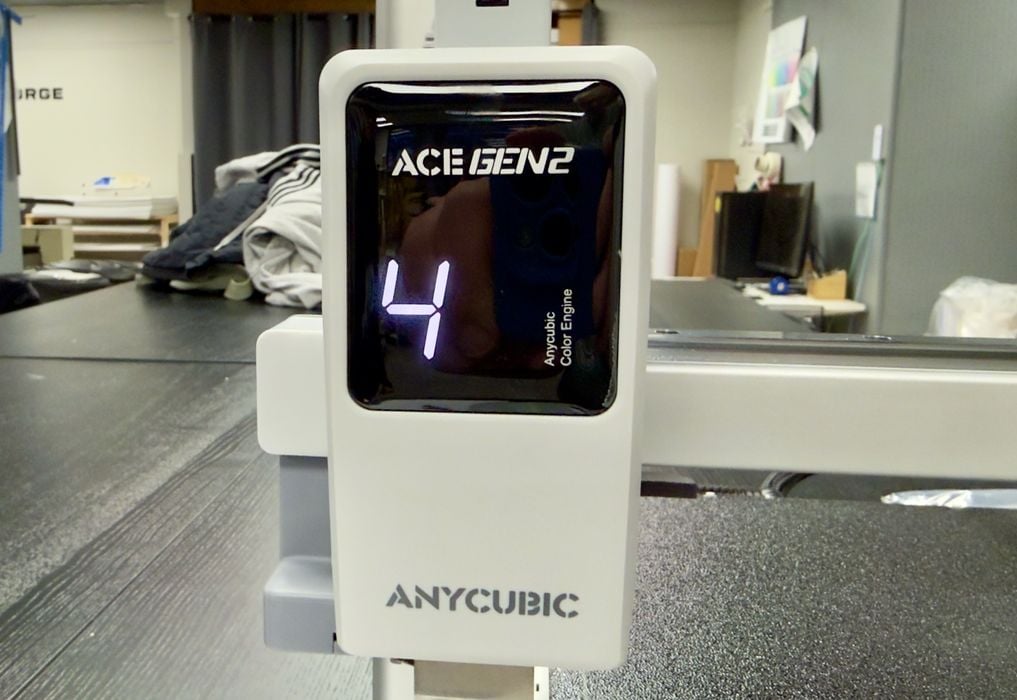
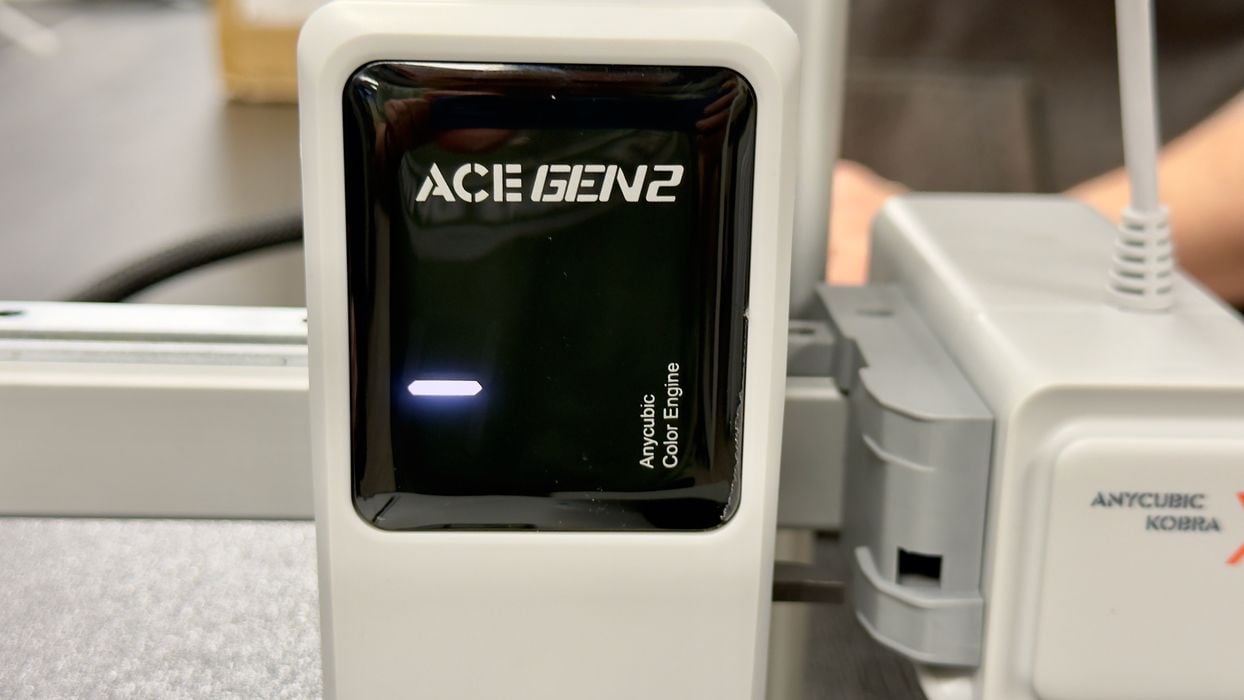
I keep thinking there is no ACE unit on the Kobra X, but I am wrong: there is one, it’s the ACE Gen 2, shown here. It is so tiny and integrated that it looks like a largish extruder. But in fact, it is a filament swapper.
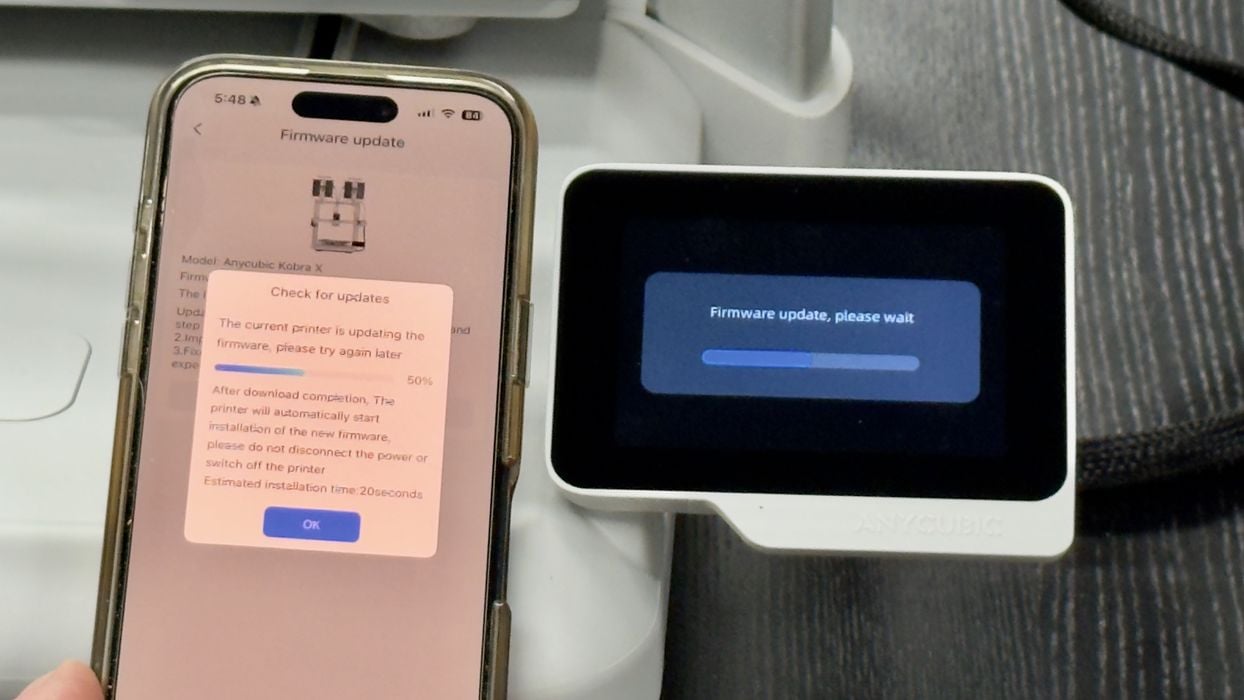
Of course, there was a firmware update to do. This is easily done through the mobile app, but it requires you to re-run the calibration that you just completed. Sigh, this seems to happen on every machine we test lately.
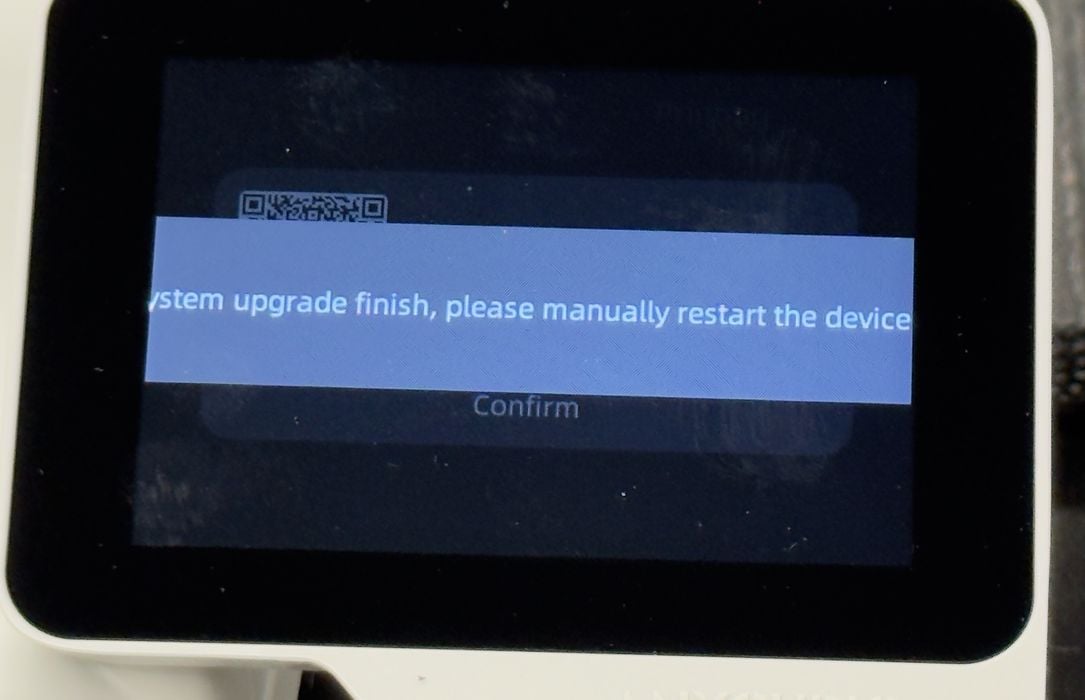
This was interesting. After the firmware update, the display screen showed this message. Evidently, there is a problem where the message runs off the screen on both sides. Fortunately, it was easy to understand what was happening: a firmware update. I hope this problem doesn’t come up and hide something important.
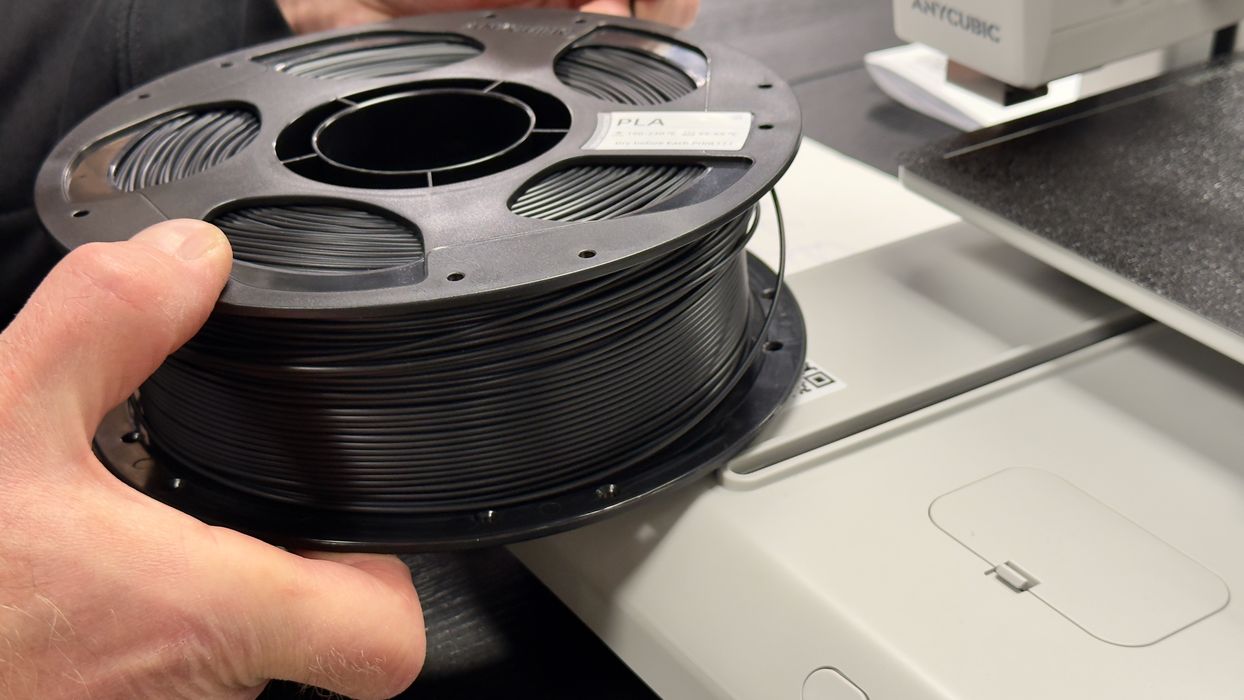
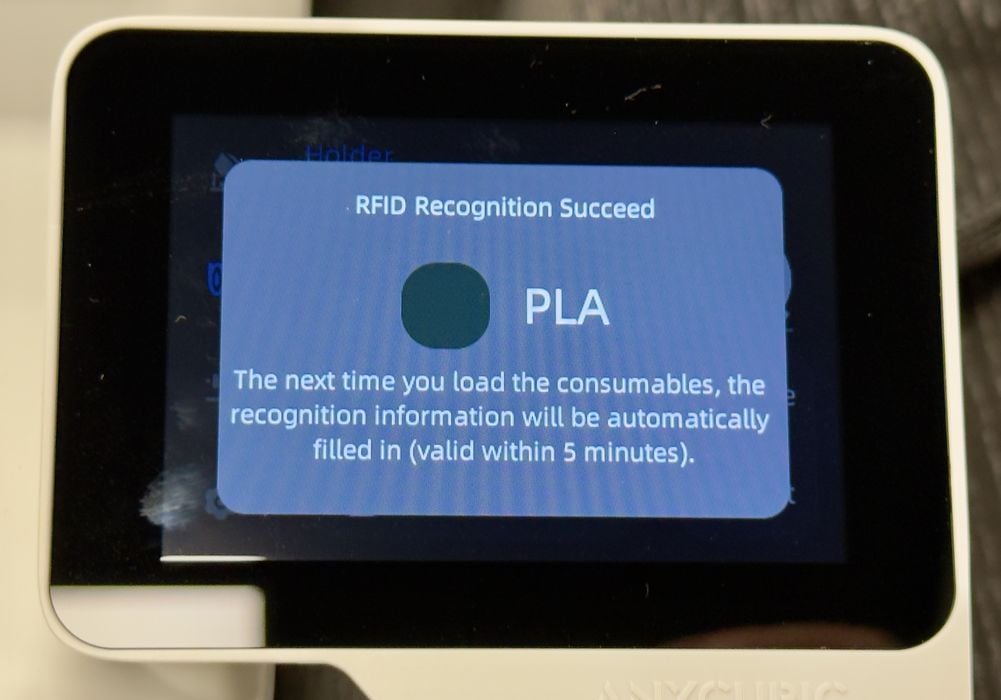
Unlike the ACE 2 Pro (and AMS, CFS, and others), reading a filament spool is a bit different with the ACE Gen 2. There are no RFID readers on the spool mount, and instead, there is only one down at the base of the machine.
The procedure is to hold the new spool near the reader until it is detected. Sometimes you have to rotate the spool until the chip comes near enough to the reader to trigger it.
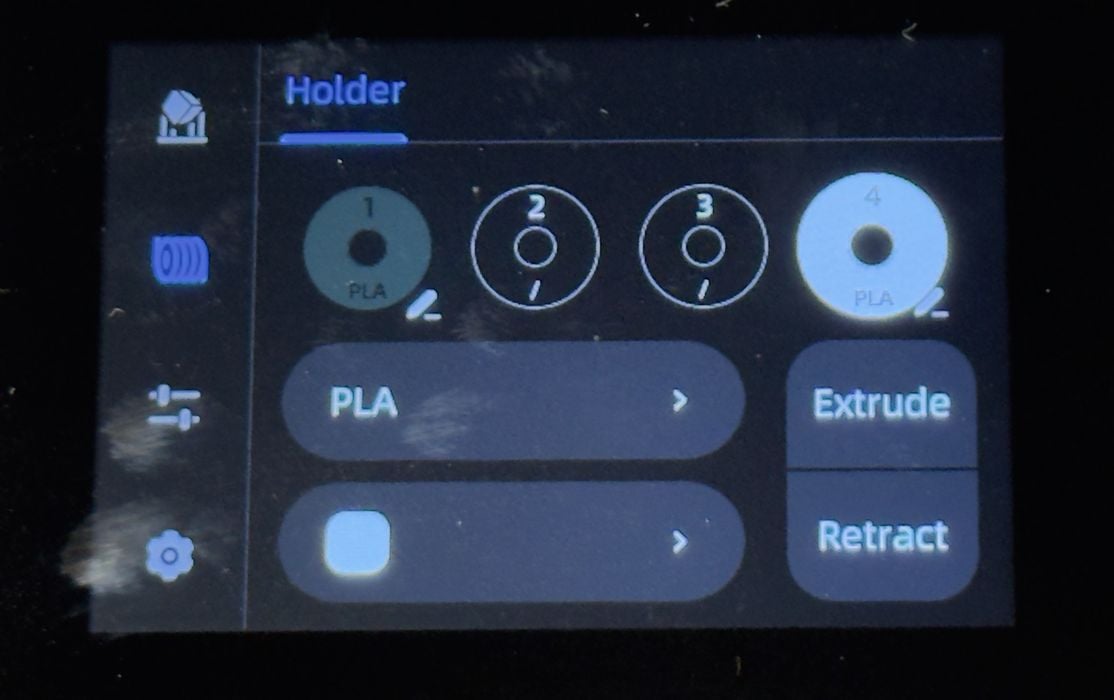
At that point, the system knows you have a spool of “whatever” in your hands, but it doesn’t yet know where you are mounting it. You have to tell the Kobra X where you are mounting it because there are no sensors on the mounts. This is easily done on the control panel.
If you’re too slow and don’t do this quickly enough, the “assignment” process will time out.
This leads to an important point. The Kobra X has four numbered mounting points on the spool holder, which theoretically correspond to the four spools. However, there are no sensors, so you could mount a spool on any of them.
The PFTE tubes all lead to the toolhead. While it wasn’t specifically stated, I tried to match the tube routes to the diagram so that, for example, mount 2 was connected to toolhead position 2, etc. At least it looks neater that way.
With spools loaded, we were ready to run the first print. Of course, I chose a #3DBenchy, which happened to be stored in pre-sliced form on the system.
Anycubic Kobra X Operations
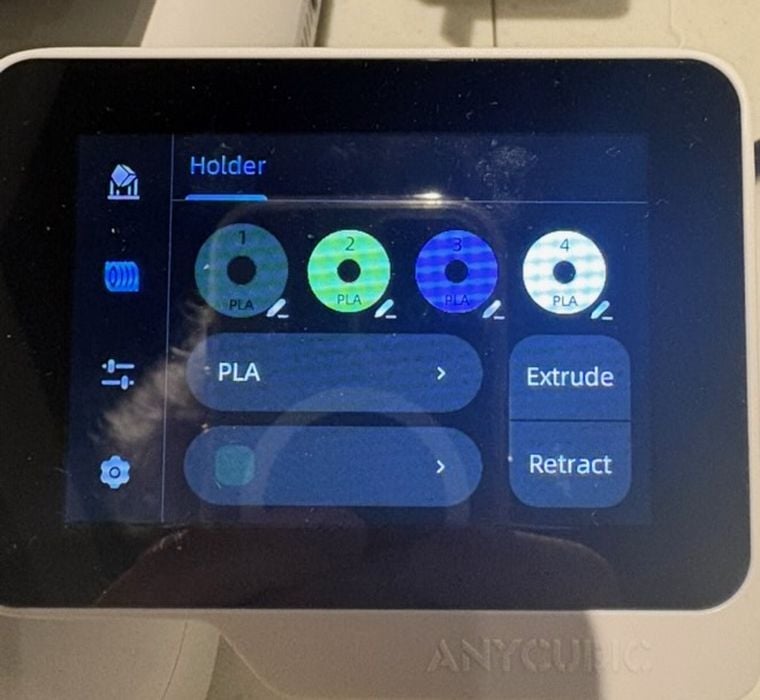
Loading the filament was straightforward. When the filament is inserted into the tube, it audibly beeps to indicate a successful feed. The screen displays the material and colour for each spool. You just need to adjust the colour on the screen to match the spool number.
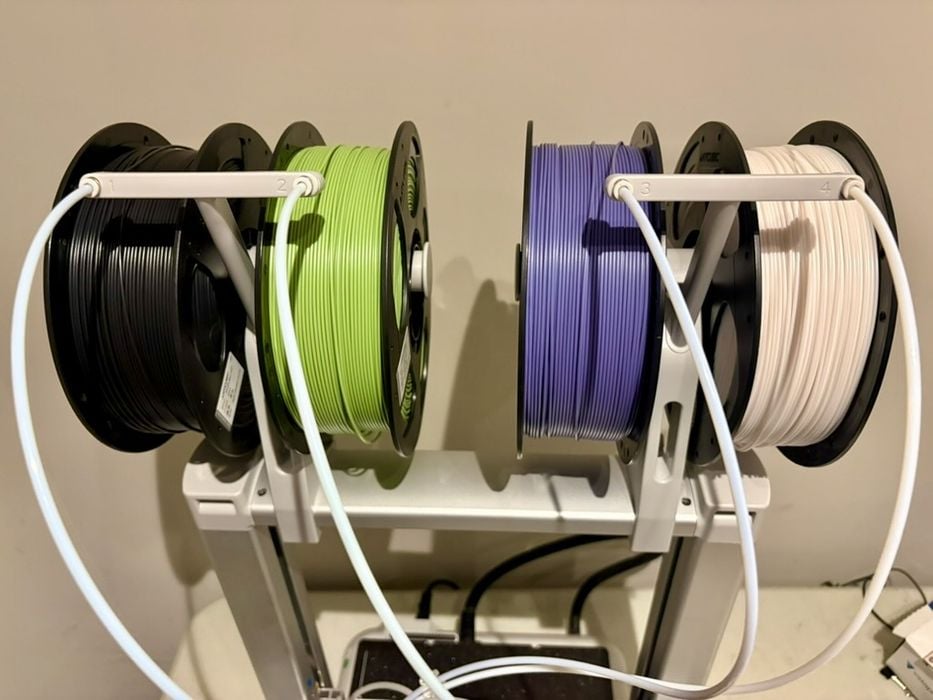
I found that the “inside” spool holder is very tight to place the filament spools. I had to stretch it apart (without breaking the plastic) to get the spools on. There’s just not a lot of space between the left and right structures.
The extruder is a direct drive system, not a Bowden. There is an object skipping feature for when printing a bed full of parts; if one fails, the printer will skip the failed part and keep on printing the others.
I started with printing a few test models. I found the 49-point auto-leveling procedure to be pretty quick.
The purge wiper is mounted on the side, instead of the rear like you find on many enclosed 3D printers. I think having it on the side is easier to see and also to empty.
At first, I forgot to add a basket for the waste, and I ended up having a bit of a clean-up. Because the printer doesn’t come with a waste container, I had to find one at home. I started with a small box, but later I cut up a filament box and worked very well.
After a few test prints, I found a poop basket model specifically for the AnyCubic Kobra X! Unfortunately, I haven’t had the time to print that yet, and I continued with the cardboard box.
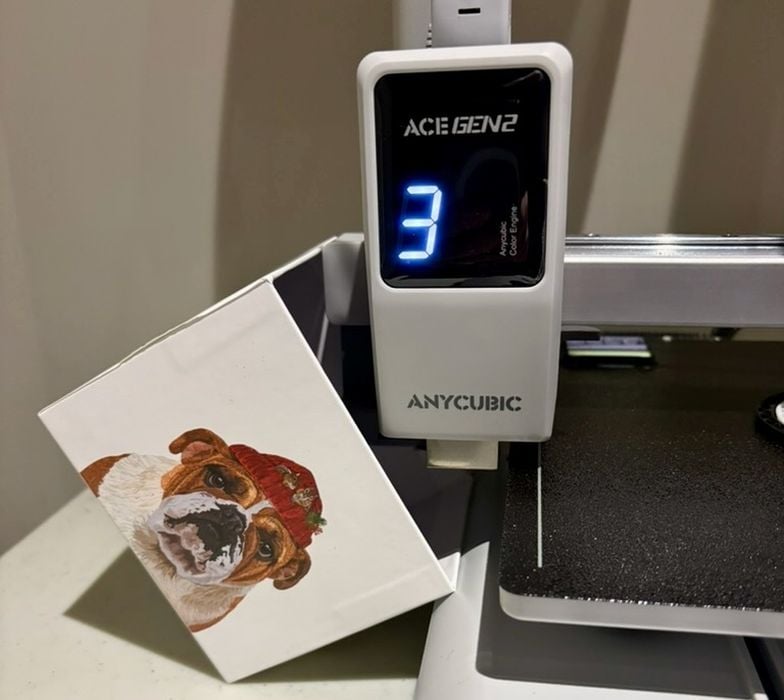
I am not sure that this is a necessary feature, but when you are printing with one colour, the corresponding number of the colour spool is displayed on the print head. See the photo above of number 3 displayed for the purple — that is the filament that is currently being used, and that’s why you want to set up the PTFE tubes properly and also mount the spools on the correct numbered hub.
This numerical display is very different than other 3D printers because the ACE Gen 2 is so small. Even though it’s small, Anycubic still managed to have it display some useful information.
The printer did not come with many tools, including snips. I thought that I had an extra pair, but unfortunately, not. If you were a 3D print novice and this was your first and only printer (or if you are like me and continually donate printers along with the snips that come with the printer), you may be stuck with using scissors. Scissors work, but snips are a lot better. I suppose they are keeping the cost down on this 3D printer by leaving out some tools.
I wanted to try the RFID feature, so I removed the spools and switched them around. I touched the RFID tag on the printer, and it successfully detected color matching to the spool location and the matching colors on the display.
That is a nice feature that I haven’t experienced before. It streamlines the printing process by eliminating the need for manual filament configuration in the slicer, but you have to be careful to mount the filament in the right position manually.
I should point out that you don’t need to use Anycubic’s filament, which (for recent spools) includes the RFID feature. You can use any 1.75mm filament so long as it fits on the mounting rack — you just have to manually tell the Kobra X what you mounted. The Kobra X does not read third-party tagged spools; the RFID system only reads Anycubic spools.
However, you can see the benefit of using their RFID filament for integration with the Kobra X’s advanced features. It does make things a bit easier when operating the Kobra X.
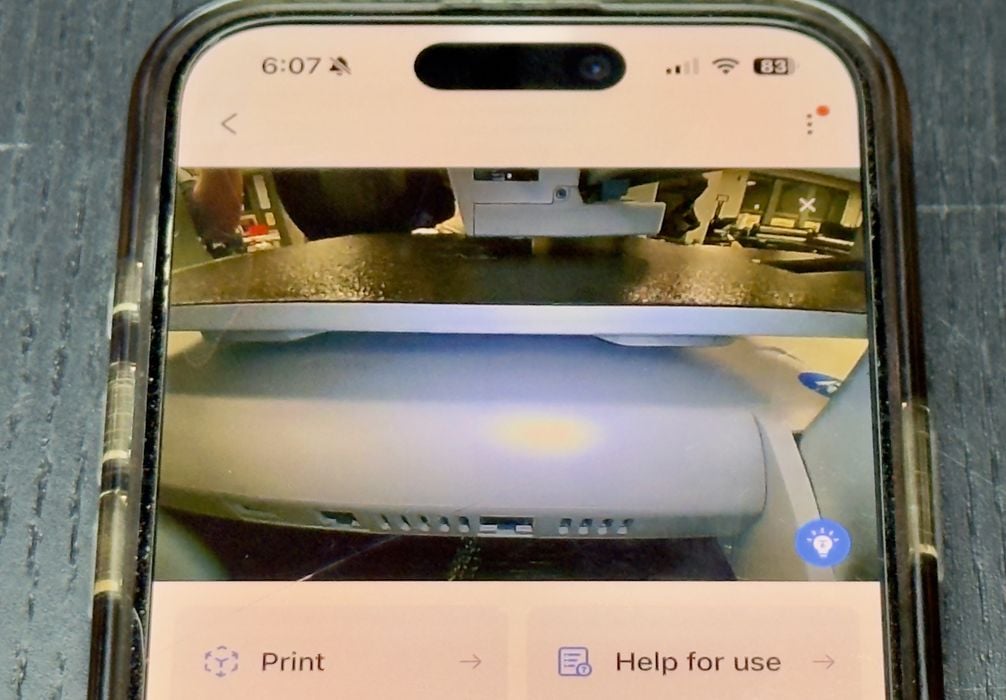
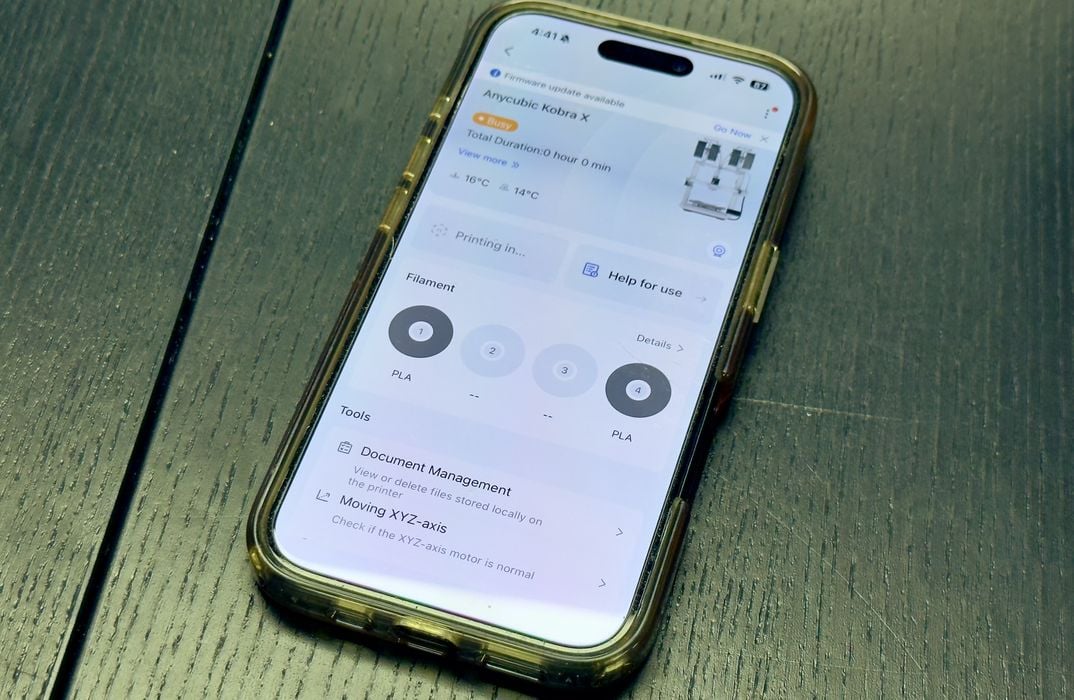
The smartphone app is quite useful. You can launch and monitor jobs directly from the app, including slicing if you need to. I found the remote video viewing to be really interesting, although sometimes it was hard to see the whole print.
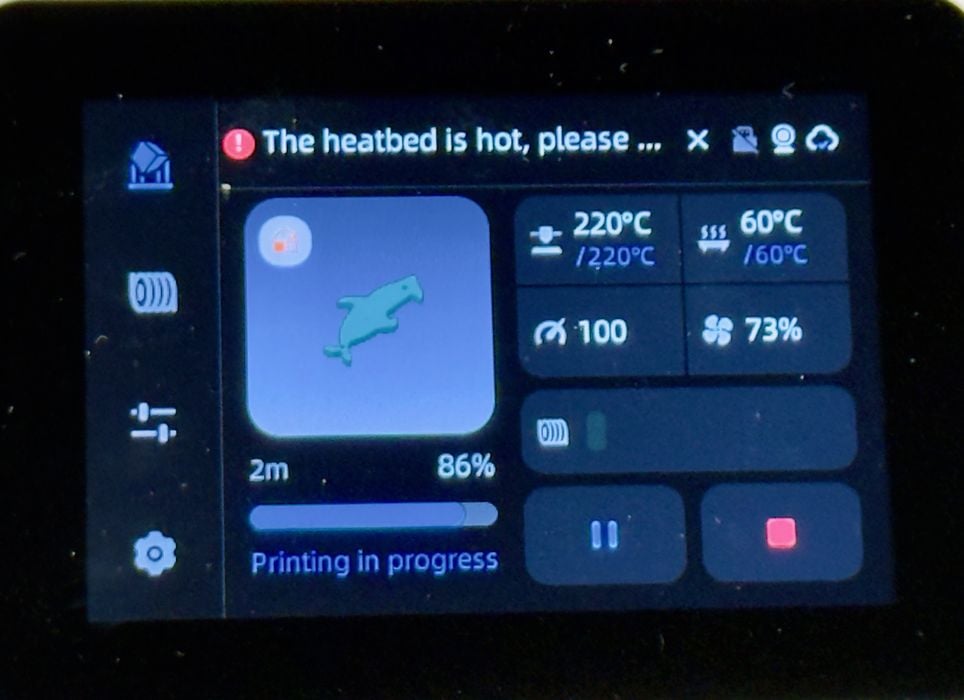
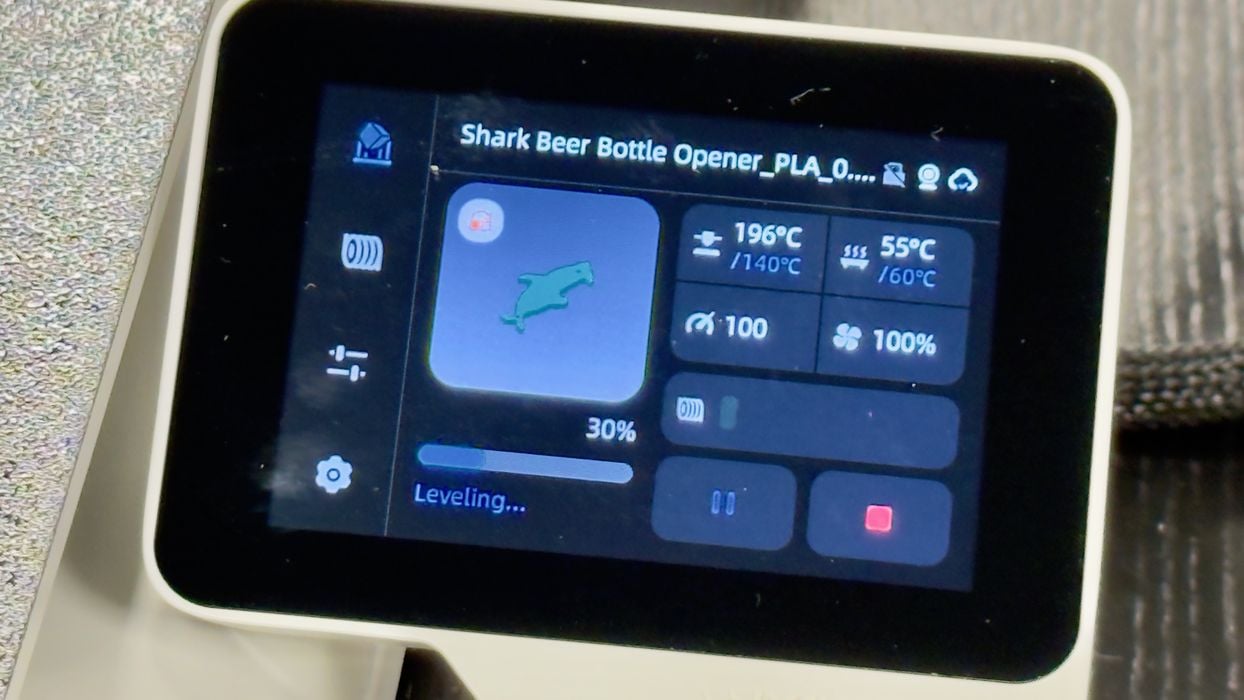
Anycubic is being safe by putting a warning about the hot print plate here during a print job. However, it is small, so I’m not sure how many would notice it.
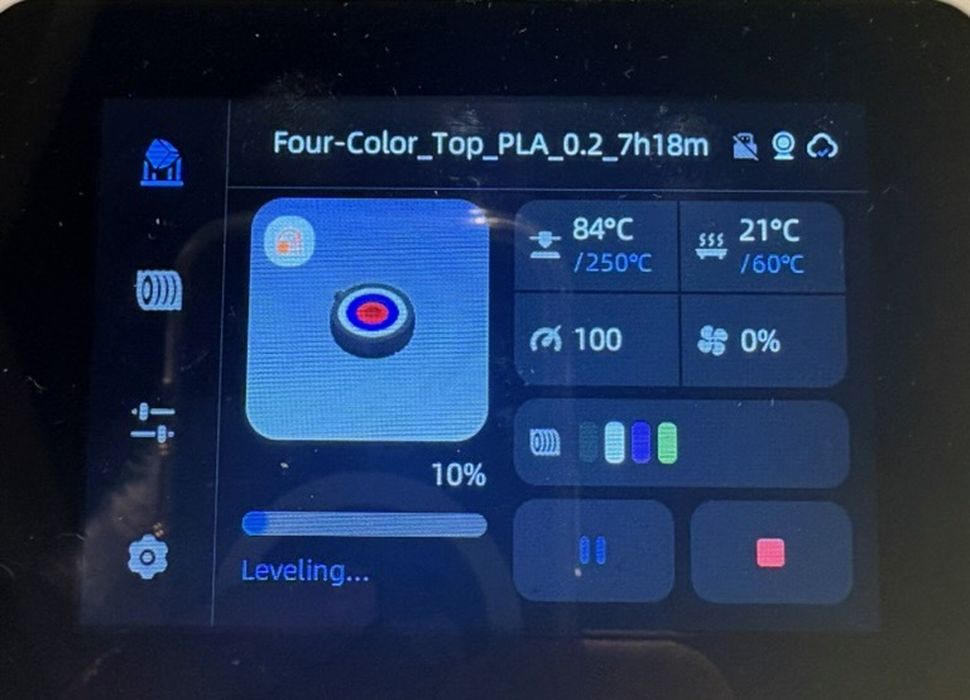
The control panel displays all the usual information during a print job, most importantly including the current status at the bottom. Here we can see the machine is “leveling” as opposed to “printing”.
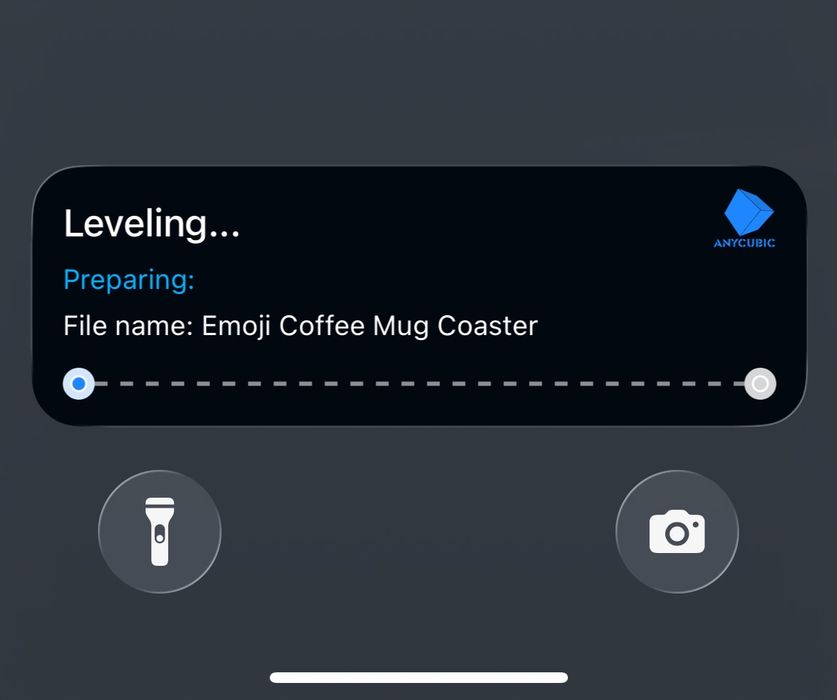
You’ll also see notifications on your mobile from the app as a print proceeds. Here’s the current status of one of my print jobs.
This is part two of a three-part series; please read parts one and three.
Via Anycubic