
I was able to try out the brand new Kobra X desktop 3D printer from Anycubic.
This is part one of a three-part series; please read parts two and three.
Anycubic Kobra X Background
Anycubic is a well-known major manufacturer of high-performance desktop 3D printers and accessories, both using filament and resin materials. Their strategy is to combine precision engineering with user-friendly designs, and Anycubic’s goal is to enable enthusiasts, engineers, and artists to turn their ideas into reality.
The Kobra X is the latest device in their Kobra line, which is a series of open-gantry desktop FFF machines. While Anycubic’s machines have been pretty good, they face a lot of competition from other companies that are increasingly offering filament swapping accessories to enable multicolor printing.
Anycubic has its “ACE” system, but it is an added cost to the machine setup if you want to do multicolour 3D printing.
The Kobra X attempts to integrate multicolor functionality right into the base machine, avoiding the need for a costly accessory at all. In other words, the Kobra X is already multicolor capable, and you don’t need to buy anything else.
Anycubic Kobra X Specifications and Features
The Kobra X is more or less similar to other open-gantry i3-style FFF devices: the Y-axis (plate) moves forward and backwards, while the X-axis moves left-right. The machine includes the usual features, including:
- 260 x 260 x 260 mm build volume
- Fully automated calibration
- Supports printing PLA, PETG, ASA, TPU, and CF variants
- 300C maximum hot end temperature
- 100C maximum build plate temperature
- Removable magnetic spring steel PEI-coated print plate
- Integrated webcam (720p)
- Noise level of less than 48dB
As I mentioned, the Kobra X supports four-colour 3D printing right out of the box without the need for any accessories. But that doesn’t mean you can’t add them! For example, you could add a regular ACE 2 Pro filament swapper to the Kobra X and immediately get access to seven colours in a single job. In fact, Anycubic allows you to add up to FOUR of the ACE 2 Pro units, allowing an amazing 19 colours per job. However, that’s all at an extra cost.
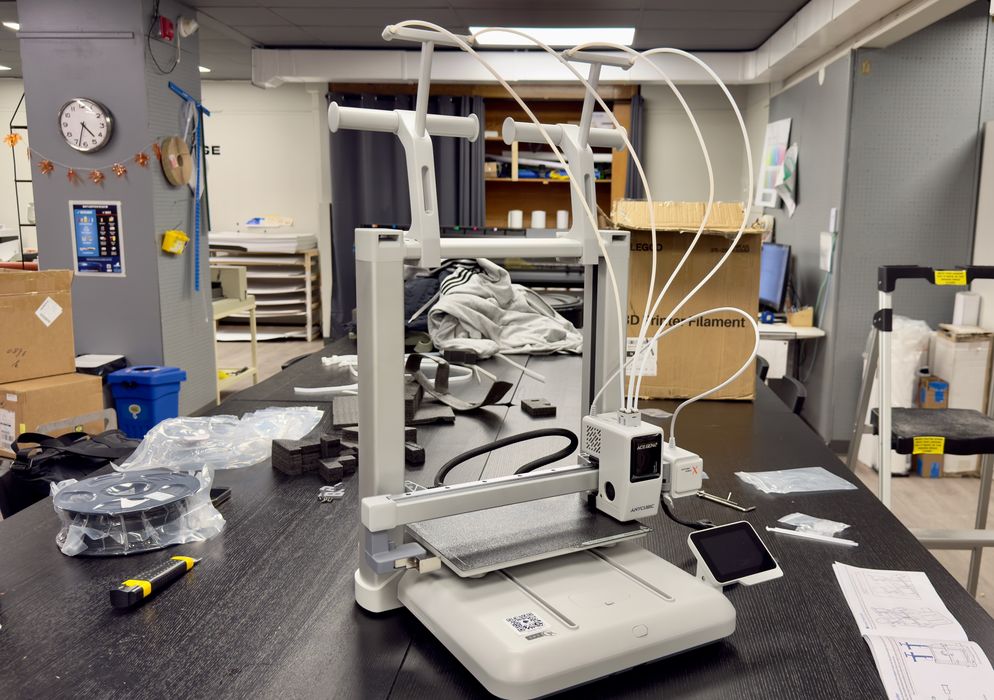
Anycubic Kobra X Unboxing and Assembly

As is usually the case with experienced 3D printer manufacturers these days, the Kobra X is very well packed, and I found no damaged parts during shipment. However, unlike some other shipments, the “quick start” materials were buried deep inside. They should be right on top where they can be found immediately.

The Kobra X seems to have a lot of parts. Other machines our publication has tested recently seem to have fewer and fewer parts to assemble, but the Kobra X might not be the same.
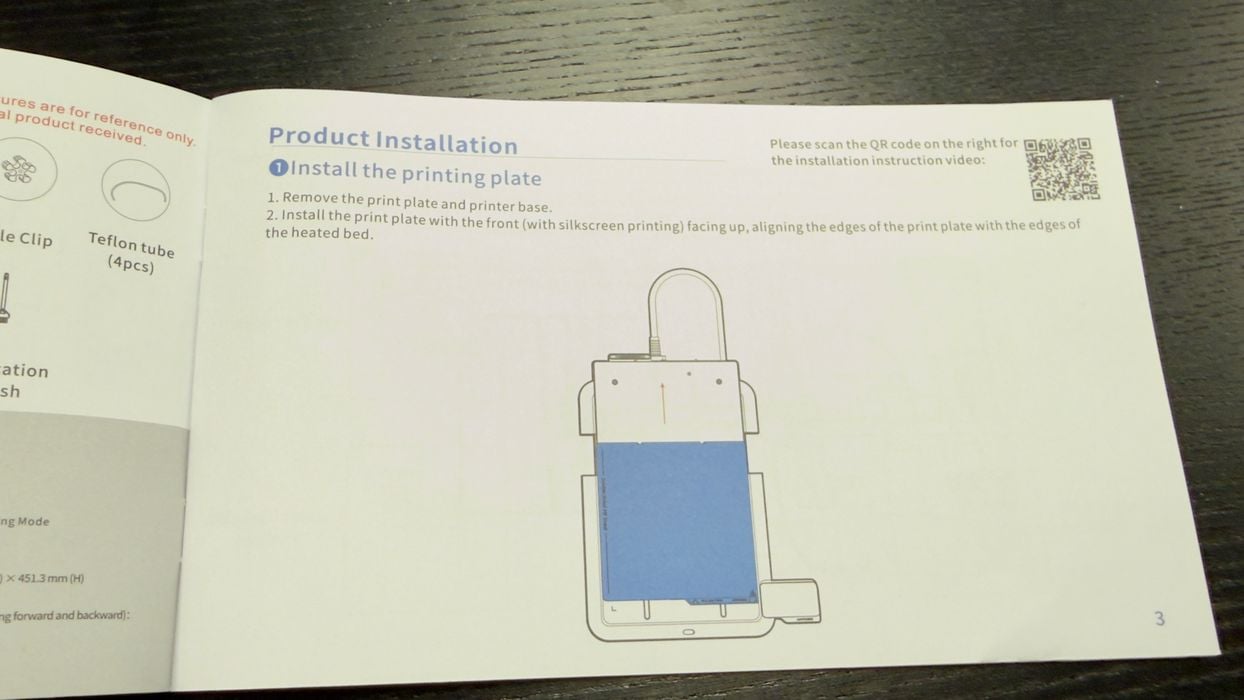
We eventually found the instructions, and they were actually well written and quite readable. The standards of instruction manuals seem to have gotten a lot better recently.
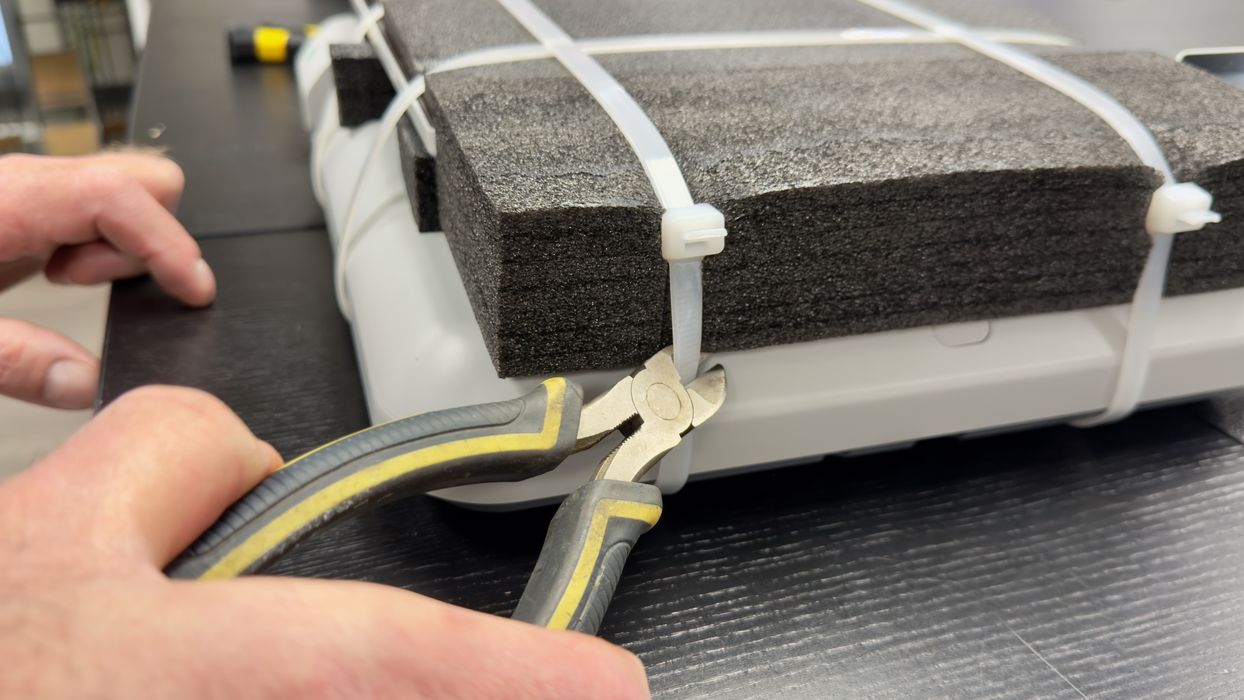
I noticed the print plate was very strongly tied down for shipment. Print plates that move around can cause a lot of damage, but that’s definitely not happening here based on the amount of foam and fat tie wraps holding it all together. You will need some strong snips to cut the tie wraps.
Anycubic uses some throwaway fixtures to hold the motion system during shipment. This is a method that has been increasing lately, possibly due to shipment failures in the past. No problems here, though.
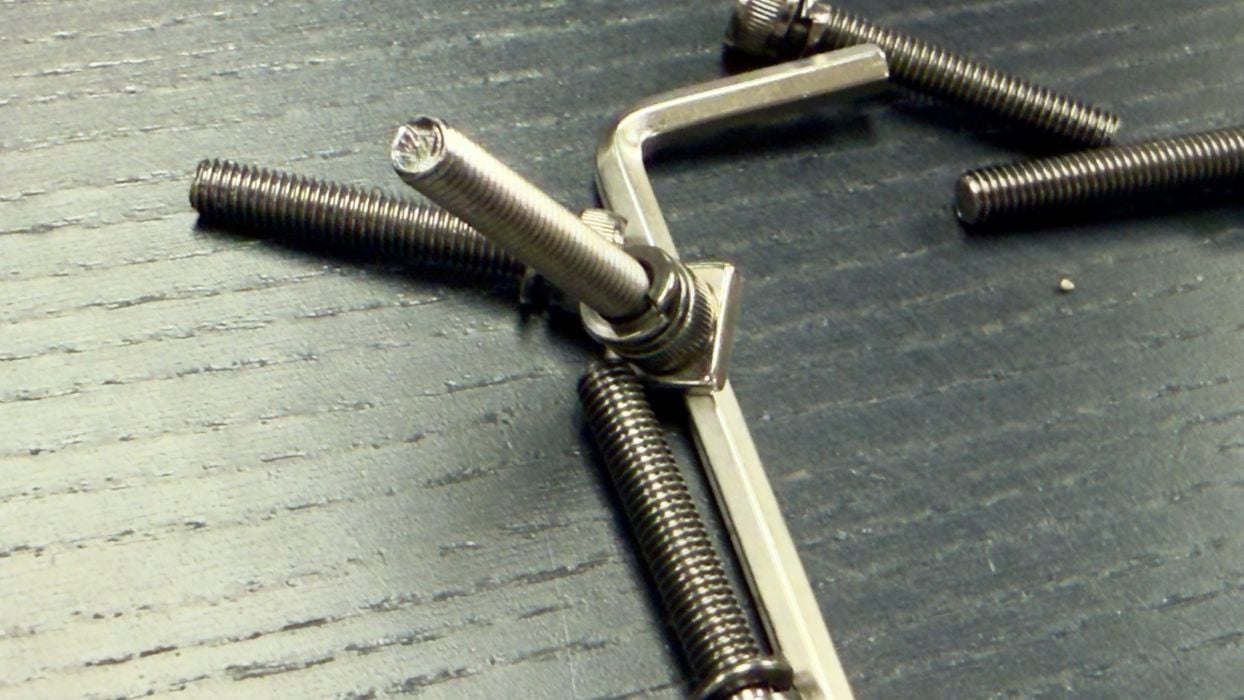
I noticed that the Allen keys shipped with the Kobra X are magnetic! This will make it a lot easier to hold the tiny bolts during insertion.
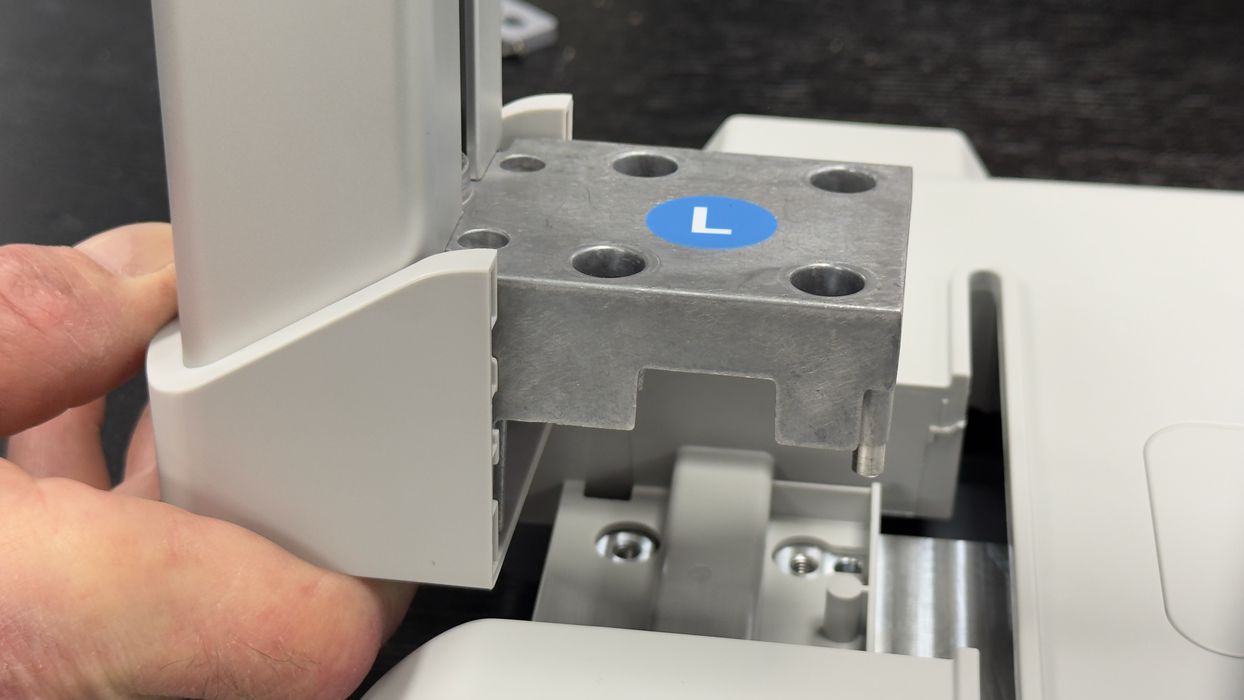
The gantry must be mounted on the base plate, and here you can see how hefty these mounts can be. This is a great deal more robust and rigid than earlier 3D printers that simply had bolts between standard aluminum extrusions.
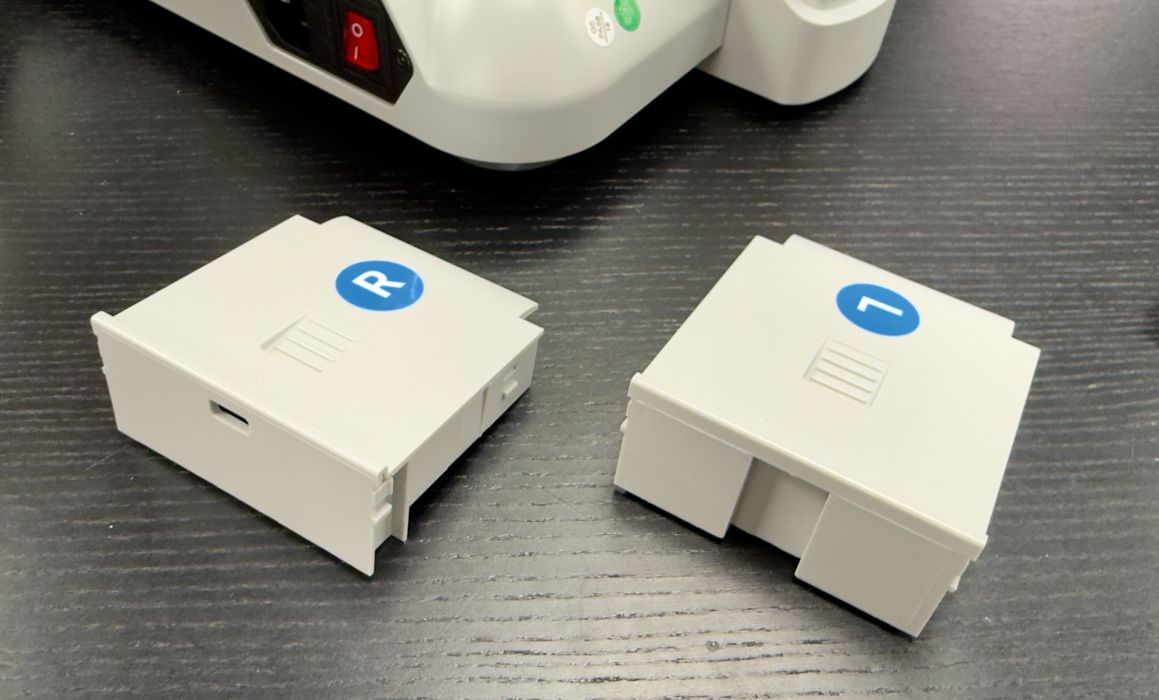
While there were plenty of parts to install, I found all of it labeled very well. There was never any confusion about which part or bolt was to be used at any stage.
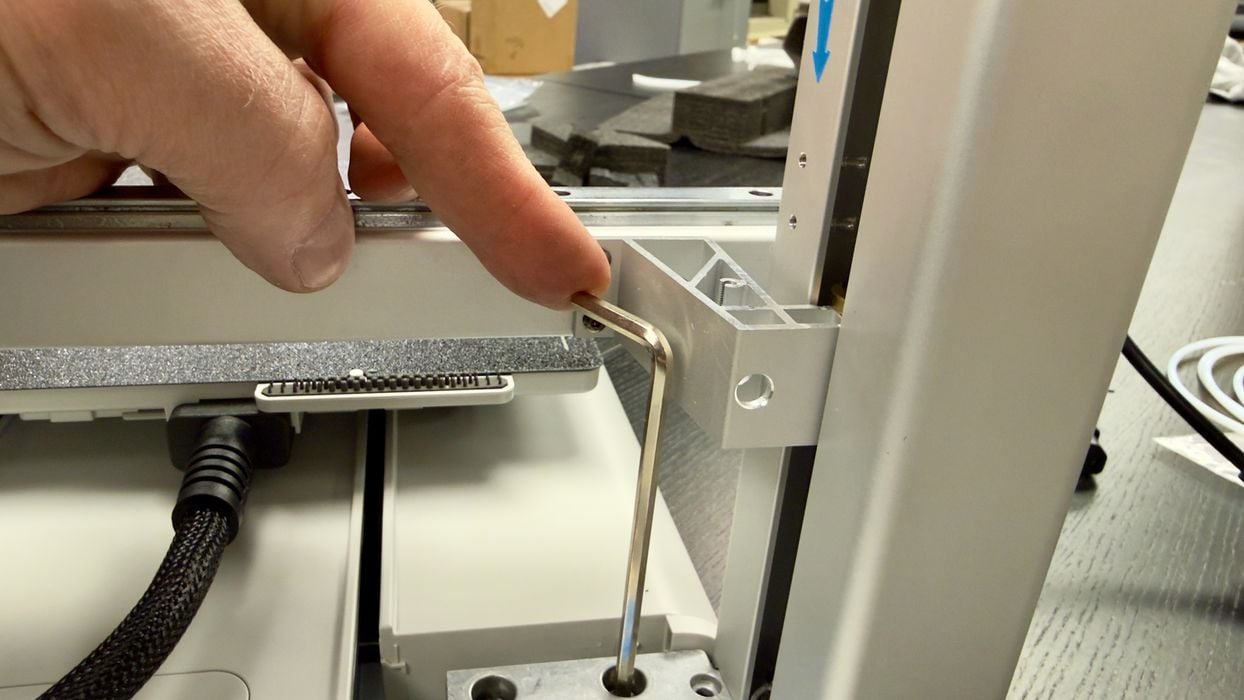
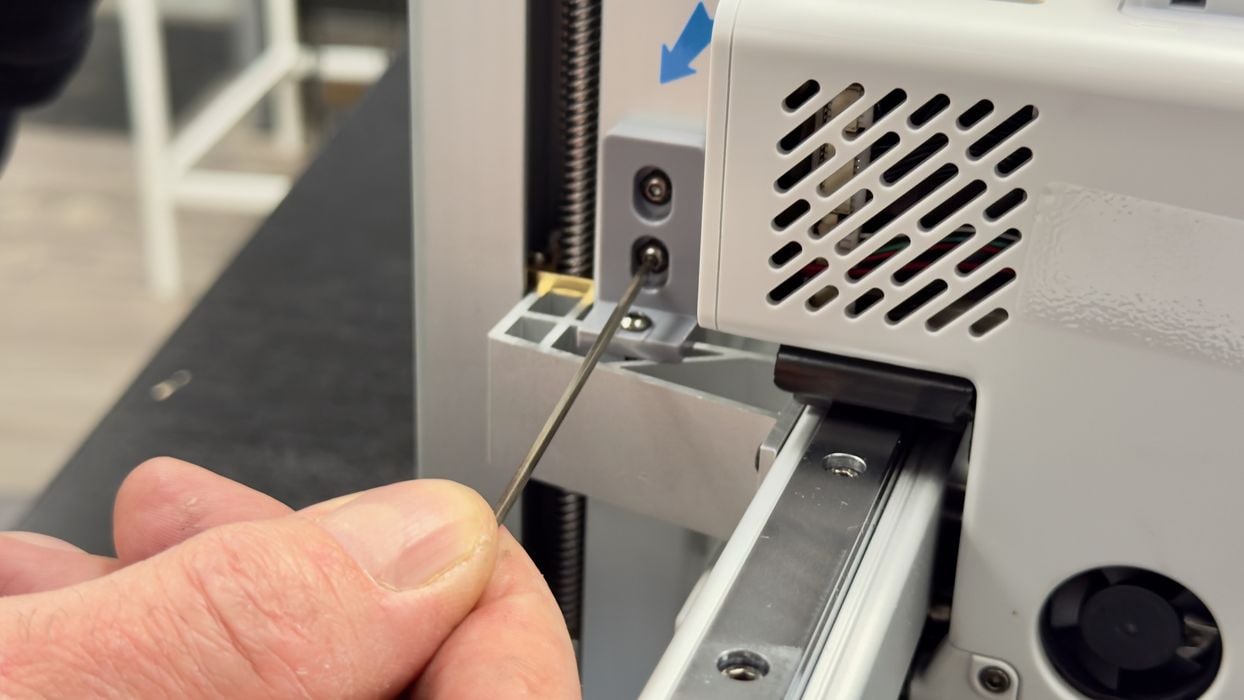
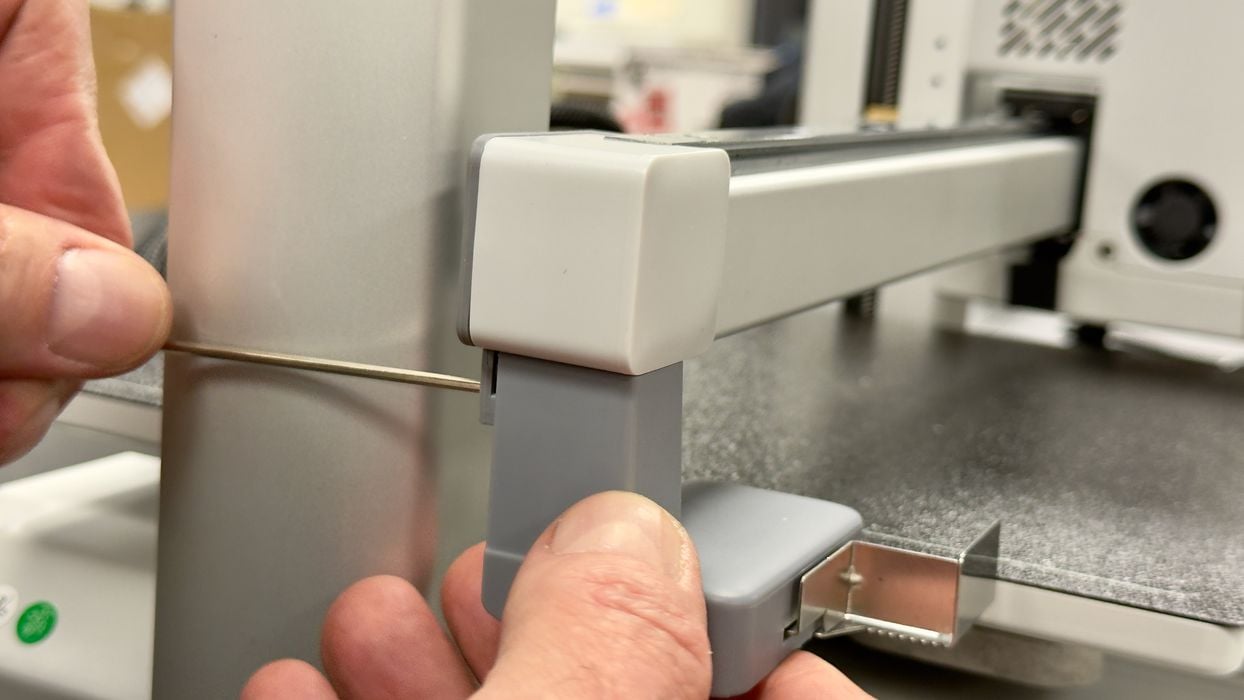
One very minor issue here: the length of the Allen key doesn’t fit well with the motion axis. I think this is easily solved by moving the axis a bit before shipment.
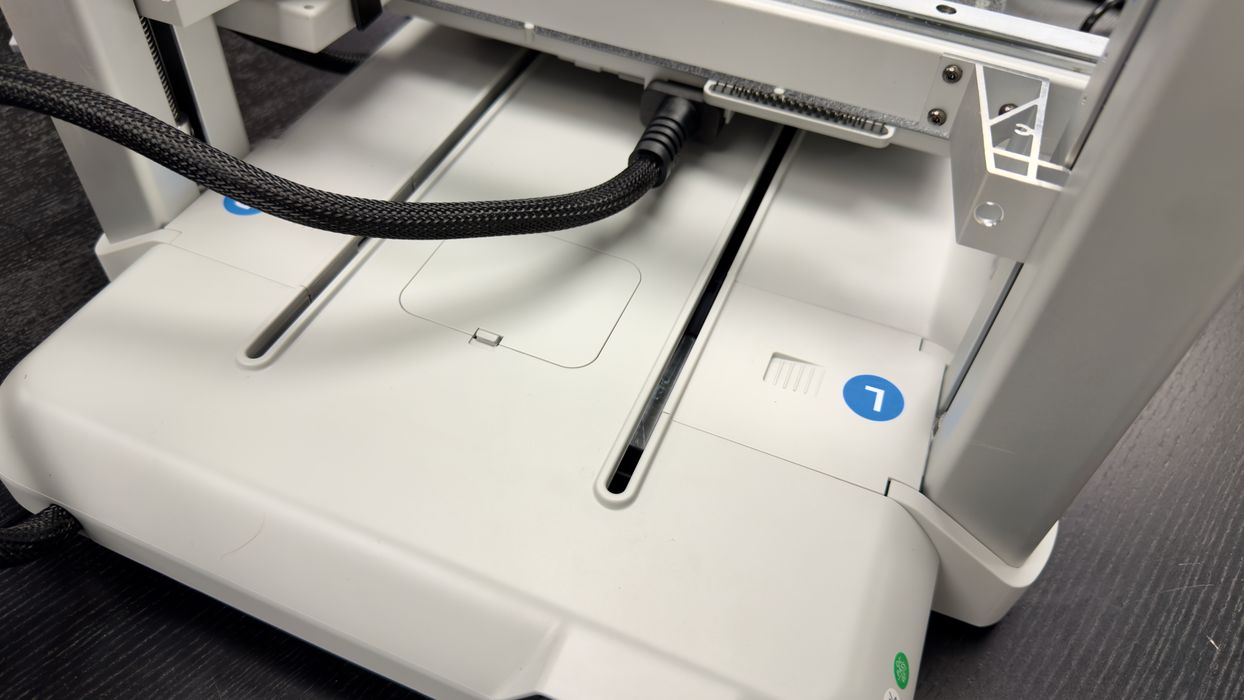
After snapping on the base’s covers, I noticed a strong similarity between the Kobra X’s base and the Bambu Lab A1: both have dual slots for the Y-axis movement.
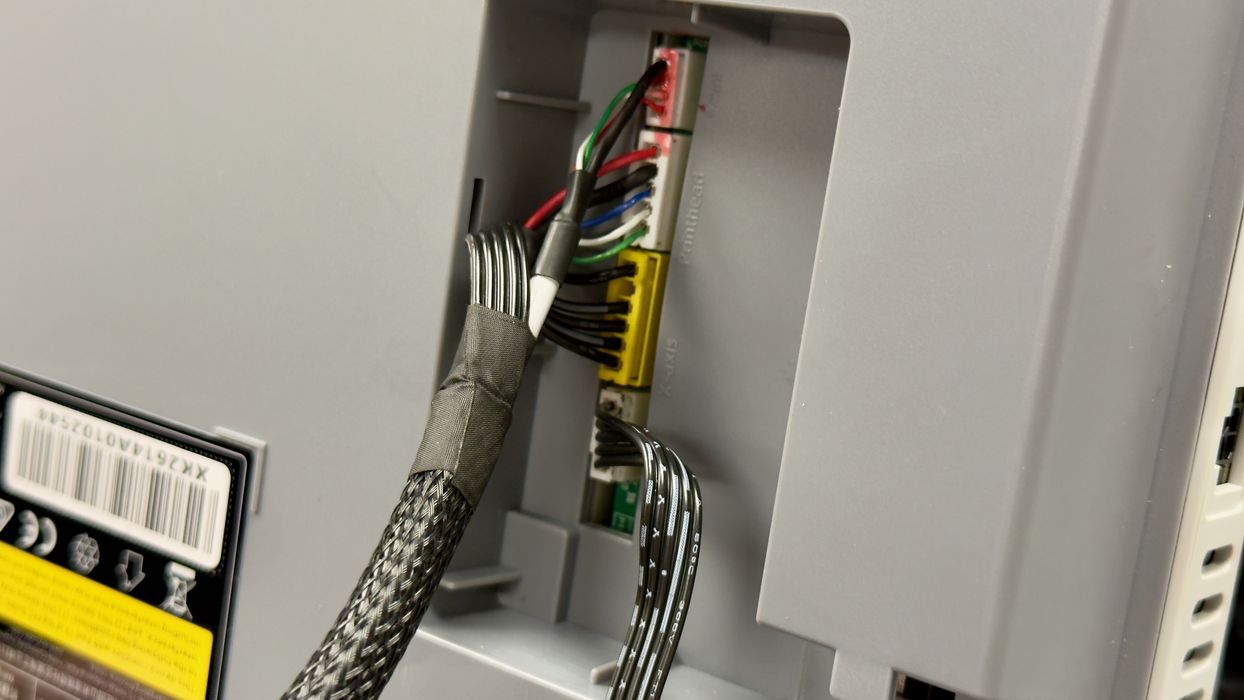
Electronics and power have to be connected between the newly attached gantry and the base, and this is done by plugging in several connectors. This was surprisingly easy to do, and because they are all different, there was no possibility of getting them wrong.
Oh, oh, there was no basket to catch “poops” produced during colour changes. I had to improvise with a nearby cardboard box. Note that the pooping mechanism here can shoot the poops a bit of a distance, so make sure your box has a taller lid to catch any energetic poops.

The four filament spools are mounted on top of the Kobra X, and that means the mounting system must be able to carry up to 4kg of filament. Here you can see a much more robust attachment system than you’d see on typical single-spool mounts.
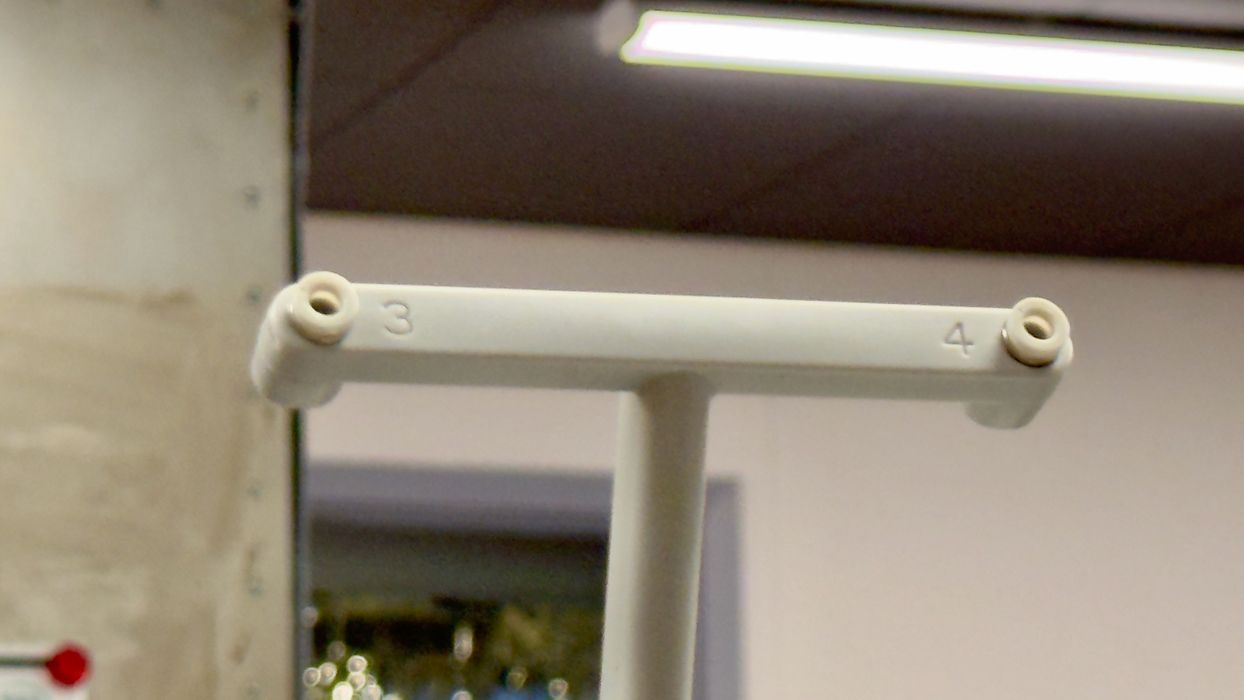
Here you can see that the spool mount has numbered positions for each spool. This will become a bit more important later.
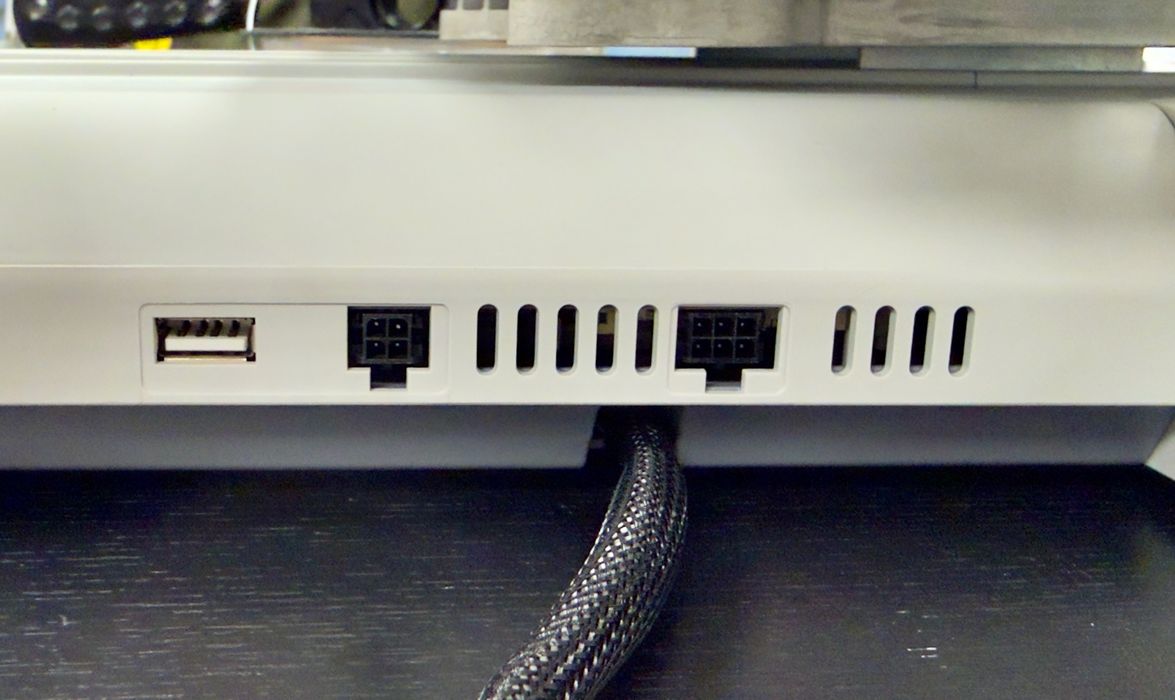
The Kobra X has two networking ports, no doubt for attaching an external ACE 2 Pro. However, I didn’t have one, so nothing needs to be plugged in today — the Kobra X can already support four spools!
At this point, the Kobra X was ready for a power-up.
This is part one of a three-part series; please read parts two and three.
Via Anycubic