
We had the opportunity to test the new PlateCycler accessory this week.
The PlateCycler is a product from ChiTu Systems, makers of a wide range of materials and accessories for desktop 3D printers, particularly resin equipment. They are also the company behind the popular ChiTuBox resin 3D print slicing software.
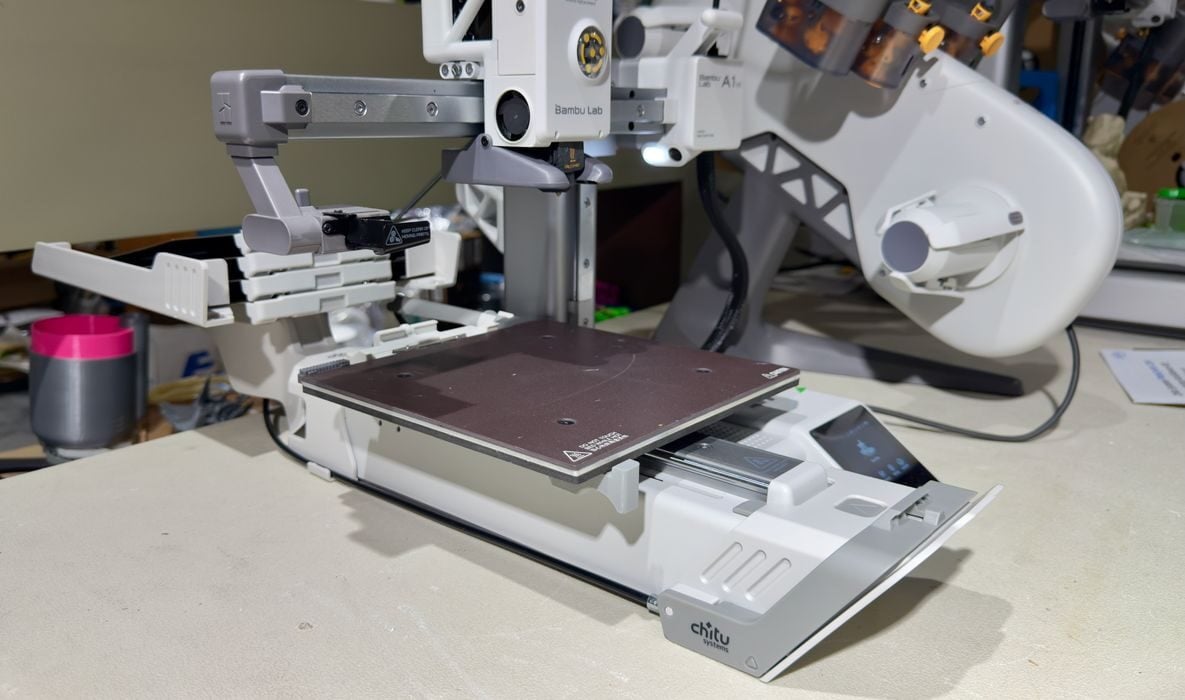
They’ve developed an entirely new product, the PlateCycler, which is intended as an add-on for the hugely popular Bambu Lab A1 mini 3D printer. That machine is perhaps the least expensive, easy to use machine one can buy these days.
ChiTu PlateCycler
What does the PlateCycler do? It modifies the A1 mini to let it automatically switch print plates. After a print completes, the PlateCycler is able to eject the current print plate and slide in a new one.
This allows the A1 mini to continue printing a second job without human intervention! In fact, the PlateCycler can hold up to ten plates, so ten consecutive print jobs could theoretically be run before you need to handle anything.
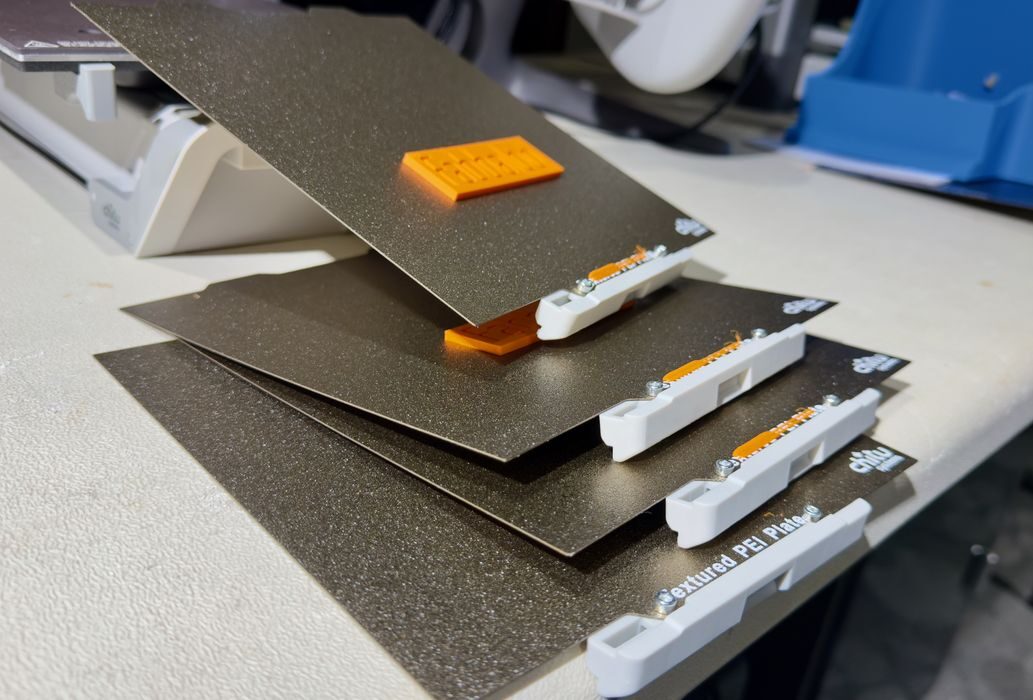
The PlateCycler ships with four plates, but it’s possible to get more from ChiTu. We tested only four — but that’s three more than any other 3D printer we’ve been testing.
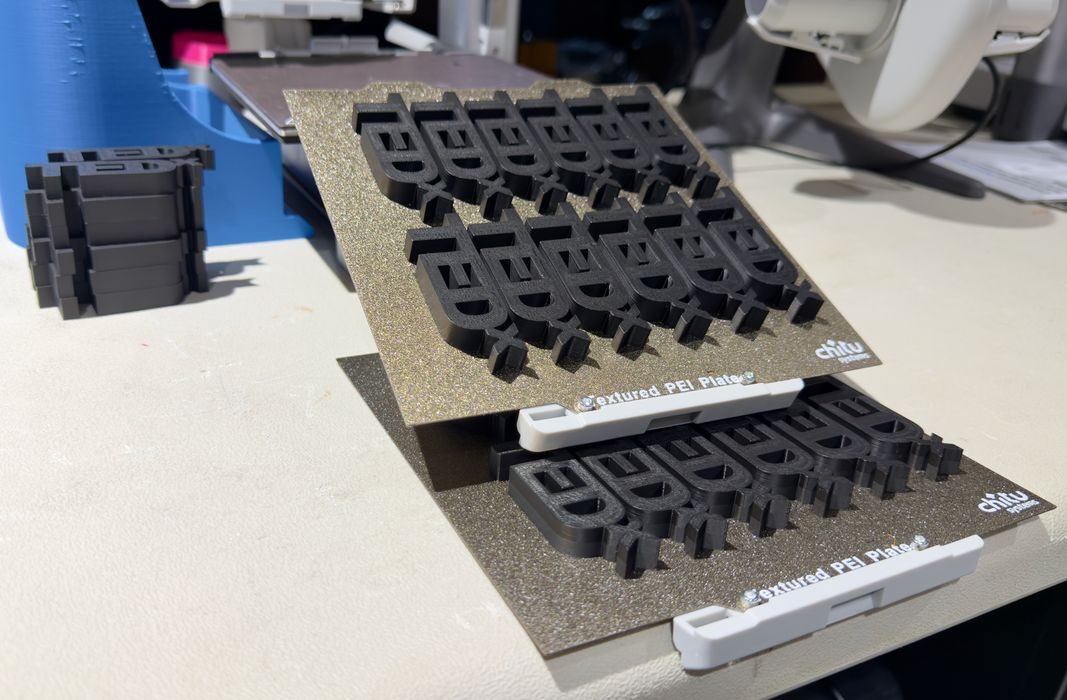
The print plates are basically similar to the stock Bambu Lab textured PEI plate. The only difference is that ChiTu has pasted a kind of “handle” on the front for the PlateCycler to grab during switches.
PlateCycler Unboxing and Assembly
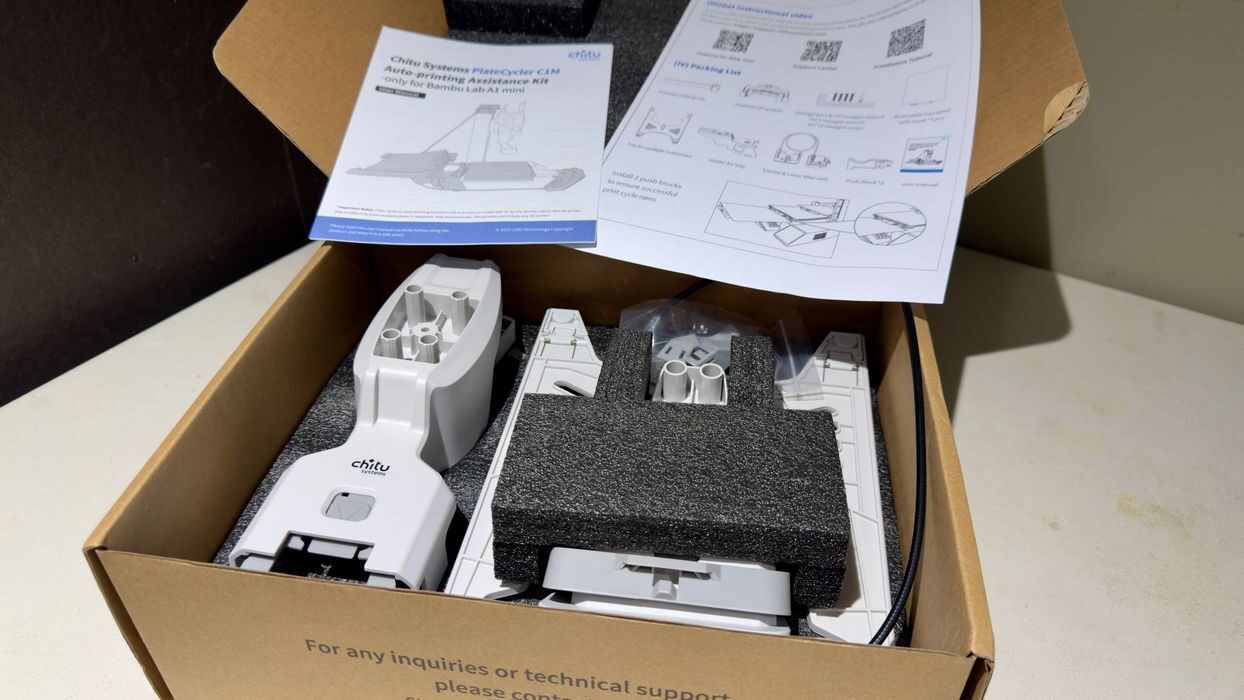
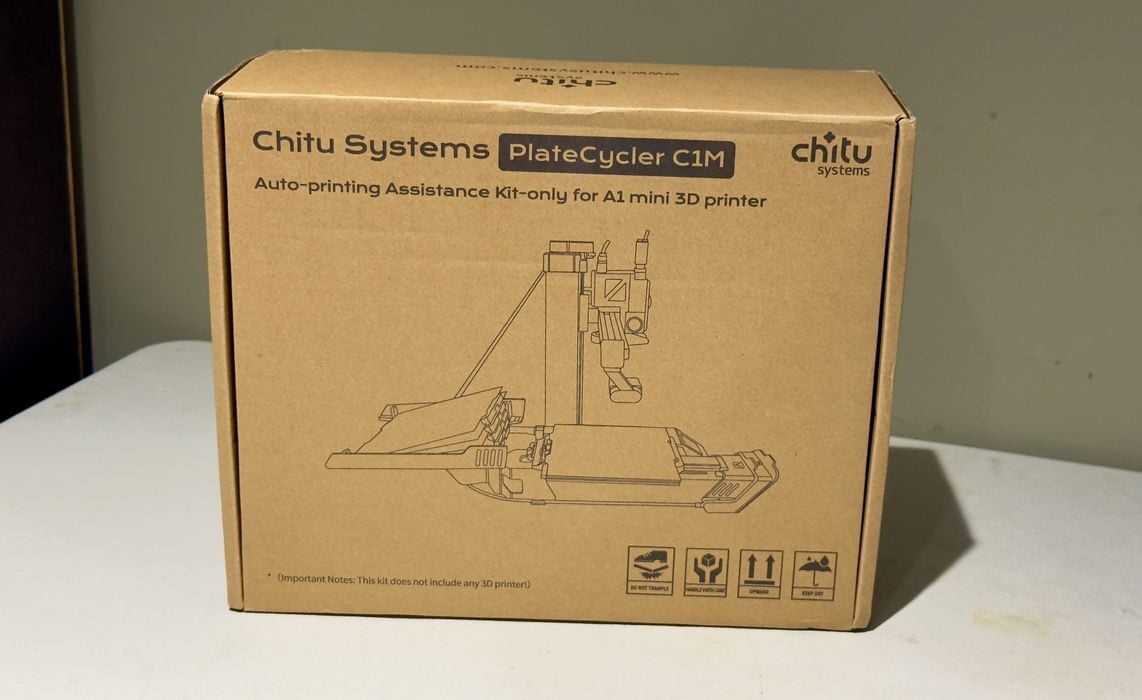
The PlateCycler ships in a small box and has all the parts and tools included to get up and running. You will have to supply the A1 mini, of course.
There’s a set of printed instructions, as well as a QR code linking to an assembly video. I found the instructions to be not quite sufficient, but the video shows exactly what to do. I recommend you watch the entire video before starting.
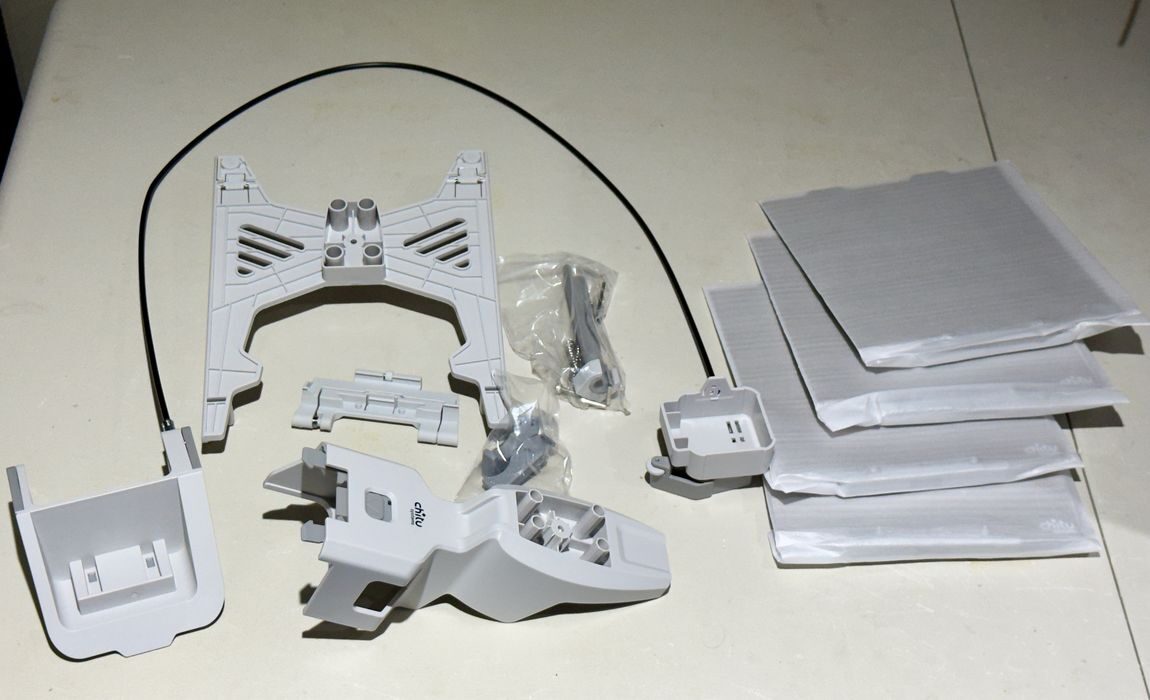
There are several larger parts that at first look complicated, but in fact you will simply be snapping them together.
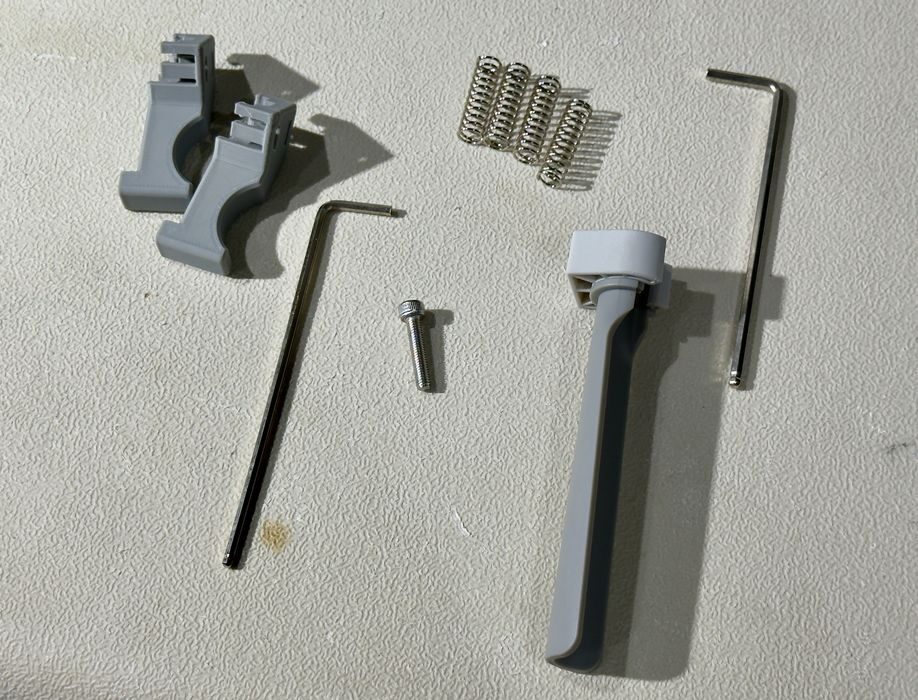
There are a set of four springs that have to be mounted, and a single bolt to tie them down. That’s really the most complex part of the assembly process. And it’s not hard, literally anyone could build this kit.
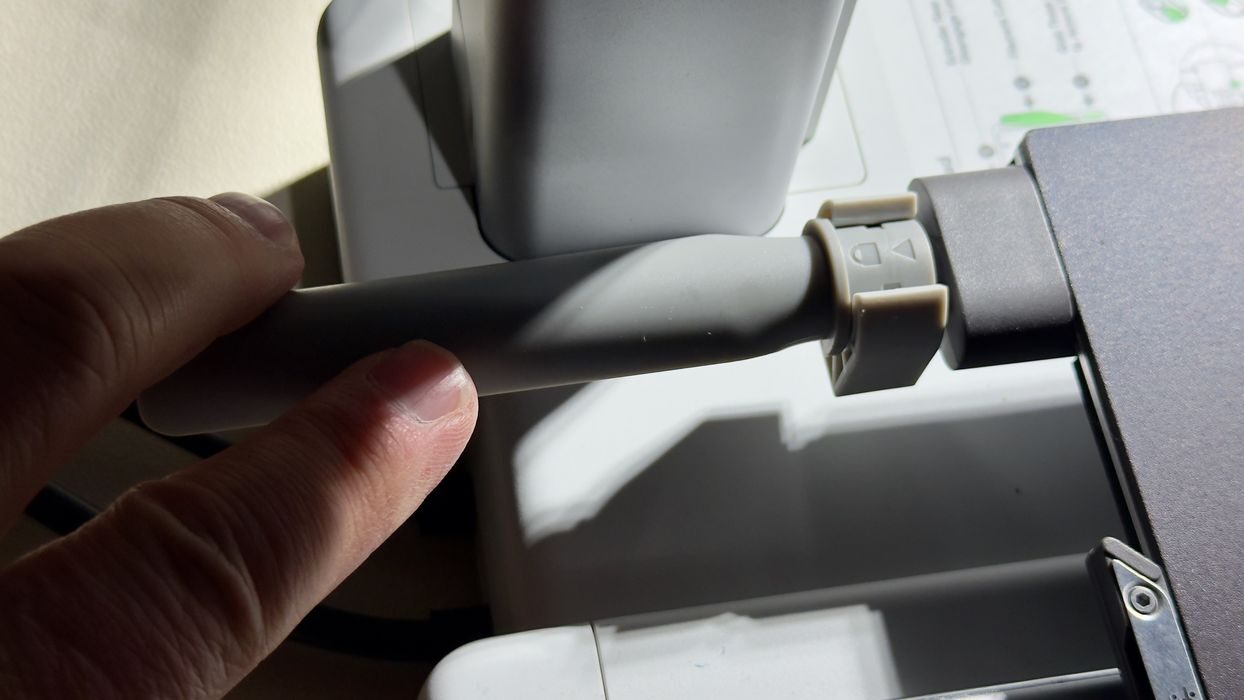
All the major parts are designed to snap onto existing structures on the A1 mini. Here, for example, we have a rod that attaches to the A1 mini’s power cord. You slide it over and rotate the end to lock it in place.
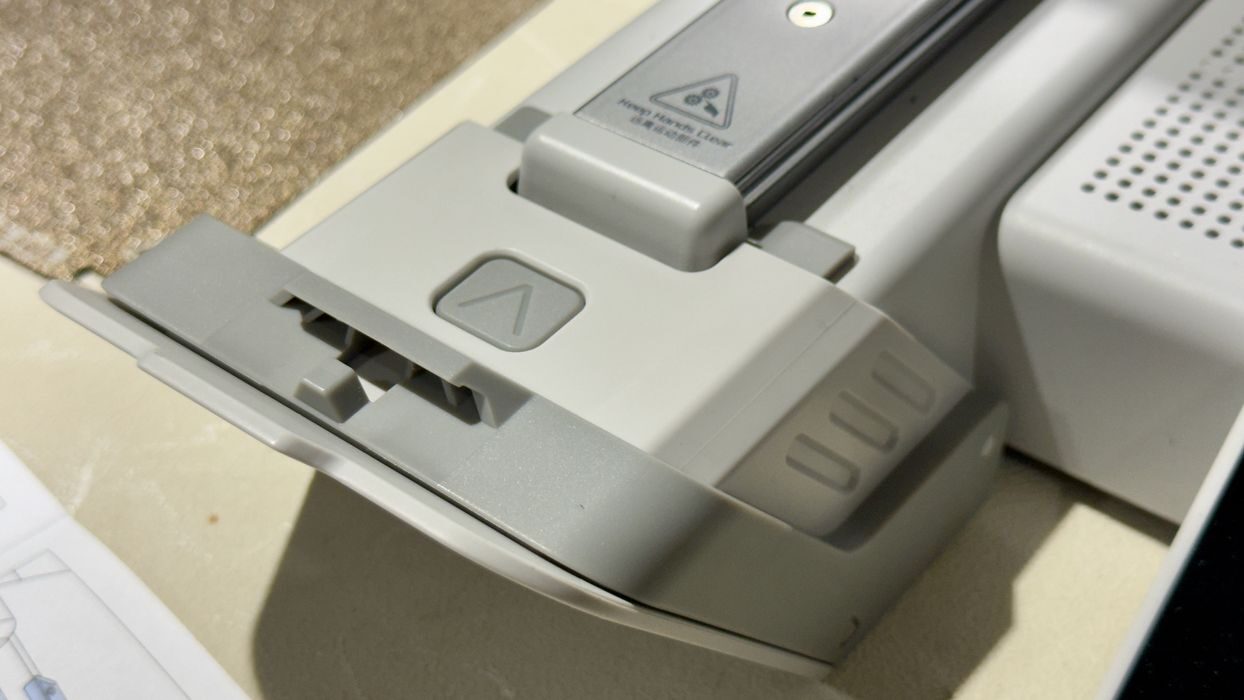
There’s an apparatus to attach to the front of the A1 mini. Like the rod at the back, you just snap this piece onto the beak of the A1 mini.
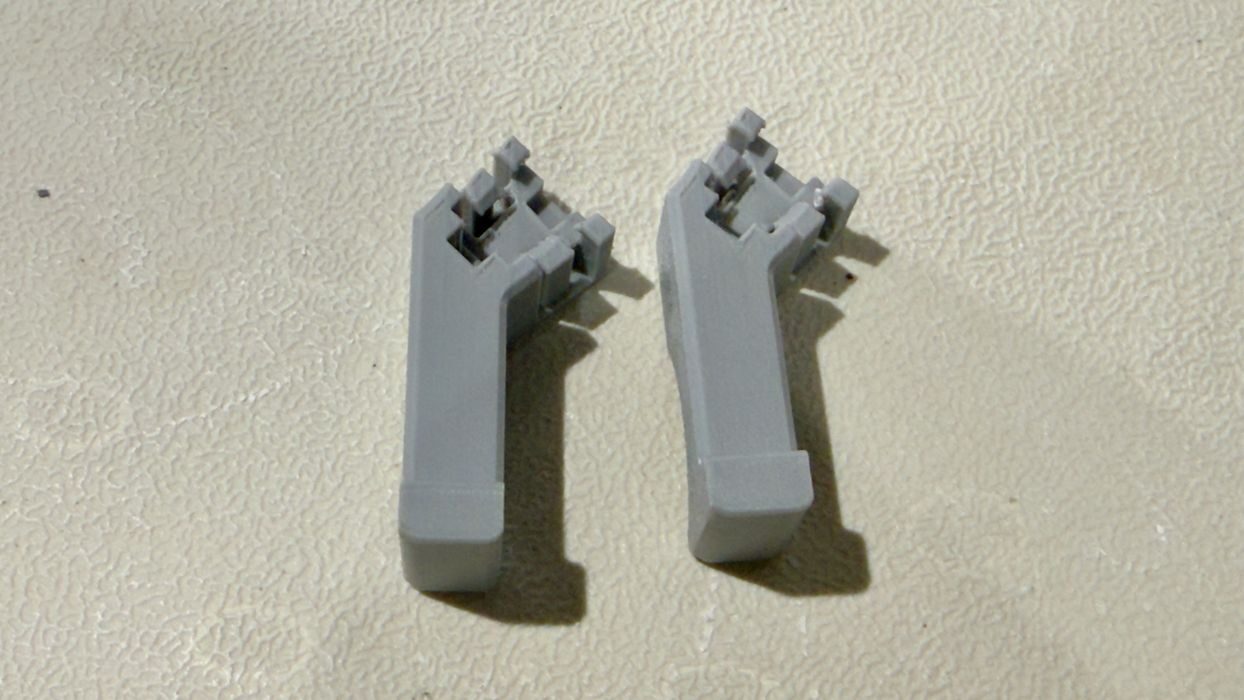
Underneath the A1 mini’s print plate there are two bumpers to attach. They snap onto the plate supports, and there is a left and right version. Here’s where I ran into trouble: my PlateCycler kit seemed to have two lefts and no rights.
I requested the print file from ChiTu to reproduce the right hand bumper, but proceeded with the testing anyway. I guessed that one bumper would be sufficient.
That’s it for the assembly, there’s really nothing to it. If I had to do it again I could put it all together in less than five minutes.
Also, and this is an important point, the A1 mini is completely unchanged by all these pieces. They snap onto the machine, and could easily be removed if for some reason you’d ever want to revert the PlateCycler back into a standard A1 mini. You won’t mess up the printer.
PlateCycler Operation
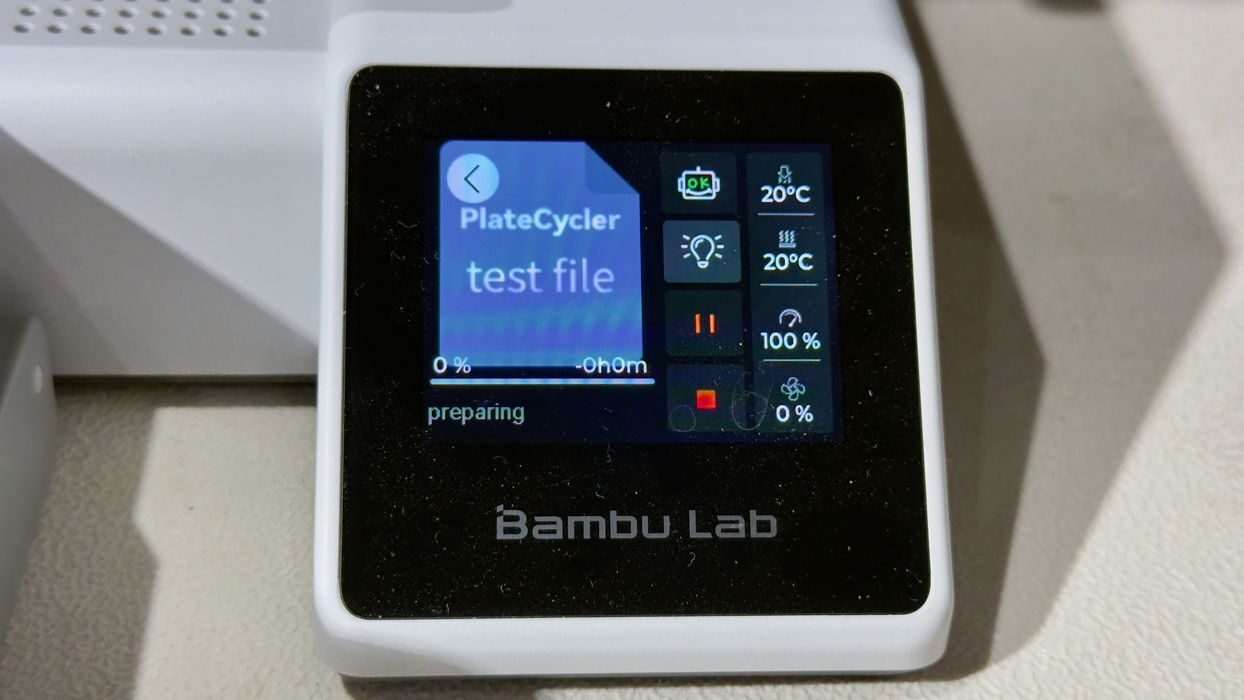
ChiTu provides a test file that should be run after assembly. The goal of the test is to ensure that the system operates properly, and to do so it basically cycles through all the print plates. It doesn’t print anything, but simply grabs them, mounts them, and pushes them off the front of the A1 mini.
If you can get through that test (I did), then the machine is considered assembled properly.
I then was ready to try a print of my own, and you have to use ChiTu’s PlateCycler software. I’ll explain that a bit later. The software produces a .3MF file that you must manually put on the machine via the SD card.
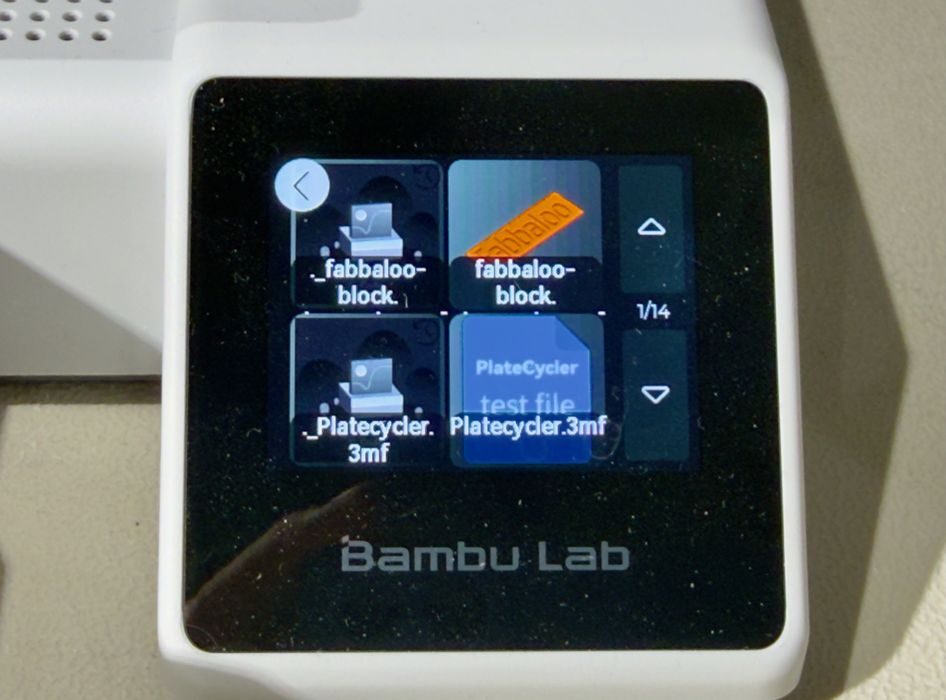
On the control panel I noticed that two files showed up, and I was confused as to which one I should run. It turns out it’s the one with the proper preview image. If you run the other one the A1 mini fails to parse it properly and doesn’t start a job. Perhaps this was generated by my Mac, as that OS often creates alias files with a ‘.’ at the front of the filename.
At this point I had a question: will the PlateCycler load up the first print plate (e.g. you load ALL of the plates in the hopper)? Or do you have to position the first plate yourself?
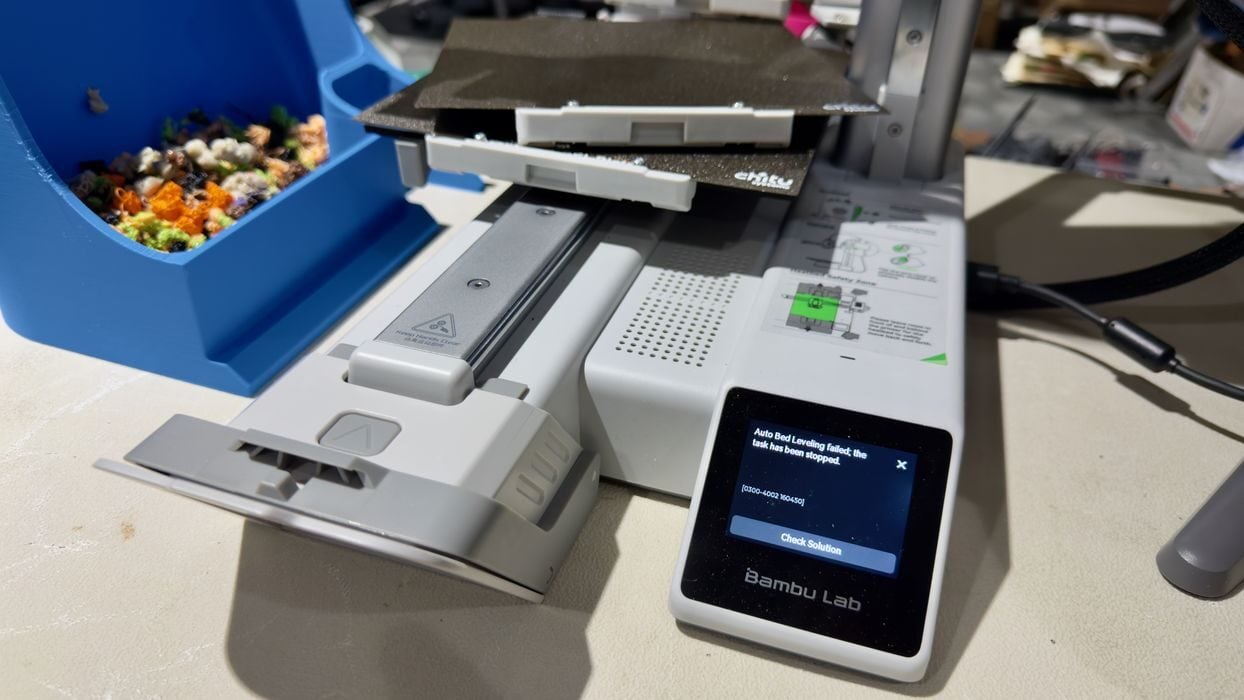
My first attempt was without a plate installed, and, having my hand hovering over the power switch, I discovered that the A1 mini attempted to level without the plate. In other words, you must load the first plate manually. This should be made clear in the instructions.
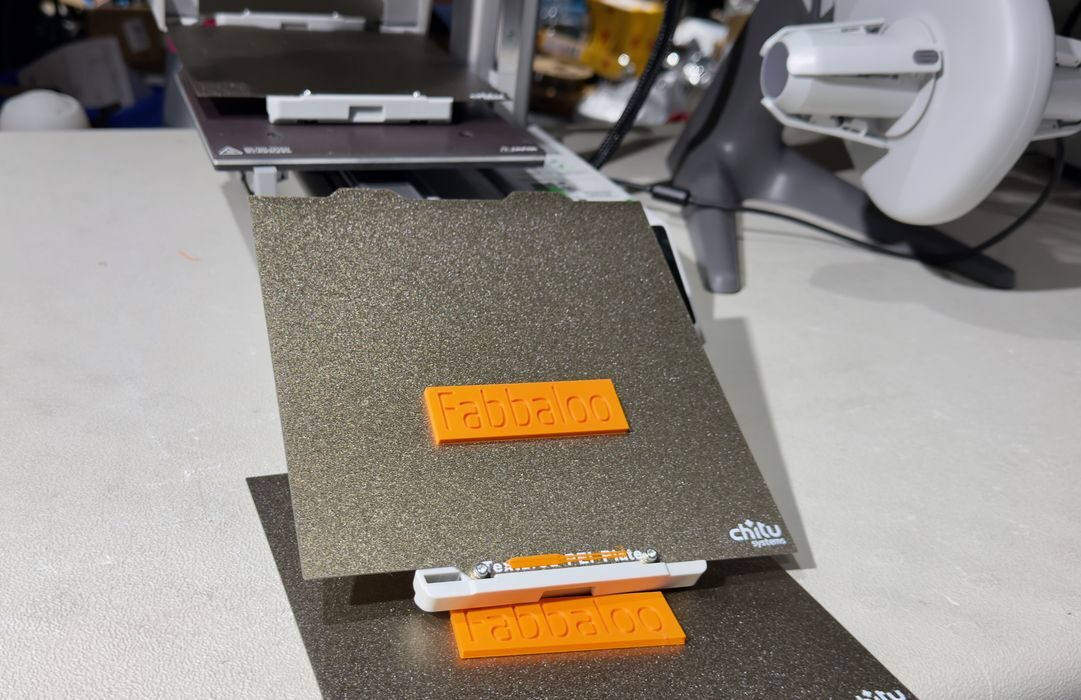
For my first test I tried to print a “Fabbaloo” block on several plates, printed serially.
The printing of a plate proceeds in the normal manner, since the PlateCycler software uses the regular GCODE produced by BambuStudio.
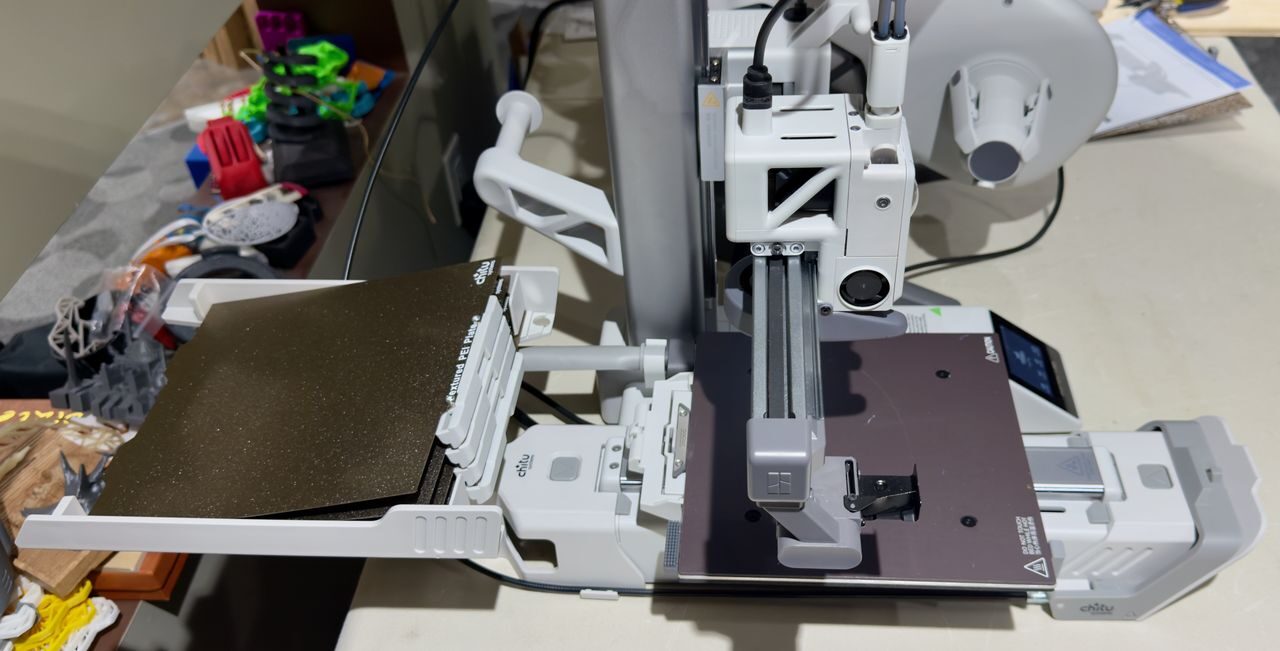
The interesting part is when the job finishes. The PlateCycler software inserts special GCODE commands into the print file to eject the plate and mount a new one. That sounds complex, but in fact all it’s doing is moving the Y-axis forward and backward. When the Y-axis is all the way at the back, the plate is “hooked” and then pulled to the front. Similarly, the current plate is pushed off.
This is where you do have to take some action. The plates will simply pile up in front of the A1 mini. ChiTu recommends having a box or bucket in front of the machine to catch the plates as they are ejected. I believe it is a good idea to make sure the plates fall, otherwise they could make a pile that would obstruct ejections.
This also means that you can’t really print anything that is fragile or has delicate thin structures. They could easily be damaged during ejection: falling half a meter into a box and landing upside down, for example.
However, there are lots of prints that can be printed on the PlateCycler without this risk.
I encountered one issue where the plate wasn’t properly ejected. My suspicion is that the missing bumper caused the misfire. At that point I received a printable file from ChiTu to replace the missing part, and I didn’t have any issues after that.
PlateCycler Software
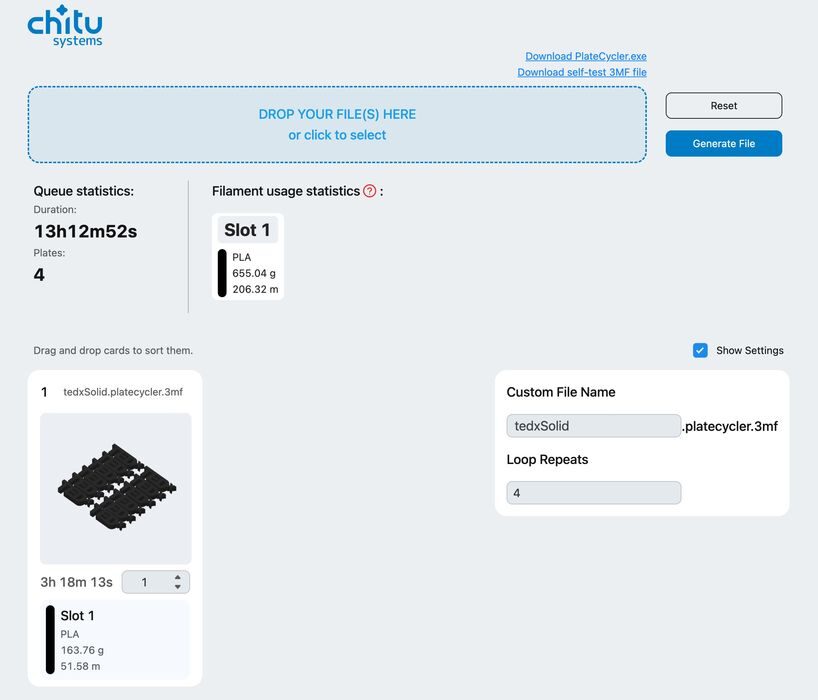
The software is quite easy to use, and absolutely necessary to make the PlateCycler work. It accepts a regularly produced GCODE file from BambuStudio, and then adds some code to make the PlateCycler work.
This then produces a downloadable file you can then mount on the A1 mini as above.
As you can see in the software view above, you can upload a job and then specify how many times that plate should be printed. I chose four because that was the number of plates I had.
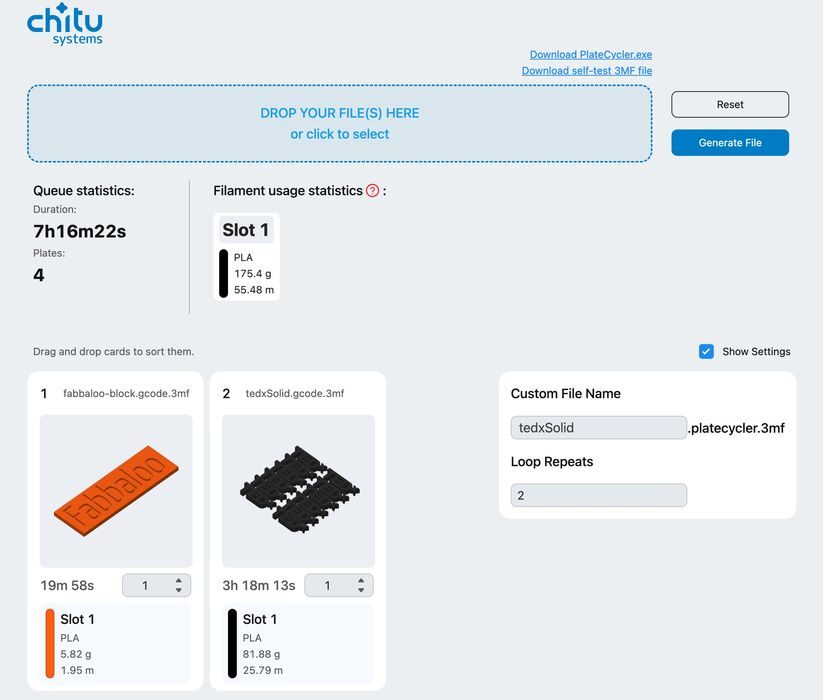
Another variation is to use different GCODE files. This allows you to print a series of jobs, one after the other, without having to do anything in between them. You can also specify that some of them can be printed multiple times.
The software is available for Windows, but not for other platforms. However, ChiTu provides the same software via a web page, which I found to be easy to use. If you’re online, just use the web page.
PlateCycler Final Thoughts
I found the PlateCycler to be incredibly easy to install and operate. Aside from one problem that was likely caused by the missing bumper, it ran flawlessly.
The PlateCycler does something extremely interesting: it transforms your desktop A1 mini into a kind of small-scale factory. Above you can see that I was easily able to churn out dozens of small parts without much work. You just come back later and collect them.
As of now the PlateCycler isn’t quite on sale. ChiTu offers a signup page for notifications when it is launched, which seems to be December 4th. It’s not yet known the price of the product.
My guess is that it won’t be particularly expensive. There are zero electronics in the package, just some plastic parts, springs and a bolt. It shouldn’t be expensive anyway, as the A1 mini is one of the lowest priced 3D printers you can get.
If you are doing a lot of 3D printing and own an A1 mini, the PlateCycler is a no-brainer purchase. It just works, doesn’t change your A1 mini and eliminates a lot of operational work.
Via ChiTu Systems