
Raise3D has produced several notable professional 3D printers, and we’ve been able to do extensive testing on their Pro3 Plus model.
This is part one of a three part series, please read parts two and three.
Raise3D Background
There’s quite a story behind Raise3D, which is only eight years old. The company first appeared back in 2015 with a Kickstarter launch. Yes, this is one of the companies that was able to transform a crowdfunding campaign into a significant business over succeeding years.
The company produces a number of models these days, including six professional devices and two much larger industrial machines.
Their professional line is made up of the Pro2 and Pro3 series, with the latter being more advanced. The model we’re testing in this review is their flagship model, the Pro3 Plus, a large-format machine. And yes, we also managed to get the Hyper Speed upgrade that dramatically speeds up print speeds.
Our selection of the Pro3 hints at what many might consider this machine for: a replacement for older equipment. In our case we are replacing an aging Stratasys Fortus 450mc. The two machines have similar build volumes, but the Pro3 is far more versatile, along with being easier and faster to operate.
Oh, and it cost us 15X less money than we spent on the Fortus ten years ago. Times have changed, indeed.
Raise3D Pro3 Specifications and Features
The Pro3 is the “stretch” version of the Pro3 series from the company. Its build volume has the same XY area as the base model, but its Z height is doubled. That means you’ll be able to use a truly massive 300 x 300 x 605 mm build volume, large enough print practically anything.
The extrusion system on the machine is quite capable as it uses an independent dual extrusion setup (IDEX). This means the device can print with two different materials in the same job.
Those two could be merely different colors, or they could be different materials. For example, one could mix flexible with rigid material. A typical use case would be having a rigid material in one extruder, with soluble support in the other. That allows for printing of highly complex geometries with ease: support material simply dissolves away afterwards.
Like most desktop 3D printers, the Pro3 Plus includes a magnetically attached flexible spring steel print plate. That makes for easy part removal, and is a very welcome change from the Fortus, which required one-use expensive build sheets.
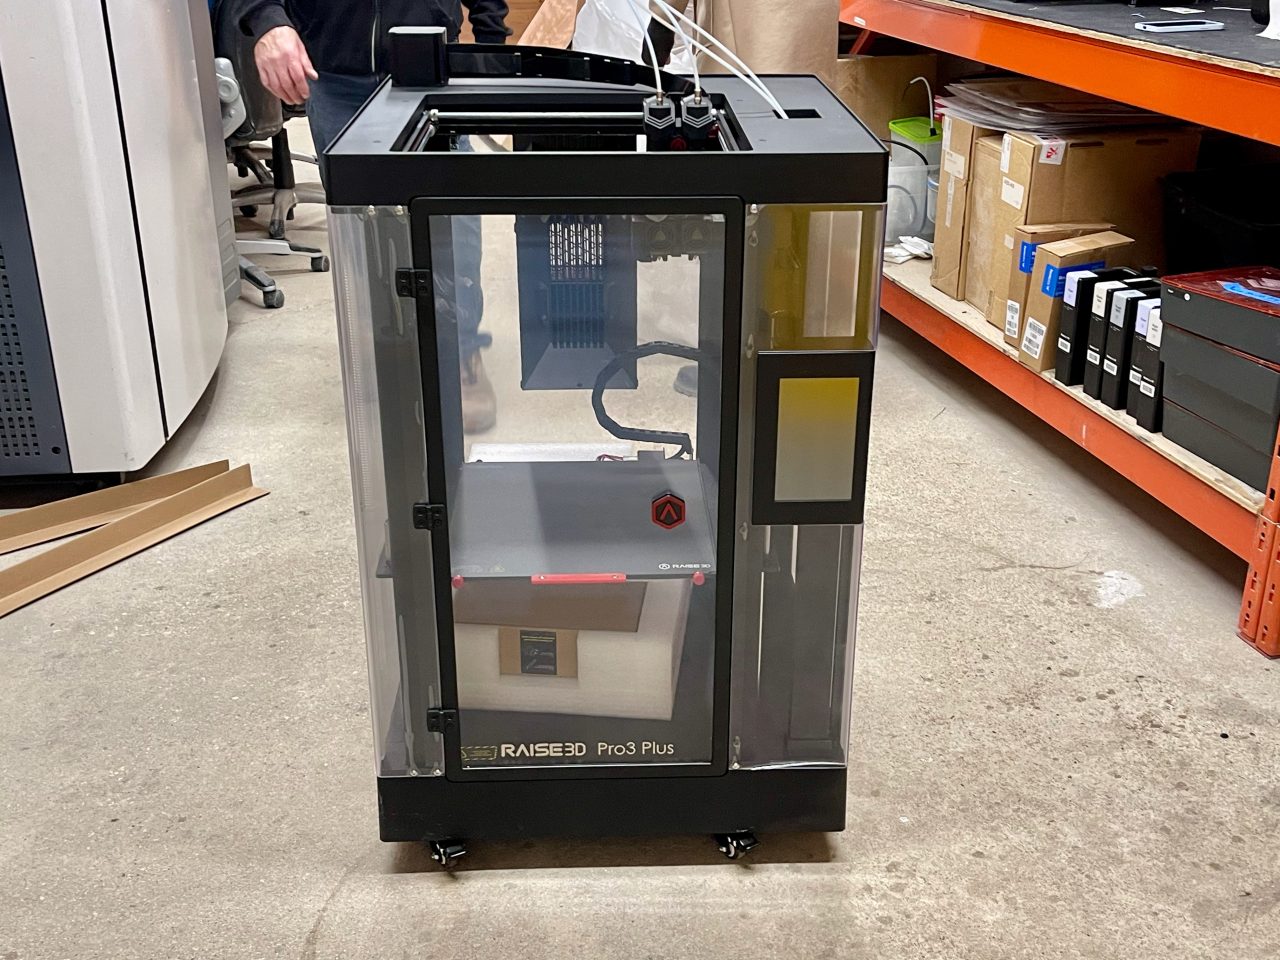
As you can see in the images, the device is fully enclosed, with some venting available to maintain consistent internal chamber temperatures.
The Pro3 Plus includes a sophisticated set of software and networking features that make it easy to operate, as you will see. There’s also a fascinating “virtual assistant” they call “Eve” that appears on the control panel to help you through most procedures.
Raise3D Pro3 Unboxing and Assembly
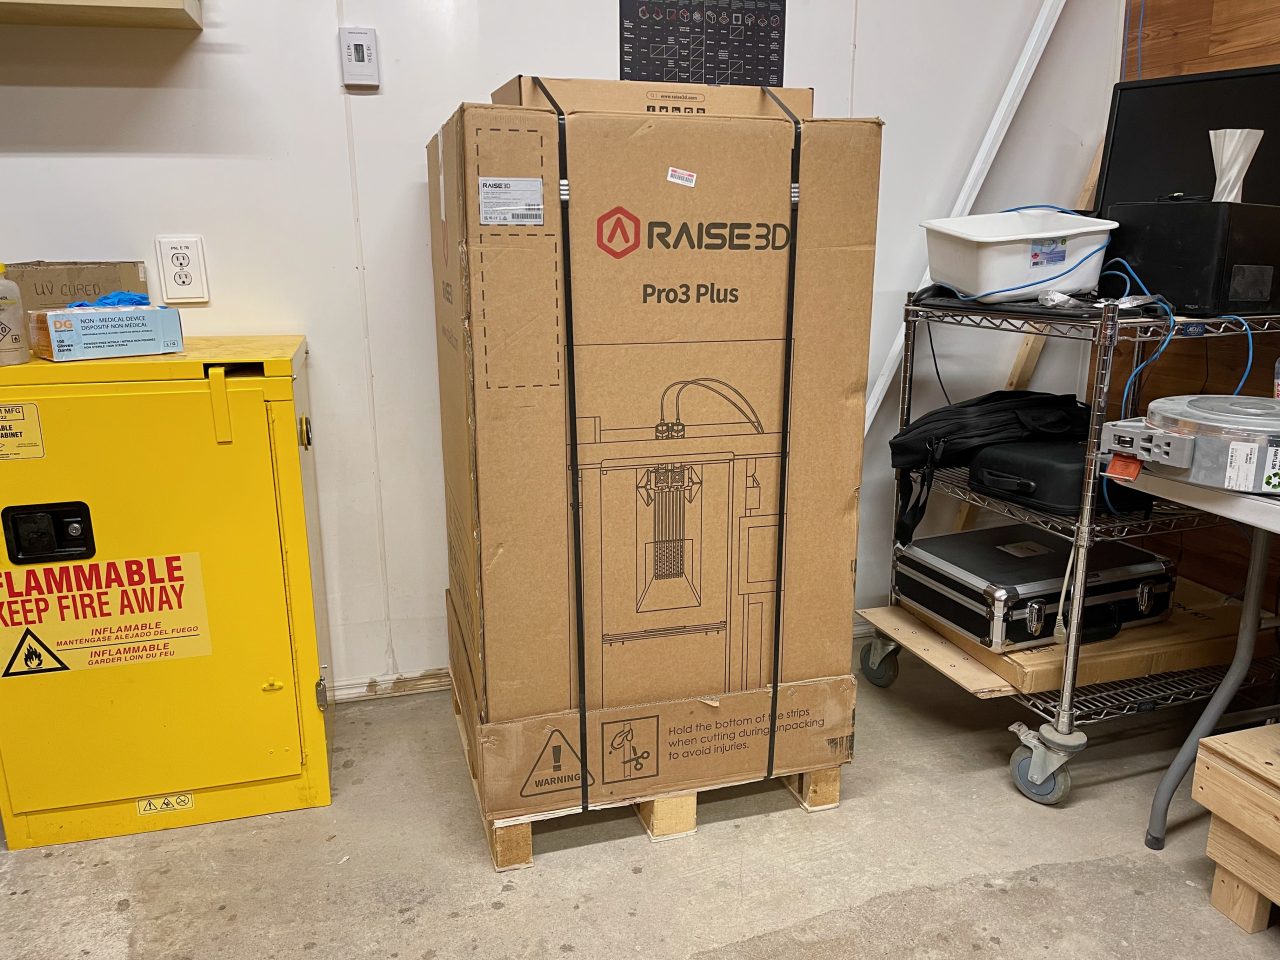
As you can see, the Pro3 Plus is not a small machine at all. It comes in a rather large shipping box and you’ll probably need a cart to move it around.
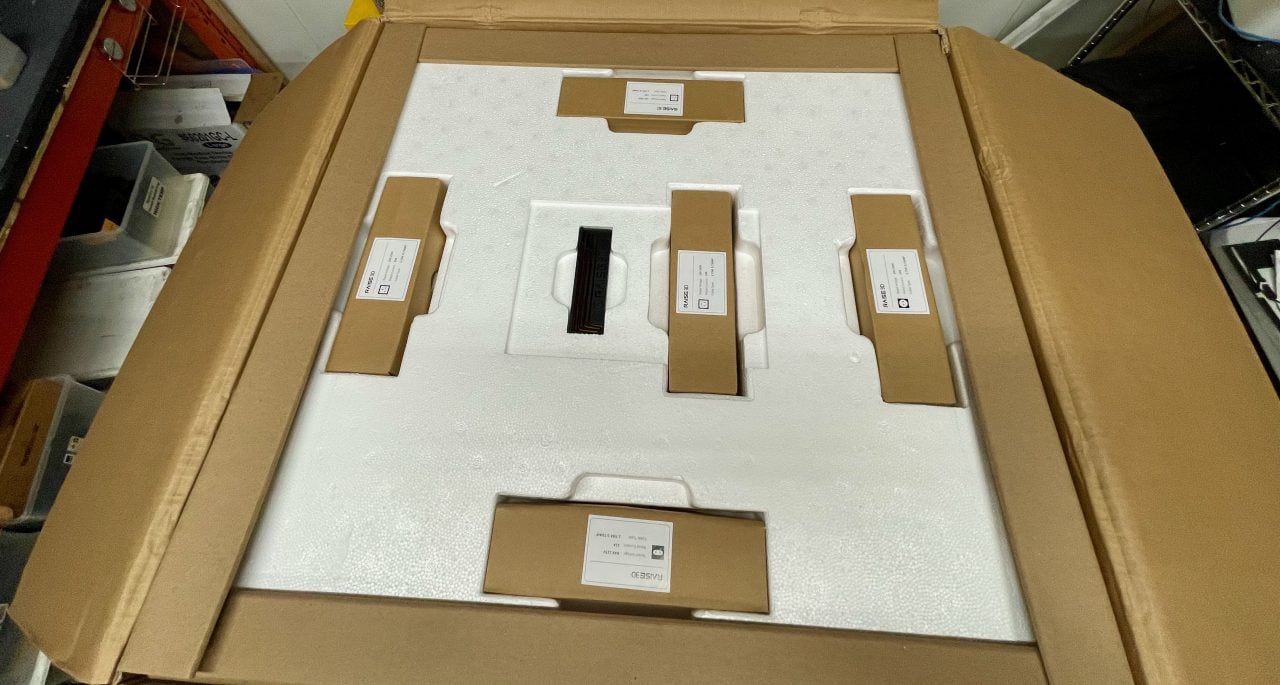
The device was expertly packed in the box with form-fitting foam. We found no parts were disturbed or damaged in shipping.
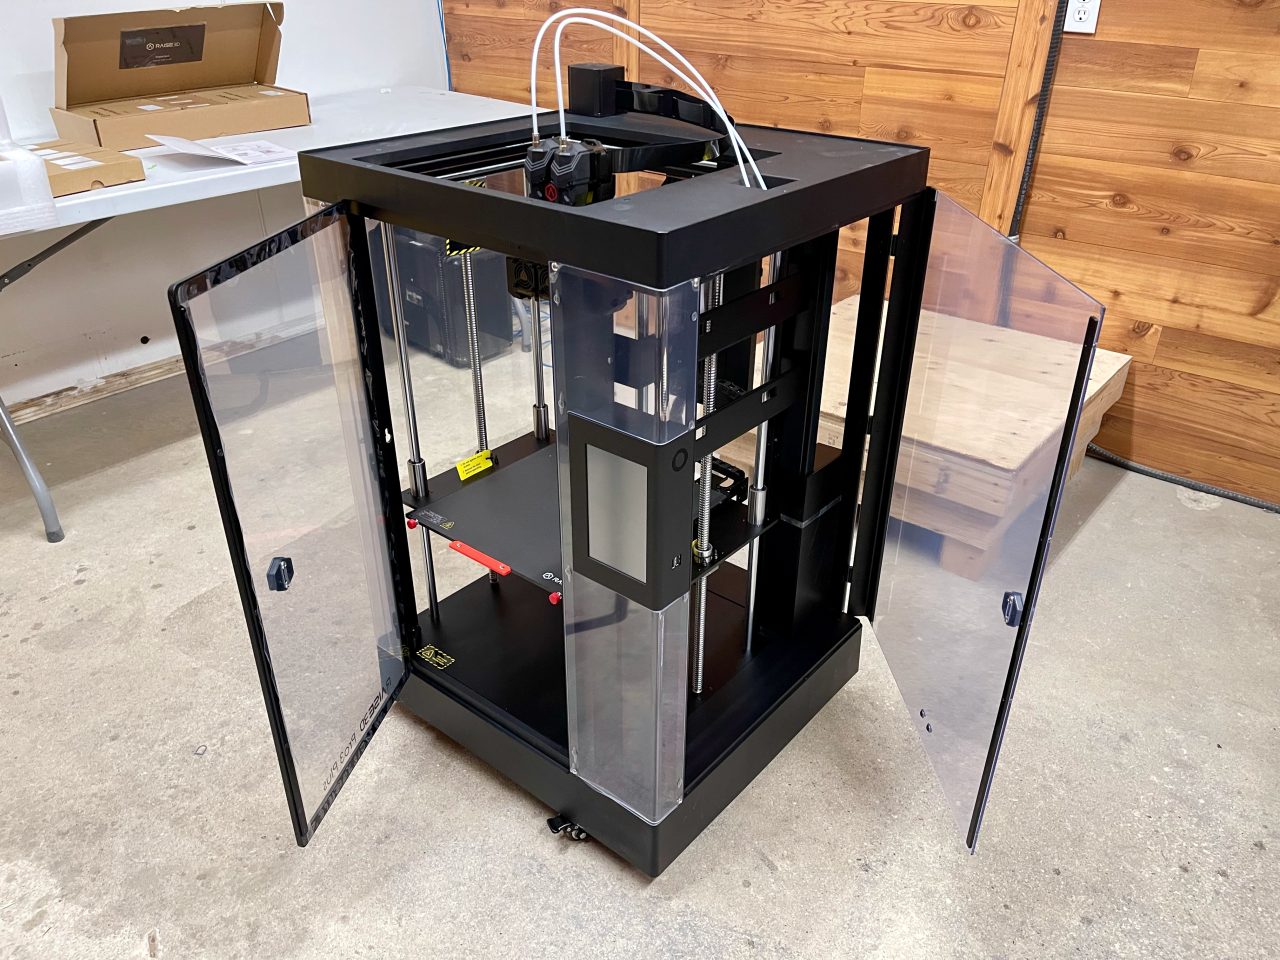
The Pro3 Plus is a fully enclosed 3D printer, and it has two doors. One is for accessing the build chamber, and the other is to access the twin spool mounts that are conveniently inside the heat envelope of the build chamber.
Note that the doors in the image are a bit murky because we had not yet peeled off the protective film. Don’t forget this, and it’s fun to do.
After unboxing, we immediately had a dilemma: how should we place this machine? Should it remain on the floor? No, it’s far too low for convenient operation, as the operator would have to almost reach the ground to retrieve a print.
Should it be on a table top? Nope, then the top of the machine, which must be accessible to load filament, is far too high. It turns out that the Pro3 Plus’s huge build volume makes it a machine that is both too tall and too short.
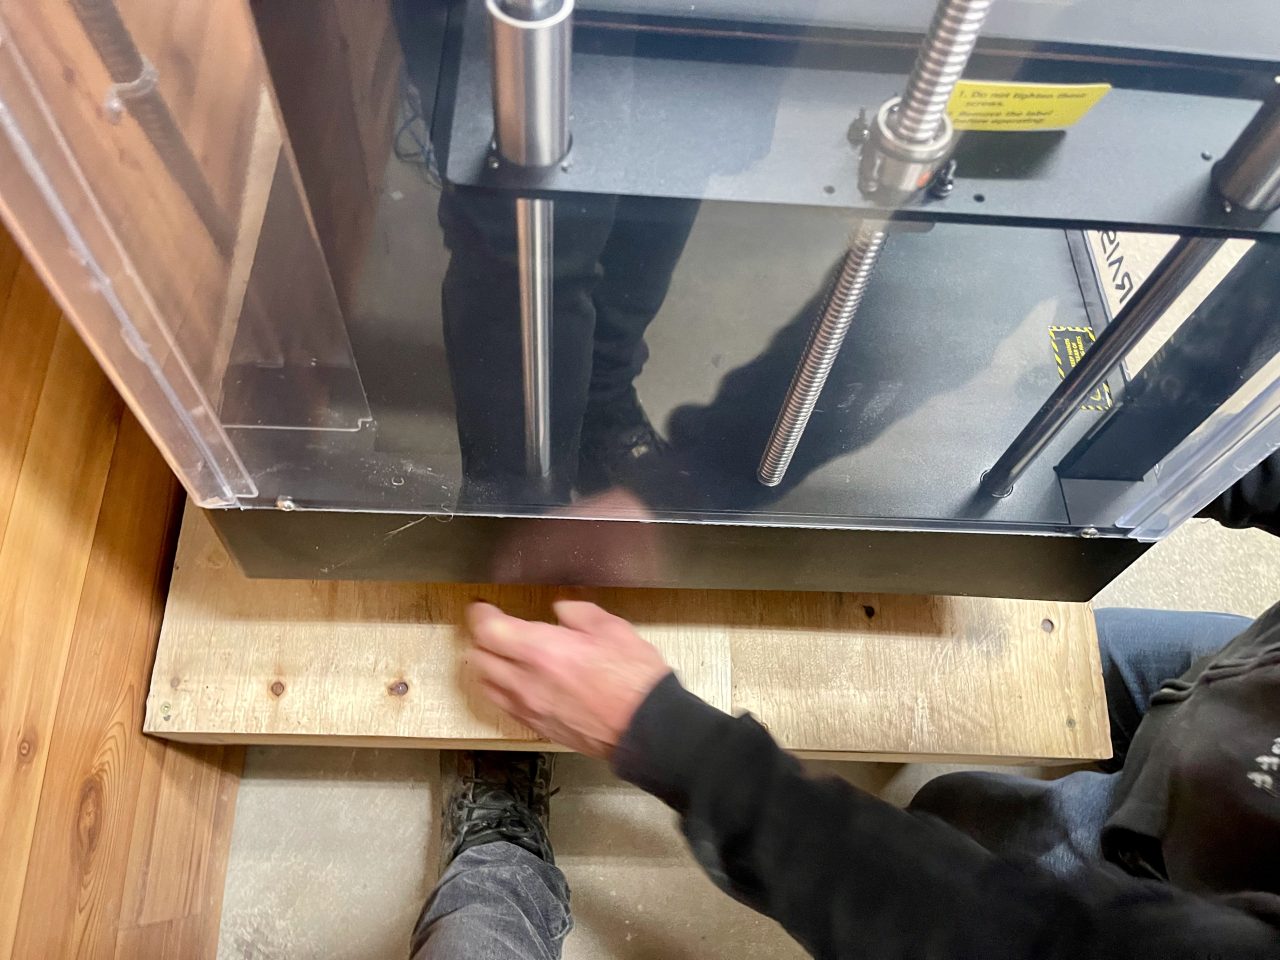
Our solution was a short stand that placed the device at an intermediate level. In retrospect we now think our stand could be slightly taller, but you get the idea.
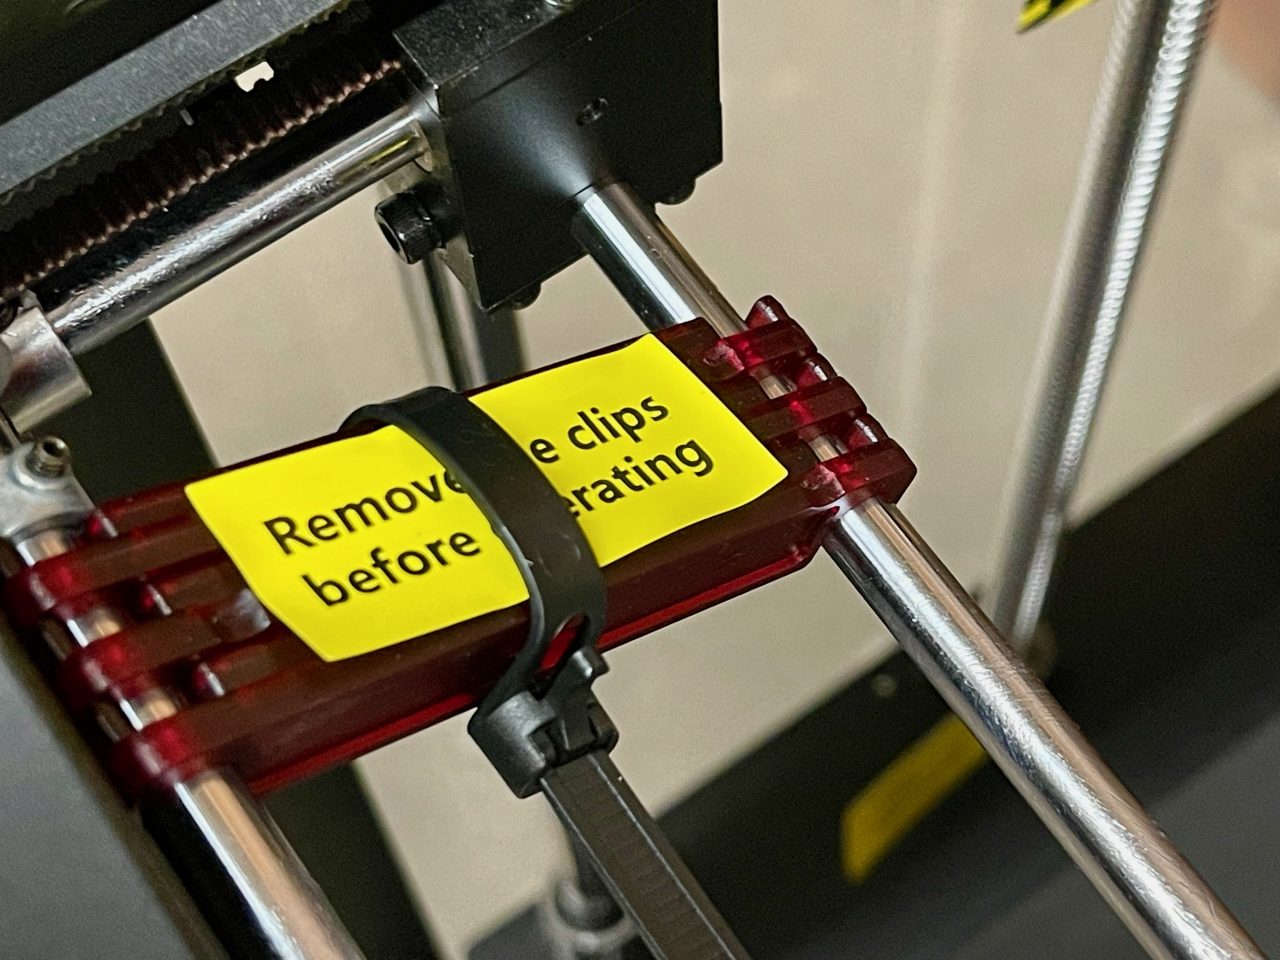
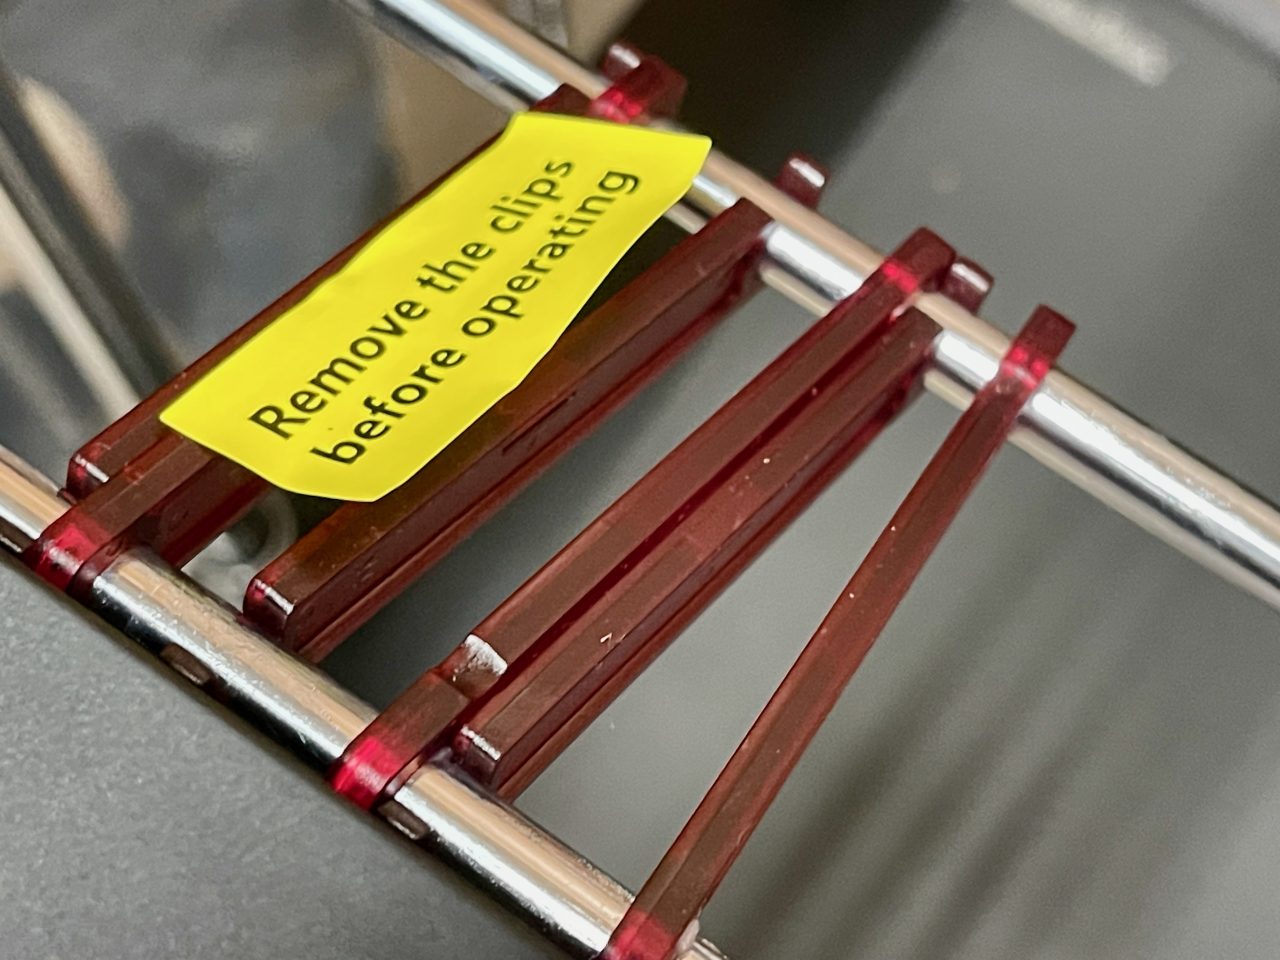
After settling the machine, we then went through the normal ritual of removing clips and tie wraps. It turns out that there were quite a few on the Pro3 Plus, but they were all extremely well labeled and very easy to find and remove. I’ve never seen so many labels!
We acquired the Pro3 Plus with the Hyper Speed upgrade. This meant that the machine was shipped as a standard Pro3 Plus with a separate upgrade kit. We decided to run the machine for a while in normal mode before upgrading to Hyper Speed.
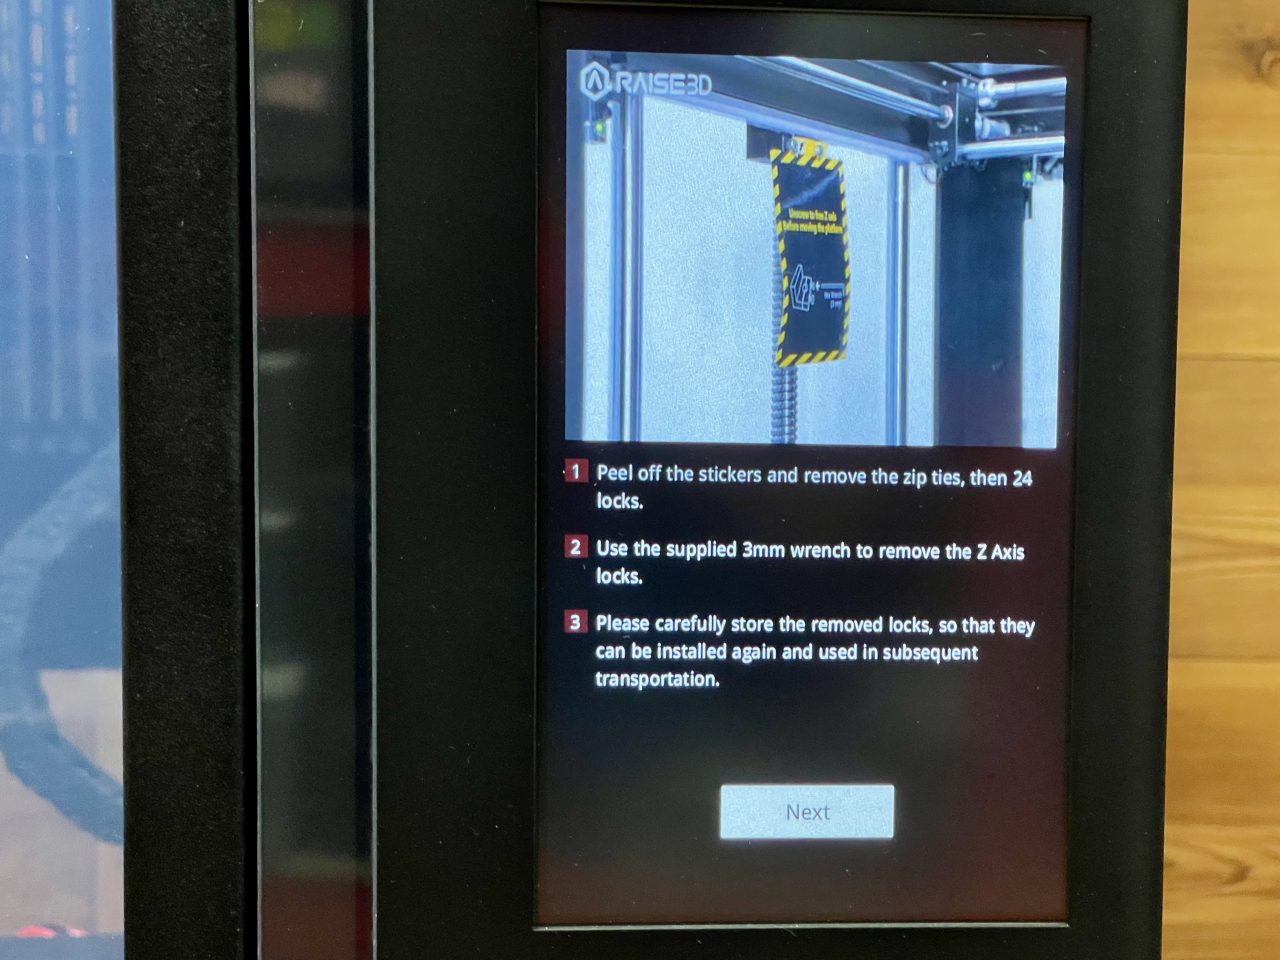
Upon powering up the Pro3 Plus, we were surprised to see incredibly detailed visual instructions appear on the machine. Here you can see the level of detail Raise3D has added to the machine’s setup process.
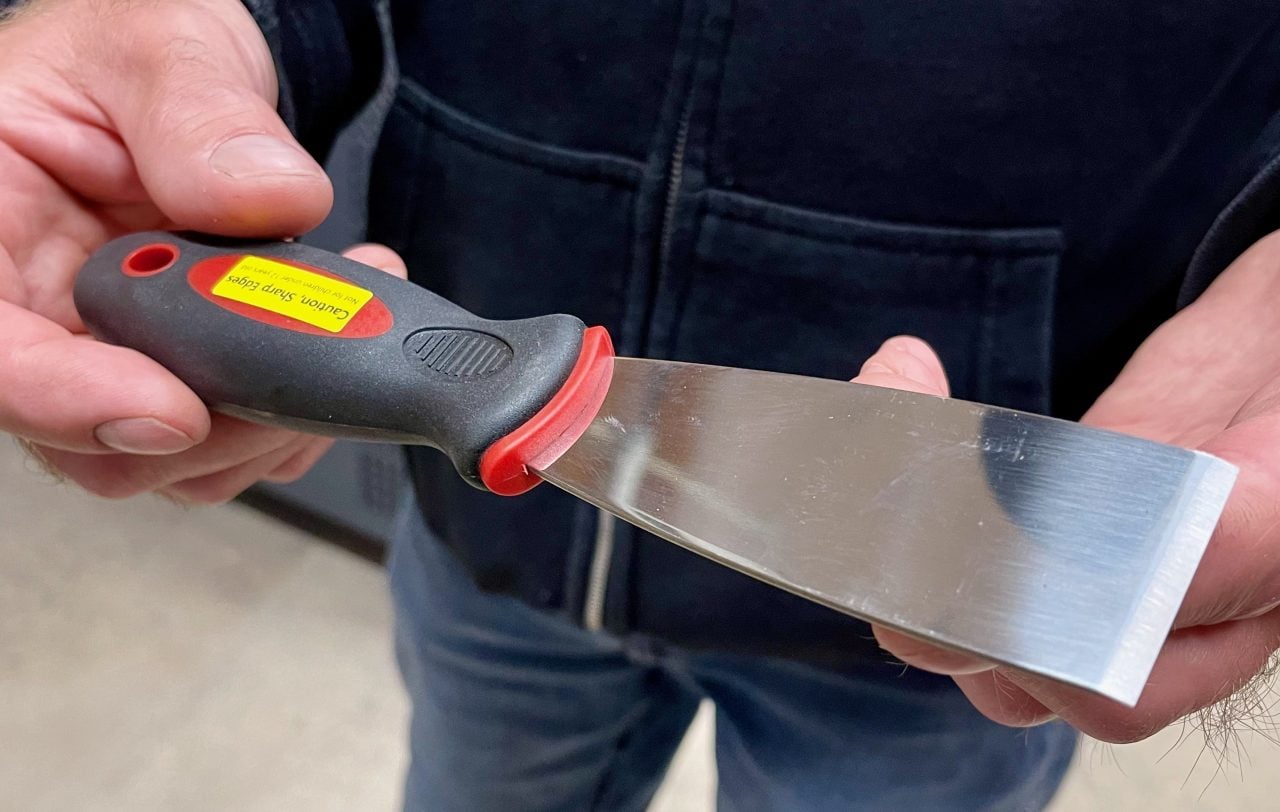
One discovery in the shipment during assembly was this scraper. I’ve seen many scrapers in my time, as 3D printers very often include them in the toolkit. However, this scraper was beyond anything I’ve seen. Most are somewhat flimsy, but this one is very solid — the metal does not bend at all. It’s the perfect scraper!
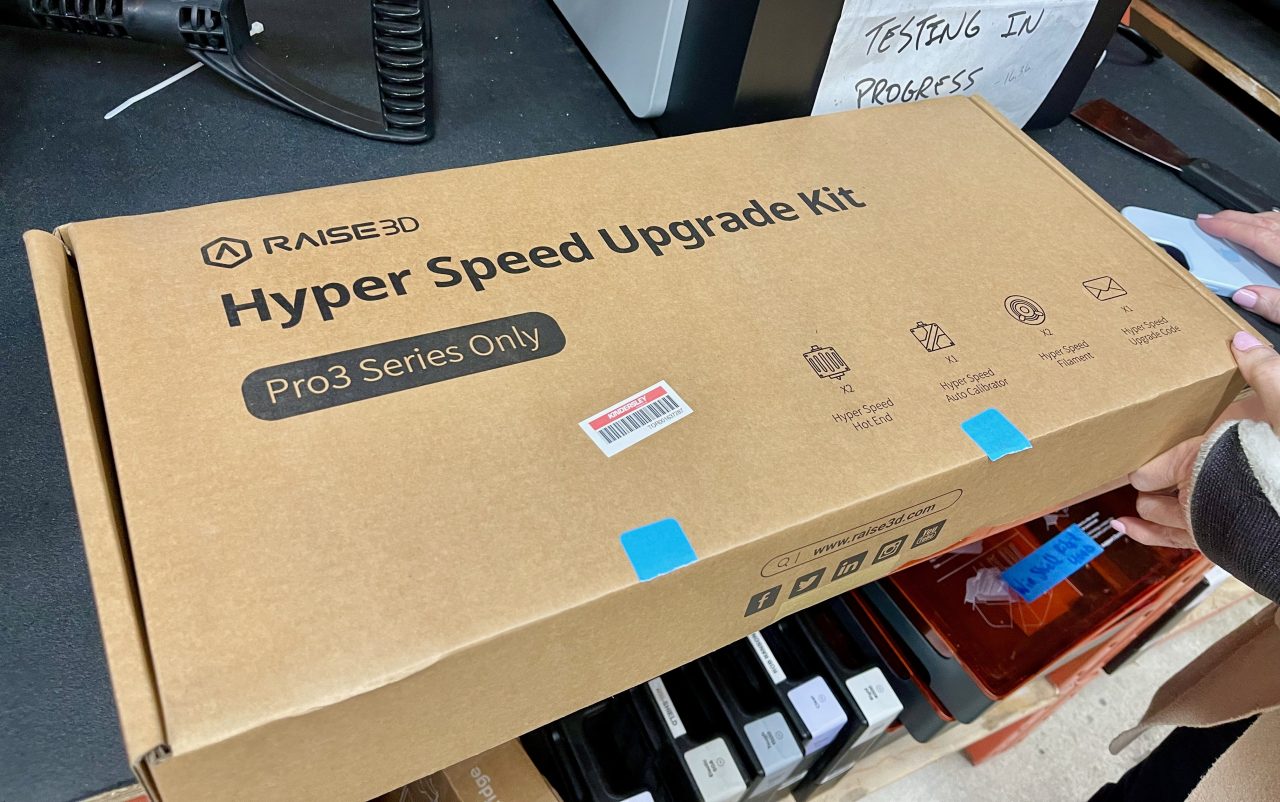
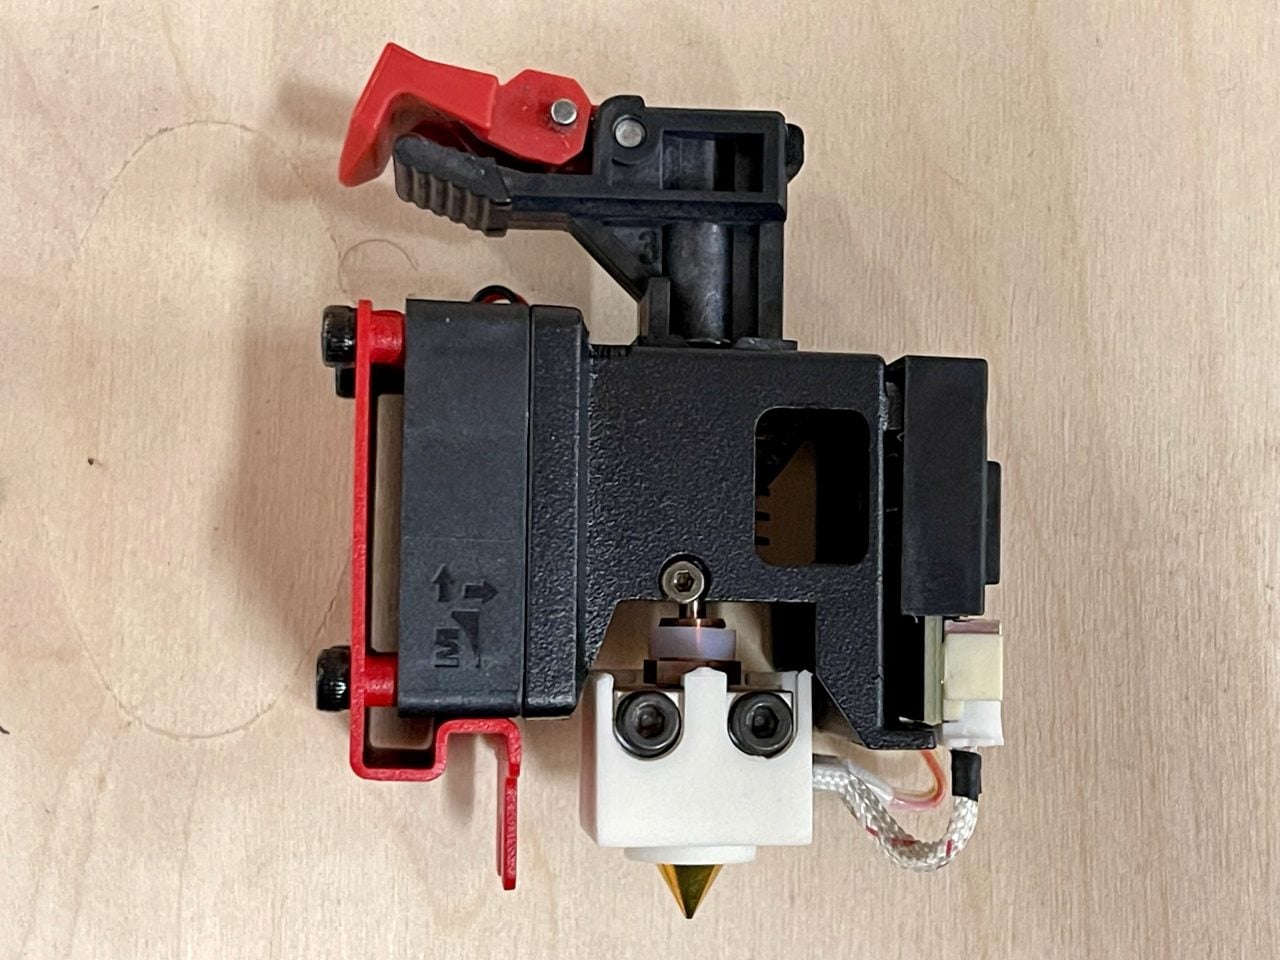
Part of the assembly we performed later was to install the Hyper Speed upgrade. This involves swapping out the extruders and hot ends, and a firmware upgrade.
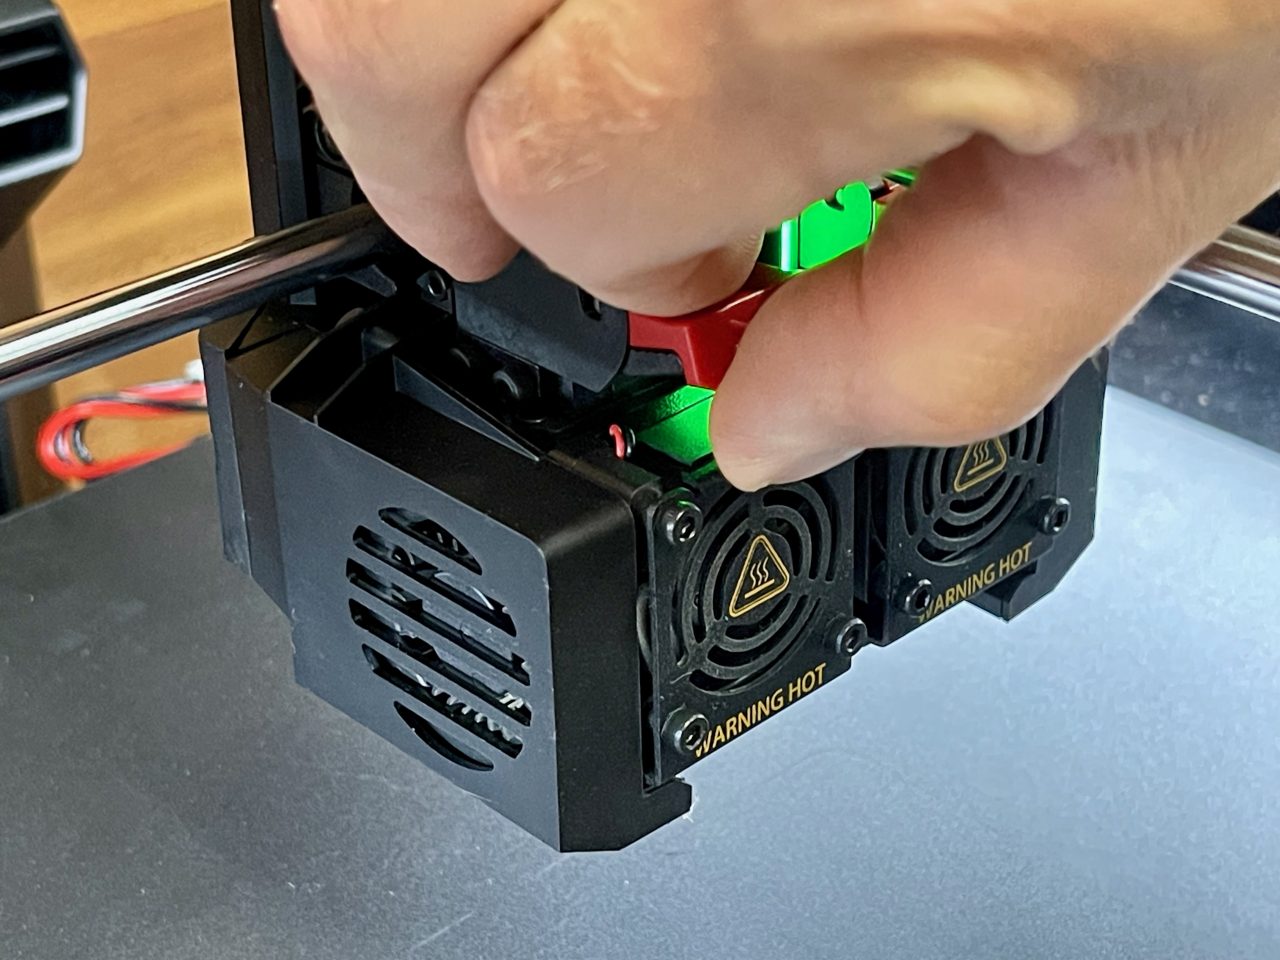
Removing the old extruders was very straightforward: you undo a clip and lift them out. The old extruders are black, while the Hyper Speed versions are red.
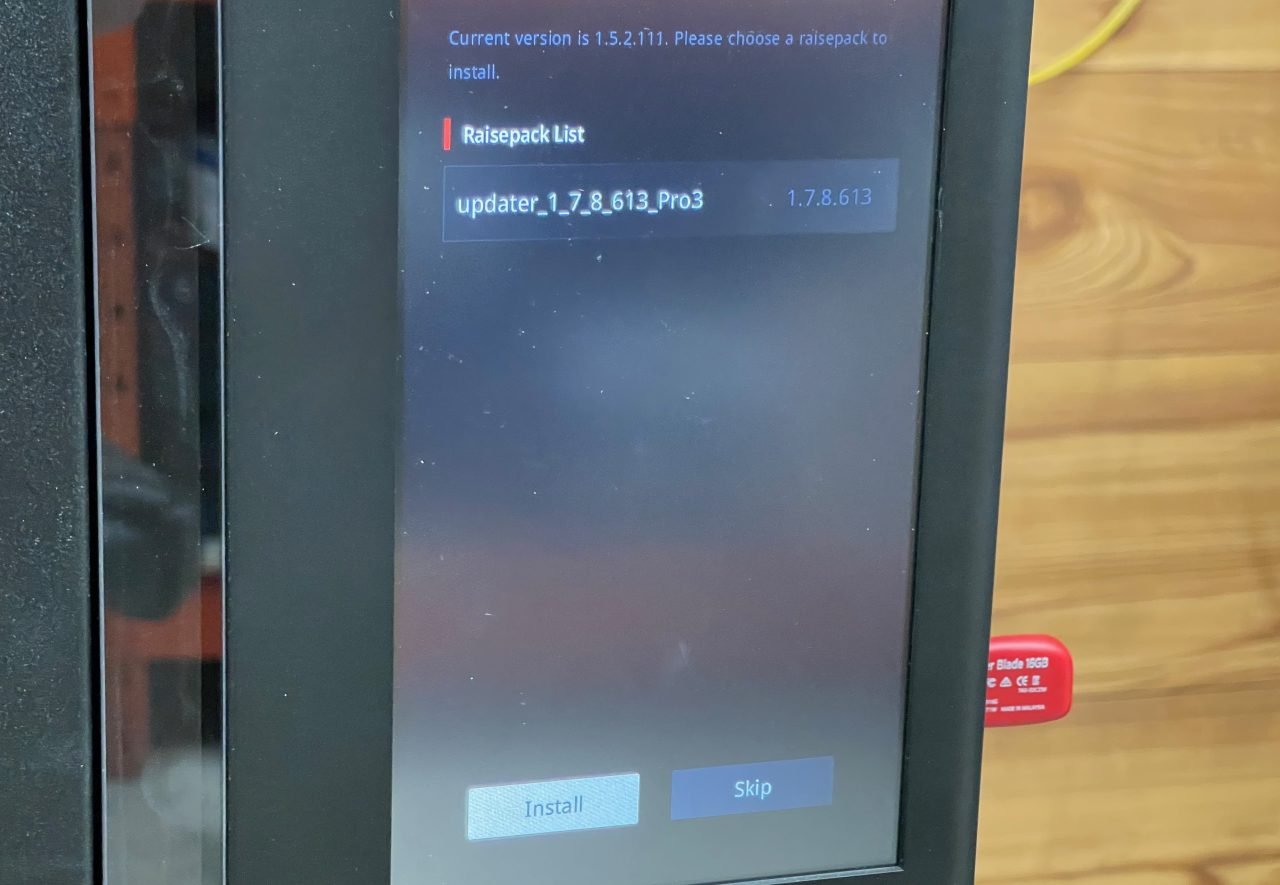
After the physical installation was completed, the machine quickly informed us that we need to do a firmware upgrade.
But there was a problem. We were informed a special upgrade code must be entered. Where was it?
After some searching, we found it in the bottom of the upgrade box in a letter. We were quite lucky here, as we didn’t realize there was a code in the box and might have thrown it out with the shipping materials. Moral of the story: grab that code before it is lost.
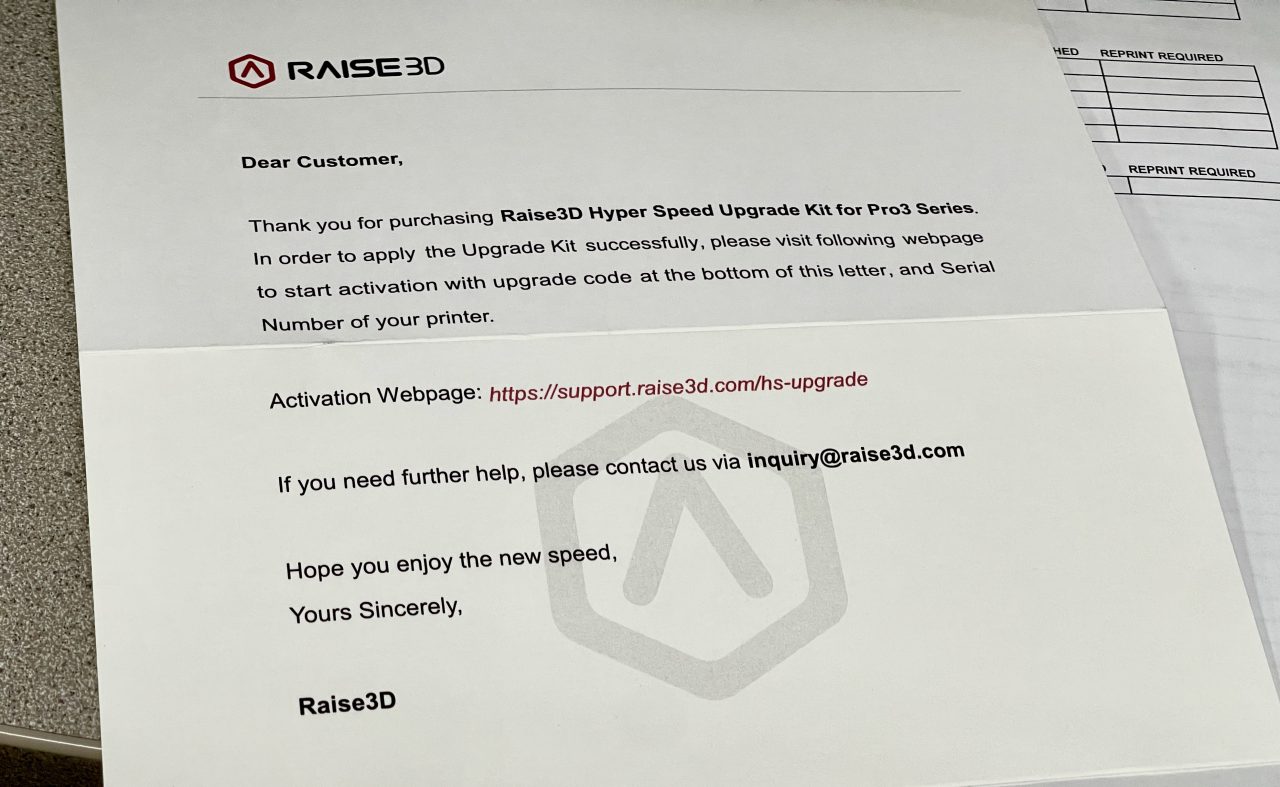
The code is in a letter that looks like this. We were able to use the code to “activate” the upgrade. I’m a bit mystified why Raise3D would require an activation step: if you have the hardware, you should be good to go. Activation doesn’t seem necessary for the user.
After we performed the Hyper Speed upgrade, we had to repeat the calibration process described in the next section.
This is part one of a three part series, please read parts two and three.
Via Raise3D