

Our review at the Raise3D Pro3 Plus high speed 3D printer continues with a look at setup and operations.
This is part two of a three part series, please read parts one and three.
Raise3D Pro3 Setup and Calibration
Unlike many 3D printers, there is quite a bit of calibration required on the Pro3 Plus, but it’s fairly easy to do.
One of the reasons for additional calibration is the presence of two toolheads: they must be calibrated against each other. In any case, we weren’t concerned about all the calibration because we knew that it would help make our print quality as good as possible.
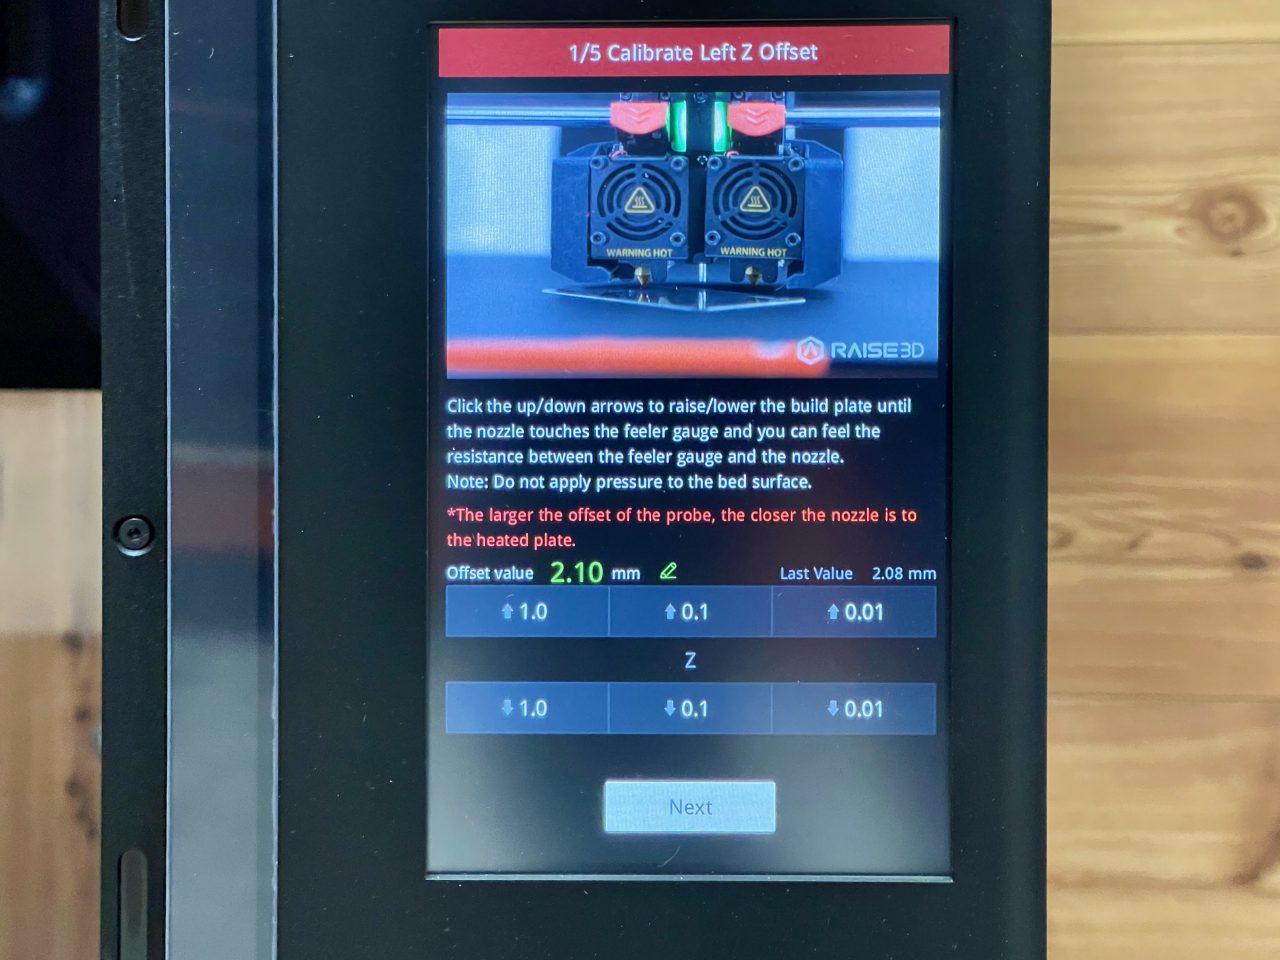
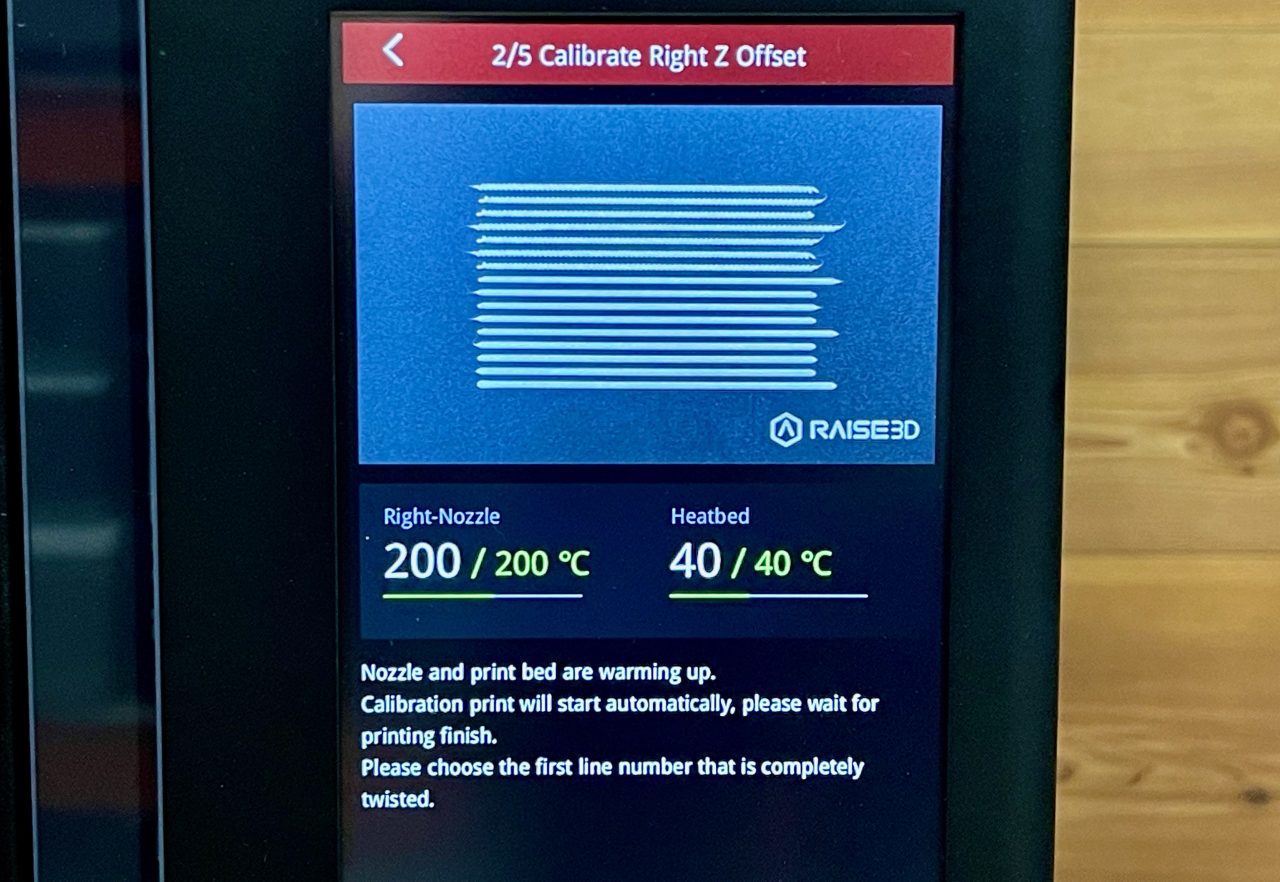
The Pro3 Plus has an incredible “wizard” on its front panel that quite literally walks you through every single step of the calibration. Not only does it take you through the steps, but it also shows you visuals of what you should be seeing.
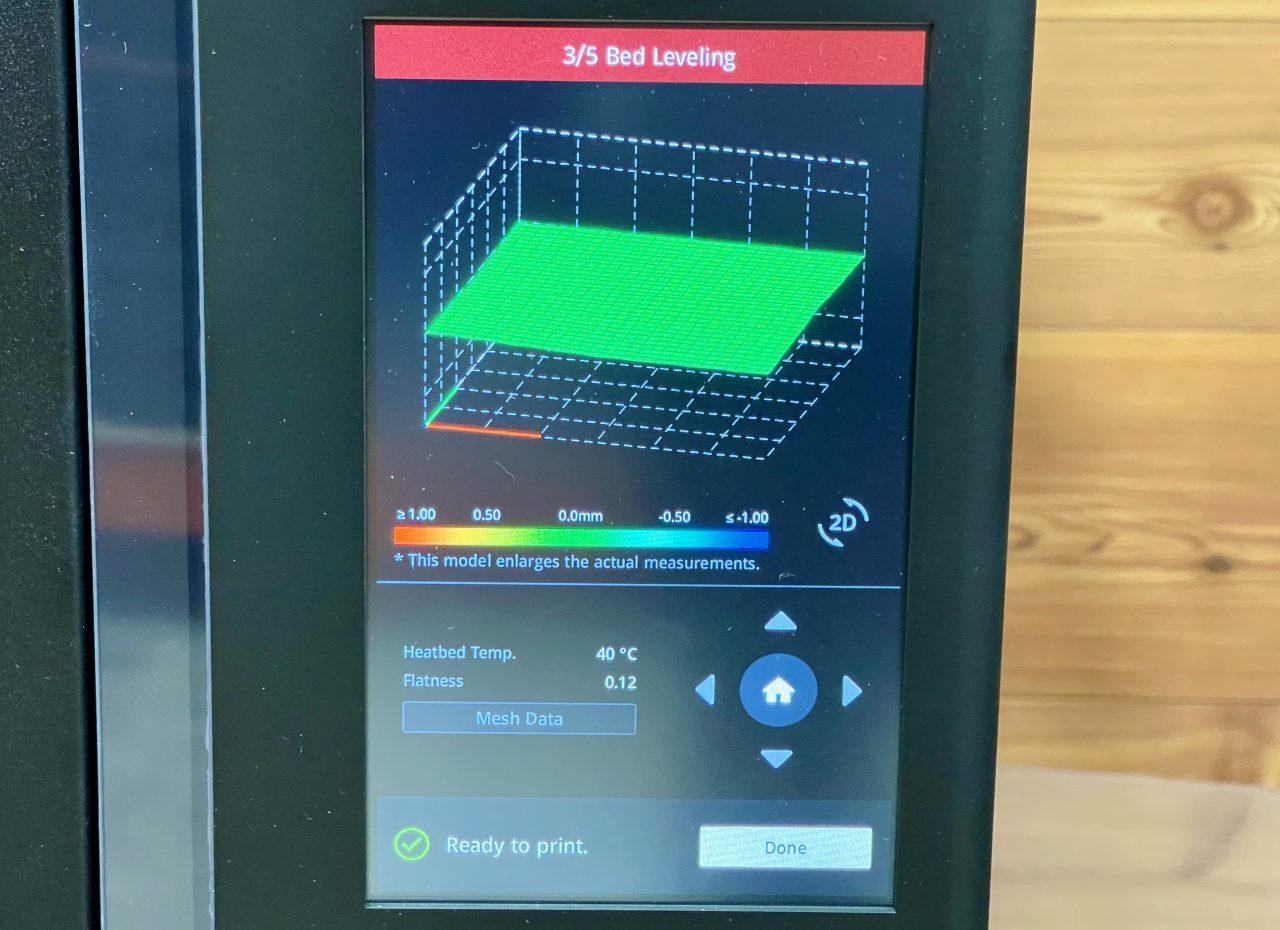
As you might expect, there’s a leveling step where the microscopic contour of the print surface is identified. This makes it possible to have near-perfect first layers. Raise3D provides a graphical view of the findings.
At this stage the machine’s next calibration steps involved extruding material, so we ensured that this was possible with a quick test.
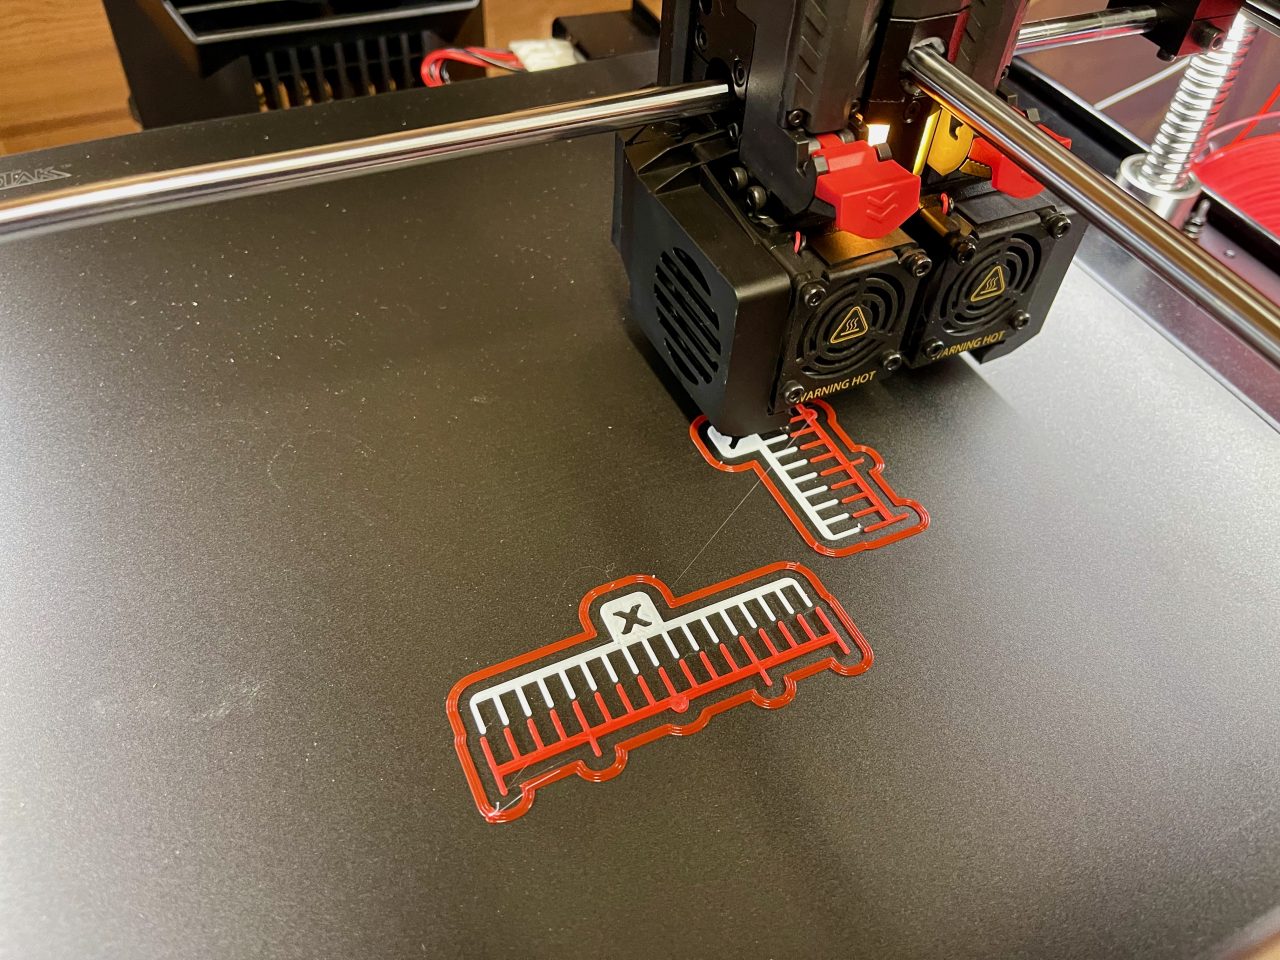
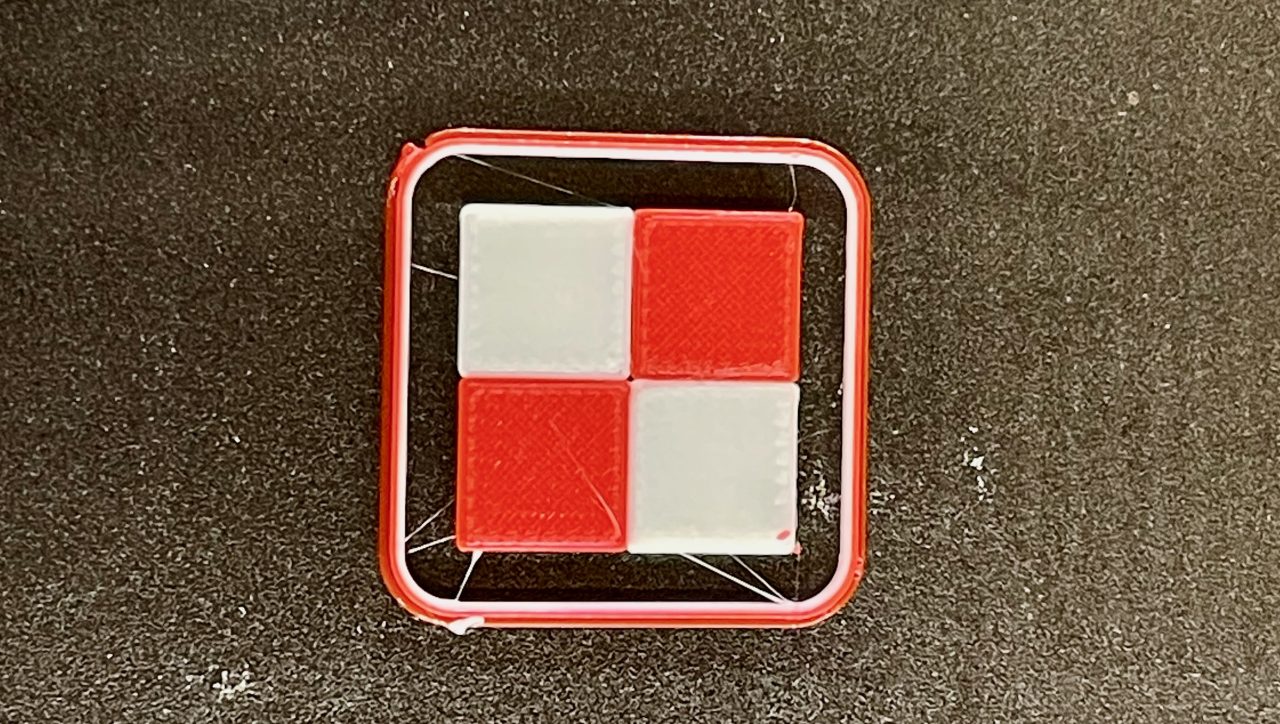
Here we see the XY calibration test. A series of patterns are drawn on the print surface, and the operator must inspect them. The patterns have some variation, and you must identify the matching points. This is then input into the front panel to record the calibration.
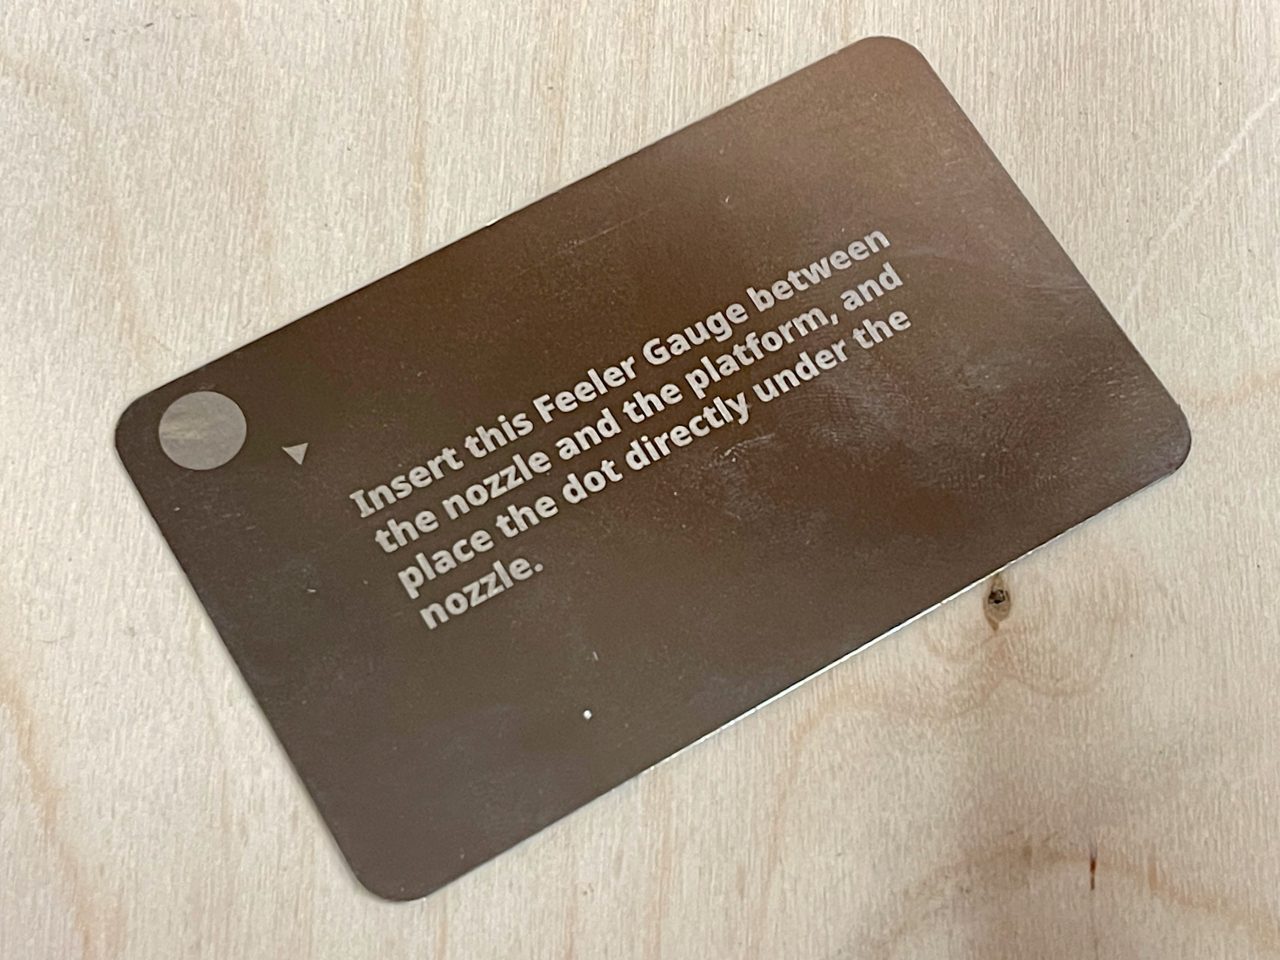
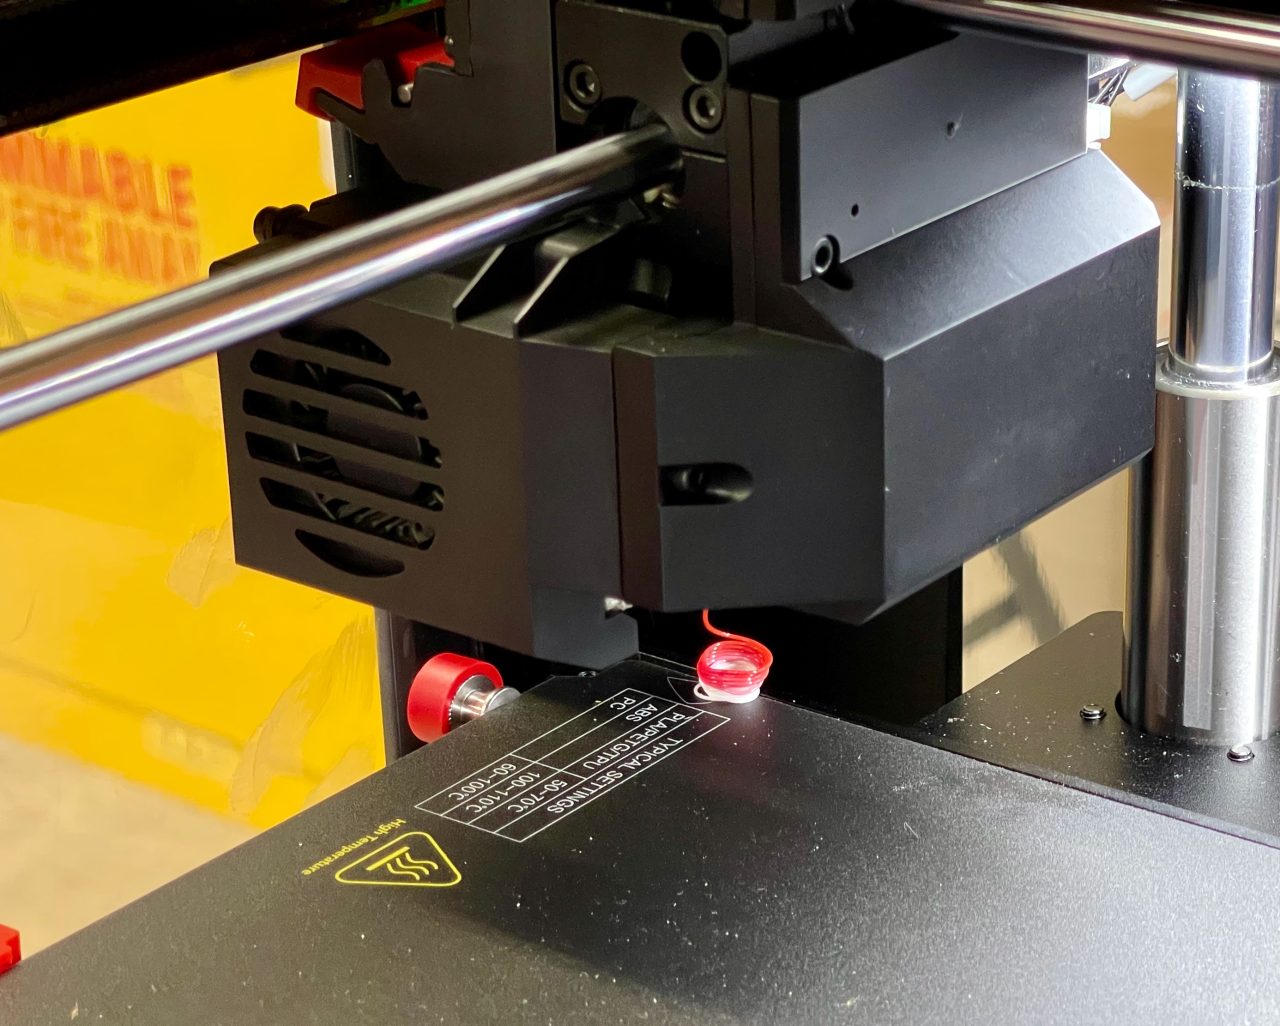
The Z-gap setting is quite unusual. Most times you simply adjust the nozzle with a piece of paper.
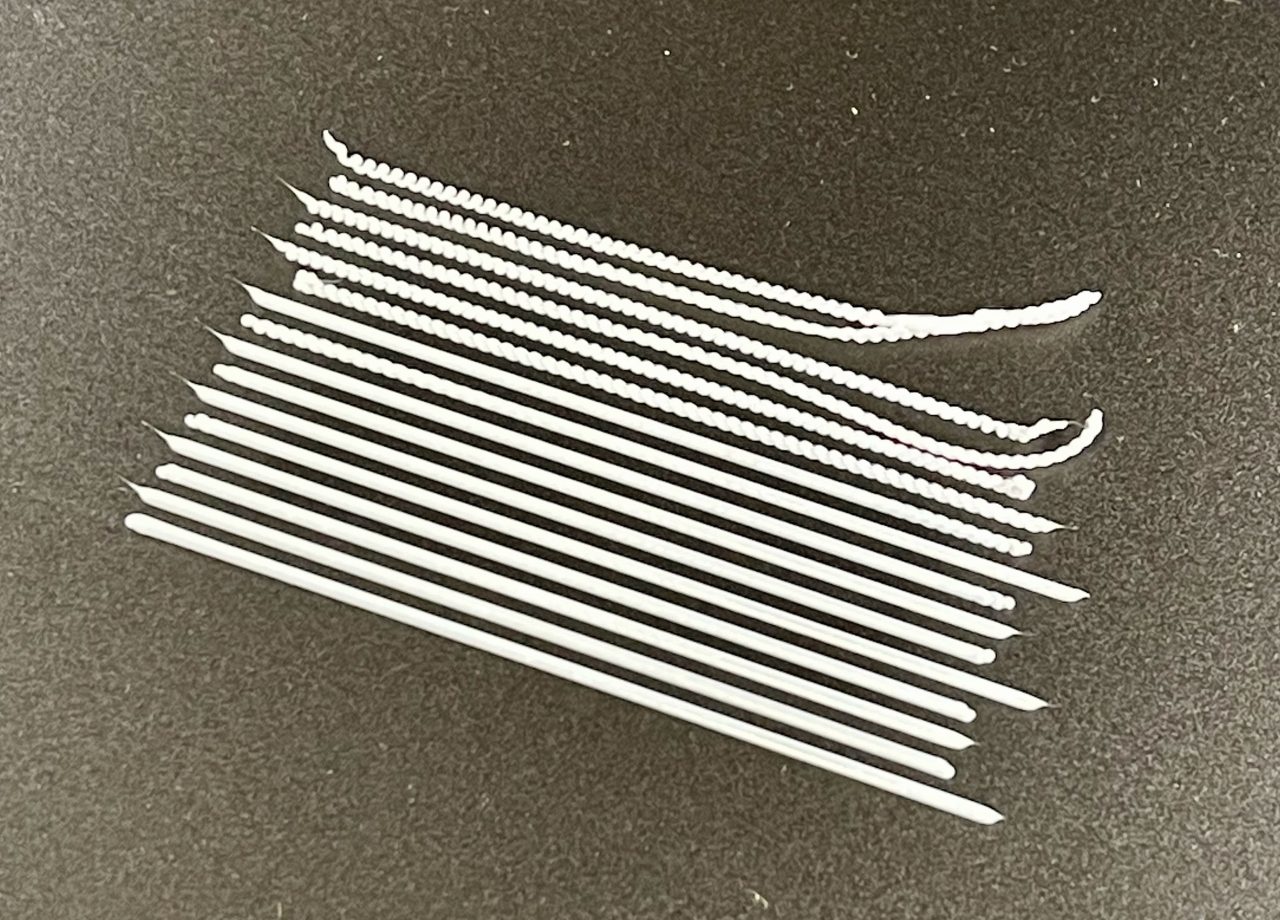
Instead, the Pro3 Plus squirts out a series of extrusion lines at different heights.
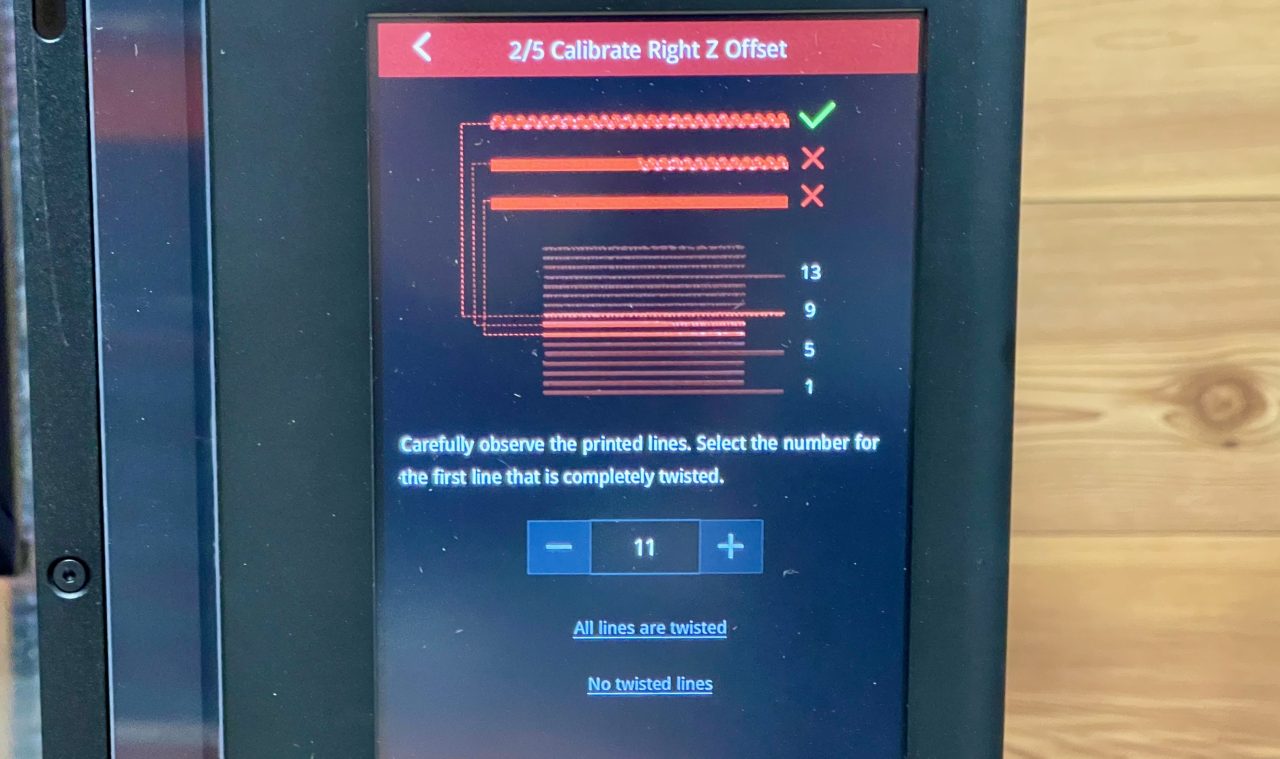
Your job is to tell it which line begins to wobble, which is the calibration factor for the offset. This must be done on both toolhead, so the process happens twice. This is more work than you’d normally perform on a 3D printer, but it was easy and fun to do.
Here’s a test to ensure the heads are properly aligned, which ours certainly were.
That calibration was performed as we first powered up the machine, and we had to repeat it again after the Hyper Speed upgrade since we replaced all the hardware that had been calibrated.
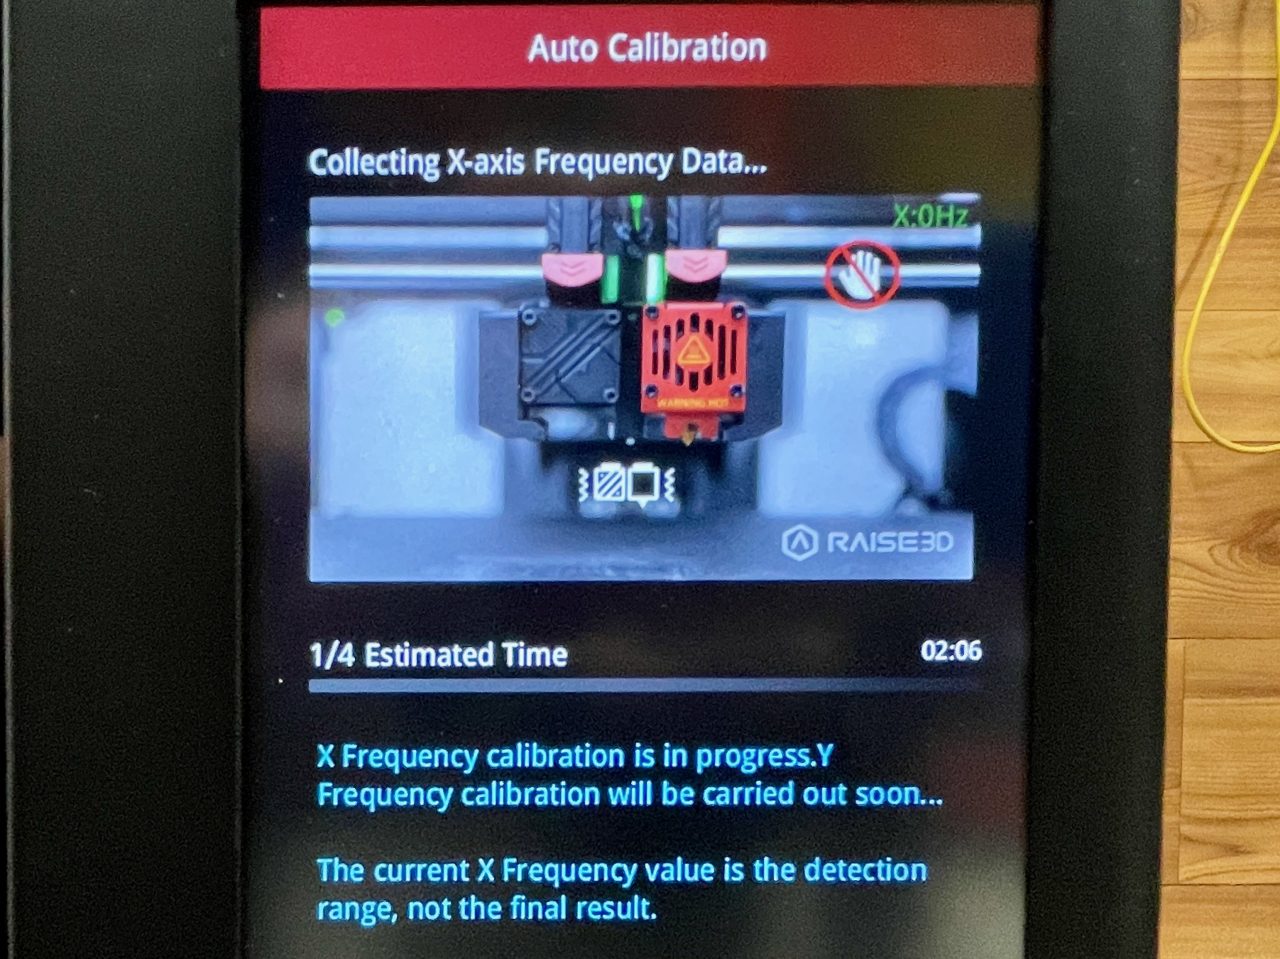
One additional calibration is required for the Hyper Speed upgrade: the system must learn the precise behavior of the toolhead’s momentum to allow for vibration compensation. This is done by vibrating the toolhead in different directions at very high speed. There will be some unusual noises heard during this step.
At this point the Pro3 Plus was fully calibrated. I have to say the calibration process was quite a bit longer than I expected, but it was extraordinarily easy to perform: the system led you through each step. It’s basically foolproof.
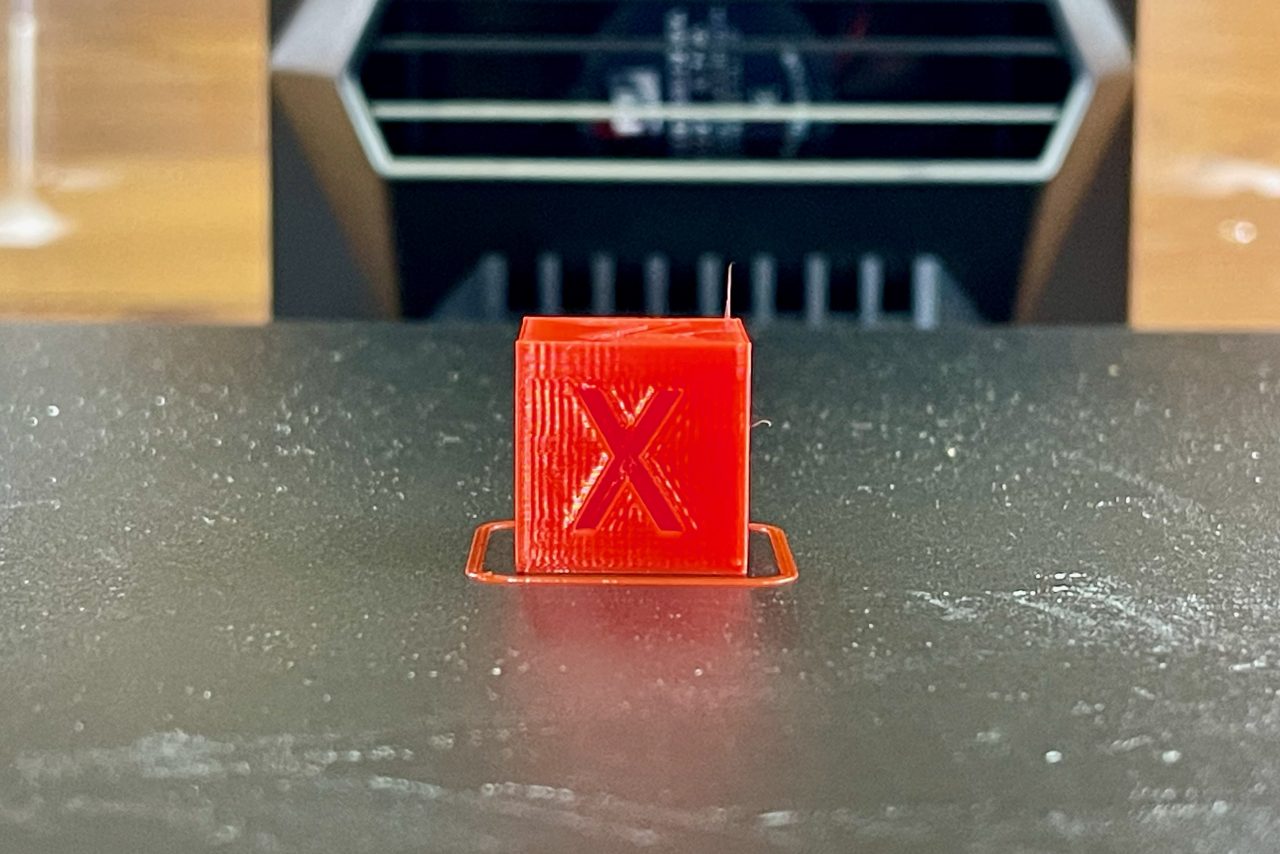
We were then able to produce our first test print.
Raise3D Pro3 Operations
Operating the Pro3 Plus is a bit different than some other 3D printers, but it’s mostly easy to do.
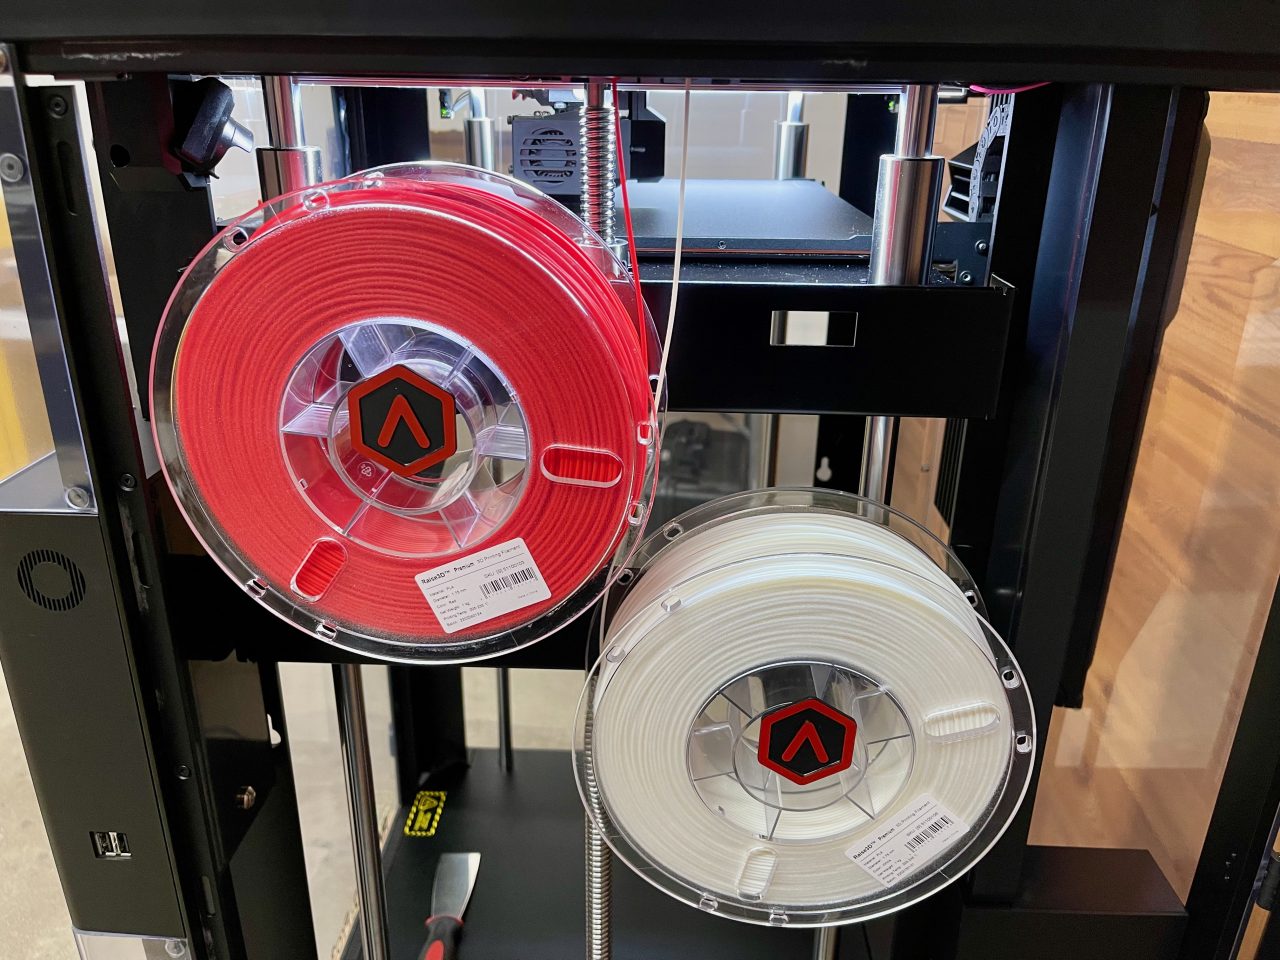
Let’s talk about the materials. The system accepts two standard 1kg spools in its on-board mounts. These are actually inside the build chamber, so they benefit from the heat captured by the enclosure. In other words, this will tend to dry out the filament that will increase print quality.
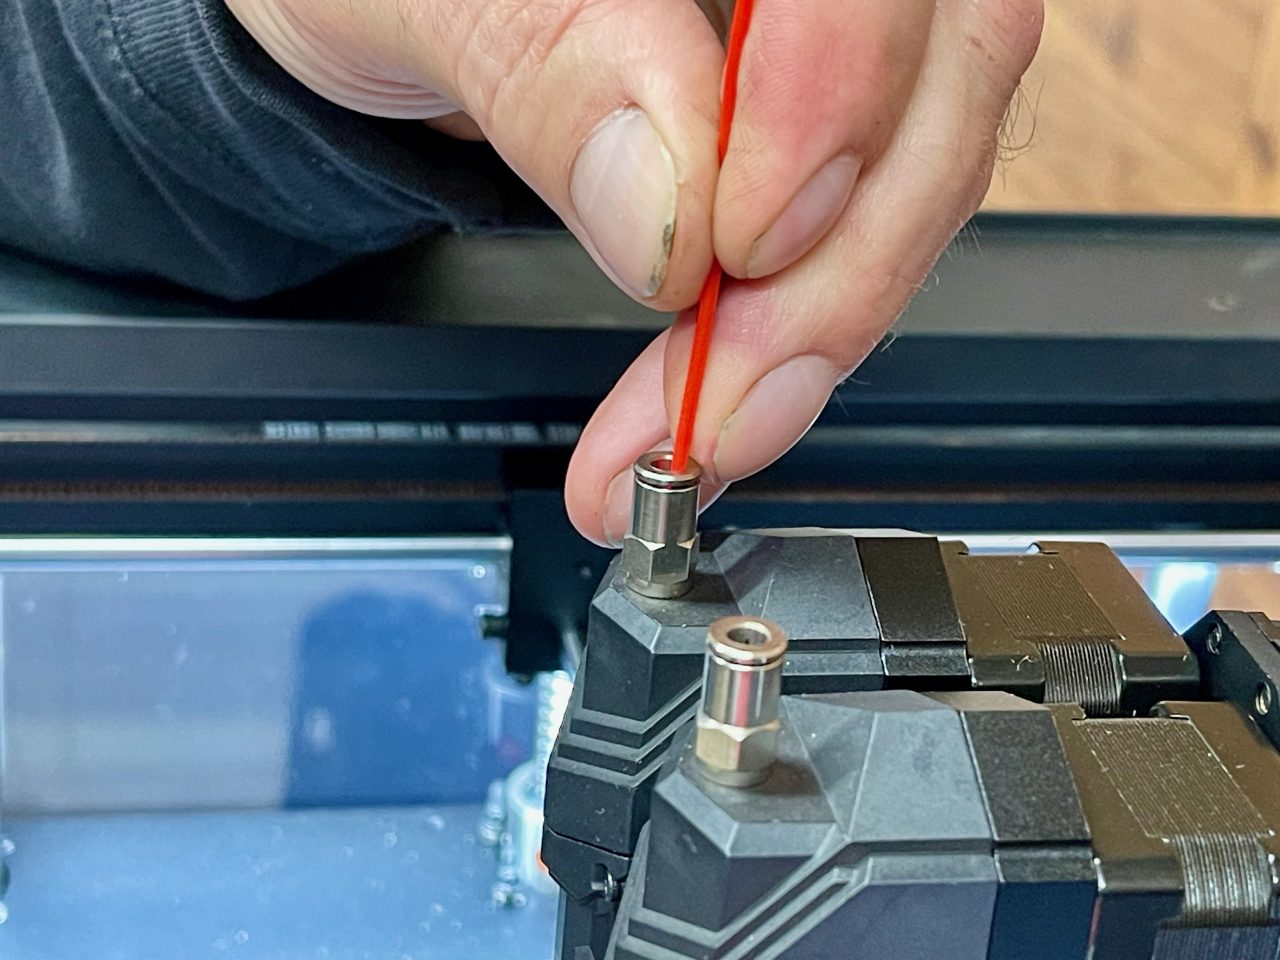
Loading filament is somewhat manual. We found we had to push the filament through to the toolhead and then into the toolhead as shown. This works, but with some other systems able to feed right from the spool, it seemed a bit “old school”.
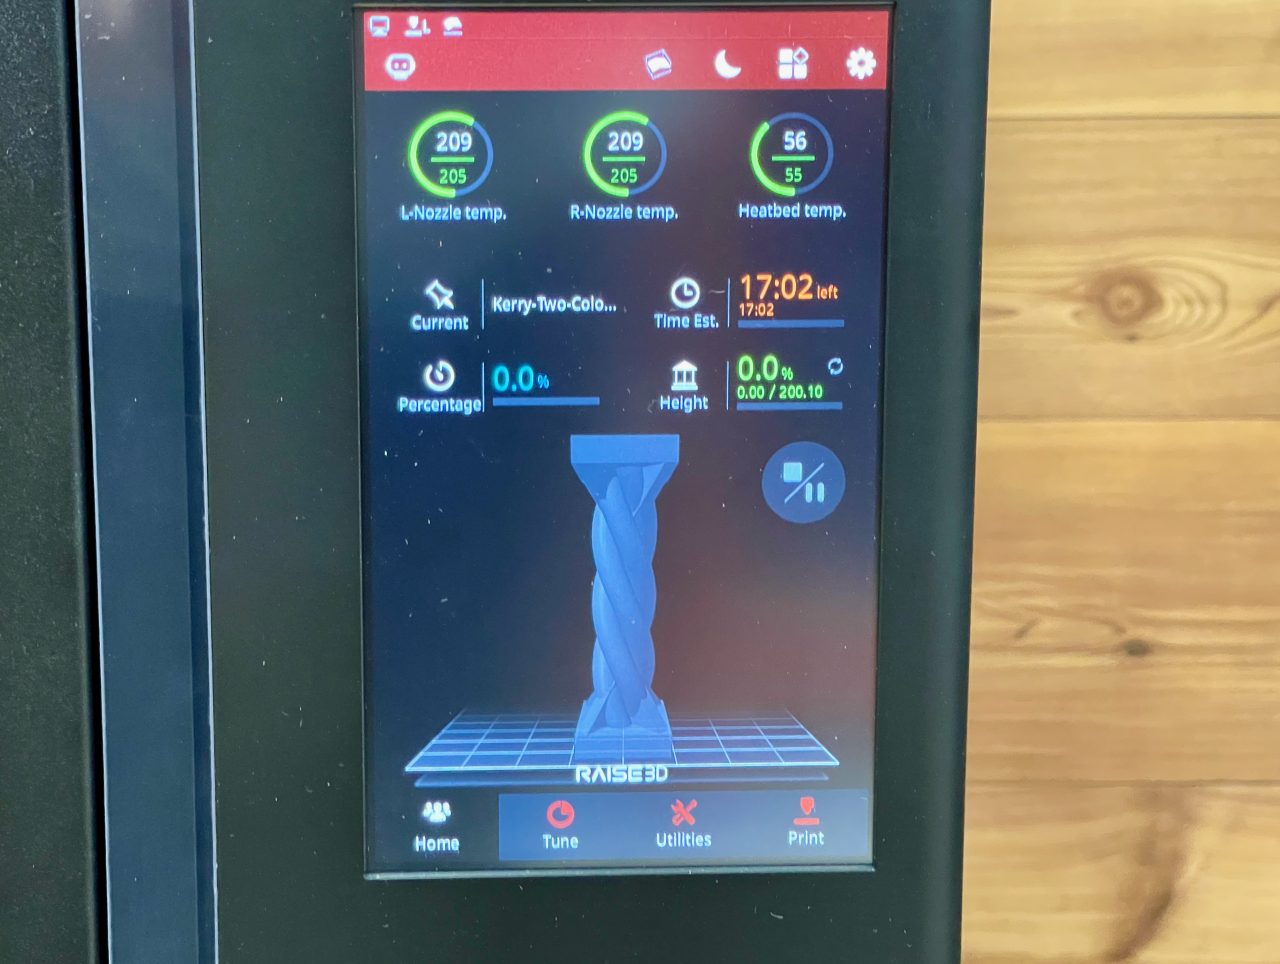
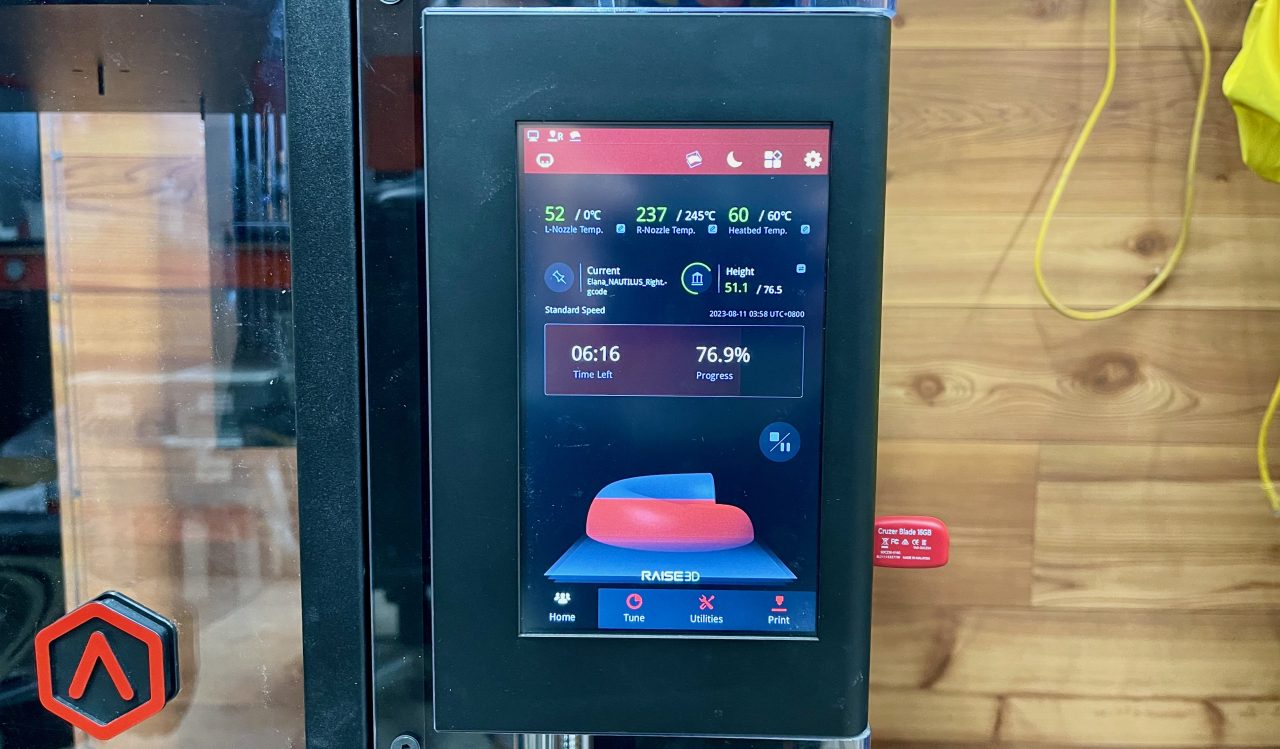
The Pro3 Plus has a very informative front panel display during print jobs. You can easily see all the relevant information, and there’s even a view of the print in progress.
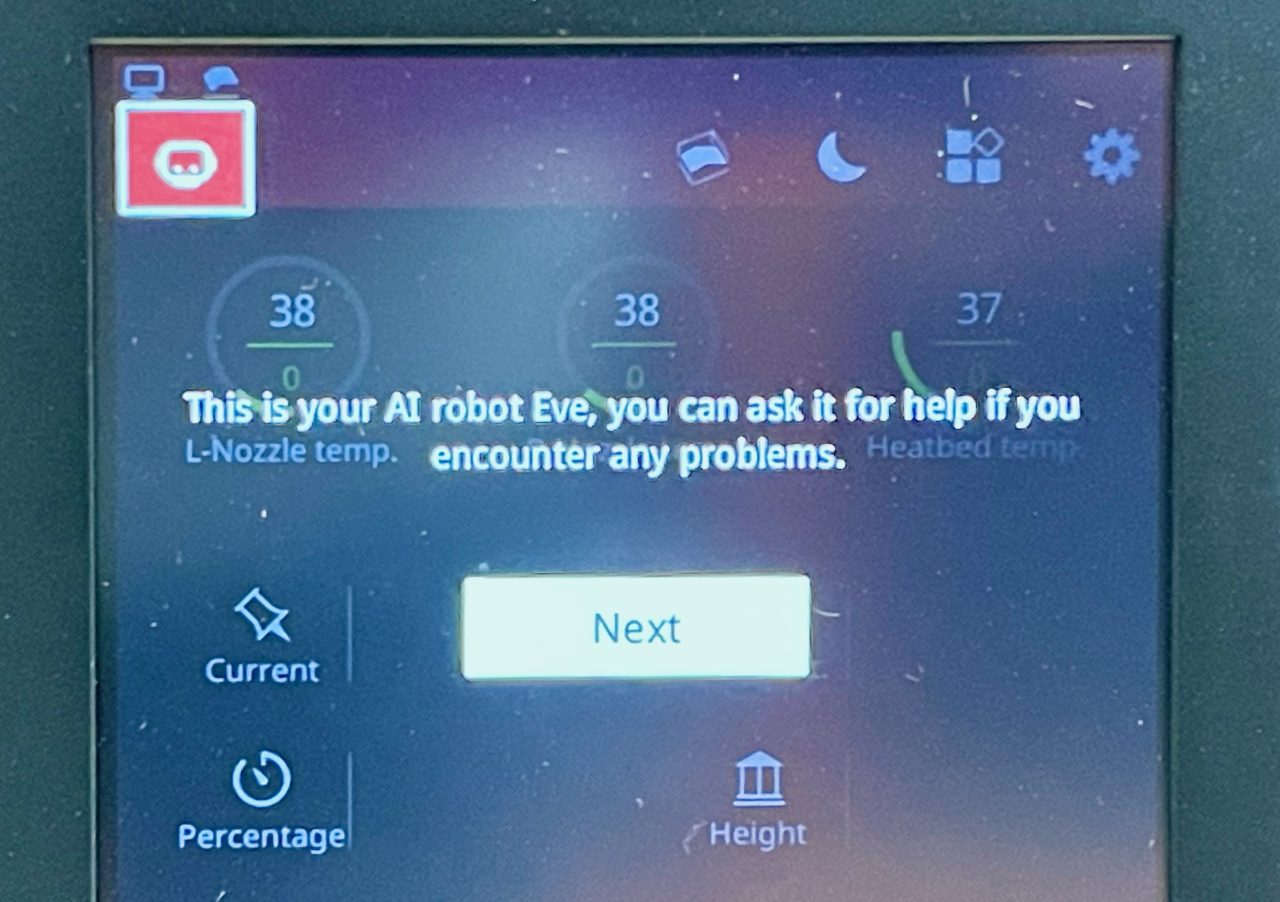
Raise3D has included an AI assistant on the Pro3 Plus called “Eve”. Eve would appear from time to time suggesting actions to take that were quite reasonable. We didn’t make a lot of use of Eve, but perhaps less experienced operators would benefit more than we did.
I was curious about the enclosure and wondered how well it would capture heat. It turns out to do so very well. During a print if you dare to open the front door you’ll be bathed in a flush of quite warm air. I’m quite sure this greatly assists in print quality, as the thermal gradient between extrusion and ambient temperatures is notably reduced.
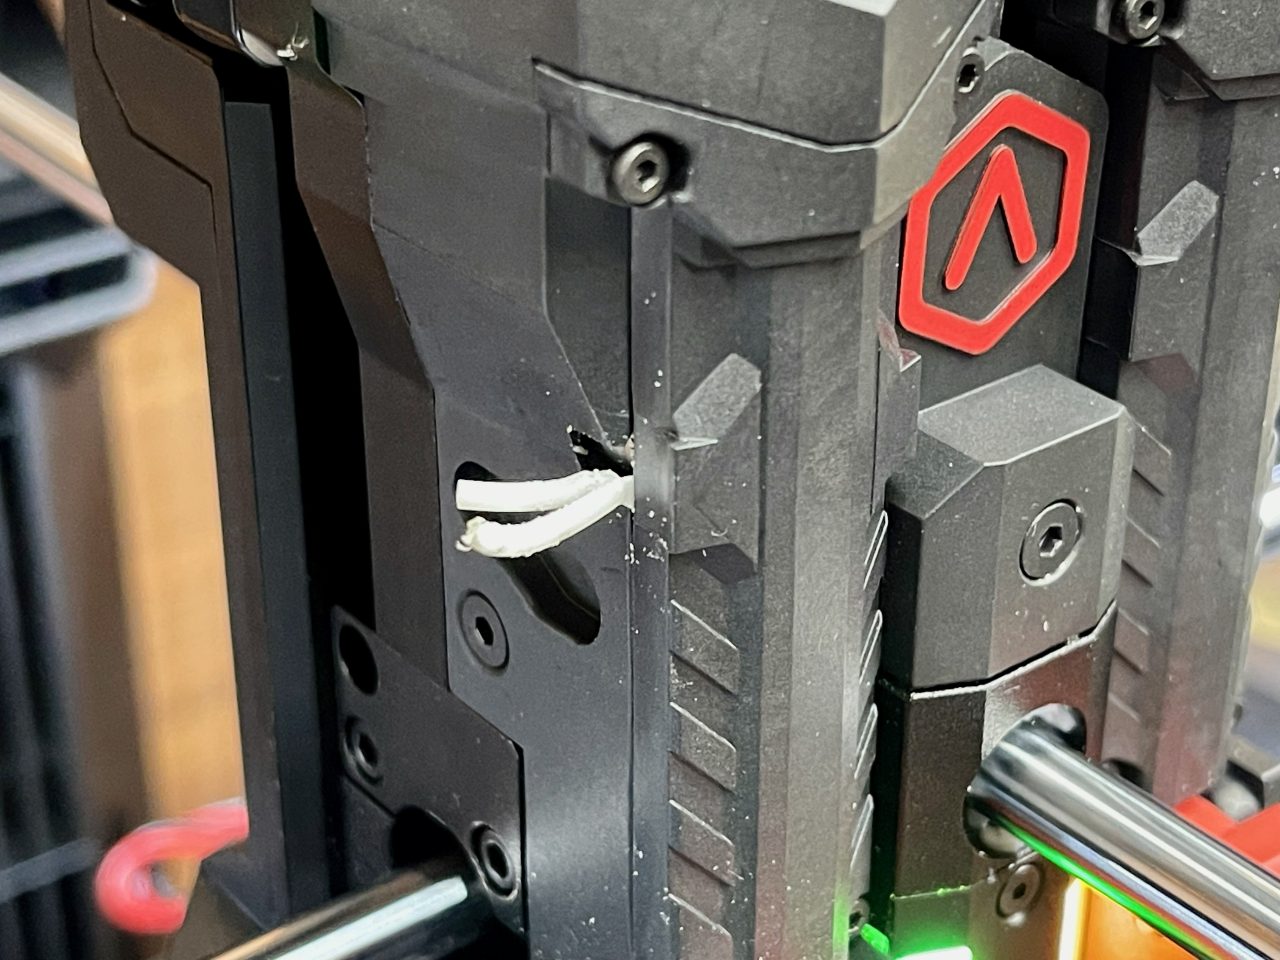
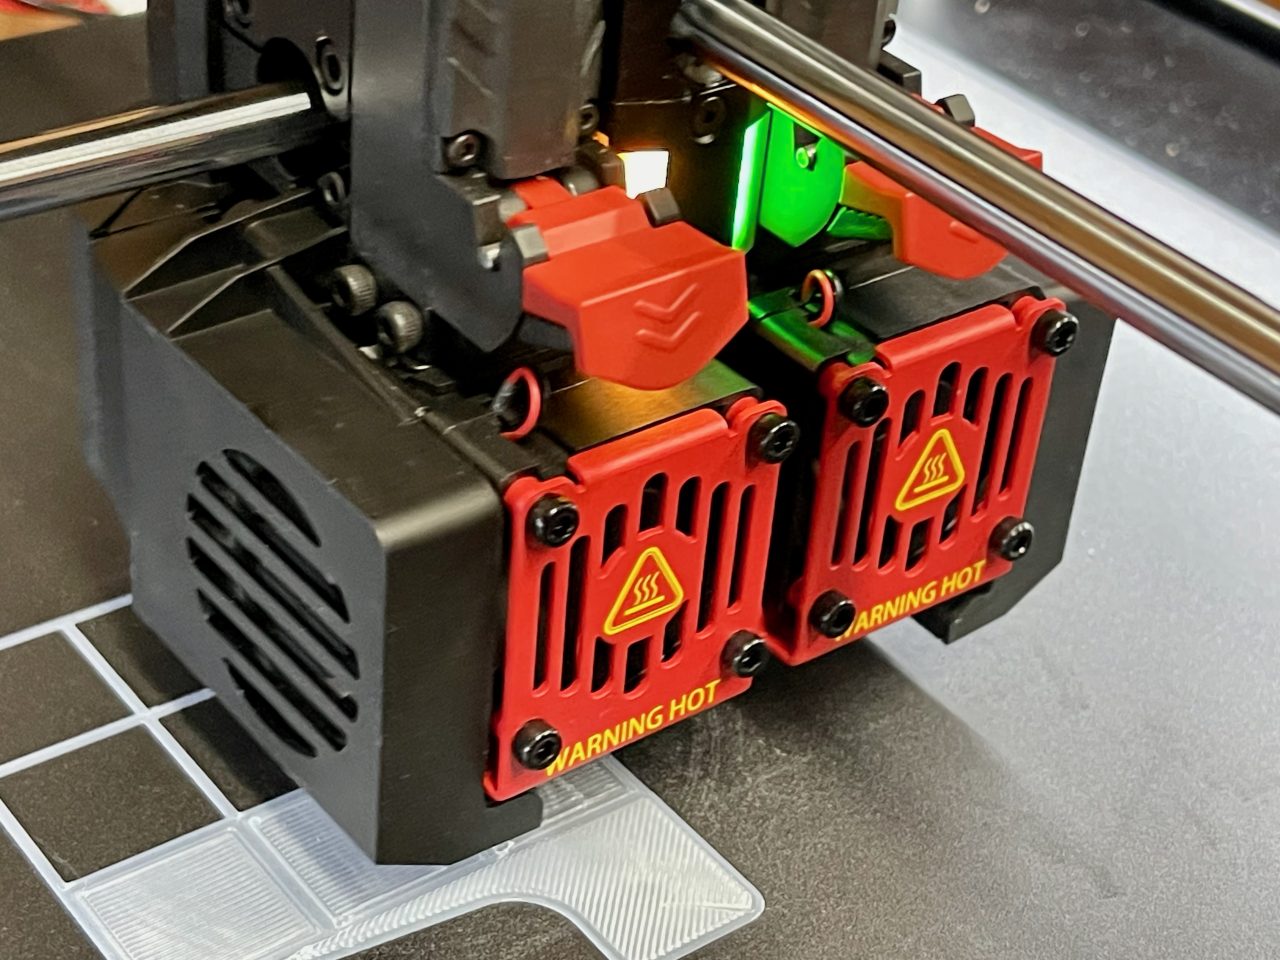
We had one operational problem. One day we found the machine jammed and saw this on the side of the extruder. Evidently the filament had wrapped around the gears.
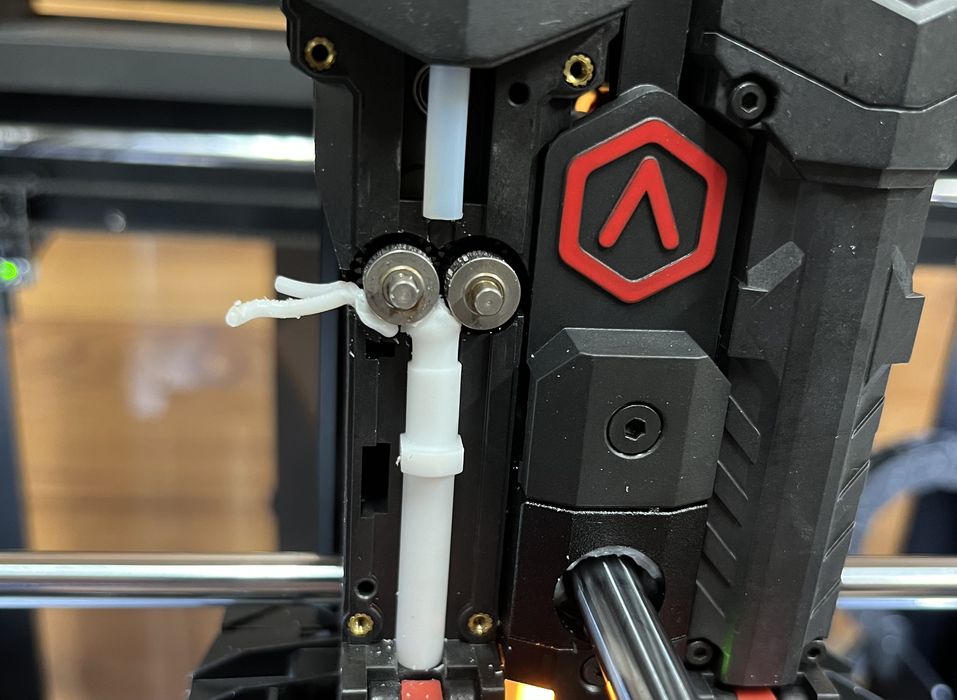
We disassembled the affected extruder and saw this. It seems that the filament didn’t enter the lower PTFE tube and instead curled around the gear.
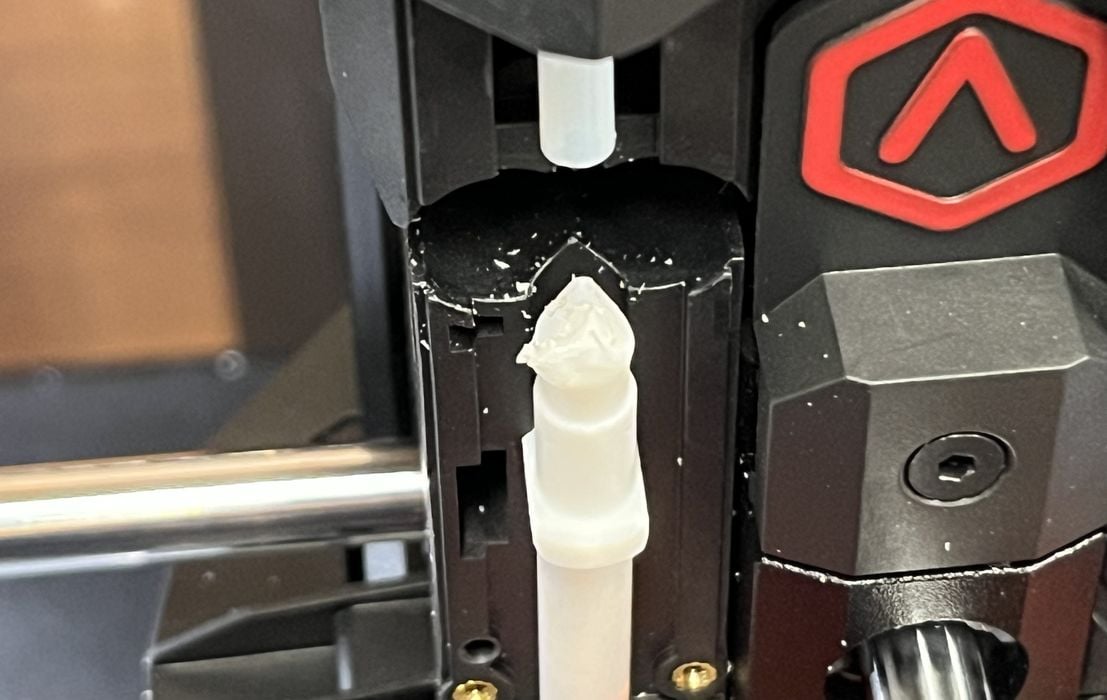
The extruder is easy to take apart and one can gain a very clear view of the situation. Looking closer, it was clear that the lower PTFE tube was damaged. If we rotated the tube, we could actually direct the bending filament. We needed to replace this tube.
Eventually we received the correct replacement tube and operations were successfully resumed. However, we have a suspicion this may happen again. We’ve had one filament wrap incident since the replacement. This seems to happen only when using high speed profiles.
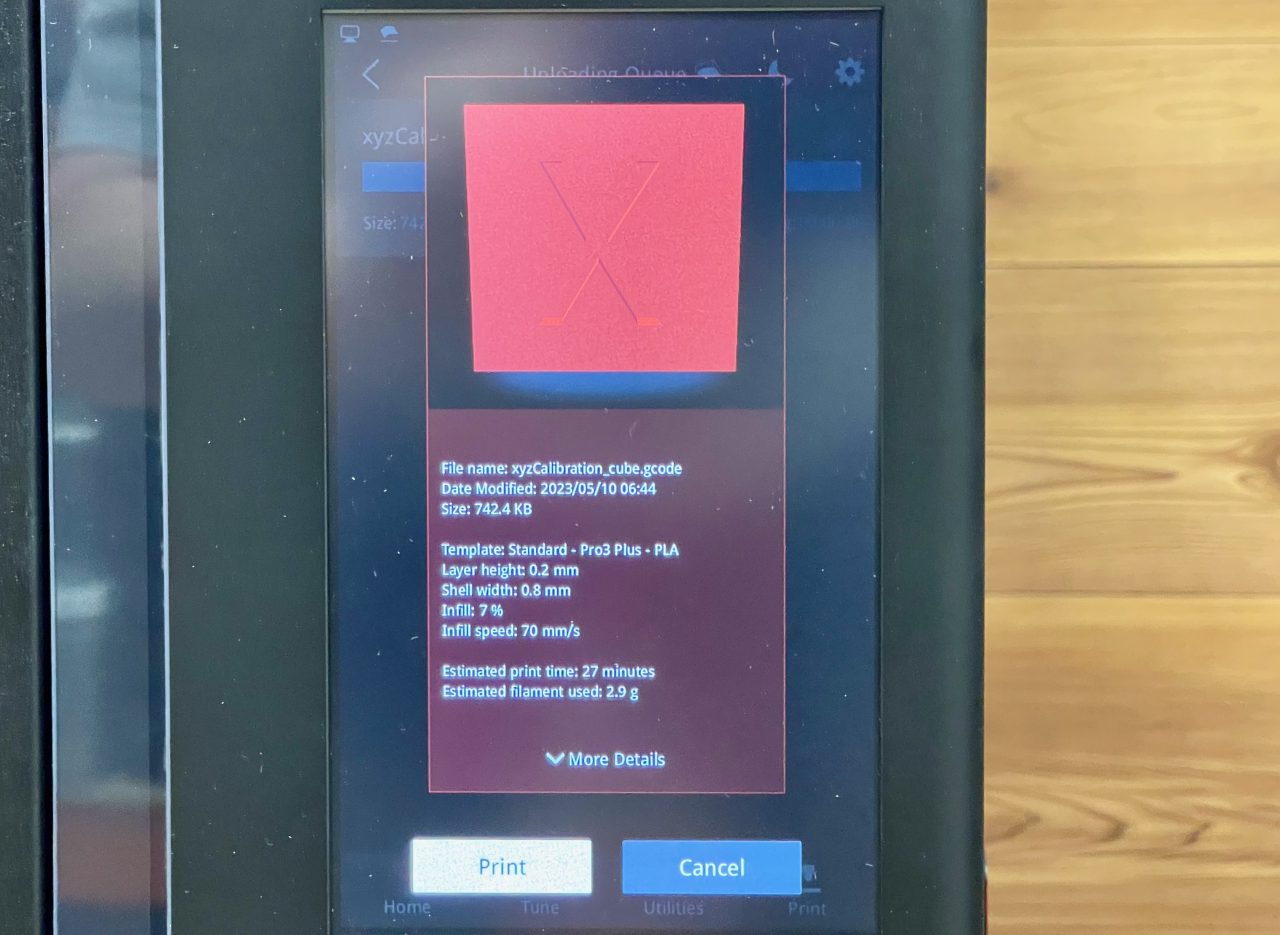
One oddity is print dispatch. Normally one uses IdeaMaker to both prepare the print job and then dispatch it to the printer. However, it doesn’t start automatically.
The operator must physically come to the machine and hit “print” as seen above. This is a bit curious, because many other remote management systems will actually start the job. They will offer a real-time view of the build chamber via the on board camera to ensure the print plate is clear. It doesn’t seem to work that way on the Pro3 Plus. However, our workstation was right beside the printer so it wasn’t a big deal.
Regarding high speed operation, it’s quite a flexible arrangement. Based on the print profile selected, you can run the Hyper Speed-equipped Pro3 Plus at high or normal speeds. You can use “slow” filaments on this machine, as long as you select the correct profile. That opens the machine up to use of all kinds of third party filaments. However, if you try to use “normal” filaments at high speed, they will almost certainly fail.
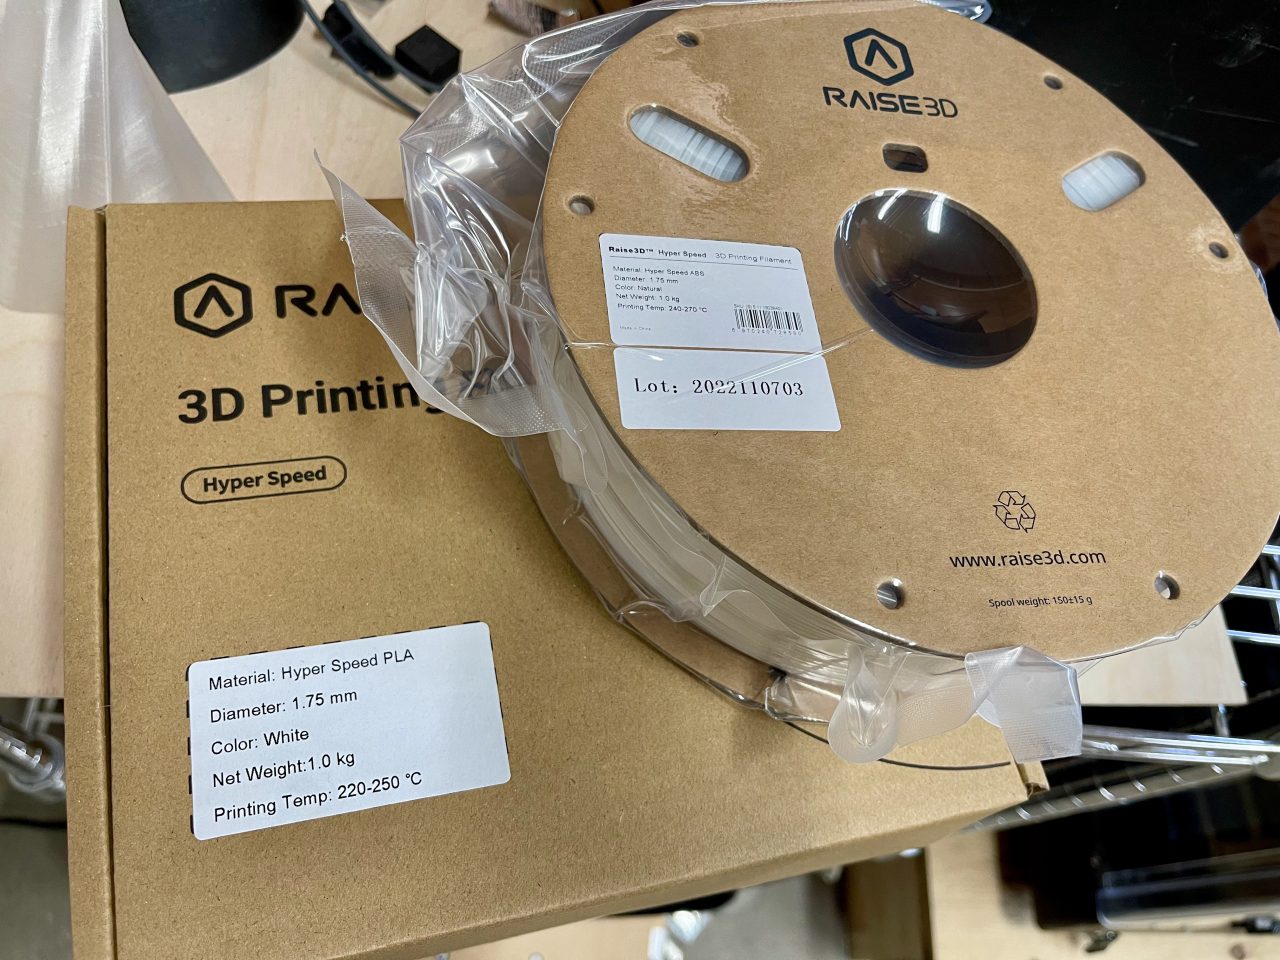
But what about high speed operations? We used Raise3D’s “Hyper Speed” PLA material, and it worked very well. We had no problems with that material.
There is one issue with the high speed filament: it’s just not available in many different thermoplastic types or colors. Currently Raise3D seems to offer only Gray PLA and Black ABS in high speed formats.
We thought one solution to this dilemma could be to use third party “high speed” filaments. However, there really are no standards regarding filament grades, but we tried several anyway.
Our tests with third party high speed filament didn’t really go well. One operator said the Pro3 Plus is a “bit of a princess” when it comes to filament at high speeds. The bottom line here is that if you want to use high speed mode, you should be using Raise3D high speed materials. Hopefully they will broaden their catalog in the future.
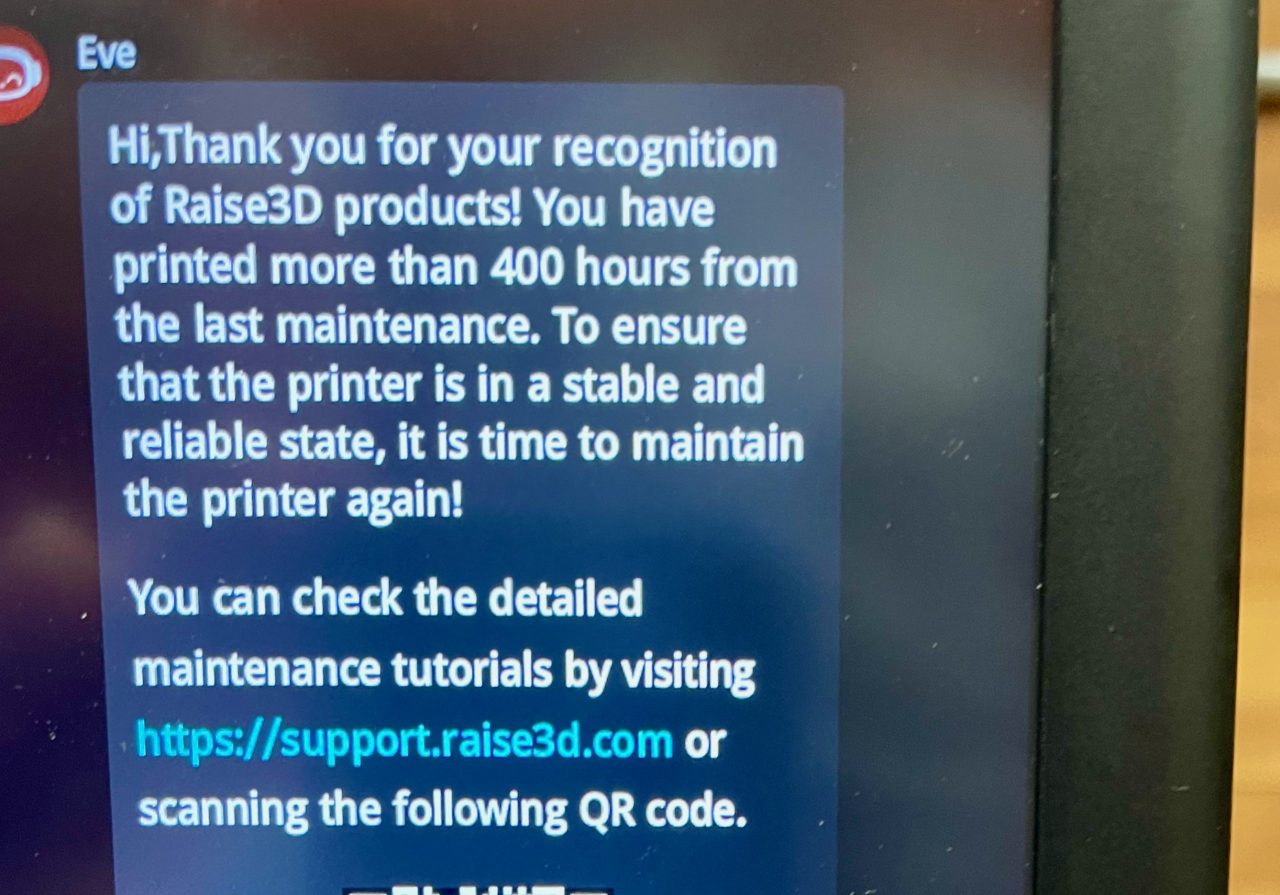
After some use we received this notice on the machine’s front panel. Eve is basically reminding us to perform the lubrication procedure. This is quite handy, as all the other machines we operate don’t provide this reminder.
Finally, the build plate for the Pro3 Plus is based on BuildTak, the popular adhesive surface. This is in fact a consumable item; it will wear out. We’ve done plenty of prints over the past few months, and now are beginning to notice some bubbling on the print surface. We’ll likely have to replace it sometime in the future.
This is part two of a three part series, please read parts one and three.
Via Raise3D