
We recently received a Voxelab Aquila D1 at the lab, the latest model in the Aquila product line and had a chance to assemble and give it a thorough test.
This is part one of a three part series, please read parts two and three.
Voxelab Aquila D1 Background
Voxelab is actually a brand from long-time 3D printer manufacturer Flashforge, which many readers will find familiar. The company has many years of experience building equipment, and even though the Voxelab brand may be new, it’s made by a mature manufacturer.
Voxelab have been making desktop FFF printers for several years and now have nine models in the Aquila product line. We’ve tested several of their devices over the years and have found that machine function and quality improves with each new iteration. We were therefore quite excited to see what they had to offer with this new build, the Aquila D1.
Voxelab Aquila D1 Specifications and Features
Much like its siblings, the Aquila D1 is an open-gantry device. It has a number of features that we’ve come to expect on similar desktop FFF devices, and some features that are noteworthy.
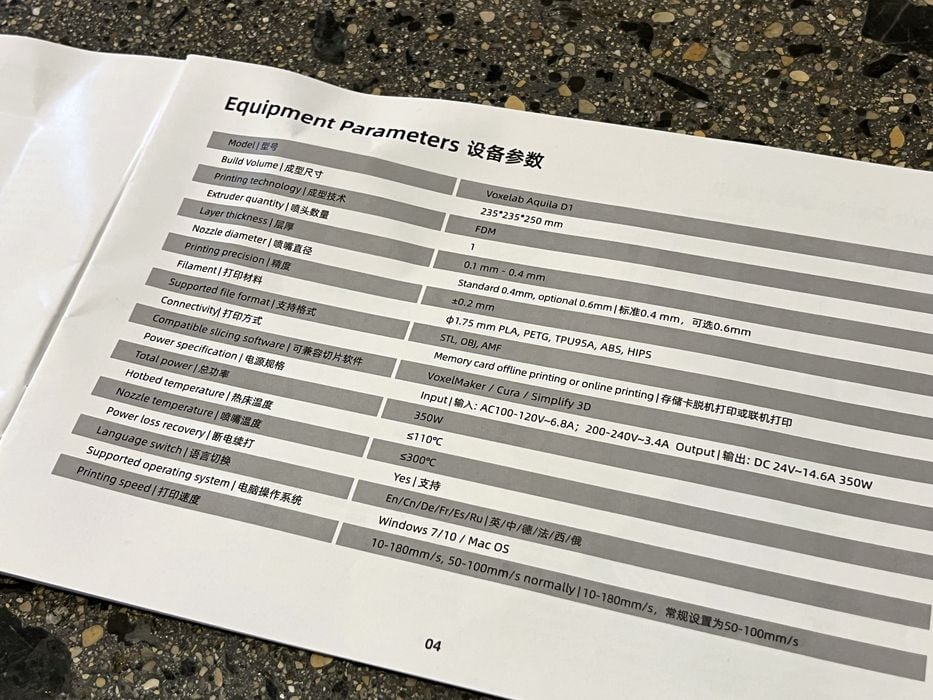
For specifications, we find the Aquila D1 has:
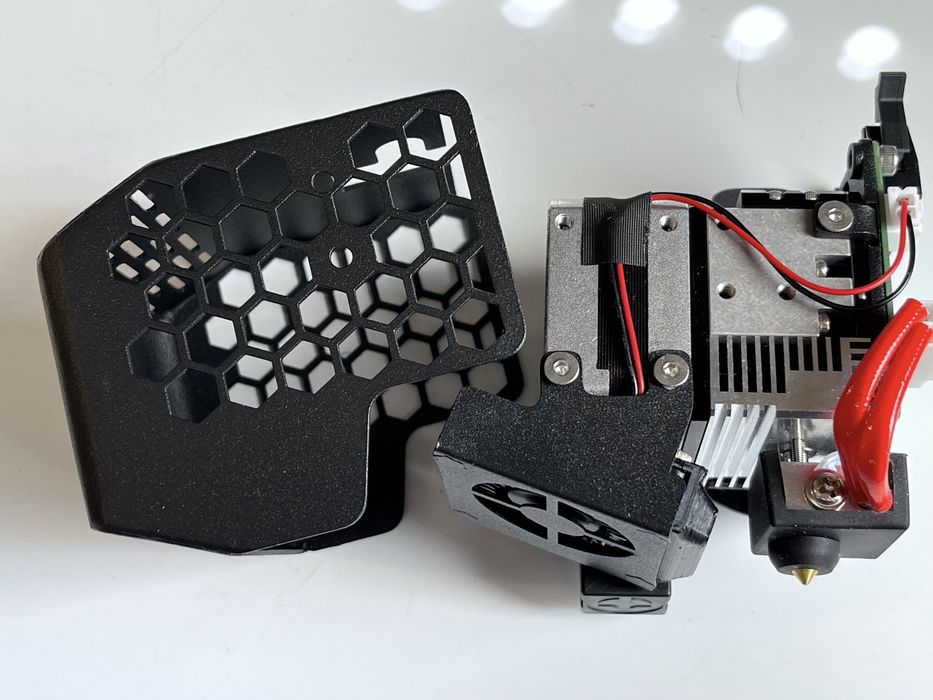
- 300C high-temp hot end
- Standard 0.4mm nozzle, with optional 0.6mm for faster print jobs
- All-metal dual-gear direct extruder with a transmission ratio of 1:2.83 (Note: this can achieve up to 70N wire feed force, almost 2X greater than the Aquila C2)
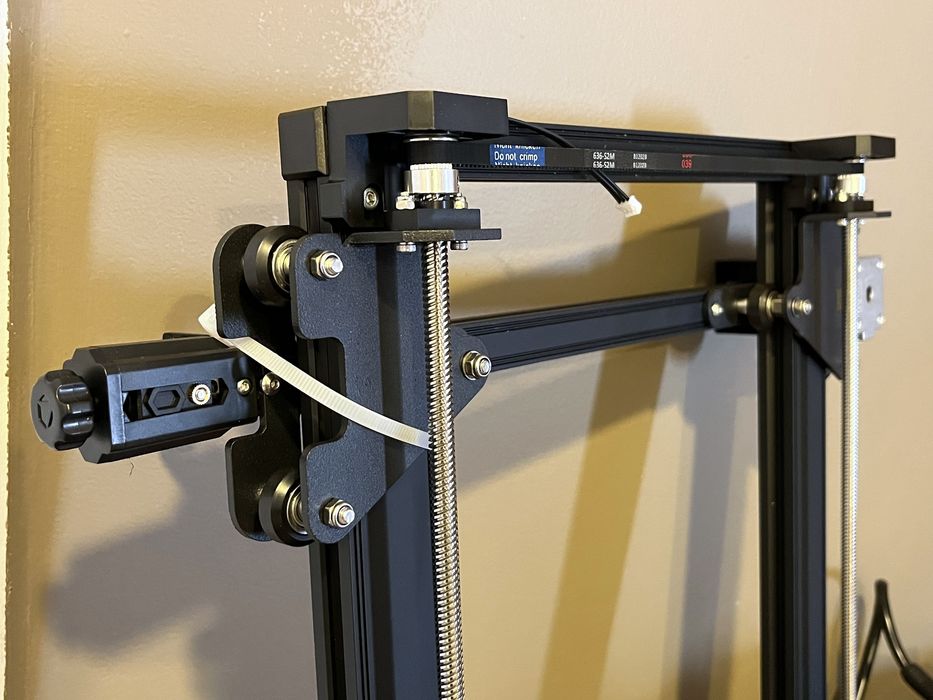
- X-axis & Y-axis use linear guide rails
- Dual Z-axis screws
- PEI spring steel magnetic build plate
- Very generous build volume of 235 x 235 x 250 mm
- 4.3” touch screen for ease of operation
- 32-Bit mainboard
- Silent stepper motors
- Sensor-driven 25-point auto leveling
- Filament run-out detection
- Power failure detection and recovery
The Aquila D1 online literature specifies a maximum print speed of 180mm/s, with an average speed of 100mm/s, which is 200% faster than an Aqulia C2. It seems that Voxelab is following several other manufacturers in developing higher-speed devices.
The printer is compatible with the usual PLA, ABS, PETG & TPU filaments, but also lists PLA-CF, PETG-CF, PET-CF, and PA12-CF as being supported. This is a bit unusual as far as typical desktop FFF devices go. However, it is highly recommended to use hardened nozzles for carbon fiber material printing, as these many composite filaments are not kind to the softer brass nozzles that typically ship with the printers. A hardened nozzle is not included with the Aquila D1, so you’ll have to get that from a separate purchase.
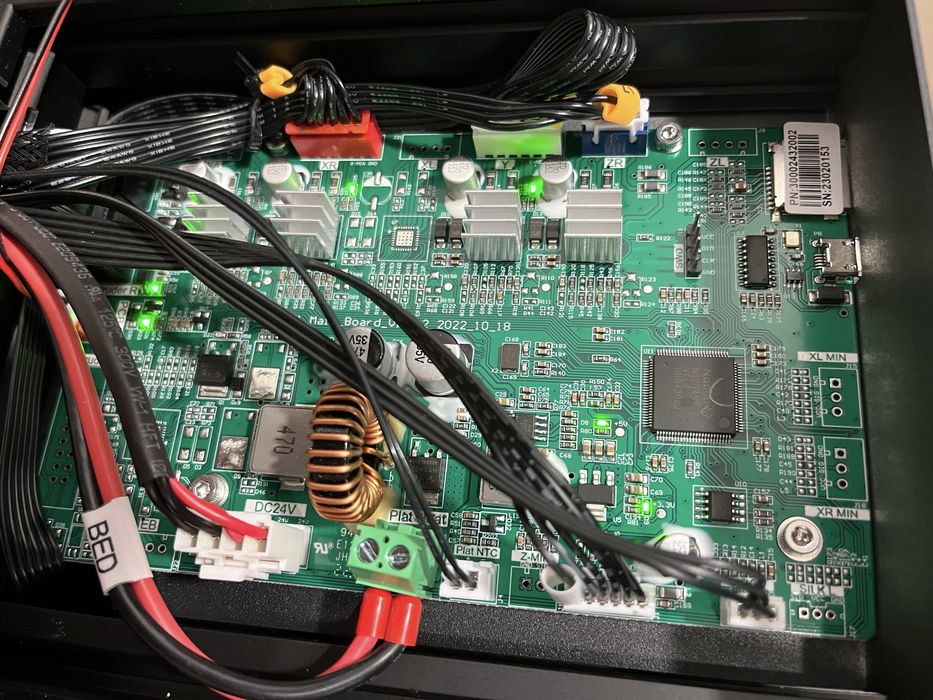
Interestingly, the instructions mention that the machine uses open source code for the N32 mainboard, which allows you to “modify the program as you like and enjoy the fun and fulfillment of DIY.” That’s quite a positive sign given the increasing number of closed-source desktop 3D printers these days.

Finally, the Aquila touts a “5-Step Quick Assembly”. While this might not seem like much to experienced users, it makes a world of difference when the purchaser is at novice level and doesn’t necessarily have the skills required to assemble a full kit of small parts — and then be able to troubleshoot when something is not working properly. For novices, the more pre-assembled components, the better. For us, it just means we’ll be up and running in no time!
Voxelab Aquila D1 Unboxing and Assembly
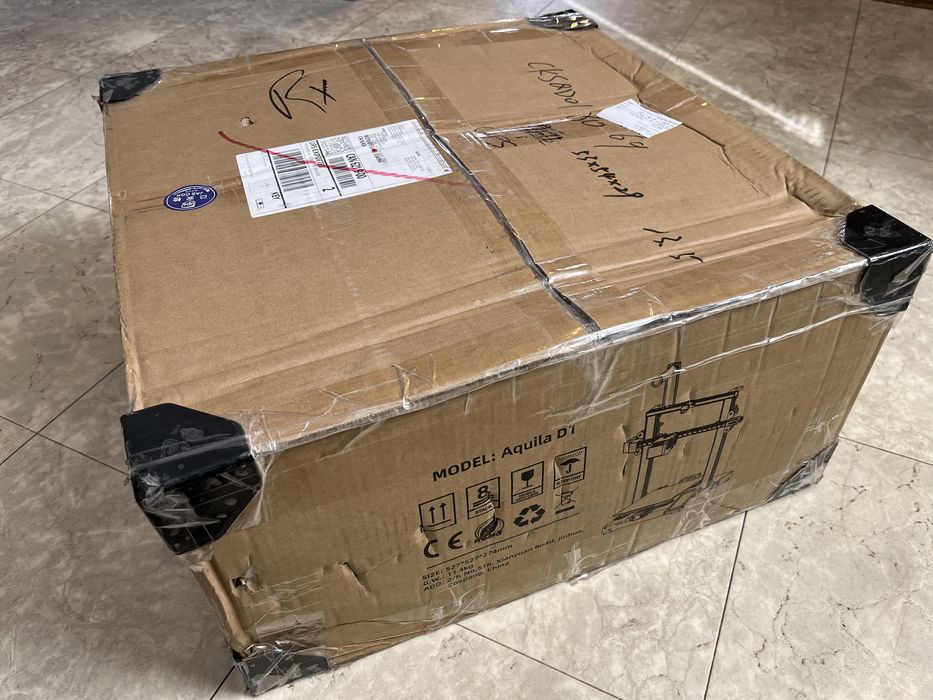
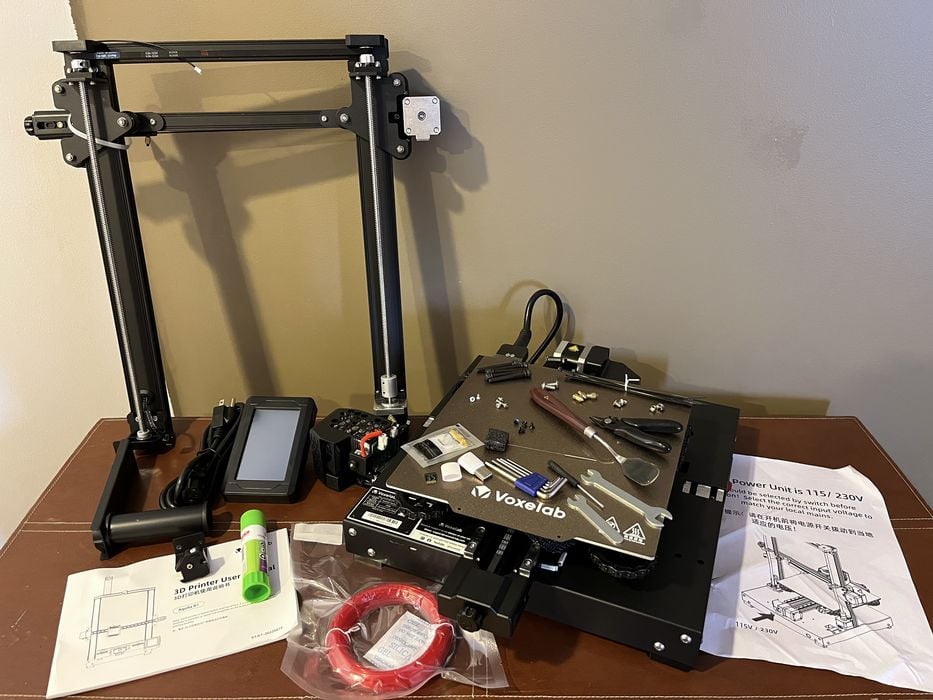
The printer arrived boxed up in sturdy cardboard and form fitted foam packaging, complete with outer plastic corner protectors – a nice addition to help the box survive that not every manufacturer includes. The machine was received undamaged, and that’s not surprising given the company’s many years of experience shipping products around the world.
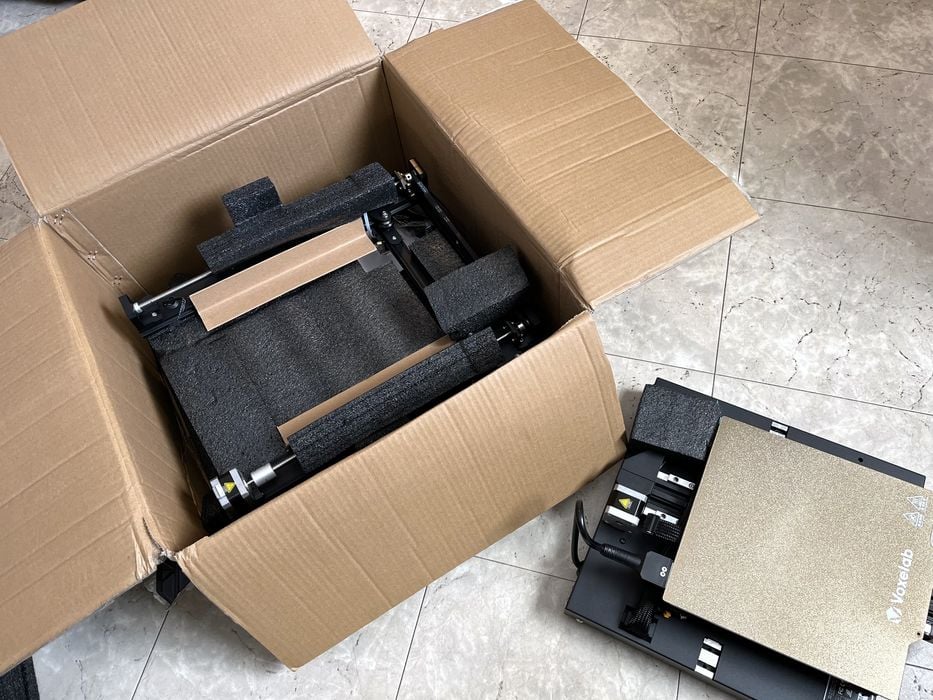
The only surprise occurred when we opened the box and found the printer to be packed upside down. This was not a big deal, and it just caused a few moments of awkward maneuvering to ensure nothing got damaged as we emptied the box and got ready to assemble. Fortunately, everything was packed tightly so there were no spills.
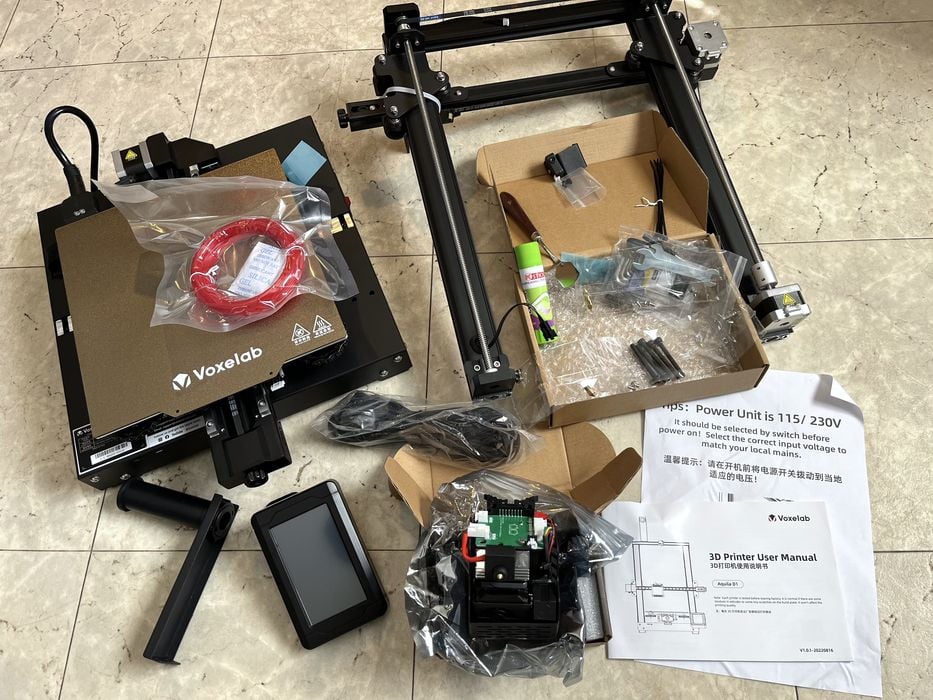
Before we started, we took a quick inventory of everything. For “the goodies” we noted all the various bolts, screws, wrenches and screwdriver for doing the assembly.

There was a spatula, glue stick and side cutters to help with the print workflow, as well as a packet of grease, nozzle needle and 3 spare brass nozzles for maintenance purposes. Also included was a 8GB micro SD card & USB reader that contained the slicing software and several sample pre sliced GCODE prints.
A small vacuum sealed sample of red PLA for testing. The quantity was small, so you certainly will need to purchase your own spools of filament for using this machine.
The printer ships in the form of the following prebuilt components for quick end user assembly:
- Gantry frame
- Printer base
- Display screen
- Extruder assembly
- Spool holder
- Filament sensor
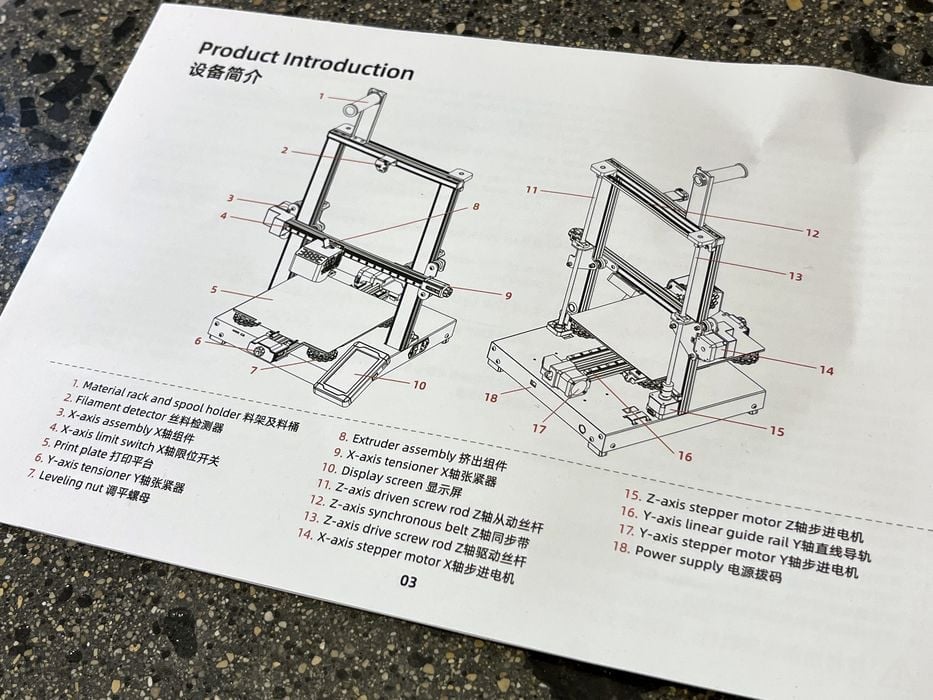
Included with those components was a 33 page paper user manual, complete with illustrated instructions for assembly. Unlike some instruction sets we’ve seen, Voxelab has made these instructions large enough to practically read.
As promised, the printer was physically assembled within the first 5-steps of the manual.
Major physical assembly involves bolting components together:
- Several bolts attach the base to the gantry
- A few each to add the screen to the base
- Bolts for the spool holder at the top of the gantry
- A few more to attach the extruder and it’s cover to the X-axis
- More bolts to attach the filament sensor, located just below the filament holder
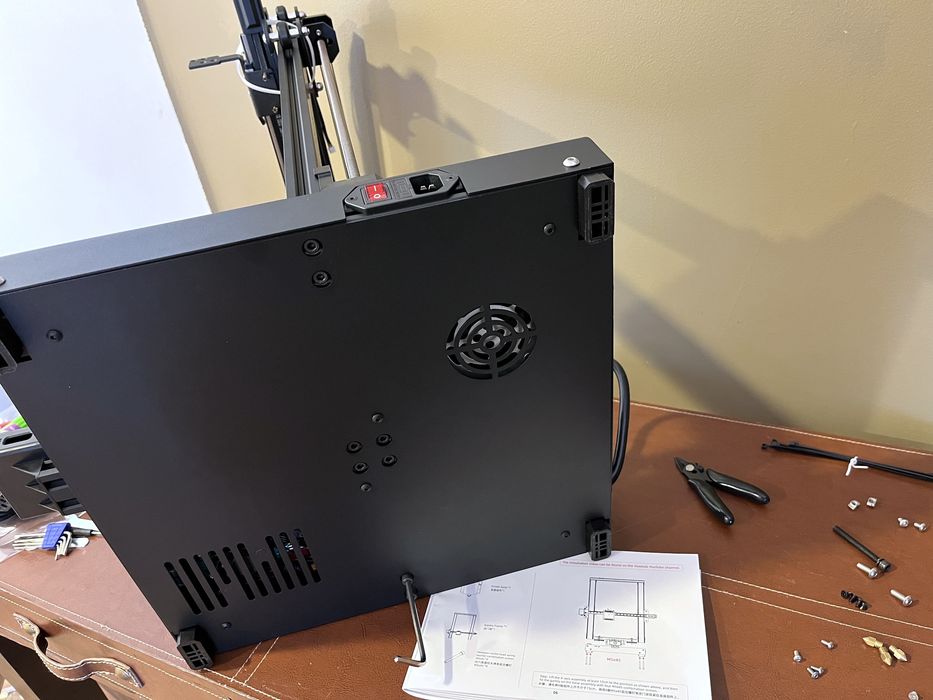
As mentioned, the printer was physically assembled at this point, but not operational until all the cabling connections were made and proper voltage selected.
In the manual, they have that listed as step#7, immediately after belt tensioning. All the wire connections were well labeled and easy to connect and belt tension seemed reasonable.
Not mentioned in the manual is the removal of all the various zip ties and foam bits holding things in place for shipping. However, you won’t get too far without taking them off.
We found a few things that we made note of during our build.
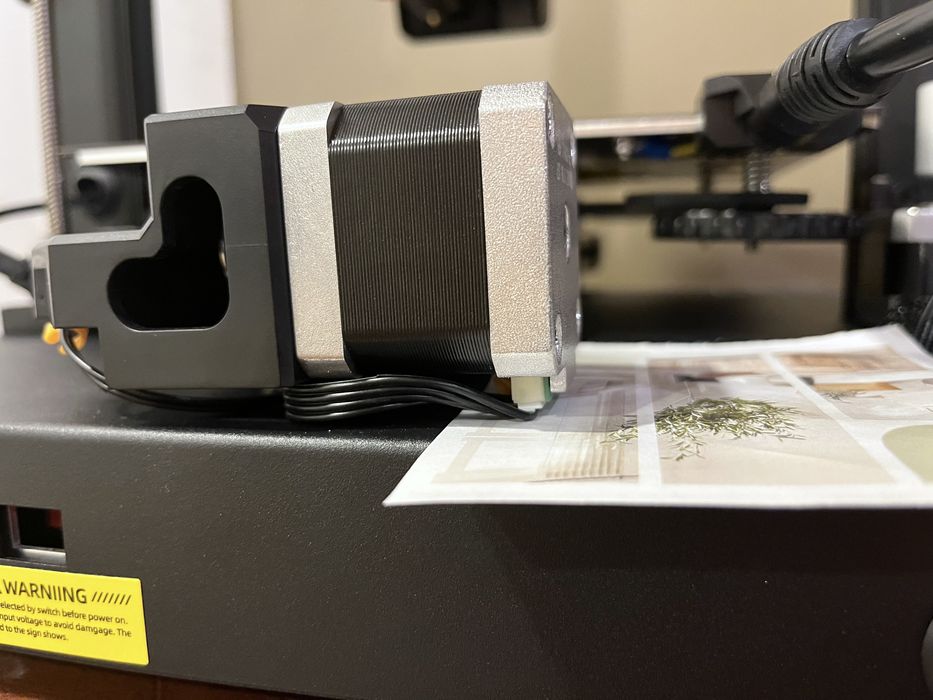
The Y-axis motor connector seemed to be in an awkward position, with its conductors pressing firmly against the chassis.
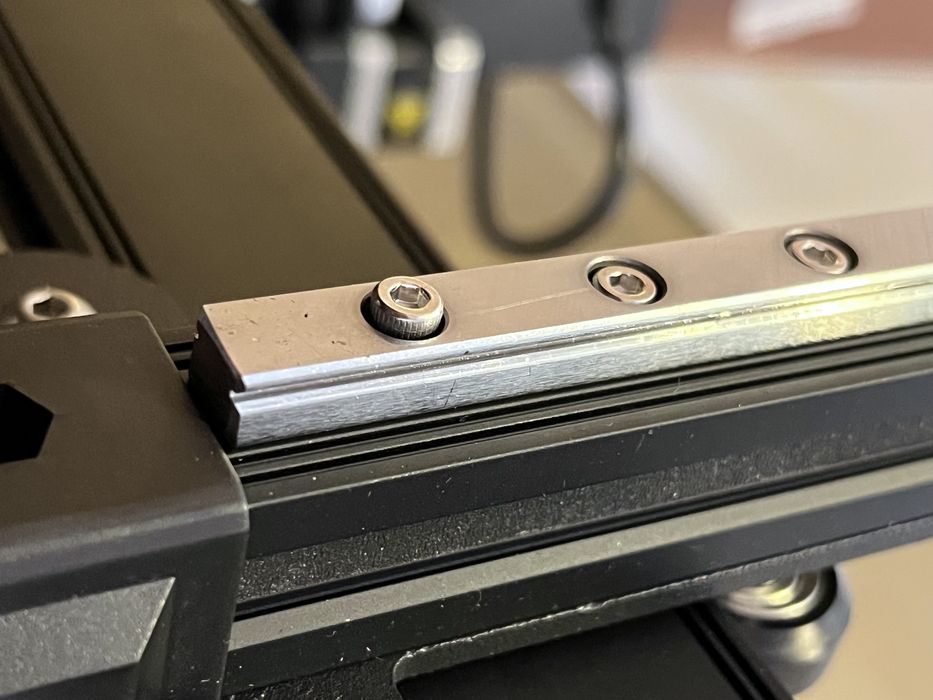
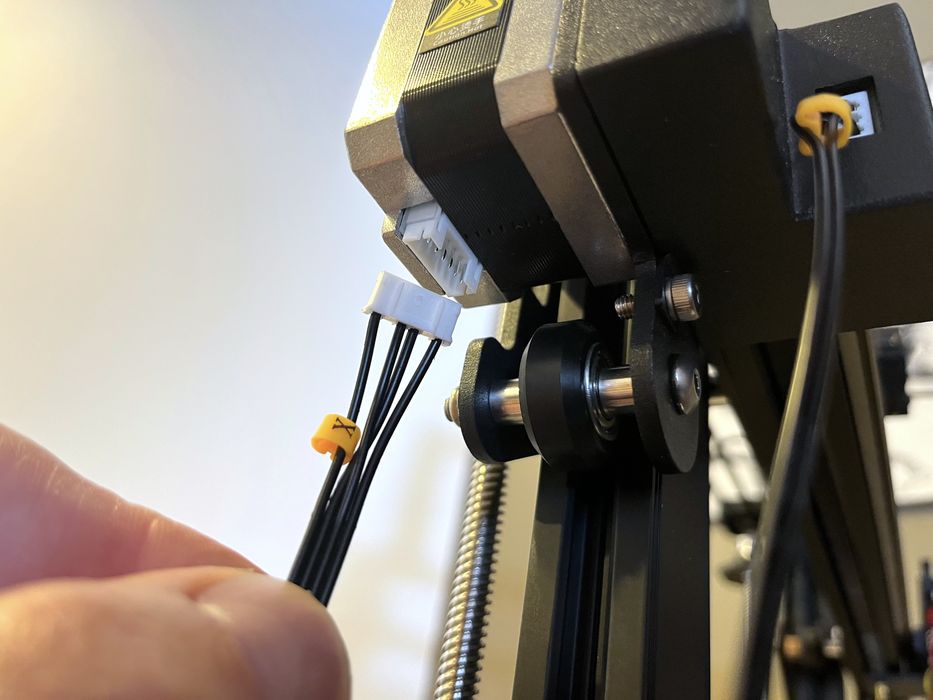
One of the screws on the X-axis linear bearing was purposely extended and used as the endstop – it’s not a loose screw! This is a pretty unusual approach, but hopefully operators won’t get confused by this screw.
The filament sensor and LCD screen cables required additional attention where they emerged from the printer base, and needed to be adjusted so as to not be hit by a bed leveling screw.
Finally we had four screws and a small bundle of zip ties left that had no obvious use identified for them. These could be spares, and we didn’t observe any problems by not using them.
This is part one of a three part series, please read parts two and three.
Via Voxelab