
Our test of the Voxelab Aquila D1 3D printer continues with a look at setup, calibration, operations and software.
This is part two of a three part series, please read parts one and three.
Voxelab Aquila D1 Setup and Calibration
Now that the printer was fully assembled and powered up, the first thing to do was level the build plate.
The Auto-Leveling function was easy to find and initiate on the touchscreen, however there was no mention in the manual to tram the bed, which is normally done first.
Update: a procedure to manually level the bed is actually in the manual, it’s just much further in the pages. Please look through the ENTIRE manual before proceeding!
The instructions mention in the Z-Offset procedure:
“Generally, users only need to perform automatic leveling and z-axis calibration before starting printing, and manual leveling is not required if there is no abnormality.”
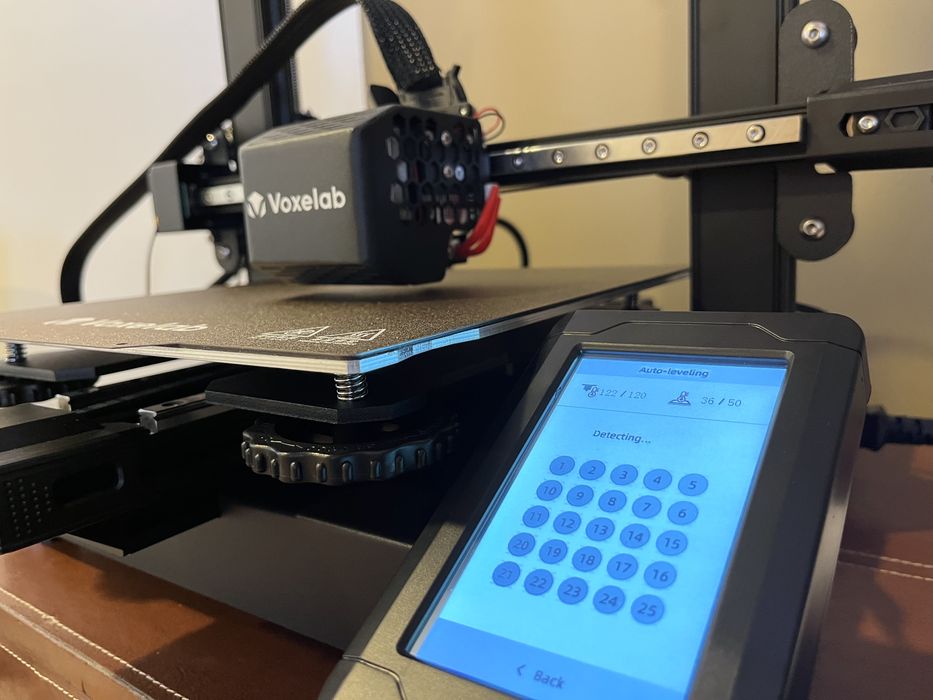
With that in mind, we moved forward and initiated the Auto-Leveling procedure as described in the manual.
Almost instantly we were greeted by a loud clicking sound as the Z-axis tried to raise and came in contact with the end stops. The Z-axis was already at maximum height due to still being in its shipping position!
We stopped the procedure and tried again after Auto Homing the machine and this time all went well – order of operations is always important.
The Auto-Leveling routine took some time to complete with 25 points, with checking done three times per point. At 12 seconds per point, plus movement time, it all added up to approximately six minutes total. A bit time consuming, but on the plus side, it only needed to be done once.
The Z-Offset procedure that followed was straightforward and easy to do, with the setting remaining persistent even after power cycling the machine. That’s important, as this setting ensures we have the correct nozzle-to-build plate distance whenever we start prints. This setting is also available mid-print if it needs to be tweaked, and can be accessed from the Tune menu.
Voxelab Aquila D1 Operations
Navigating through the various menus on the D1 was made quick and simple with use of the touch screen.
The firmware is Voxelab’s own flavor, but we saw all the regular features we are used to. The panel layout is quite similar to those we’ve seen on other machines from other manufacturers.
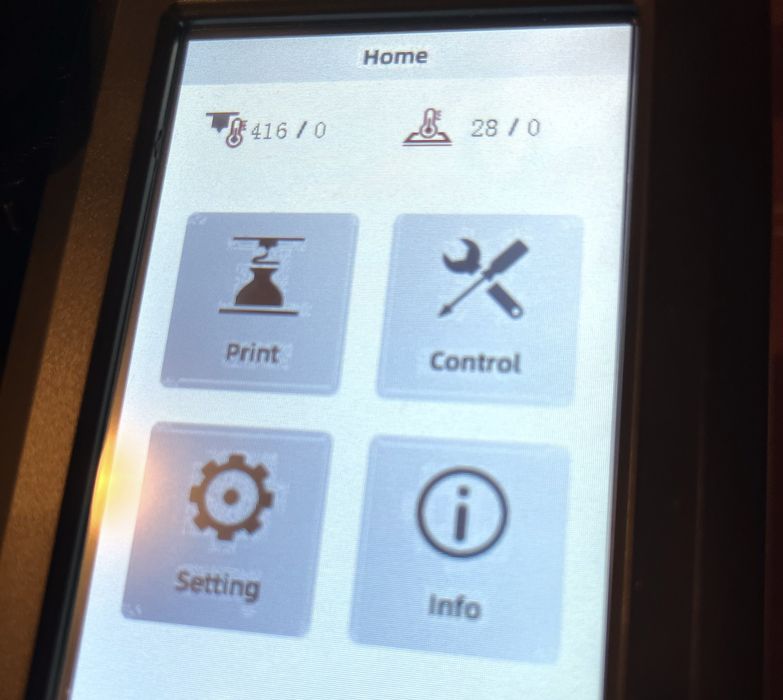
The main screen at power up was a simple layout and offered up four choices: Print, Control, Setting, & Info. Choices under those levels were grouped well and flowed nicely through the menu structure. It’s a good sign when the most commonly used functions are only a click or two away, instead of being buried in some obscure submenu.
We noted that moving the various axes around manually worked well, but the distance per move was very small, requiring many, many button presses and audible beeps. Although there was a handy button to turn that beeping beeper off. Hopefully Voxelab can add an option to increase the move distance in future firmware upgrades.

There are the customary filament load/unload procedures, as well as presets for preheating and cooldown. Deactivating the filament-out sensor was also an option, although we don’t recommend doing so.

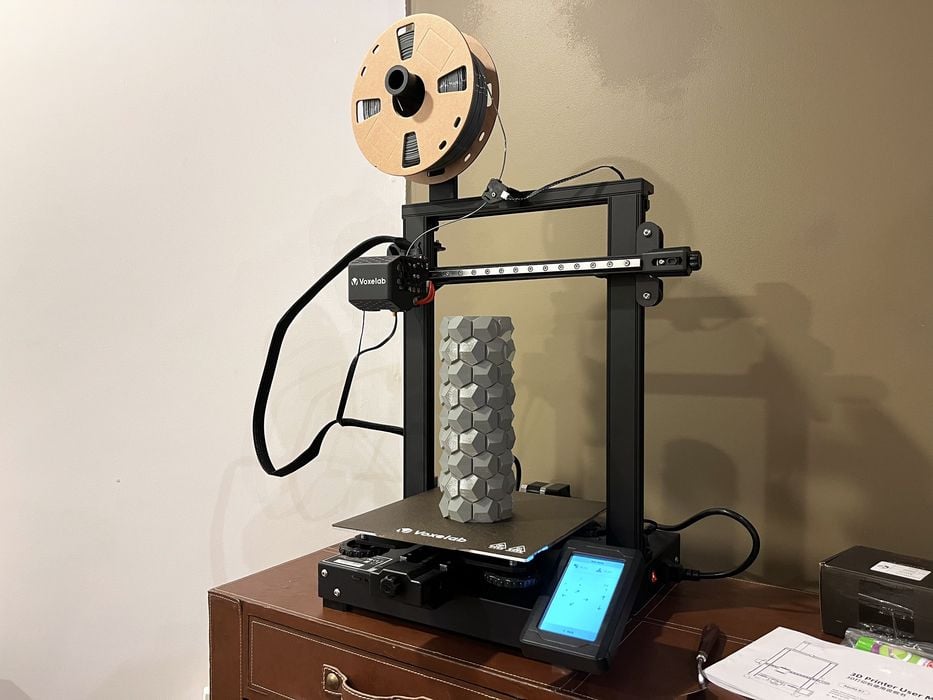
Now that we were familiar with the machine, we cracked open the small sample coil of red PLA filament supplied with the printer and tossed it onto one of our handy two piece filament spools.
These small sample coils are never of great quality and are largely impossible to use without a spool, as they will just tangle up while printing. Nevertheless, we thought we’d give it the best try and see if it worked.
Loading filament was straight forward. The Load procedure did all the preheating required and prompted us when to press the extruder handle and insert the filament. We made sure to pass it through the filament sensor first, otherwise that feature won’t work.

Once we were happy with the extrusion, we canceled the load procedure and got ready to launch our first print – one of those pre-sliced GCODE prints that Voxelab had conveniently supplied on the memory stick.
Before we did that, we copied the contents of the SD card to our computer, so we could multitask and set up the software, while running a test print at the same time. This is always a good practice, as it’s easy to lose the software or pre-made content if you leave them on the memory stick.
Once the SD card was back in the printer, we selected “Aquila test model.GCODE”.
The printer came up to temperature very quickly for both the nozzle and heat bed, and we found PLA stuck very well to print bed on first layer, with no risk of it detaching.
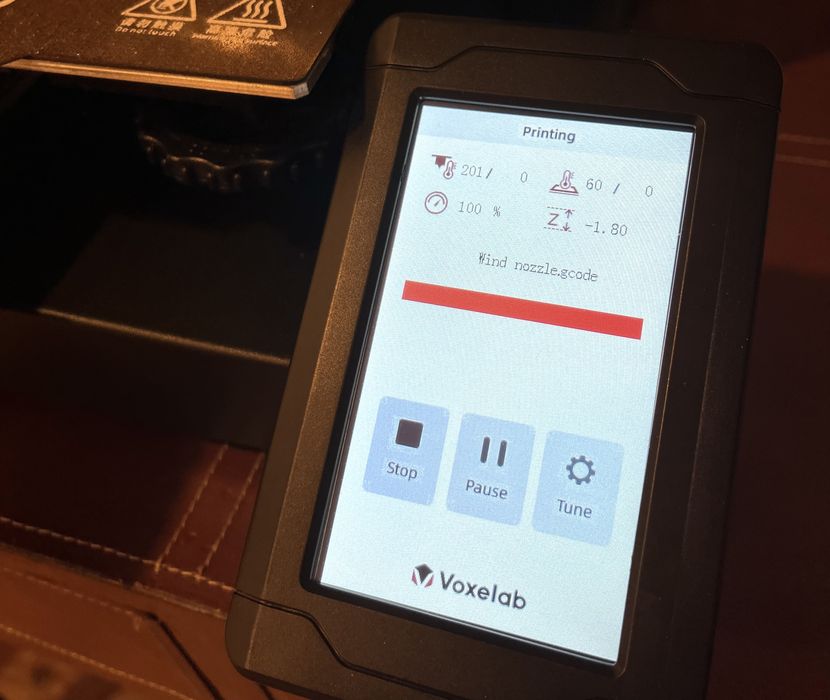
The print timer was indicated by progress bar only, with no indication of elapsed or remaining print time. This is something we’ve seen on several machines recently, where you really don’t have a good idea of how much longer a print will take to complete.
With all the cooling fans running the printer was fairly loud, but not too bad in our large room. Something to note though, the loud white noise of the fans seems to neutralize the effect of the silent stepper motors. Why bother with more expensive stepper configurations when you’re going to make a lot of fan noise anyway?
When we checked the Tune menu in mid-print to see what our options could be, we noticed that there was no “filament change” procedure offered. We tested the Pause button and found that it suspended printing and put the print head in the front left corner and held the temperature settings. This would hopefully allow for a manual filament change if required. We then left the printer alone to complete its test print.
The lack of an explicit “filament change” or “change color” menu selection might confuse novice 3D printer operators.
Voxelab Aquila D1 Software
The SD card had two slicer options for us to choose from – Voxelmaker 1.2.4, which is Voxelab’s own proprietary slicer and an older version of Ultimaker Cura 4.7.1.
We decided to give Voxelmaker a try and found the software to be pretty basic, but adequate to prepare print jobs. This is not unexpected, as the folks behind Ultimaker Cura and PrusaSlicer have huge teams of developers releasing new versions monthly. It’s very hard for anyone to keep up with their advancements, and so we usually recommend using those current software tools instead of older tools included with the 3D printers.
The plus side of using Voxelab’s own software would be that the default settings should already be tuned and potentially provide us with the best print results.
We made sure to choose the Aquila D1 from the Machine Type dropdown menu and loaded our first print to slice, CTRL-V.
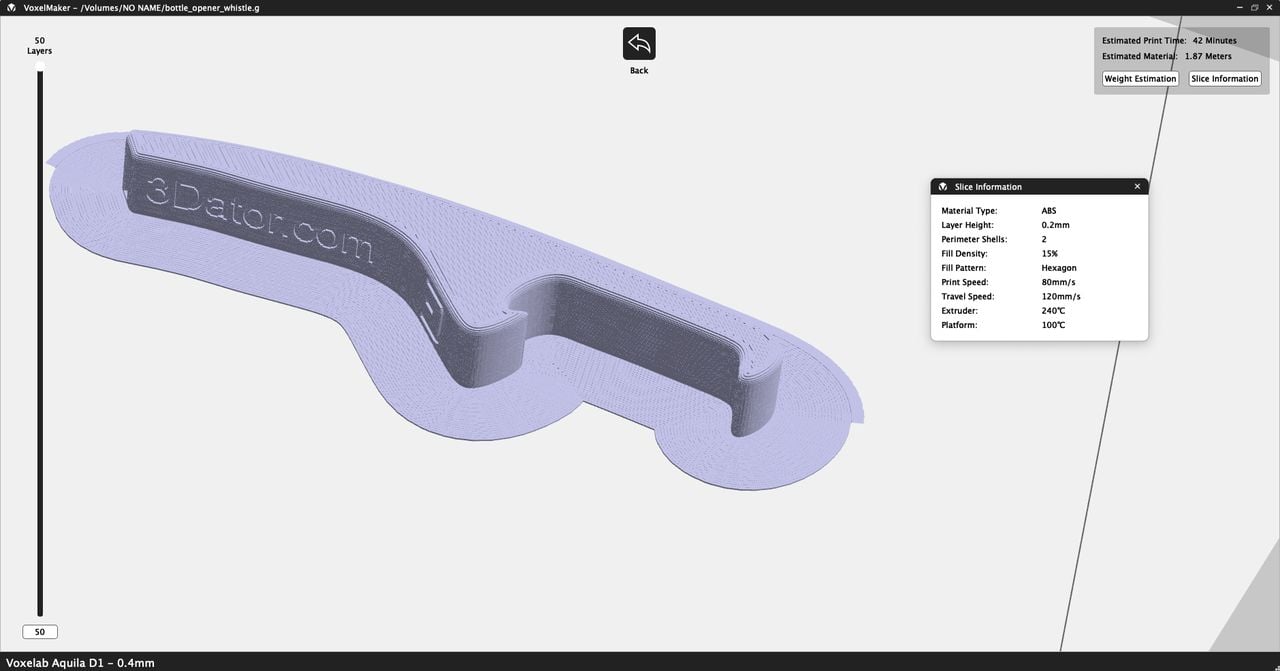
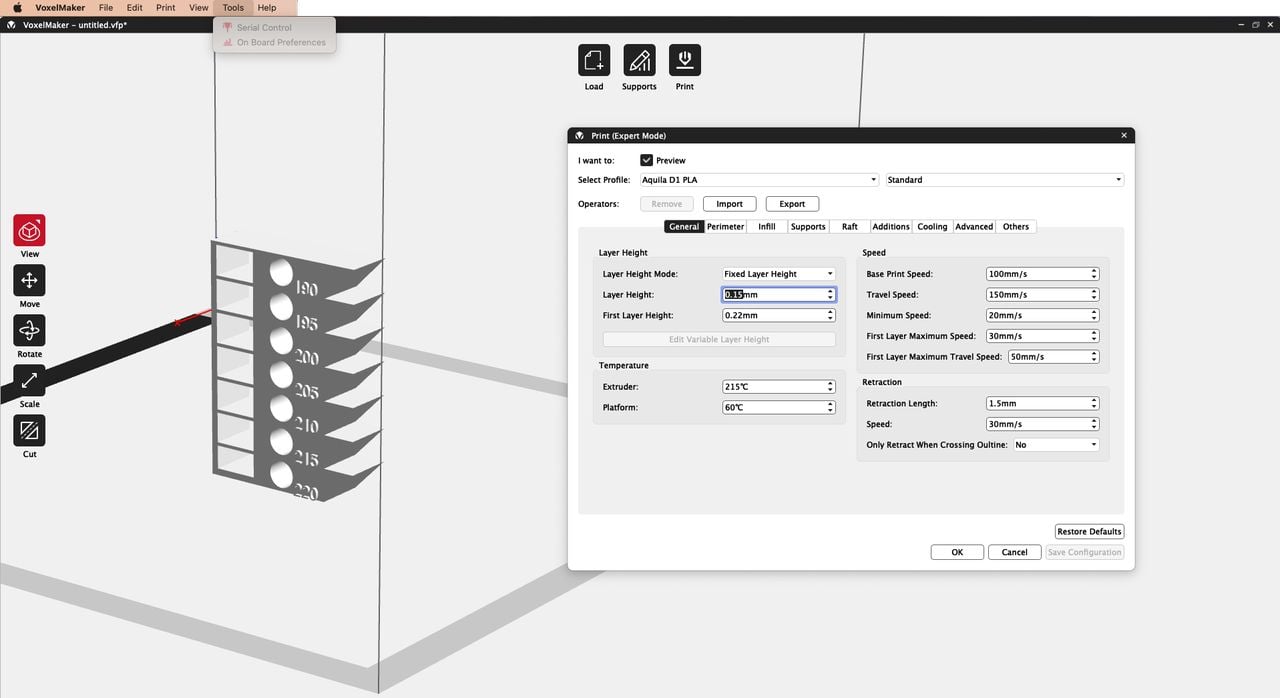
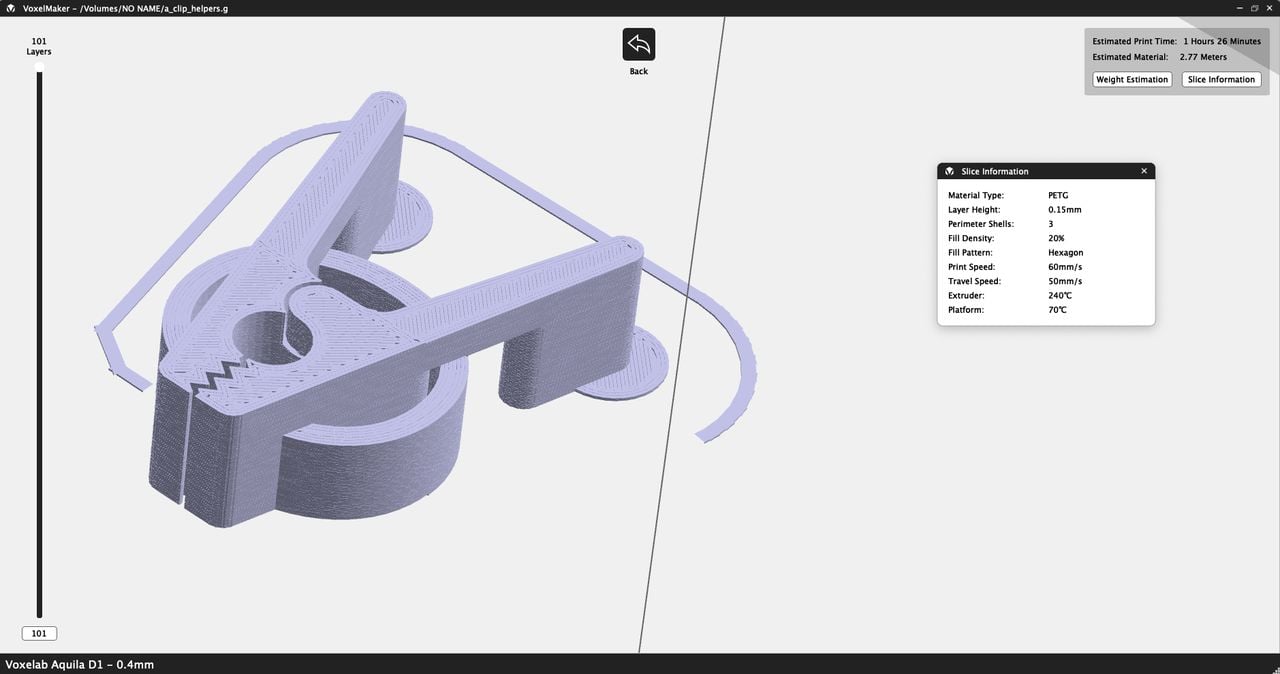
The slicer offered premade profiles for PLA, PETG, ABS & TPU. The default base speed for PLA was 100mm/s with travel speed at 150mm/s vs PETG’s at 60mm/s and 50mm/s. This meant that PLA would be the only filament hitting the advertised base print speed of 100mm/s, so that’s what we chose.
Voxelmaker has an odd feature where you must save the file before seeing the results of slicing. Not a big deal, except when you are trying different settings and just want to see the sliced results and not save the file.
The estimated print times generated by slicer were almost bang on, which really helped us plan our print schedule. We did end up trying Ultimaker Cura later in the review when we ran into a hardware issue that required a calibration print not possible to generate in Voxelmaker.
This is part two of a three part series, please read parts one and three.
Via Voxelab