
Our look at the Creality K2 Combo 3D printer continues with a look at operations and software.
This is part two of a four part series, please read parts one, three and four.
Creality K2 Combo Operations
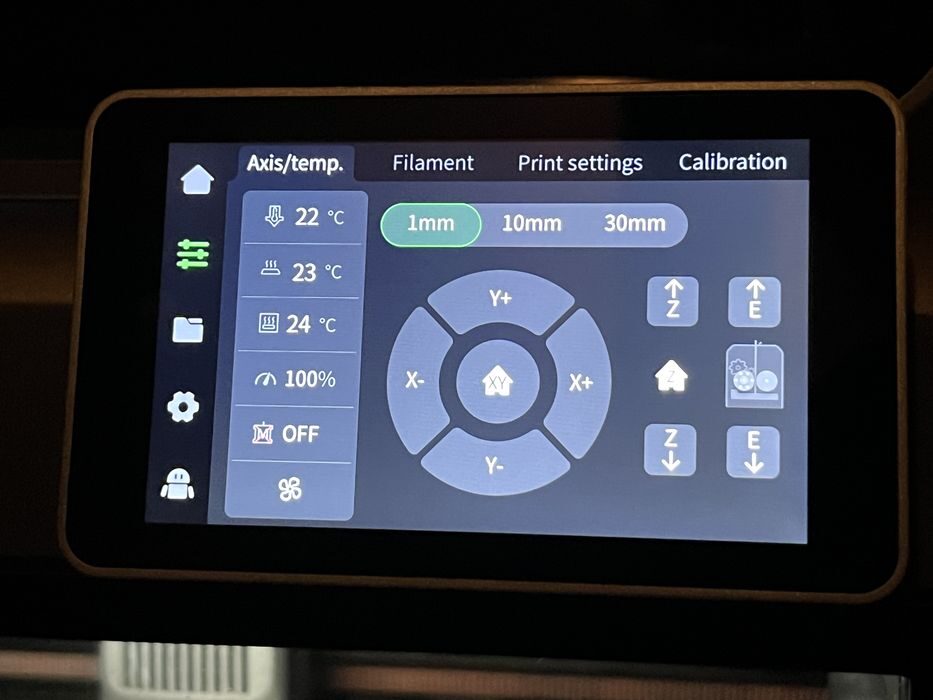
Browsing the K2’s interface we found the menus to be very intuitive, with all the typical important system functions present and monitored on the home screen, such as current temperatures for nozzle & build plate, print progress, etc.
There were other screens to choose from, each with a variety of functions. Filament loading, print settings, and calibration functions existed on a second screen. Print file management and history on a third. General settings, network, firmware update, and account management on a fourth. With maintenance and logs on a fifth and final screen.
Now that we were somewhat acquainted with the printer, we went about loading the supplied tiny sample roll of filament to try 3D printing the pre-sliced models found in the local storage of the machine.
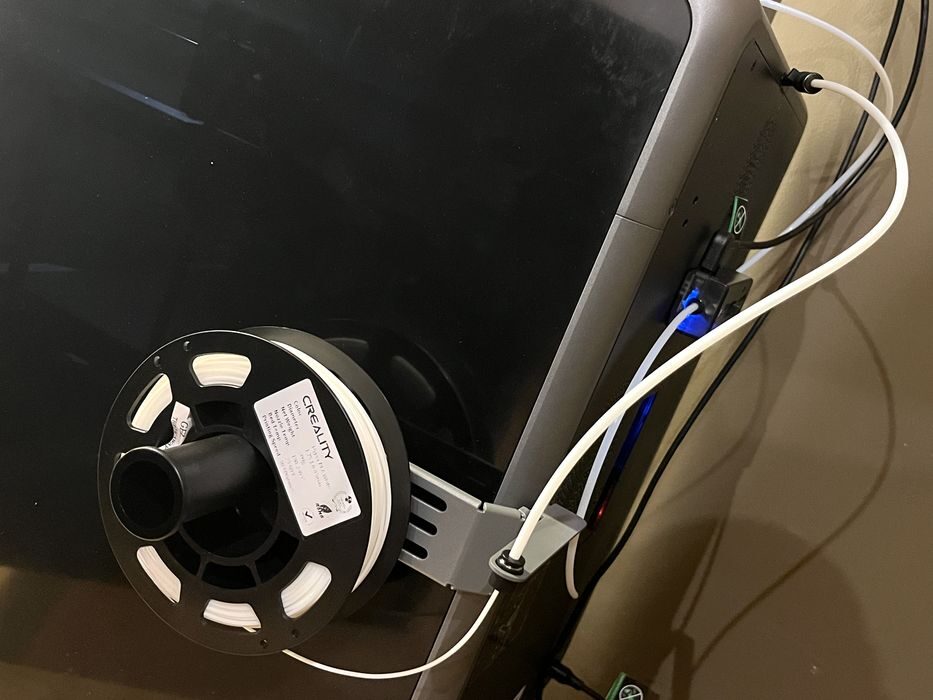
We removed the CFS’s PTFE tube from the filament feed port in the rear of the printer that we installed earlier and connected the spool holders PTFE tube to the filament feed port. Then we manually fed filament from the spool holder through the tube until it stopped at the extruder gears and placed the roll onto the spool holder.
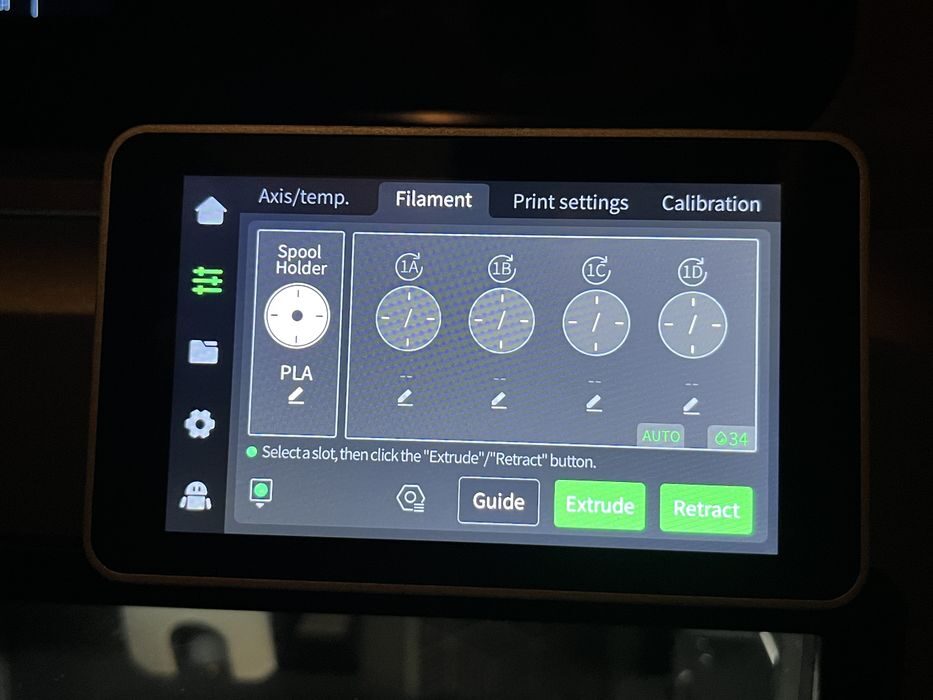
Since neither the printer nor spool were RFID equipped, we went to the filament settings on the LCD, chose the “Spool Holder” and then manually edited the settings to be Creality Hyper PLA White.
We started the filament loading process by activating the Extrude command. With the K2 being a multimaterial machine, the filament load procedure includes several instances of purging filament & wiping the nozzle before declaring the filament properly loaded.
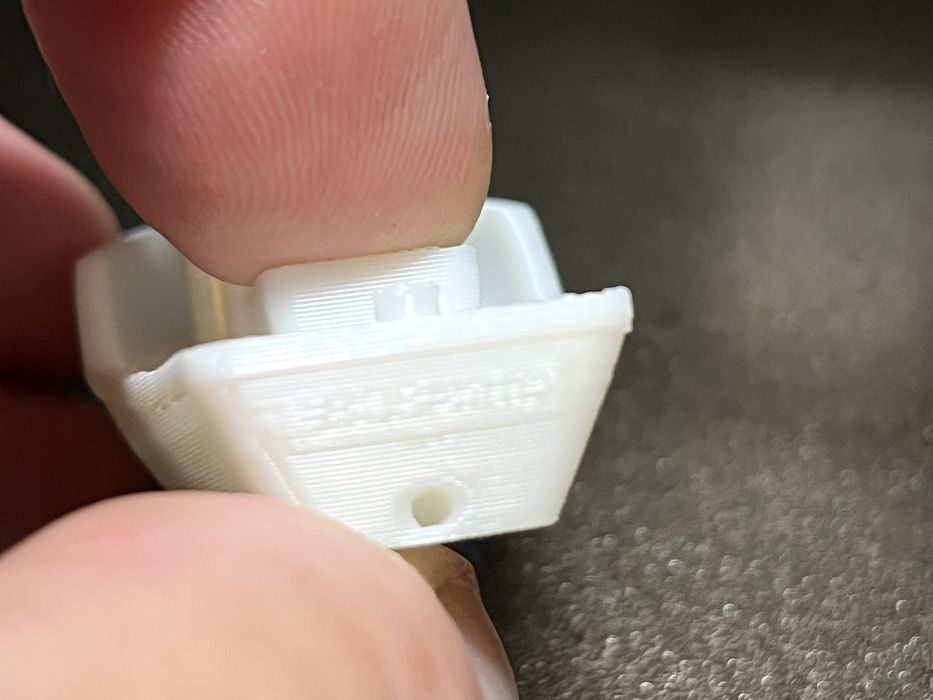
That said, there is no documentation as to how to catch all the purge “poop” that gets ejected from the rear of the printer and no physical waste container is supplied. It was something that we would need to figure out a solution for later in our testing.
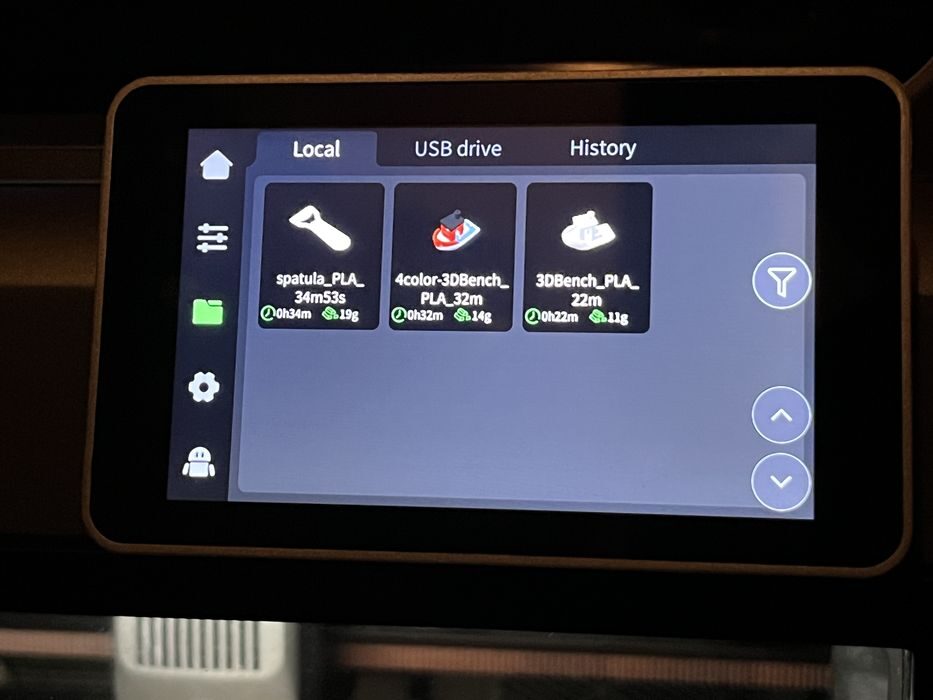
We looked through the available presliced models and chose a #3DBenchy with an estimated print time of 22 minutes, using 11g of filament. We made sure to uncheck the box that said, Enable CFS, as we were just printing from the spool holder. The printer came to life and performed a series of movements and calibrations, heated up the build plate & nozzle, did a purge line, and then began to print.
While the print was in progress we noted that the K2 was fairly quiet when printing at high speeds. The print completed in just 23 minutes with great surface quality and we could almost make out #3DBenchy on the stern.
Creality K2 Combo Software
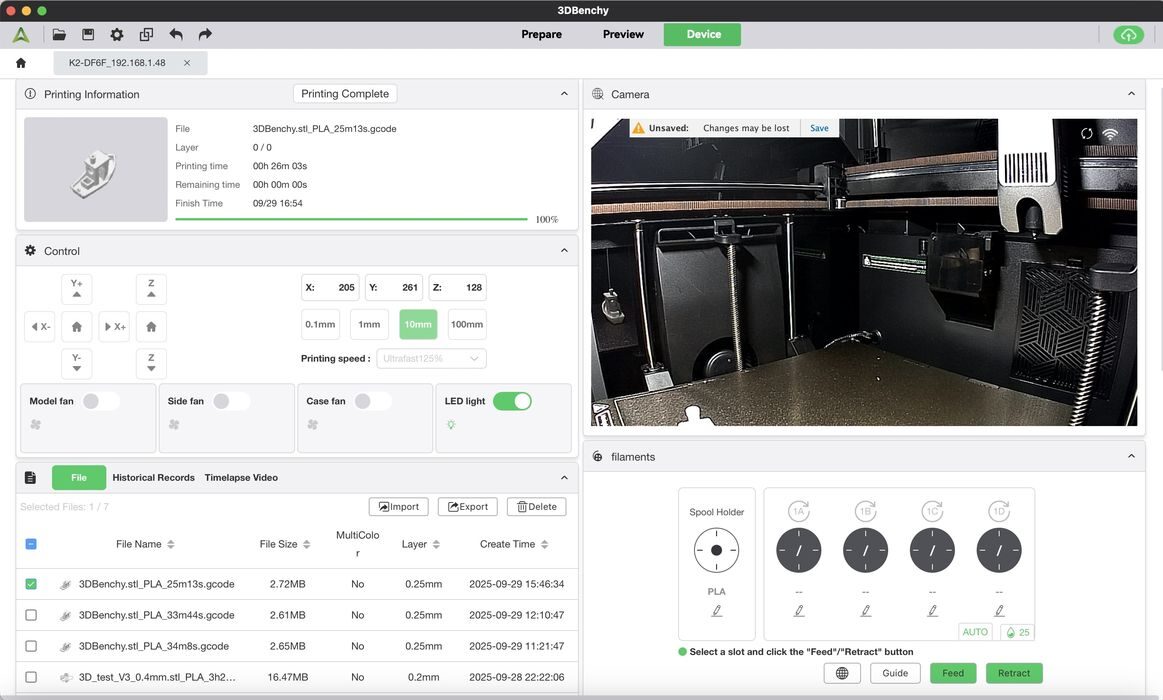
Now it was time to slice our own prints and Creality offers up two options for operators. You can choose to use their app or web based interface, both of which are cloud based, or go with their traditional desktop slicer application – Creality Print.
We chose the latter, Creality Print, and used it for the bulk of the review, as the desktop application offered much better screenshots to post for this review. That said, we did use the cloud based app for monitoring print jobs in progress, and honestly that is where we found the app really shines.
We downloaded the latest version of the slicer CrealityPrint-6.3.0.3417 from Creality’s website and installed it onto our Mac.
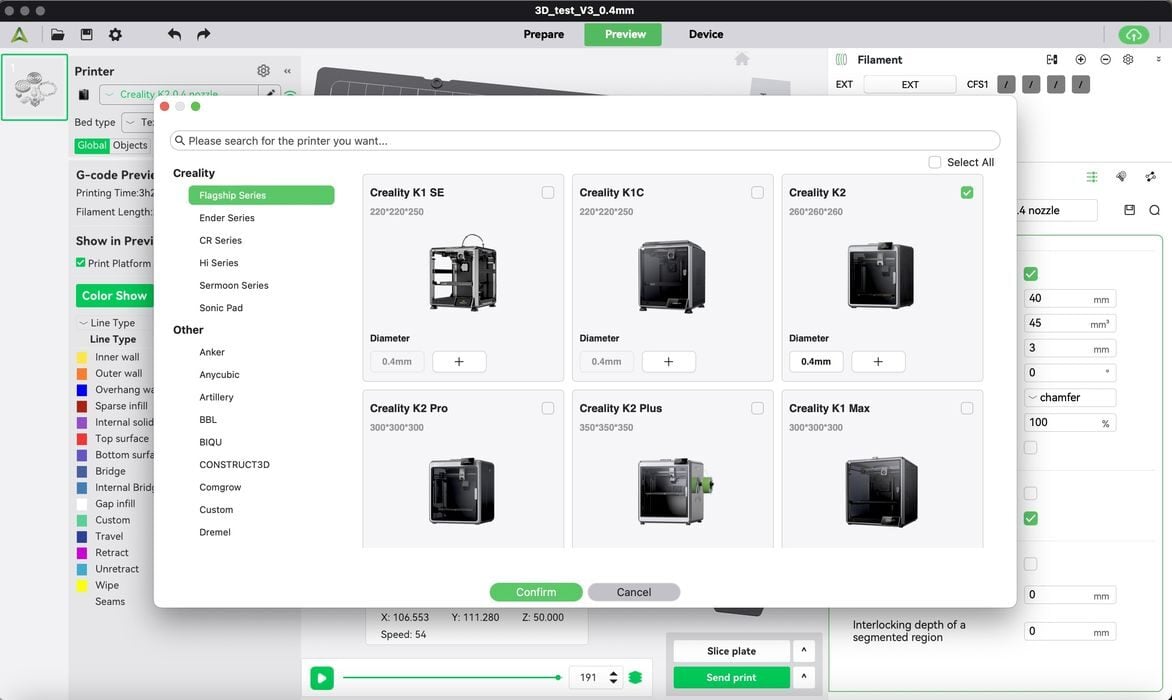
Then we added the K2 printer profile, pairing it to the printer we had bound to our account earlier. Now we could easily slice and send our files directly to the printer. This is so much more convenient than running over to the printer with a USB stick, as we did in the old days.
Slicing was fairly straightforward in Creality Print for models requiring a single material, and setting up multi-material prints was quite easy, too. The operator just needs to always make sure that the flush multiplier gets set up correctly to avoid ending up with blended colors, or wasting too much material with flushing. This was a small problem we ran into during the course of the review, but more on that later.
This is part two of a four part series, please read parts one, three and four.
Via Creality