
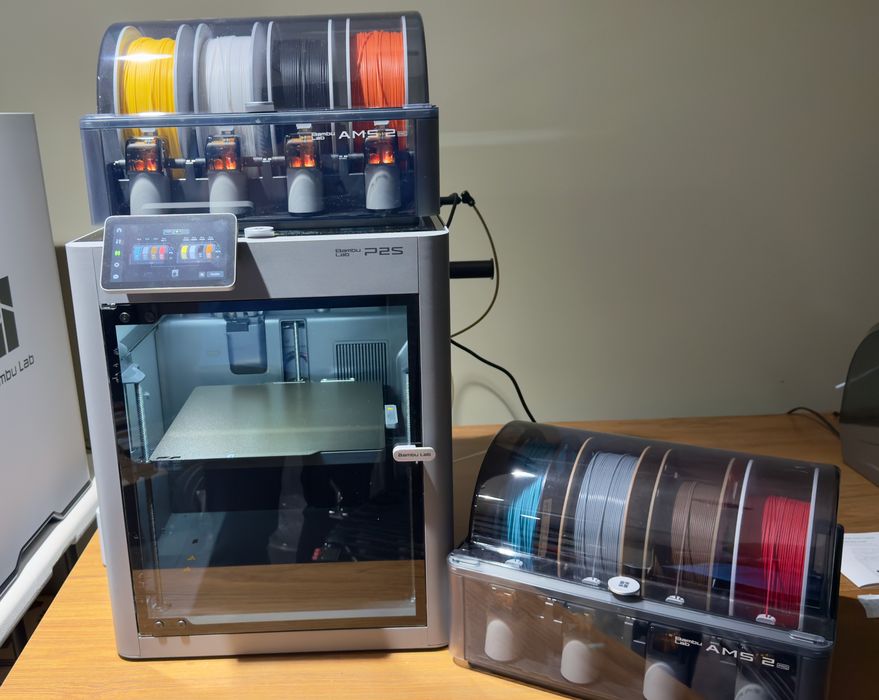
Our look at the Bambu Lab P2S desktop 3D printer concludes with software, print results and final thoughts.
This is part four of a four part series, please read parts one, two and three.
Bambu Lab P2S Software
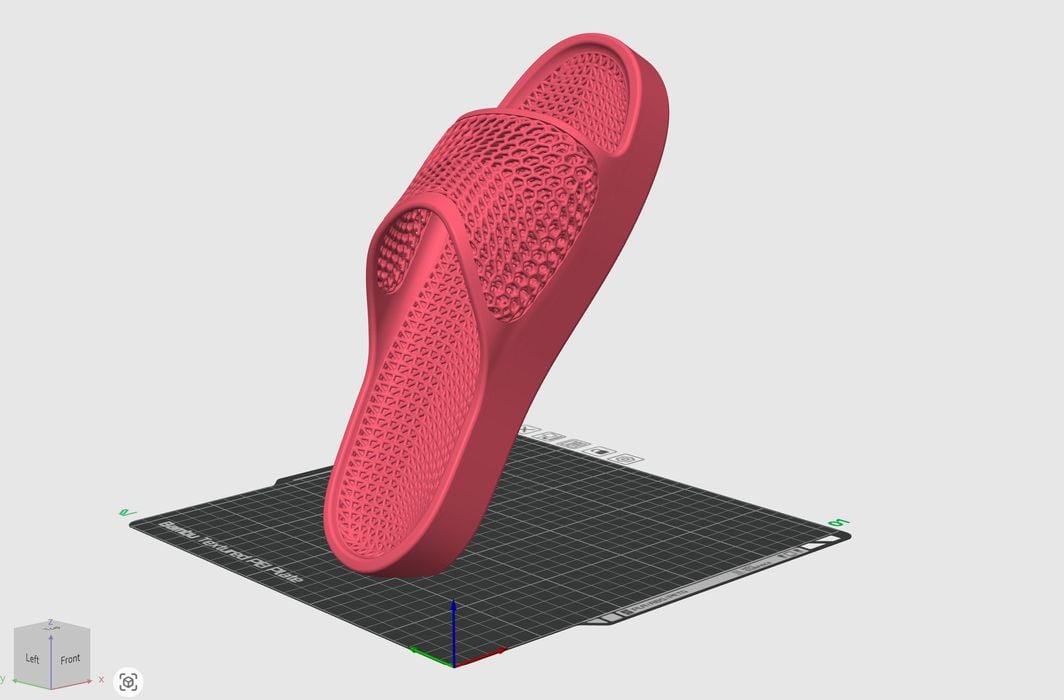
For our tests we used Bambu Lab’s default software options, which are BambuStudio (desktop) and Bambu Handy (smartphone). Both are mature apps that have undergone plenty of revisions.
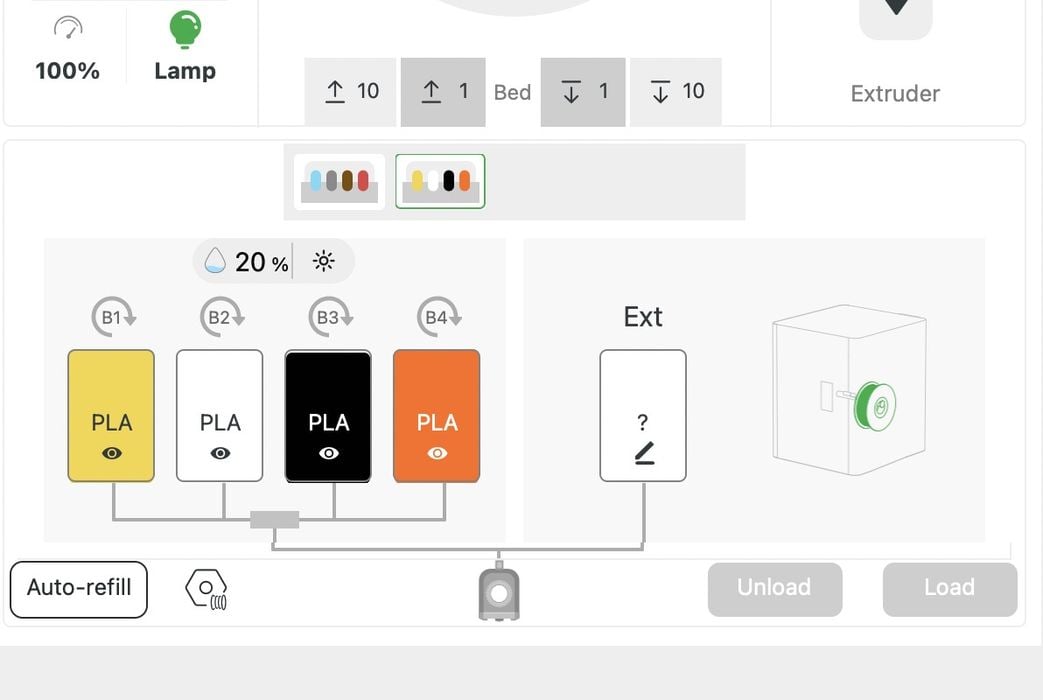
From BambuStudio you can easily see the current state of the machine, including the AMS loading configuration. You can sync these materials to the preparation tab so that you can include them for your 3D model.
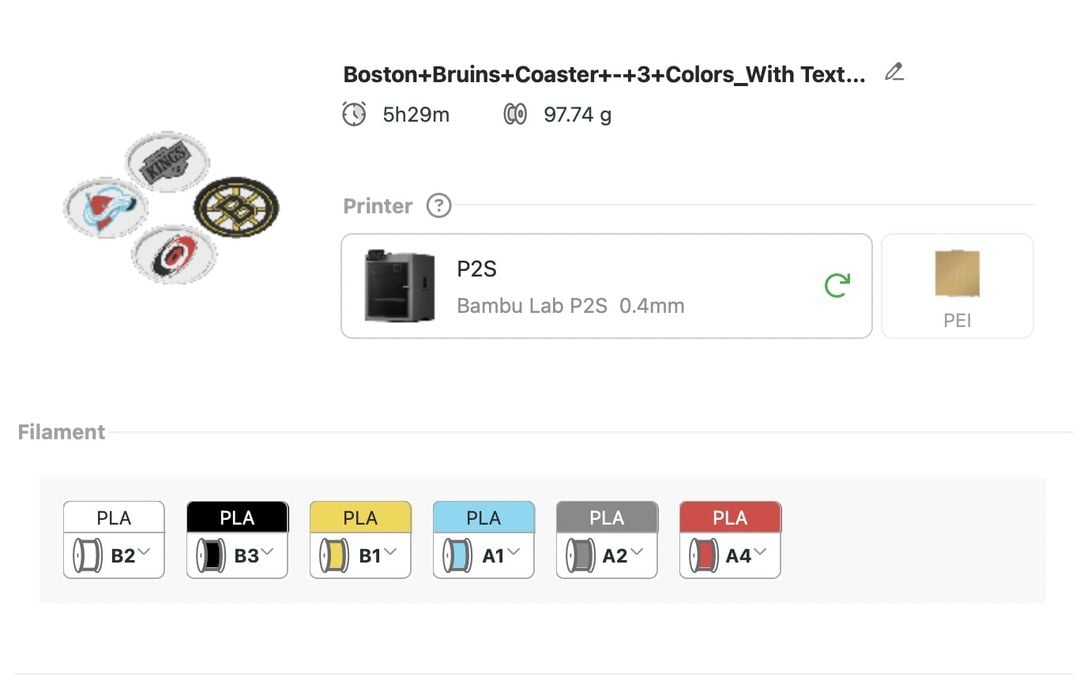
However, once your job is sliced you have to then confirm the selection of colors for the 3D model in BambuStudio. If you’ve sync’d the materials, then the software is smart enough to match them properly. If not, then you have to manually select which spool is to be assigned to each sliced color. Sometimes this can get a bit confusing because you may not be certain which region is which on the 3D model.
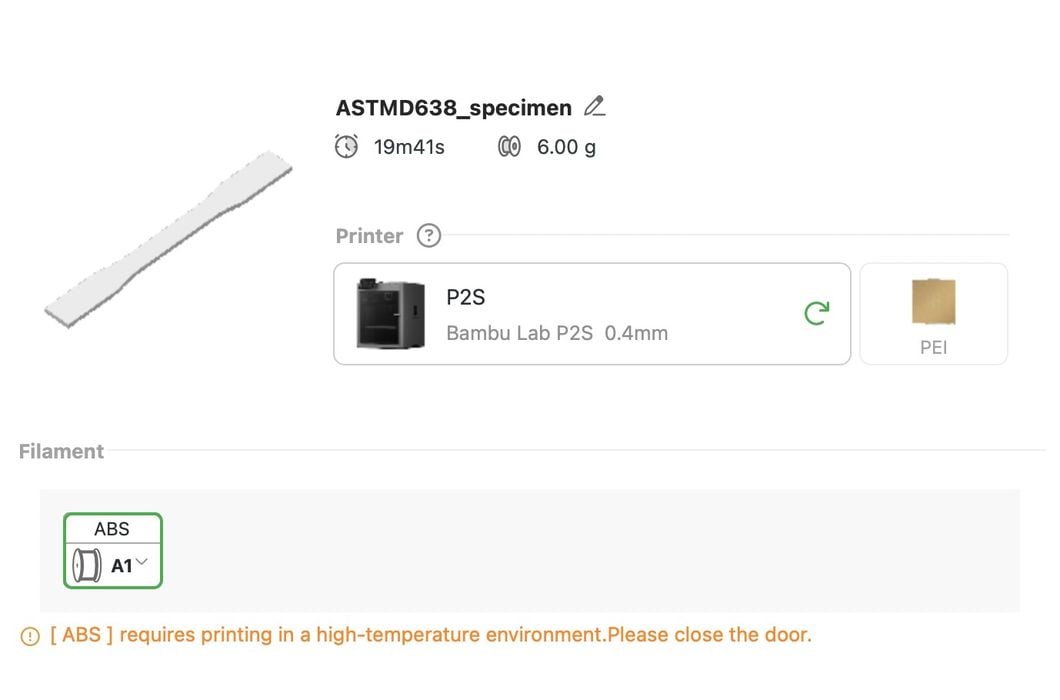
BambuStudio is very good at warning you about peculiarities in job situations. Here you can see a warning about using ABS material: keep the door closed!
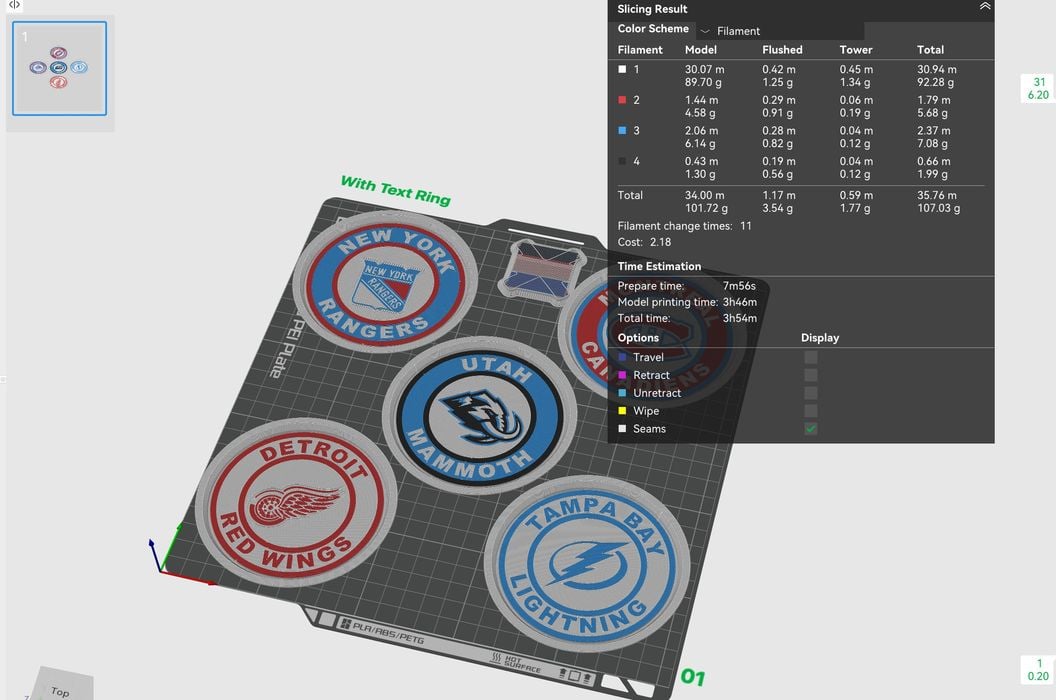
When a job is sliced there is quite a bit of information presented. The most important bits to look at are the amount of waste generated. Basically you should compare the model weight against the sum of the waste and tower. There should be a lot more model than waste, as is the case in this particular print.
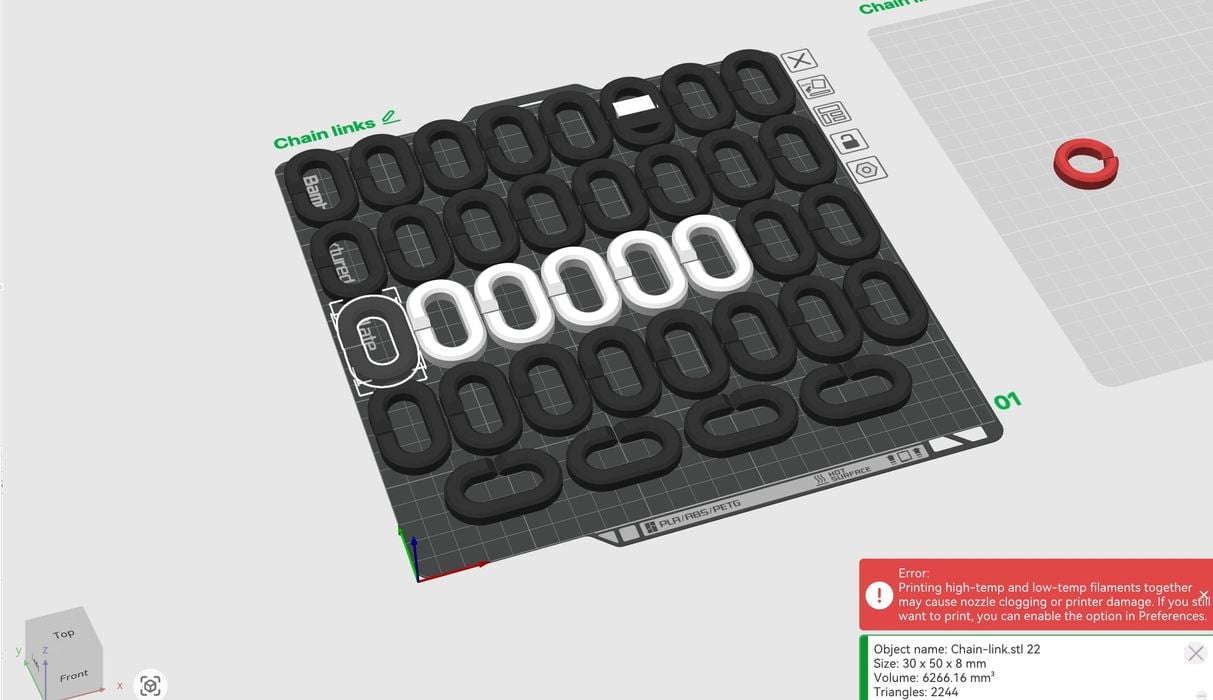
One other tip I should mention is selection. Here I have a build plate full of chain parts. By default it was all set to PLA material, but I wanted ASA. Did I have to click on every single element and flip the material selection? Nope, if you shift-click outside the build plate you can drag across and select all the parts, and then apply the material change all at once.
Bambu Lab P2S Combo Print Results
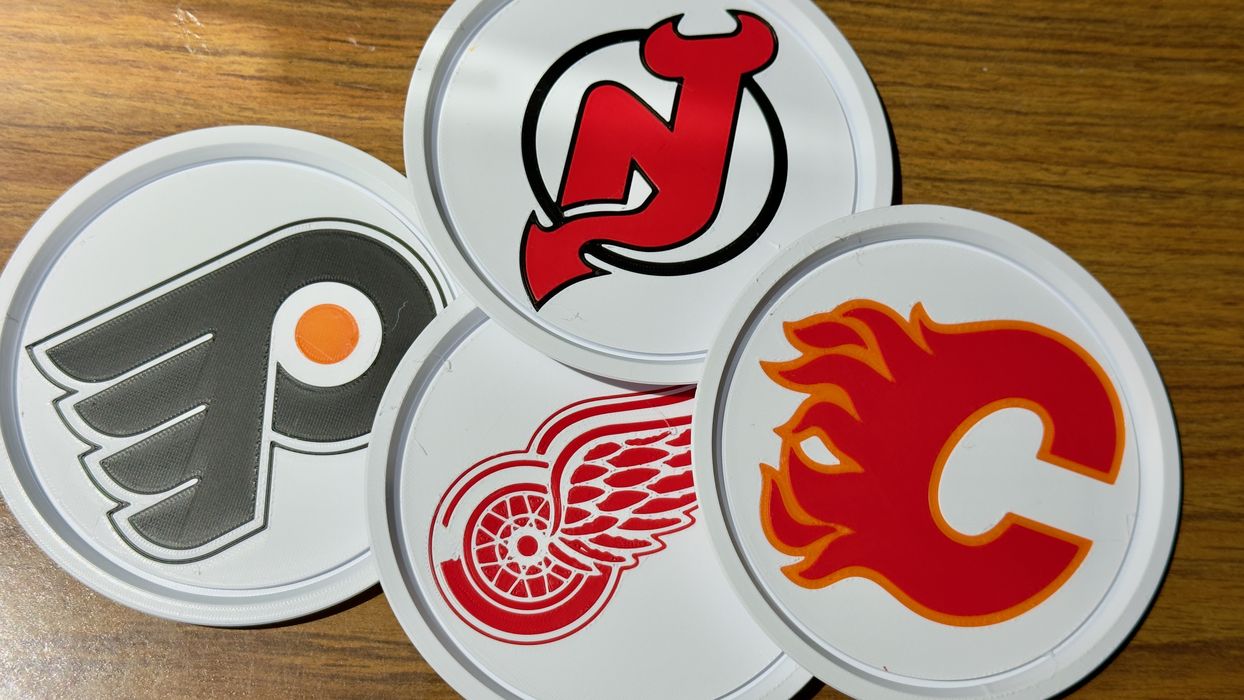
By and large the print quality from the P2S is extremely good. Here you can see some colourful coaster that came out perfectly in four PLA colors.
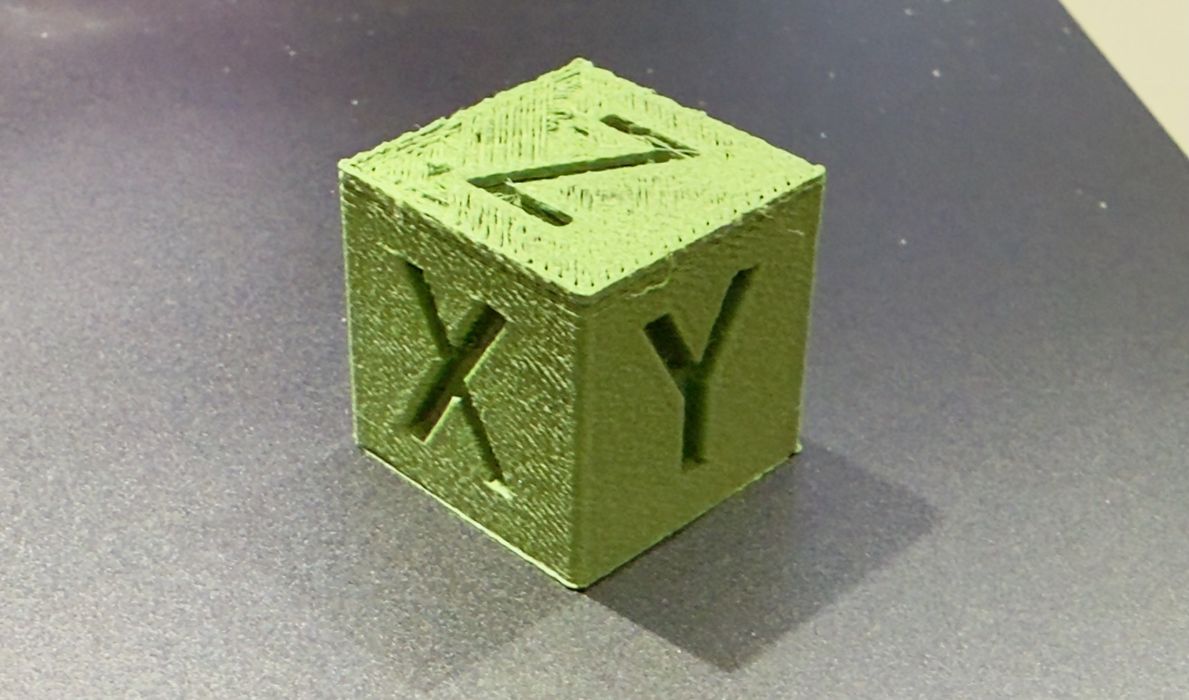
The PLA-CF material was a bit strange. My XYZ test cube showed a bit of under extrusion.
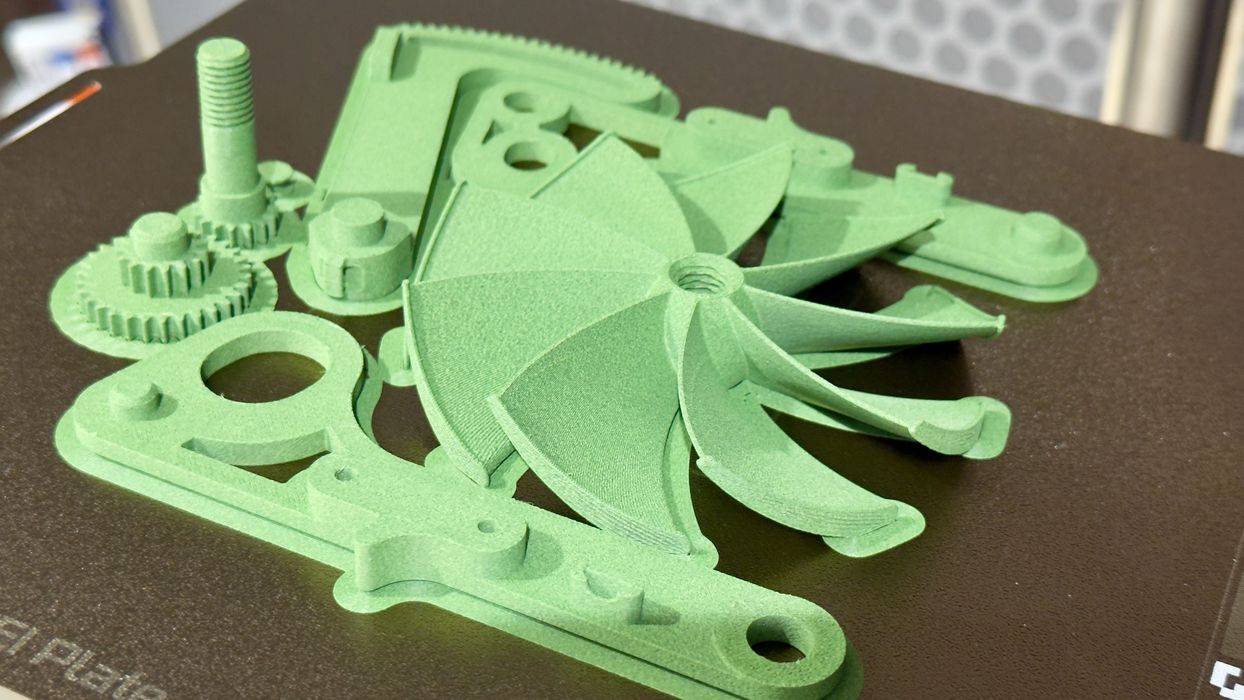
But when I printed a plate of parts for this squeeze fan, they all came out perfectly — and this was with the same presets.
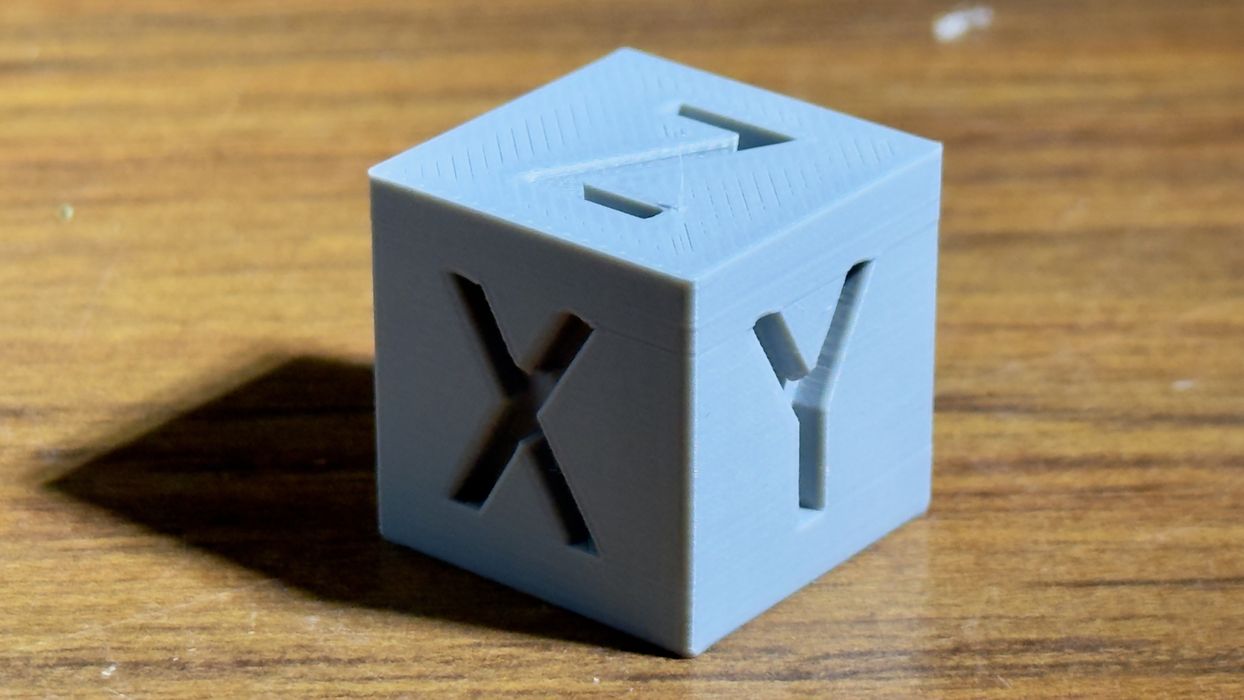
Again some under extrusion, although not as much, on this test of PETG.
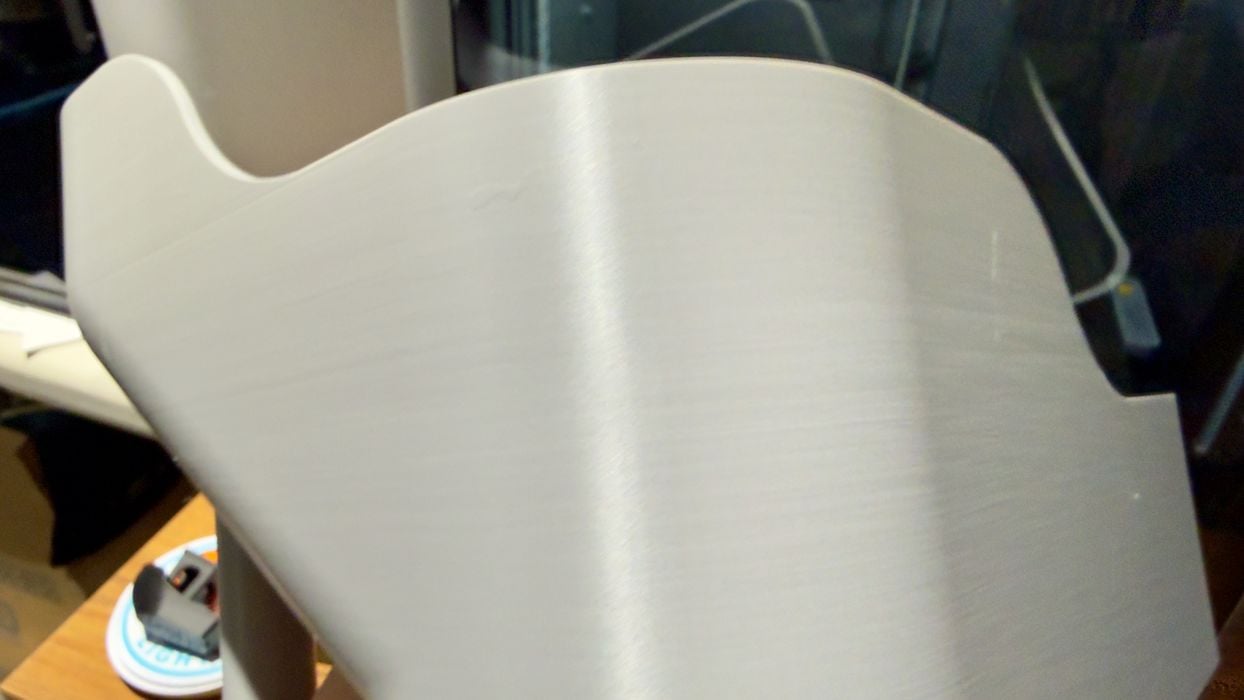
I eventually printed a massive poop bucket in PETG for the P2S, retiring my cardboard box to the recycling bin.
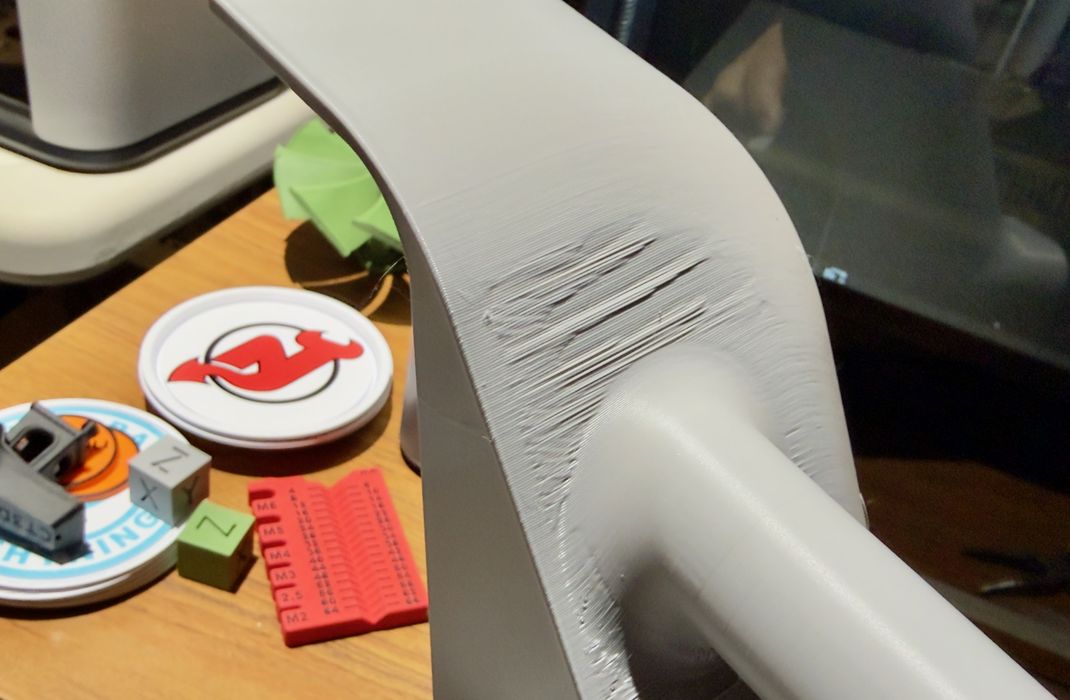
However, underneath there was a bit of a droopy section where some supports might have been useful. Again, this can be cured with some slight tweaks to the print parameters, but I was using the defaults for this test. Regardless, the poop bucket worked very well.
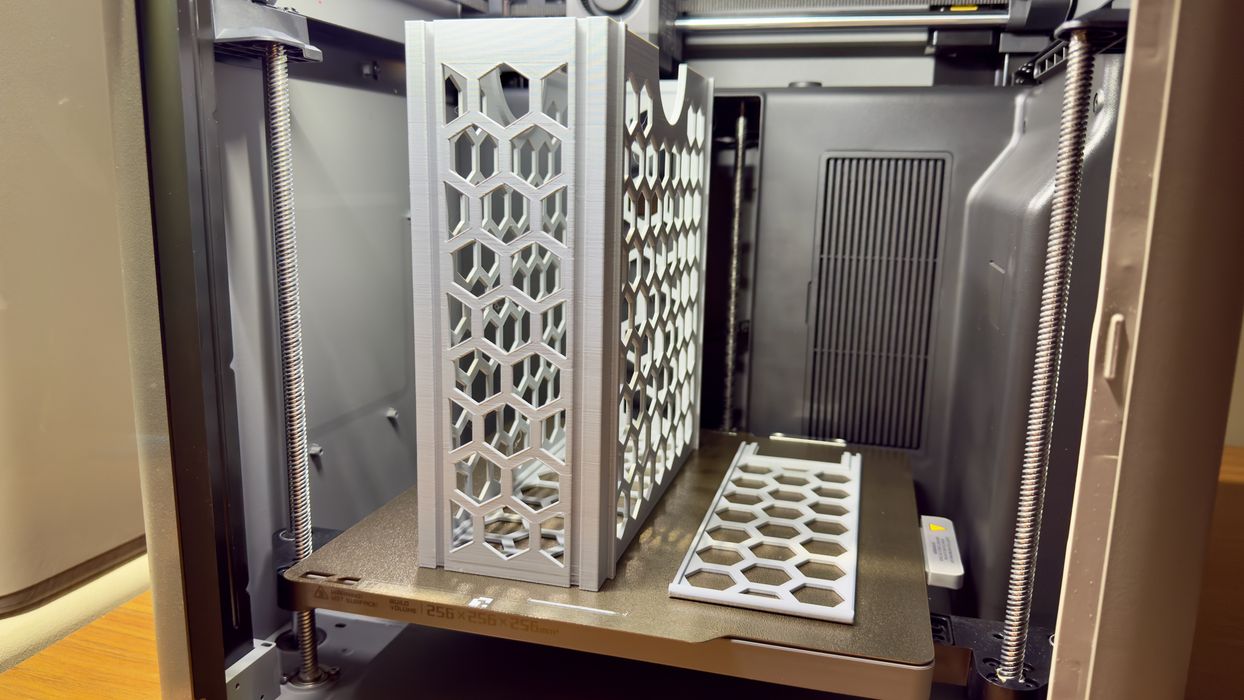
I printed these large spool containers, which happen to interlock. I found that the dimensions were perfect, and they easily slid together to make a collector for spools.
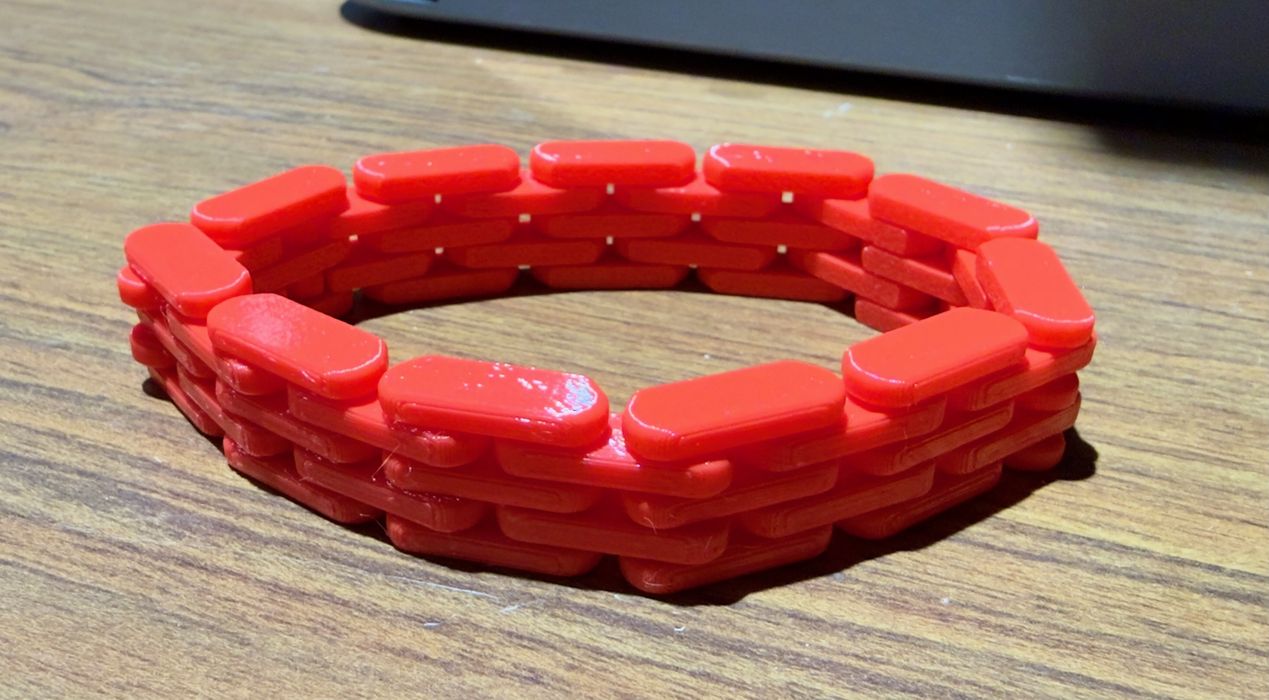
TPU for AMS is pretty rigid, but I did print a bracelet. This material really acts like it’s rigid if you print anything large. I suspect its value is when you print small or thin items with it that would actually be flexible.
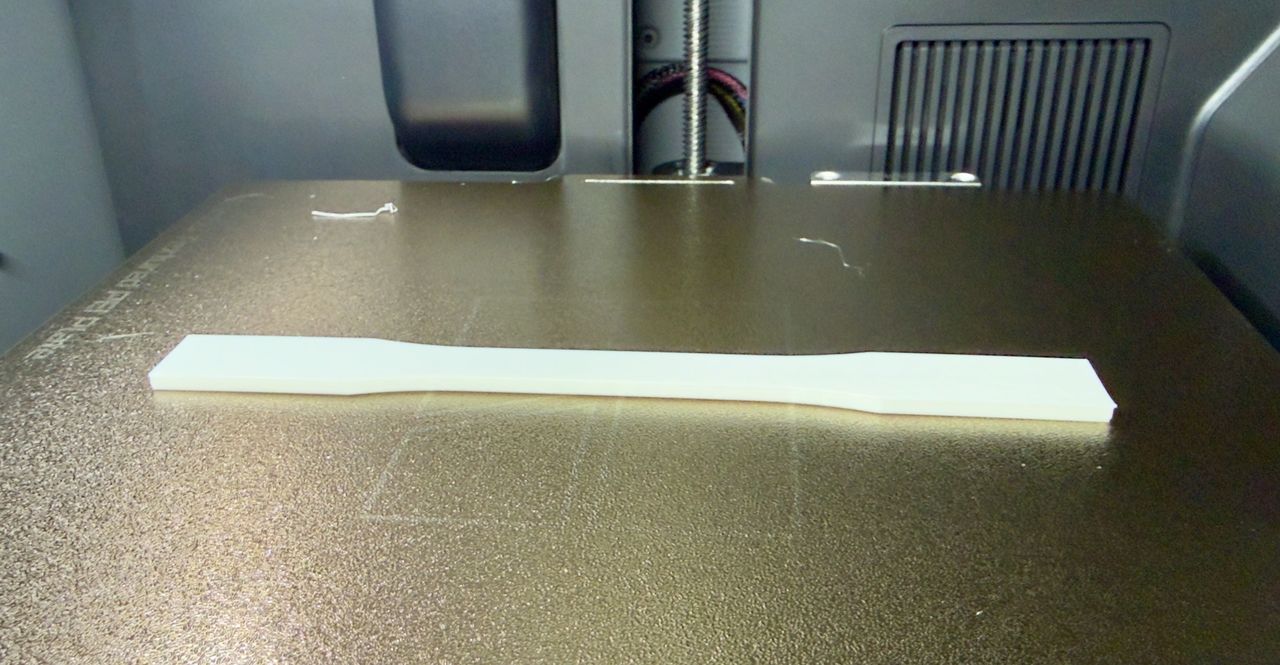
Could we print ASA or ABS on the P2S? These materials are notoriously warpy. My test specimen worked perfectly and did not warp even the slightest.
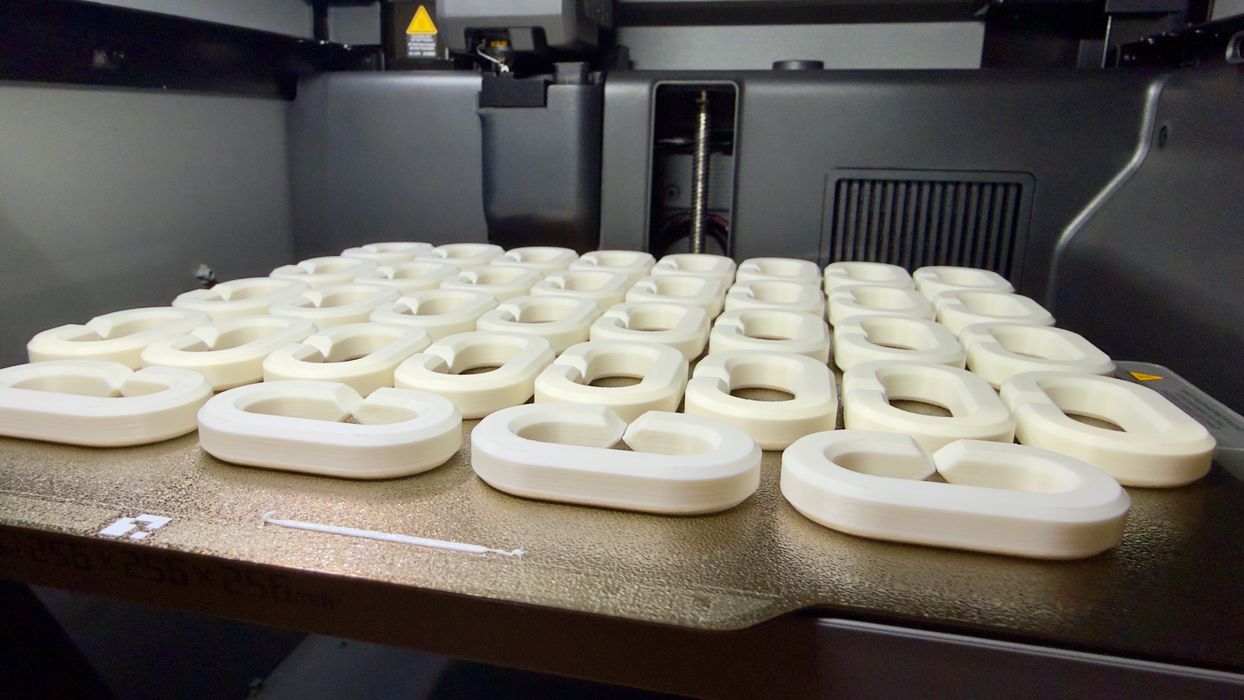
My ASA chain printed perfectly, showing that the P2S is ideal for printing with ABS and ASA materials.
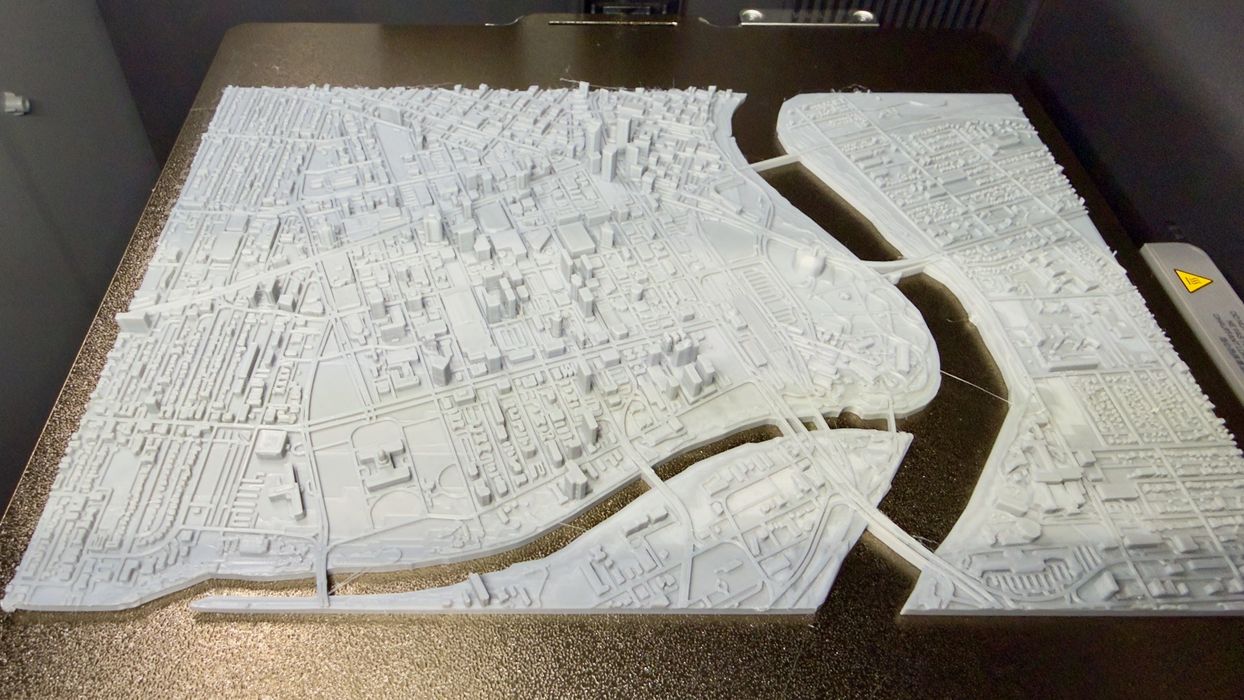
For my 0.2mm nozzle test, I printed a highly detailed city model, which turned out to be quite amazing.
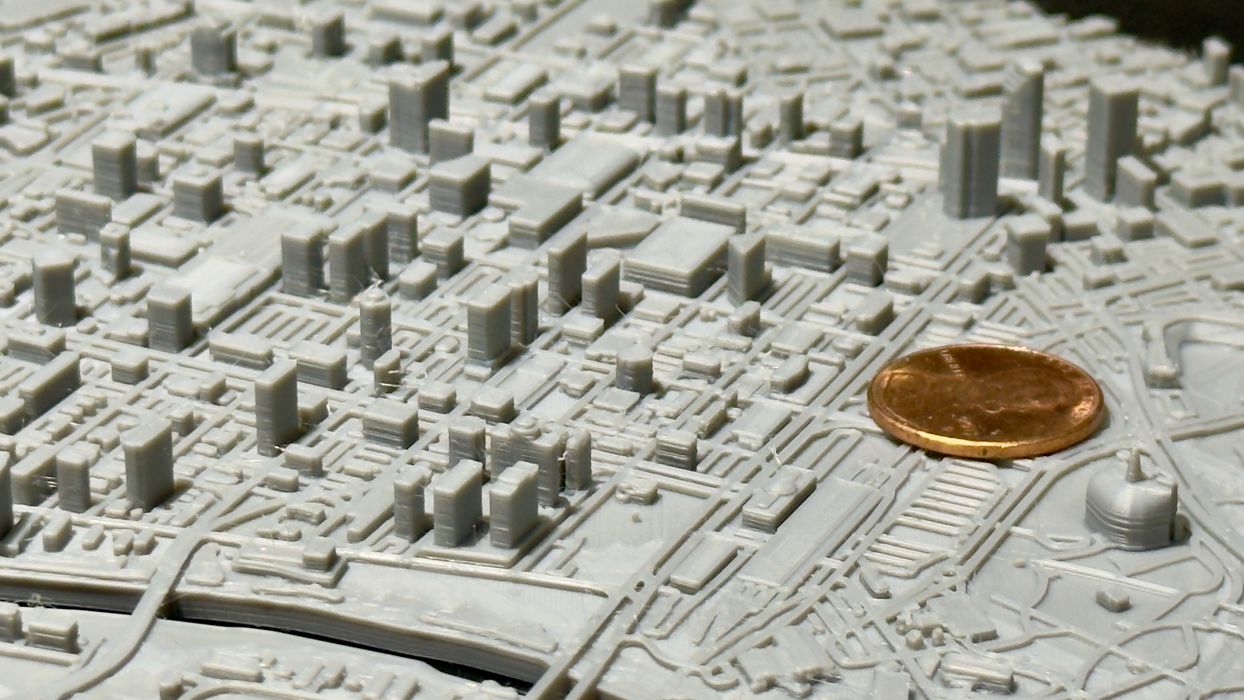
Here you can see the detail possible with the 0.2mm nozzle.
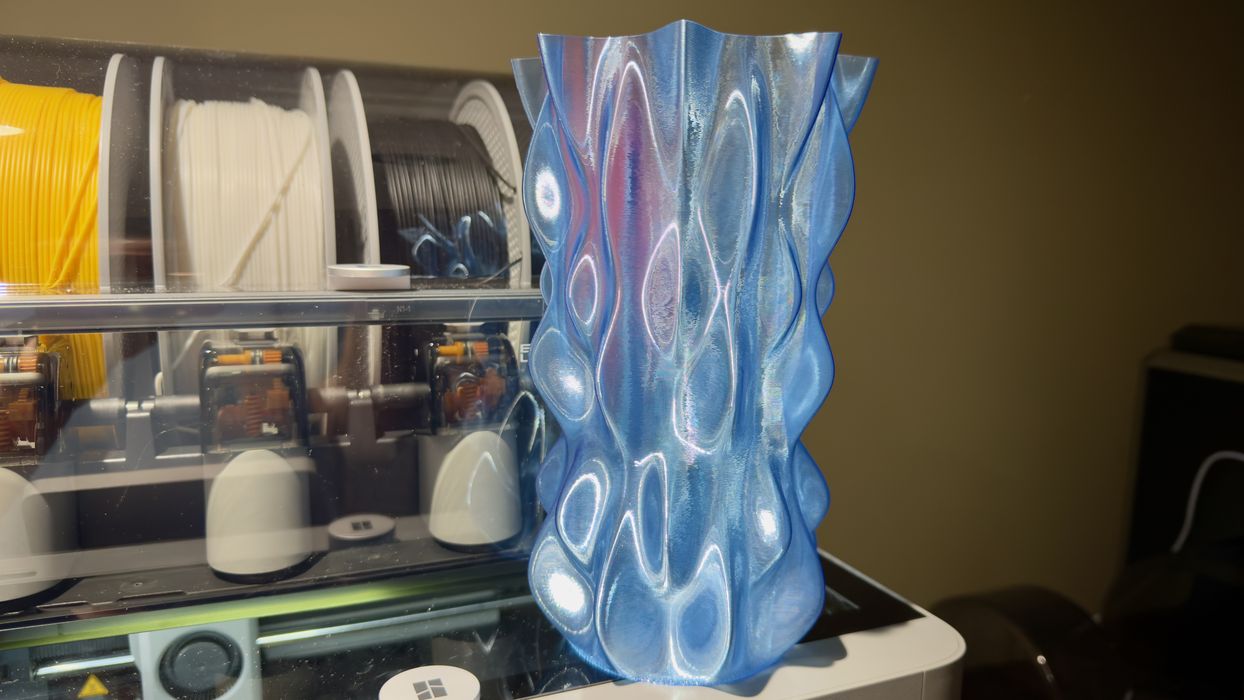
I printed a large Lumpy Bumpy vase with transparent PETG using the 0.8mm nozzle in spiral mode. Note: spiral mode works best when a large nozzle is used to widen the single wall. This print is incredibly beautiful and it shines brilliantly in the sunlight. Highly recommended.
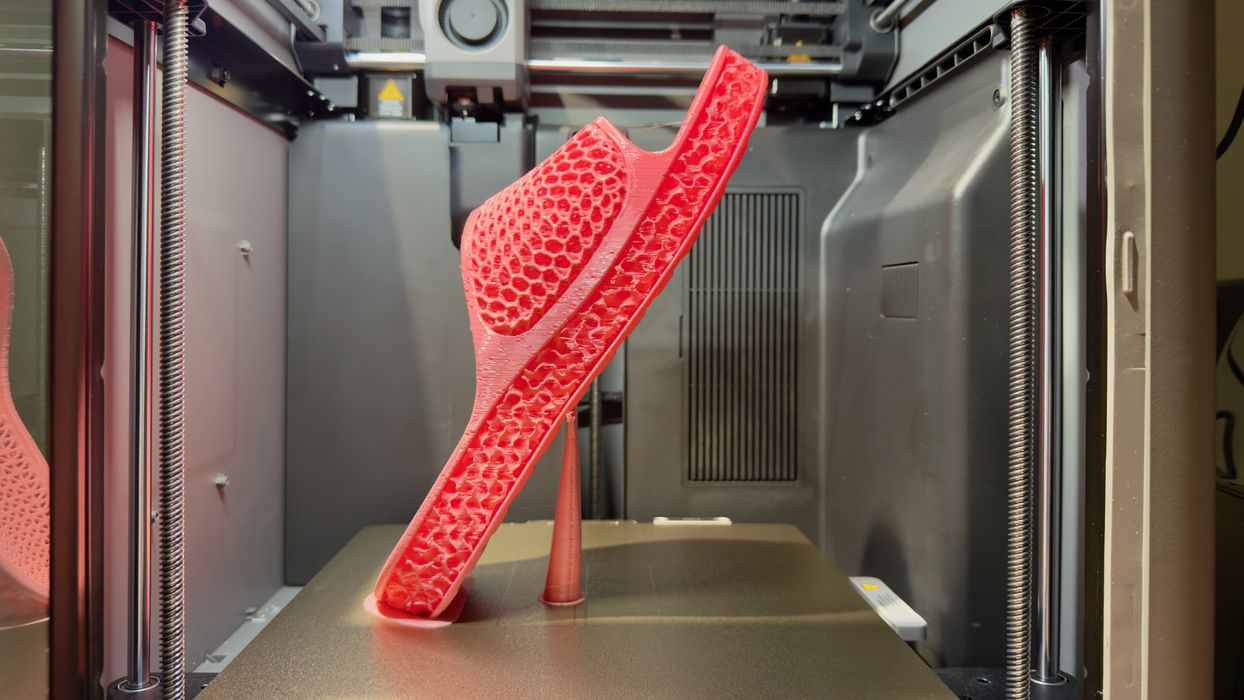
For shoe printing, after I sorted out the feeding issue I printed this beach sandal in TPU 90A. It completed very well, although some of the complex innards were a bit wobbly. It does fit and offers a good, soft feel. A pair of these could actually be used in real life.
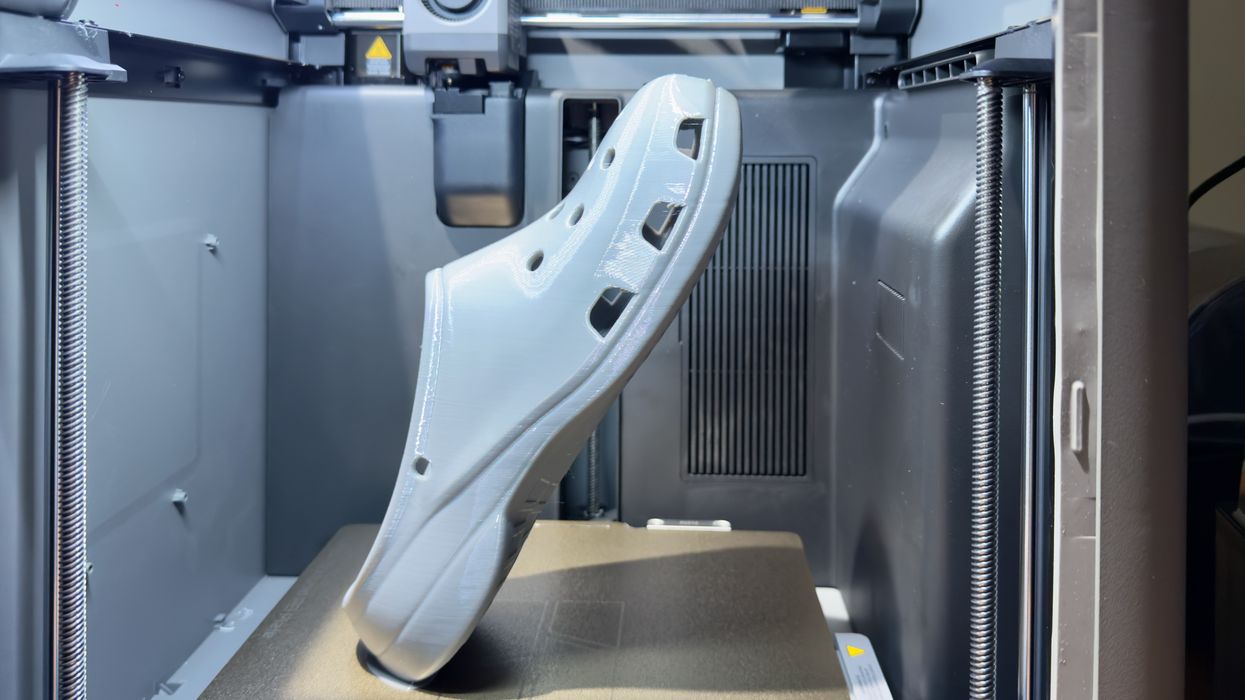
This is a shoe printed in TPU 95A, which is a bit more rigid. The print came out perfectly, but it turns out that TPU 95A is way too rigid for use in a shoe, aside from perhaps the bottom sole. This shoe could hardly bend at all, making it unwearable. Printing shoes is a complex business, it turns out.
Bambu Lab P2S Combo Final Thoughts
I’m very impressed with the Bambu Lab P2S. It was straightforward to set up — aside from the shipping bolt problem. The configuration steps were largely automatic, but took a pretty long time to do.
Operation of the P2S is not simple, but there are plenty of assists along the way. The machine often presents QR codes for more information or tutorials, and sometimes even presents images of what you should see or do. Most people should be able to run this machine.
Software for the P2S is basically the same software you’d use for any Bambu Lab machine, and so the experience — and issues — are the same. The only issue I found with the software is that you can get tangled up with material changes from time to time. You have to be quite diligent to ensure all materials line up across machine, spool and software.
Print quality is always good and sometimes outstanding on the P2S. I can see this machine being used regularly to produce all kinds of items, particularly because of its ability to handle such a wide range of materials.
One persistent challenge, however, is TPU. The P2S does print TPU, but only when you take a number of extra, error-prone steps. Part of this is the nature of TPU, it’s just a difficult material. Nevertheless, printing TPU is the hardest thing to do on the P2S.
BAMBU LAB
P2S COMBO
★ BEGINNER 9/10
★ ENTHUSIAST 10/10
★ PRODUCTION 9/10
BEST FEATURES
✔︎ Ease of operation
✔︎ Range of capabilities
✔︎ Print quality
QUESTIONS
✖︎ Awkward TPU printing
✖︎ Shipping bolt problem
✖︎ Color management
This is part four of a four part series, please read parts one, two and three.
Via Bambu Lab