
Our look at the Elegoo Centauri Carbon CANVAS upgrade continues with unboxing, assembly, setup and calibration.
This is part two of a three part series, please read parts one and three.
CANVAS Upgrade Unboxing and Assembly
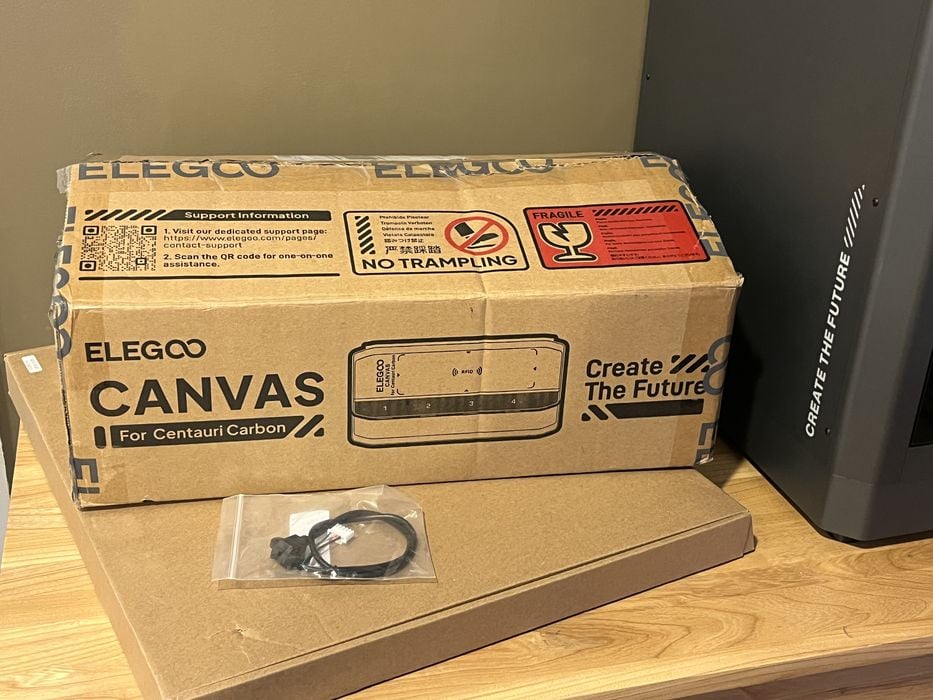
The CANVAS upgrade for the CC1 ships in a modestly sized cardboard box approximately 44cm x 30cm x 15cm – quite a bit smaller than the AMS units we have received from other manufacturers.
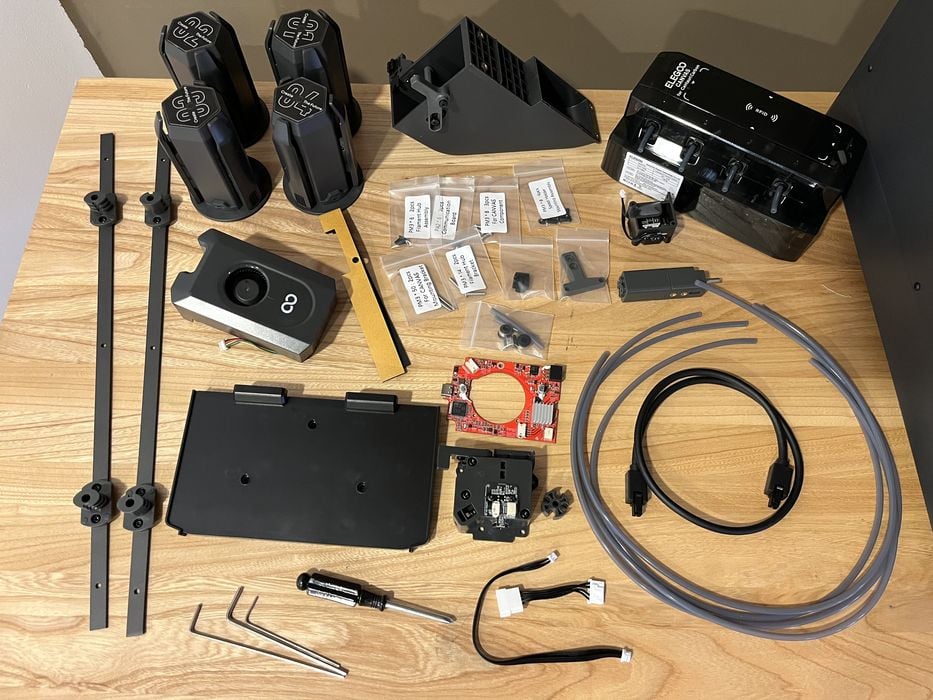
We spread the contents of the box out on our workbench to get a good look. Here we saw a printed user manual, spool holder mounting assembly (x2), spool holder modules (x4), model cooling fan assembly, CANVAS mounting bracket, foam gasket, nozzle wiper assembly, various bags of screws and hardware, filament hub bracket, filament hub, nozzle wiper block, communication board, gearbox/filament cutter assembly, CANVAS extension adapter cable, sensor board cable, PTFE tubes (x4) and clip, 4-pin communication cable, heatbreak fan assembly, screwdriver and hex wrenches, and finally the CANVAS module itself.
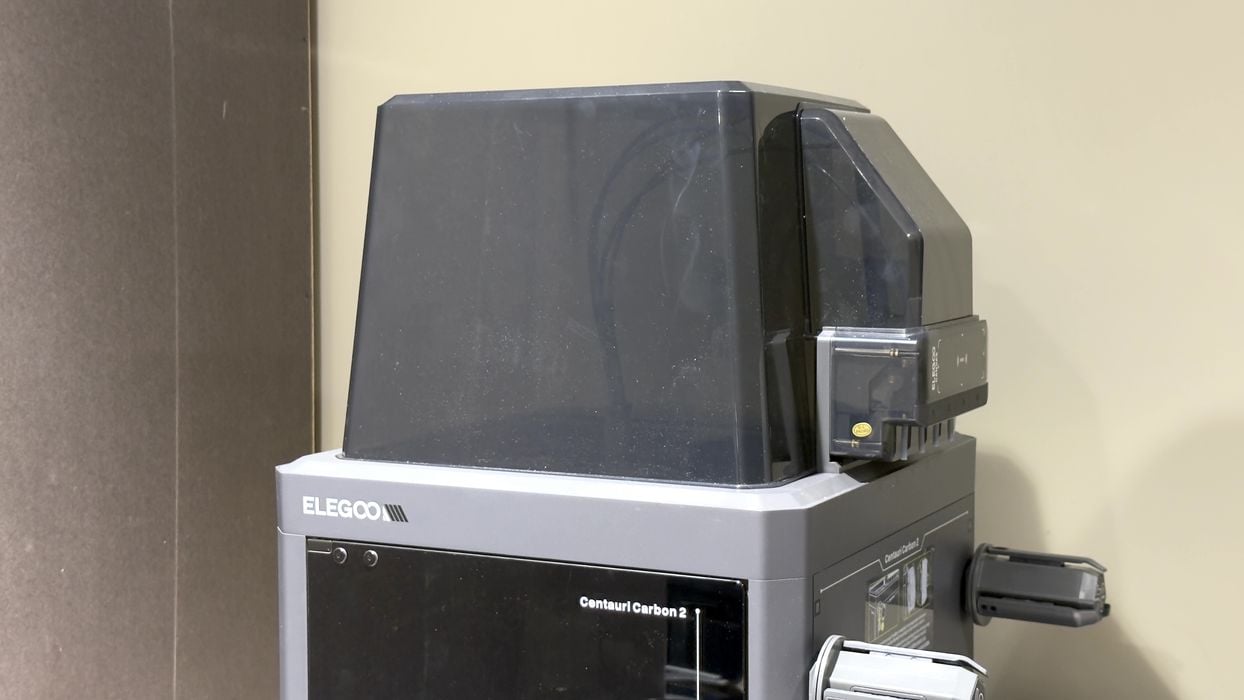
Curiously missing is a lid for the printer.
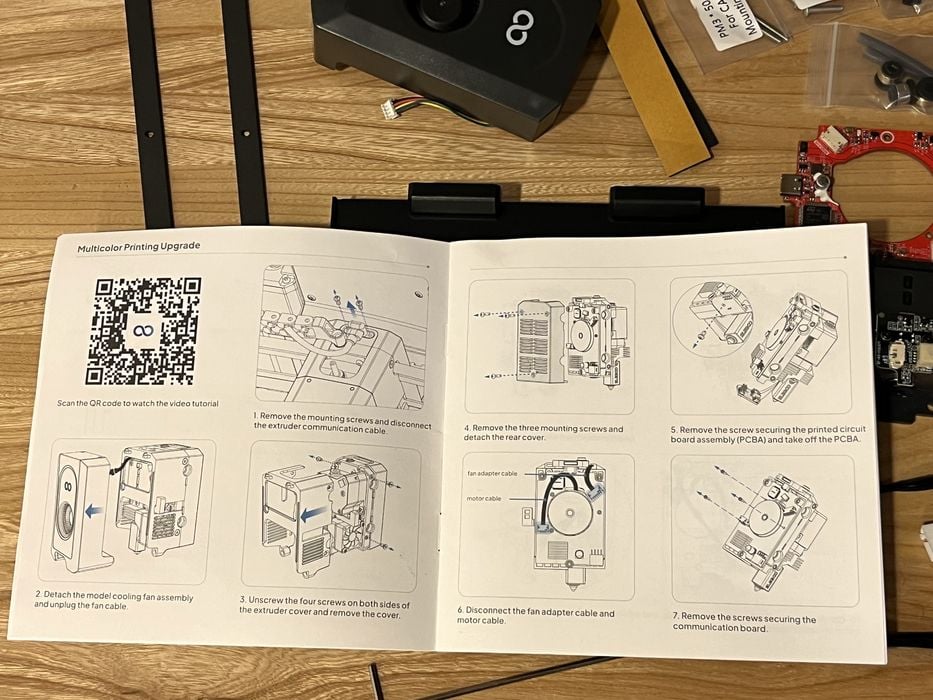
We thumbed through the printed user manual to become acquainted with the upgrade, finding a QR code several pages in that led to an excellent YouTube video showing the upgrade in detail. While viewing the video we noted that the install was being performed to a Elegoo Carbon Centauri CANVAS Upgrade equipped with a rear CANVAS communication cable connector on the back panel.
Our pre-release CC did not have that feature, so we asked Elegoo for any missing parts we may need.
The manual shows the upgrade spread across a total of 42 steps, each well illustrated & captioned, but we strongly suggest watching the video prior to attempting the upgrade, as it covers a few extra steps not covered in the manual.
The video also helps put the upgrade in perspective as to the level of difficulty. In fact, Elegoo might want to include the video front and center on their CANVAS purchase page, just so someone can see what they are in for prior to purchasing.
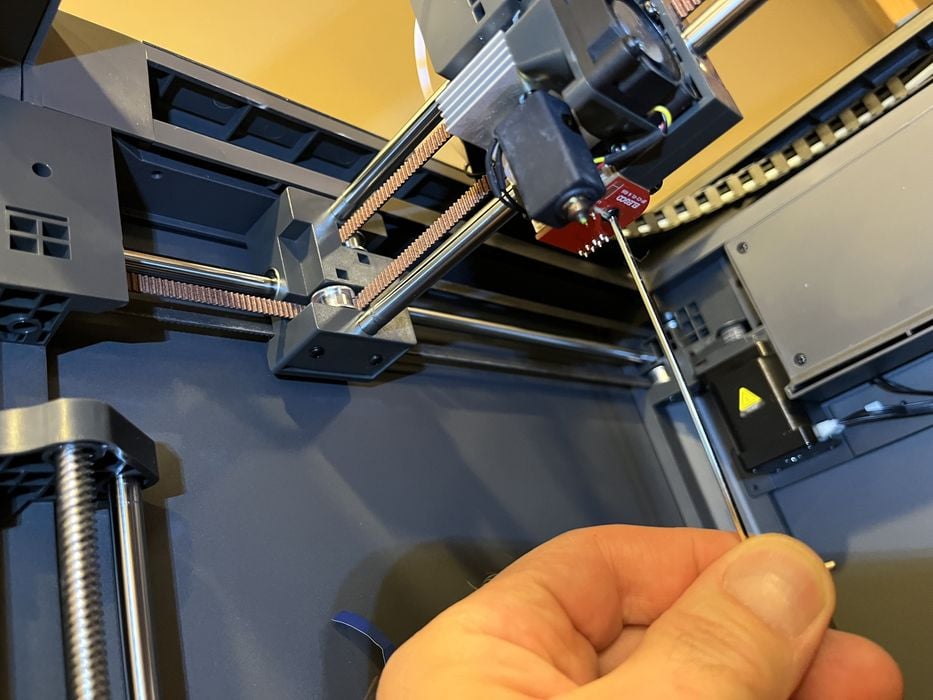
A considerable portion of the upgrade involves replacing key components of the carriage, with the communication cable, cooling fan assembly, front and back carriage covers, small PCBA connector and a few other cables all getting removed, just to be able to pull the PCB from the carriage.
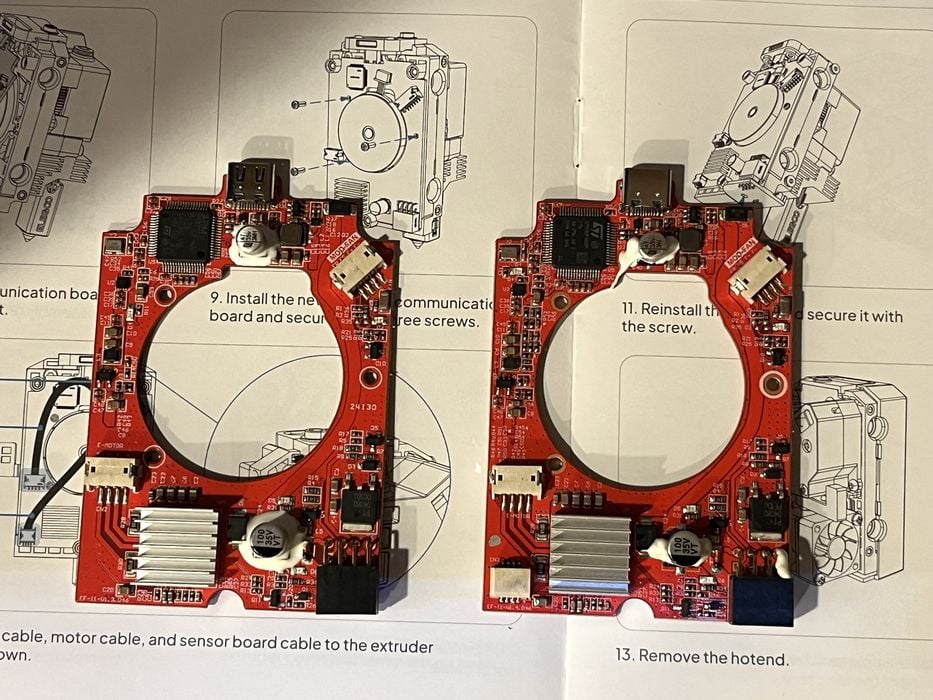
The goal of all this is to install a new PCB containing an additional connector for a new sensor. That said, a side effect to the addition of an extra cable meant more space was needed to route the cables.
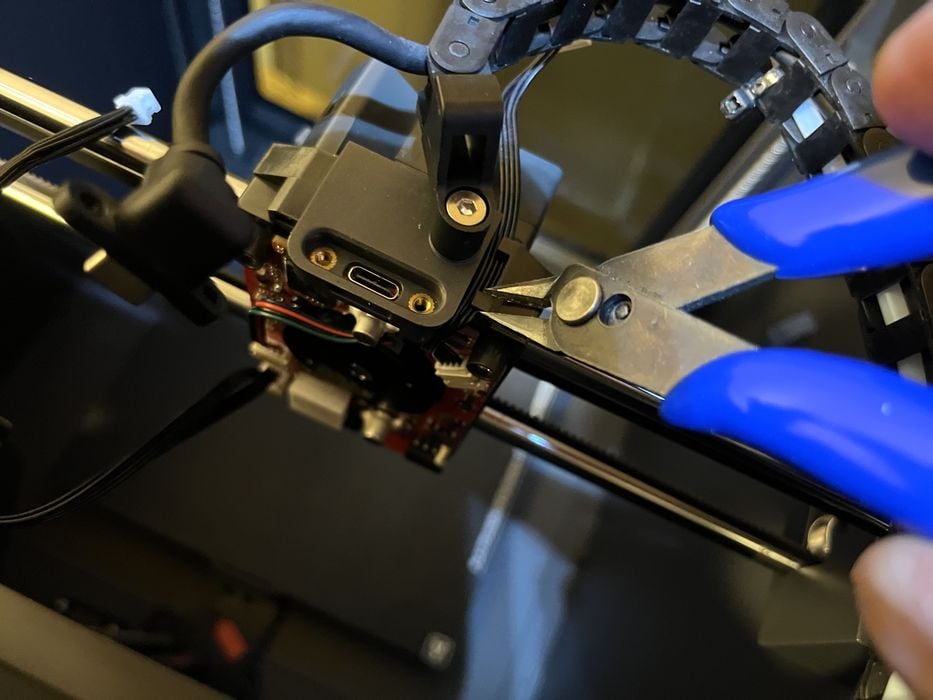
The printed manual does not mention this, but the video shows the operator clipping off two small plastic tabs on the top of the carriage to make room for a new sensor cable to pass from front to back via a small channel.
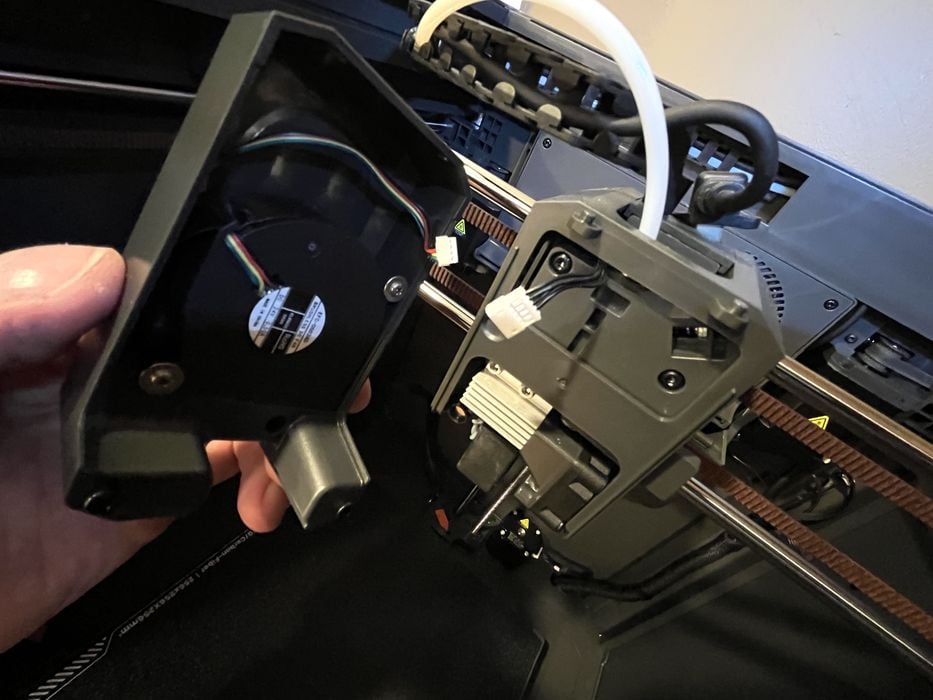
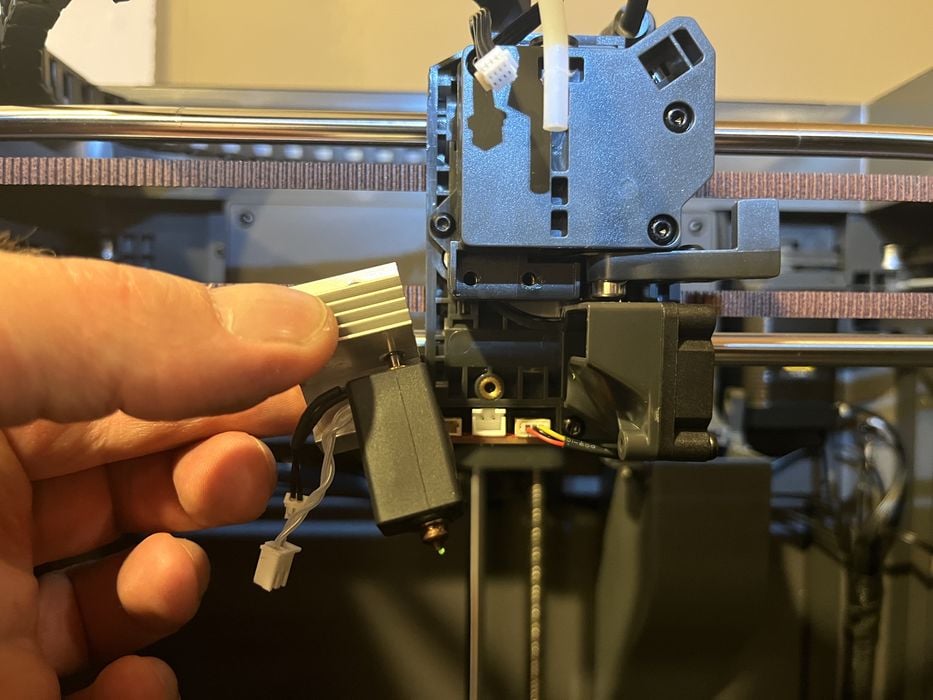
The front of the carriage also gets some alterations, with the heatbreak fan and gearbox/filament cutter assembly being removed and swapped out. The new gearbox/filament cutter assembly has some new connectors, with one of them being the new filament sensor.
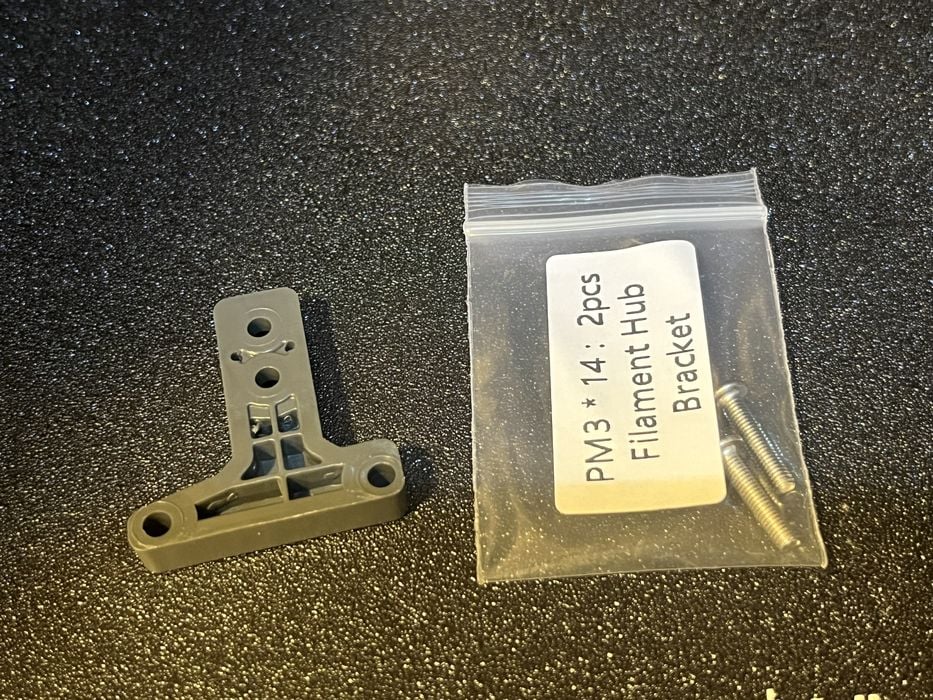
A filament hub bracket is a new addition and gets attached to the top of the carriage, secured in place with two new longer screws that replace the two upper screws normally attaching the gearbox/filament cutter to the carriage.
A 4-port filament hub is then inserted into the top of the printhead and secured in place on the bracket. In our case, the hub initially wouldn’t seat, but when we prodded the small metal tab on the side of the hub, it dropped into place.
The model cooling fan assembly cover also gets swapped out. But the new version looked nearly identical to us, so we’re not sure what the benefit is supposed to be.
The printed manual shows reattaching the communication cable to the top of the carriage in its original position, but the video gives clear instructions to reorient the cable. We assume the reason for the change was due a space restriction found in later testing, corrected since the printing of the user manual.
The gist of the procedure was to remove the cable chain screw, detach the first cable chain link section, reroute the cable to be on the other side of the chain, and then reassemble the chain and attach the communication cable to the carriage. Not terribly hard to do.
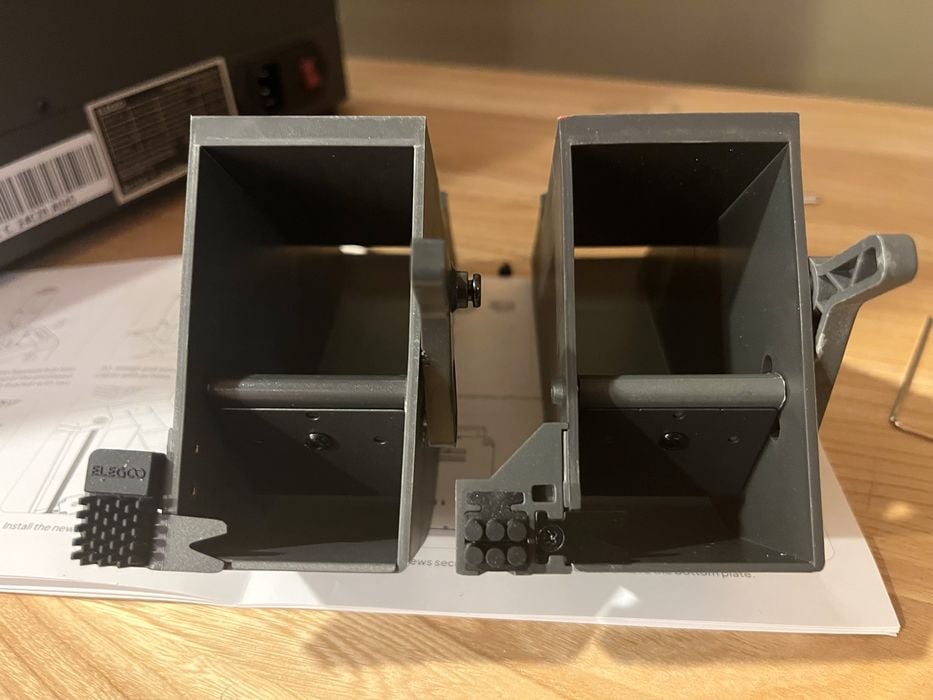
A new nozzle wiper assembly replaces the old unit and swaps out easily with several screws. The main difference between the two was noted to be the type & shape of the small wiper pad.
The printed manual gives instructions to remove the bottom plate of the printer, disconnect the CANVAS cable from the motherboard and then add the CANVAS extension adapter cable.
Unfortunately, our prerelease CC1 did not have a CANVAS communications port in the rear, so no such cable existed to disconnect. We grabbed the replacement back panel and connector that Elegoo had sent as a separate shipment and went about swapping them onto the printer.
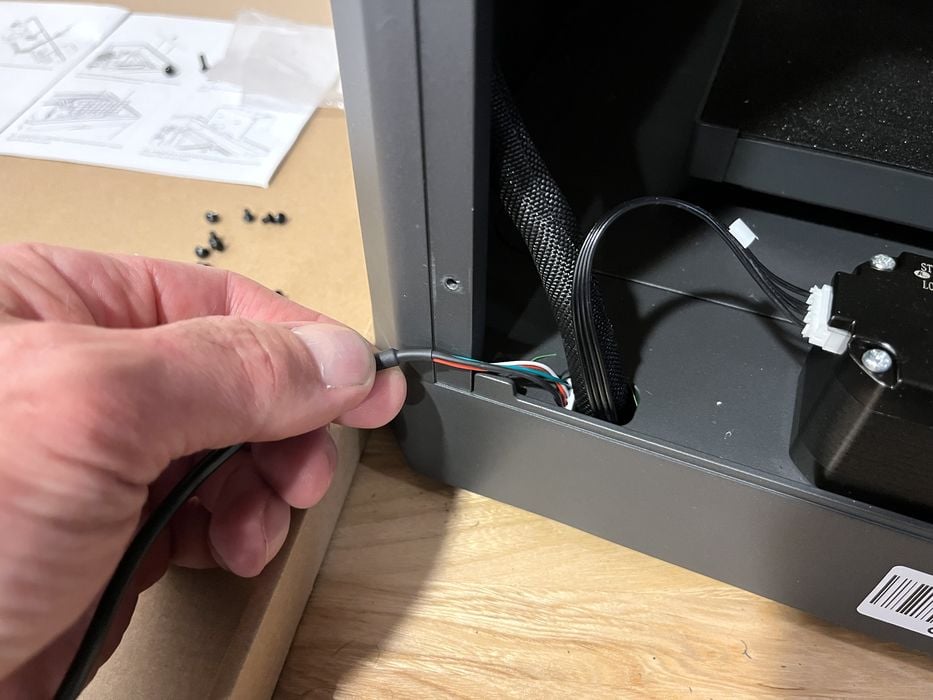
First assembling the new CANVAS connector onto the new back panel and then passing its cable through the bottom of the printer’s chassis before reattaching the back panel onto the printer.
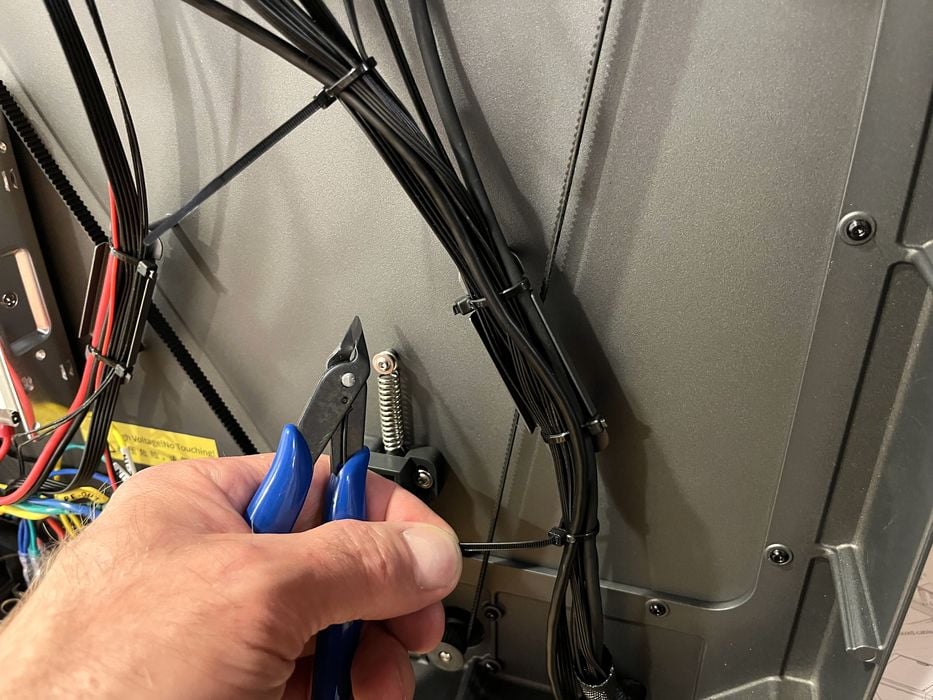
Now when we removed the bottom panel of the printer, we saw the sensor cable that should have been attached to the motherboard. Not mentioned in any instructions is zip-tying the new cable onto the rest of the harness so it doesn’t interfere with the z-axis belt movement.
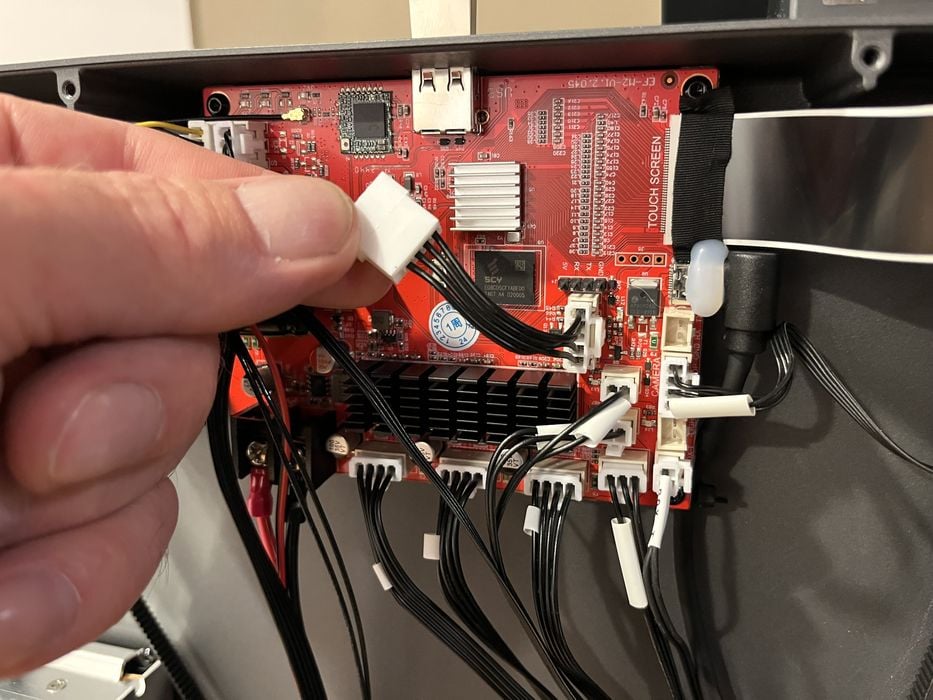
We finished by attaching the extension adaptor cable to the CANVAS port on the motherboard and then the new CANVAS cable to it before reattaching the bottom panel of the printer. The only reason we could think of for the installation of the adapter cable is to correct the wiring to the pins for the communication cable.
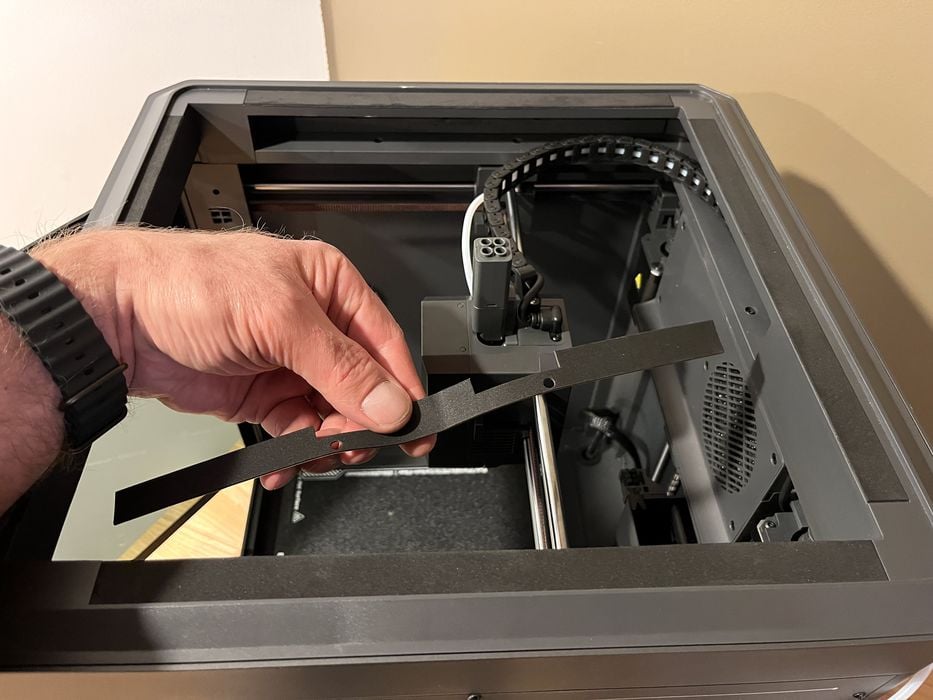
The CANVAS unit mounts on the top right side of the printer and requires the install of a bracket, but before that happens it is necessary to peel off a foam pad to access removing two screws and then install a new piece of die cut foam.
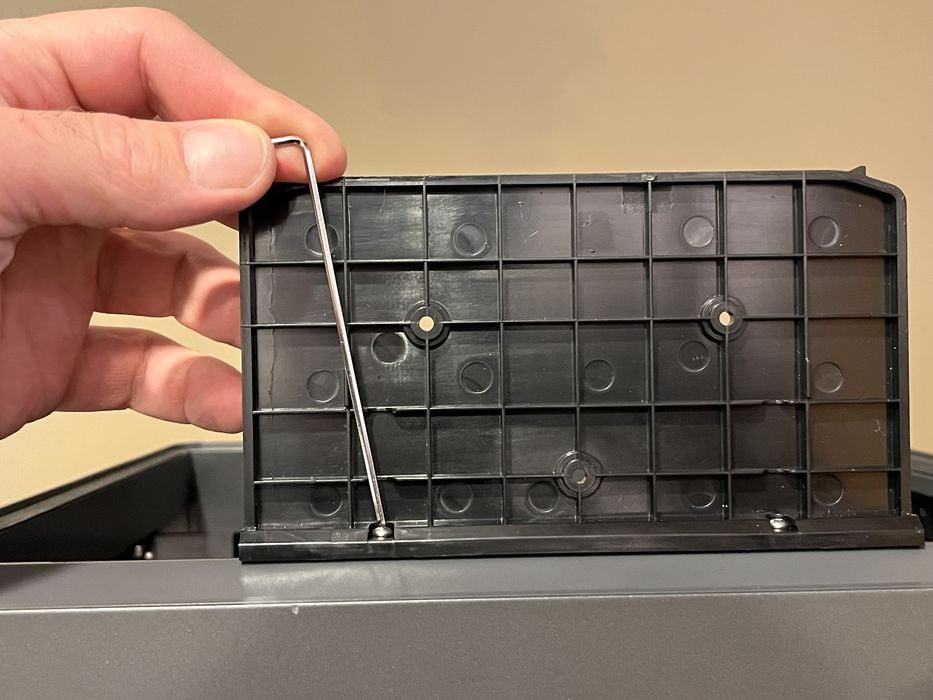
The video shows two versions of foam and the correct version to use in your given circumstance, but we only received one version that unfortunately did not match what was required. Not a big deal though, it isn’t critical to the printer’s operation and we were able to trim it to fit.
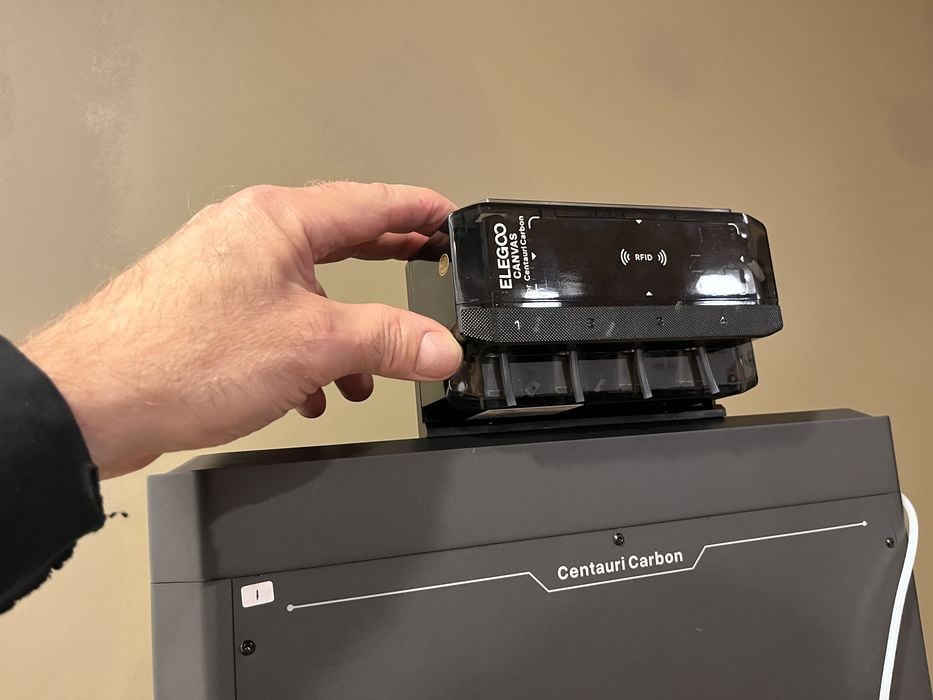
Once done, the CANVAS bracket attached to the printer with two new and longer screws and then the CANVAS module itself bolted onto the bracket.
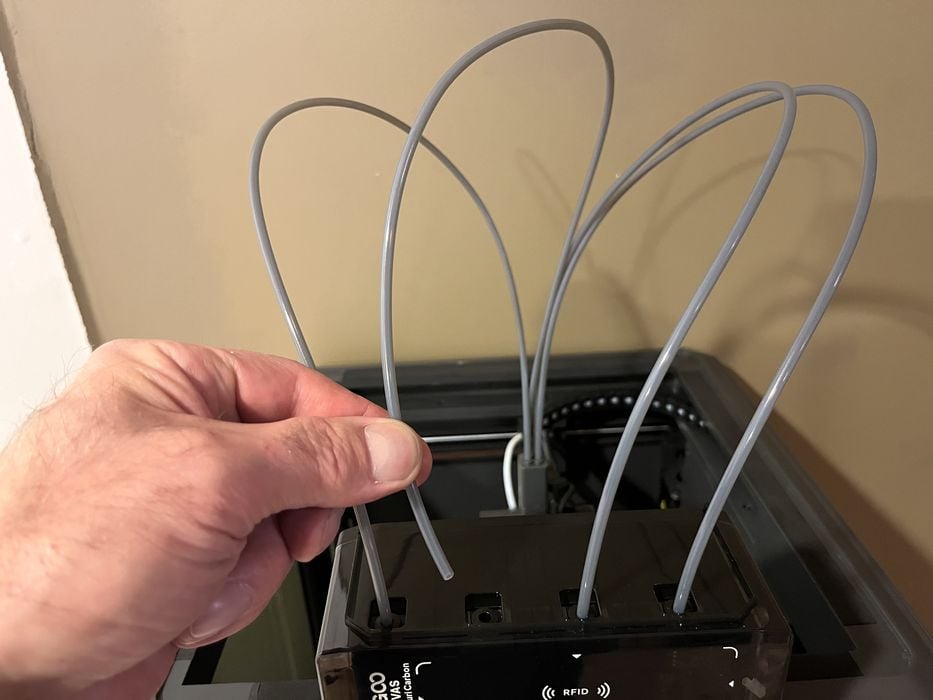
Four new PTFE tubes are installed that interconnect the CANVAS and the hub, with a clip being installed midway down the tubes to keep them neatly organized. This is very important when moving at high speeds.
The now obsolete filament runout sensor gets removed from the right side panel of the printer.
Not mentioned in the instruction manual is removing the old PTFE tube from the cable chain, and/or tucking the old filament sensor’s cable safely out of the way inside the chassis. The video did at least show the removal of the old PTFE tube.
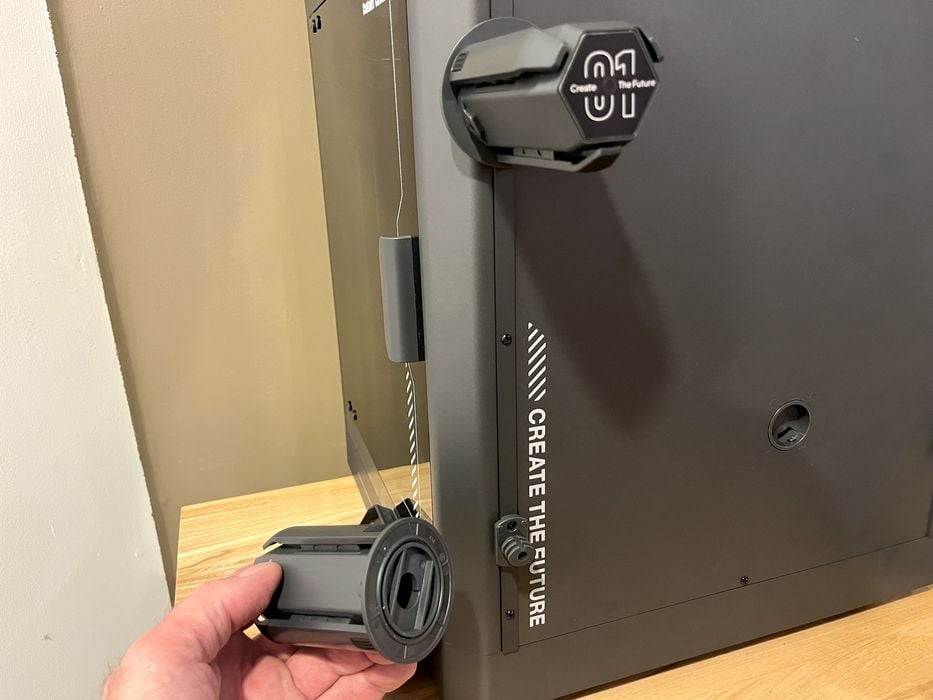
The original spool holder gets removed as well, and then two new spool holder mounting assemblies get installed onto the left and right edges of the right side panel using new longer screws.
Four fancy new self winding spool holders are then attached to the holder mounts by first inserting the end of the spool holder onto the mount and then pushing down firmly to lock it in place.
Important: Care must be taken to orient the numbered spool holders in the right order, as they need to be in the correct position to match up with the CANVAS feed tubes.
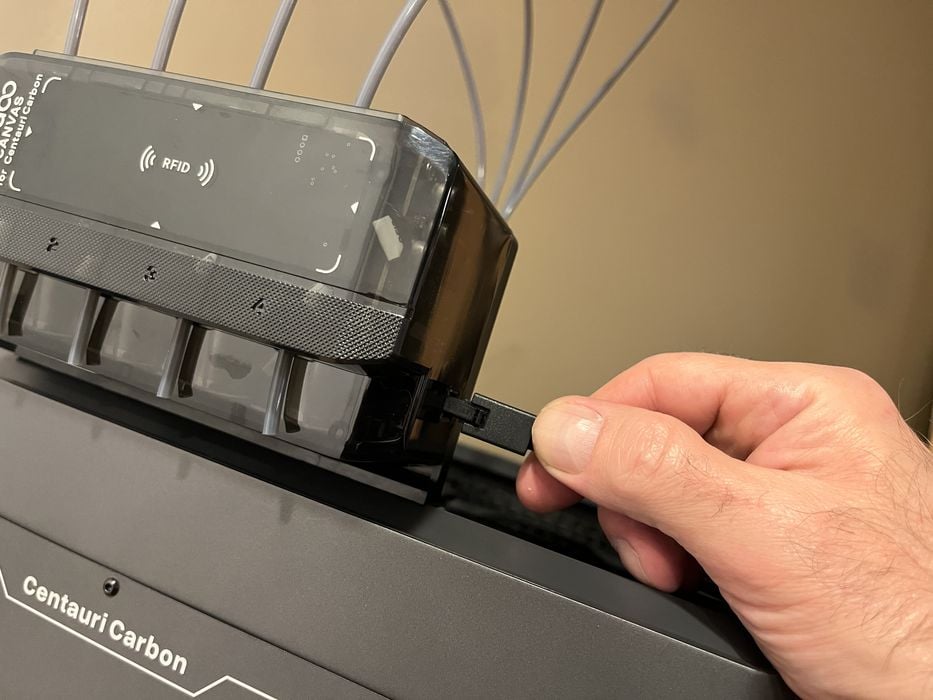
The last thing we did was to connect the four pin communication cable between the CANVAS unit and the new port we had installed in the rear of the Elegoo Carbon Centauri CANVAS Upgrade.
CANVAS Upgrade Setup and Calibration

The printer needed to recognize the new CANVAS hardware, so we next had to flash the firmware. Elegoo supplied us with a link to a new firmware version which we downloaded and used, but the OTA should work as well.
As with any firmware upgrade, upon completion, you should take the time to rerun all the calibrations to get the best out of the 3D printer.
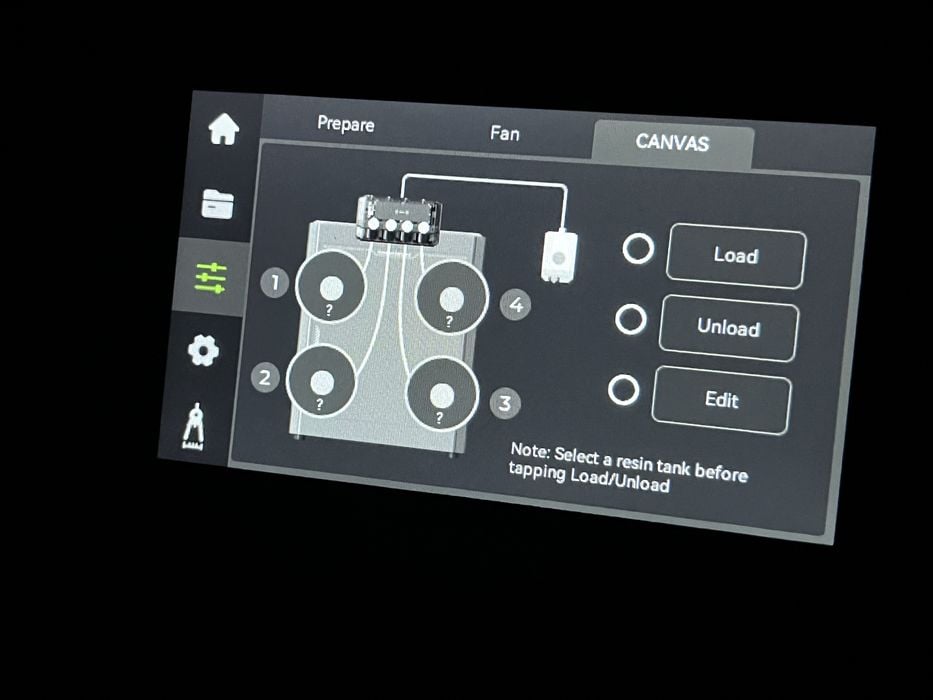
When the printer rebooted we were greeted with a new feature on the home screen – a four empty spools icon. Clicking on this icon took us directly to the CANVAS controls where we could Load, Unload and Edit filament.
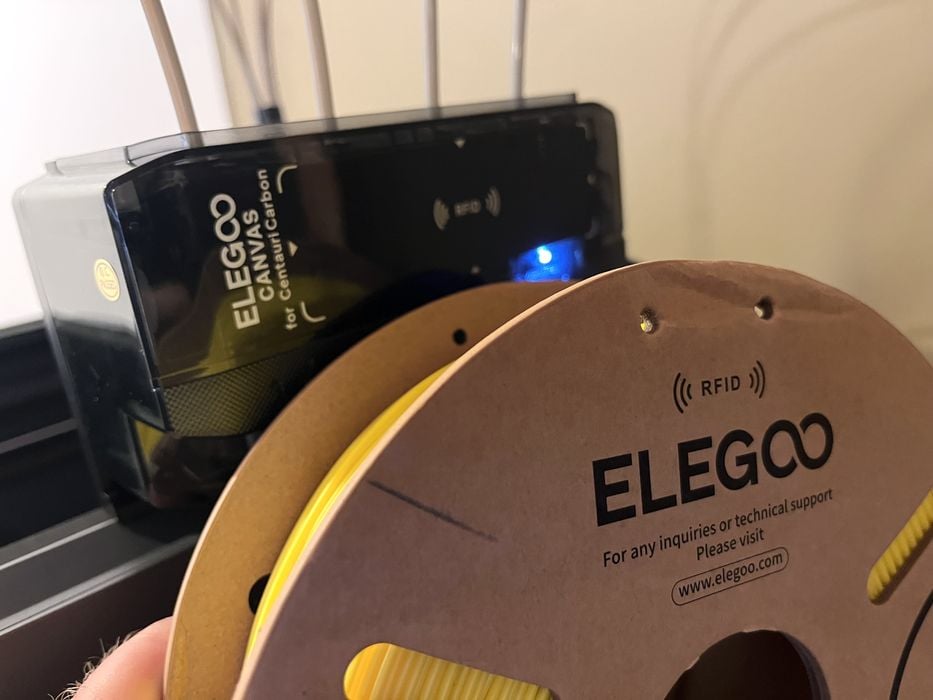
The CANVAS has a RFID reader on it, so we placed a RFID equipped spool of Elegoo branded filament next to the reader, where we heard an audible beep.
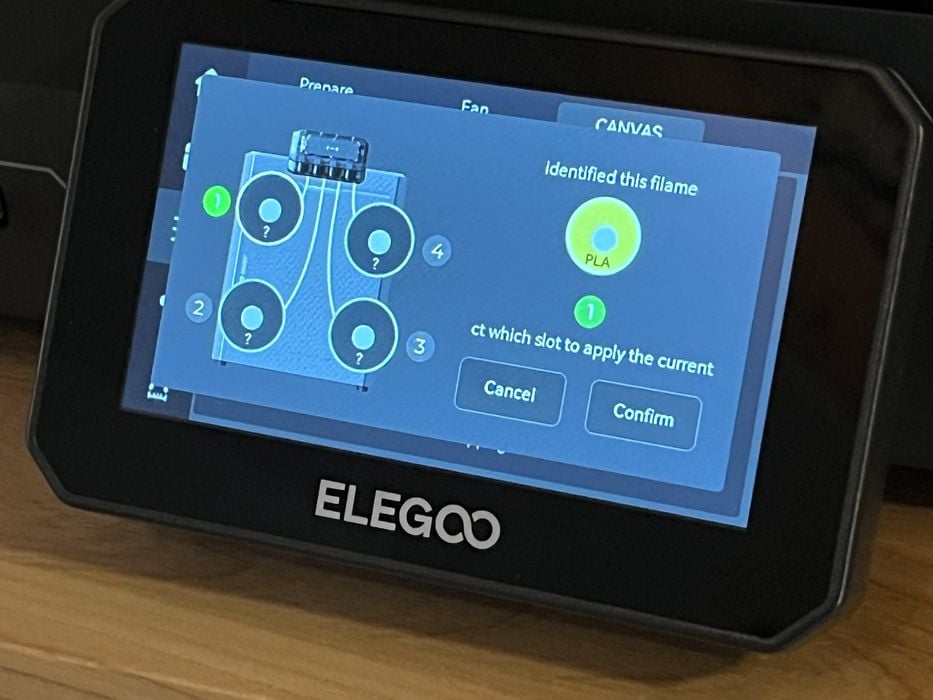
When we looked at the printer’s LCD, we saw the newly identified filament roll and just needed to choose which slot (spool holder) to apply it to.
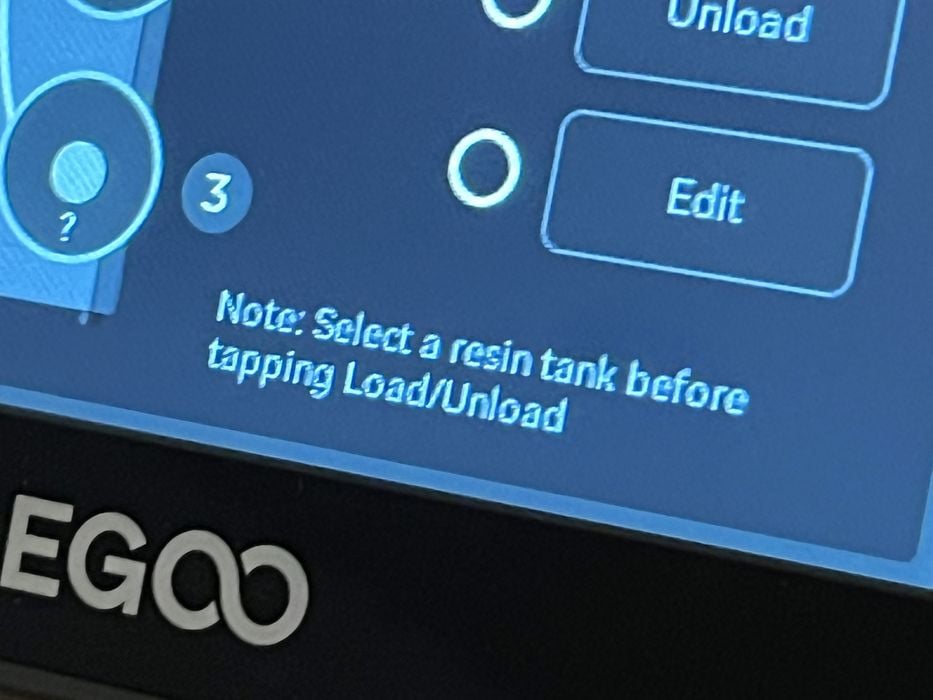
During this process, we noticed some odd text, such as “filamen”, “ct which slot to apply the current” and “note: select a resin tank before tapping load/unload.” The latter which made us chuckle. Evidently there are still a few minor bugs in the system.
We chose spool #1 on the LCD, placed the spool of filament onto the holder with the matching number and fed the filament into the matching numbered inlet on the CANVAS. The feeder motor promptly activated and advanced the filament several inches into the PTFE tubing.
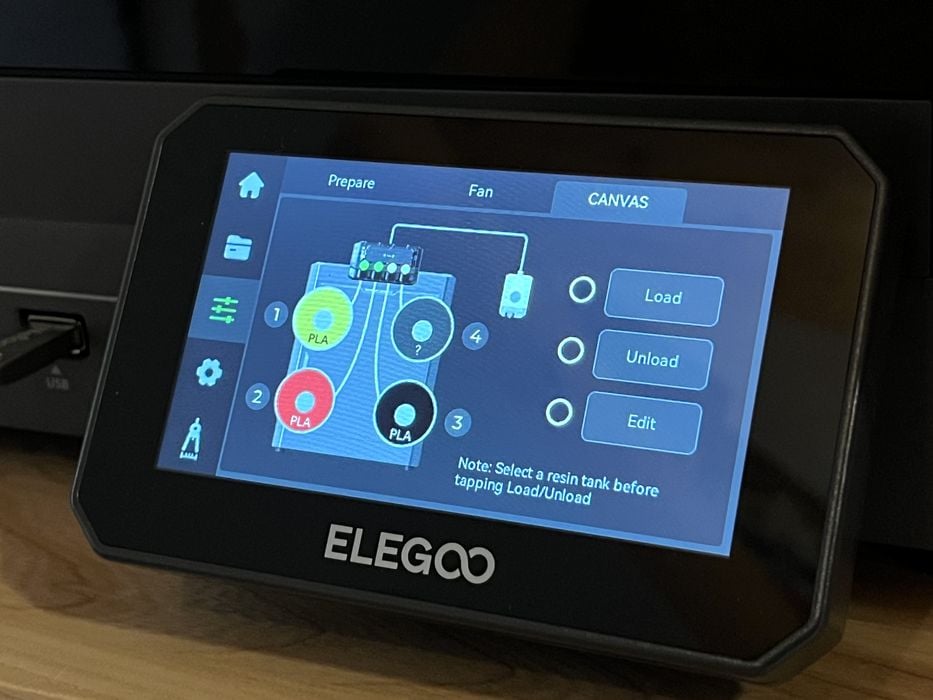
We repeated the identical process with a second roll, but for the third & fourth rolls we had to enter the filament info manually using the Edit command, as these spools were not RFID equipped.
When we returned to the home screen, we saw all four spools displaying as active. It was all working, so far.
This is part two of a three part series, please read parts one and three.
Via Elegoo