

This is the second part of a two-part series on the Formlabs Form 2 desktop 3D printer. Part one is here.
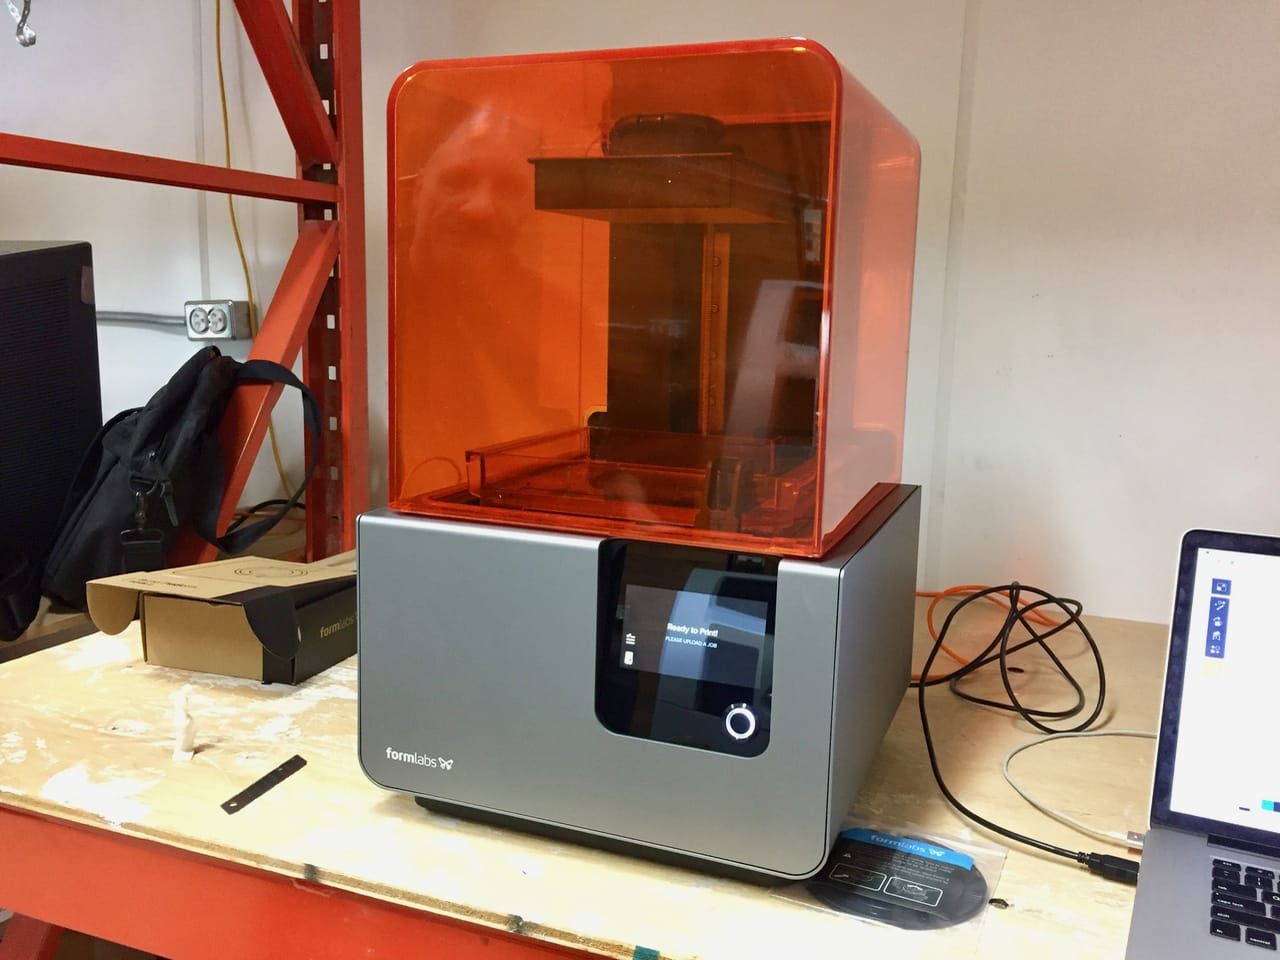
First, the machine determines if it is sufficiently level. If it isn’t then the resin might slop around and even out of the resin tank. There isn’t a danger of misprint, however, because the Form 2 prints through the transparent bottom of the tank as opposed to a tilting liquid surface on the top. The tank bottom is guaranteed to be flat and square at all times.
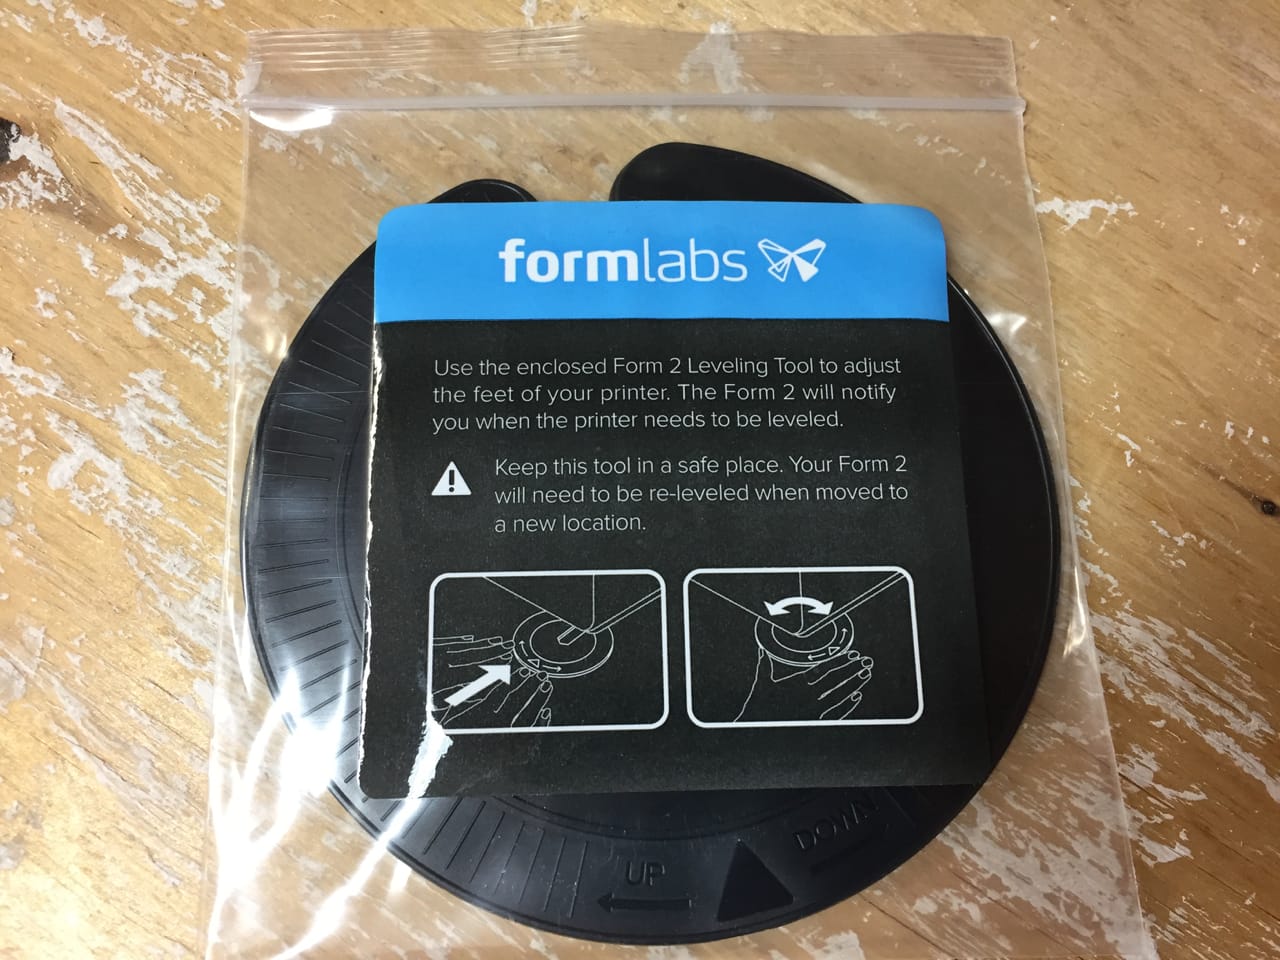
To level the machine you use these interesting tools, which fit on the feed under the machine. The wide brim allows you to turn the feet either direction to raise or lower that corner. We found this to be a fun method, but they did tend to slip off the feet at times. When the machine is level, it will tell you so.
I suspect the leveling test is performed each time a print is attempted, as it doesn’t know if the machine as been reoriented in between prints. However, as we did not the leveling action did not reappear on a second print attempt.
Printing proceeds automatically from that point, but the first item on the agenda is to fill the resin tank.
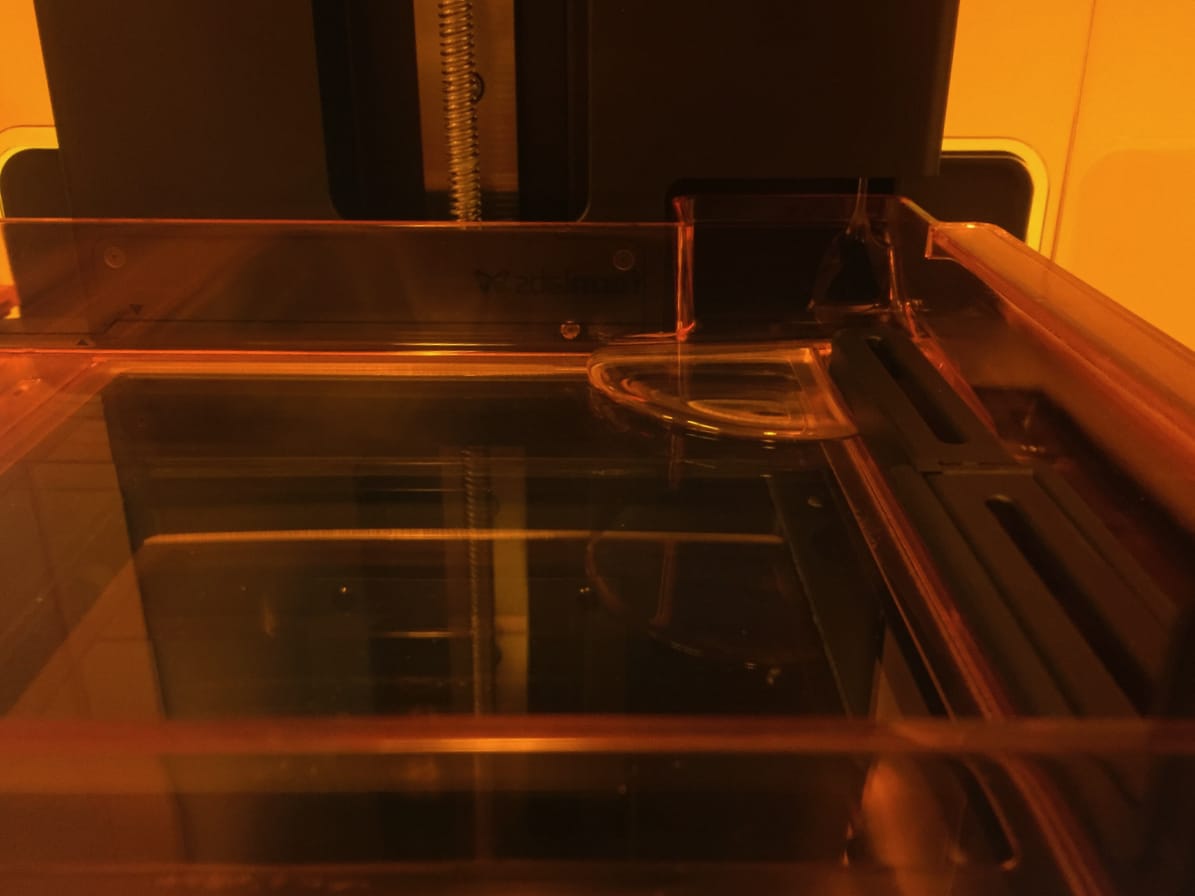
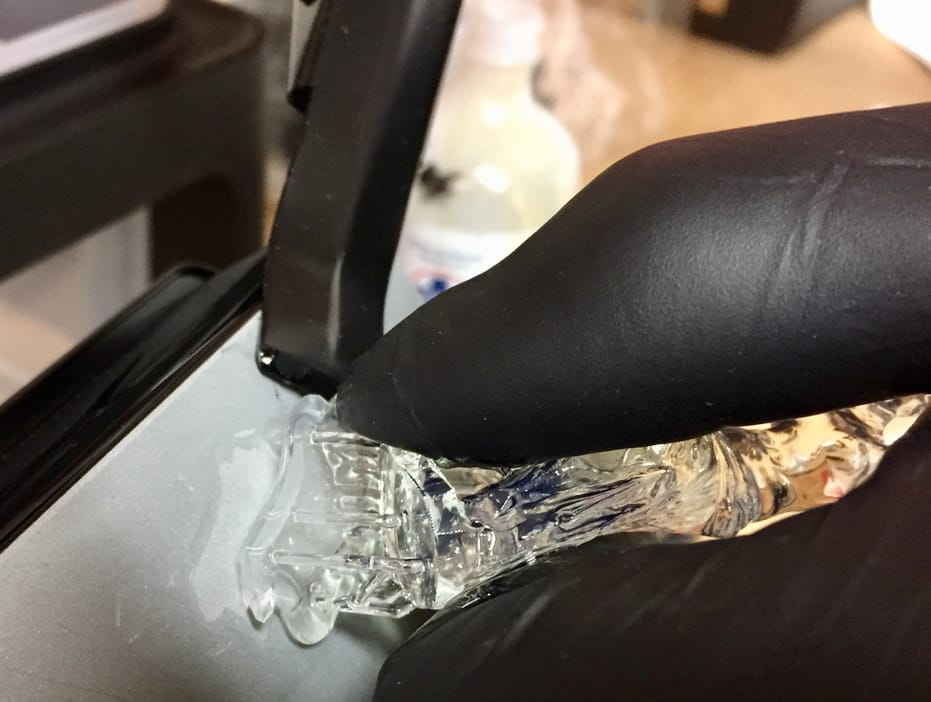
Here you can see the resin oozing into the resin tank from the cartridge. A port is opened on the bottom to permit an amount of the honey-like resin to slowly pool on the bottom of the tank. This takes a minute or two to complete before printing begins.
Another action occurring during printing is that the resin tank is heated to 31C, presumably to reduce the viscosity of the resin. Both the resin amount and temperature must be at correct levels for printing to commence.
The first layer or two of the print proceed quite slowly, perhaps to ensure proper adhesion. But soon the machine winds up to full speed and layers fly by at a good speed. However, remember that high resolution prints require many more layers than you might expect to see on a typical extrusion based desktop 3D printer.
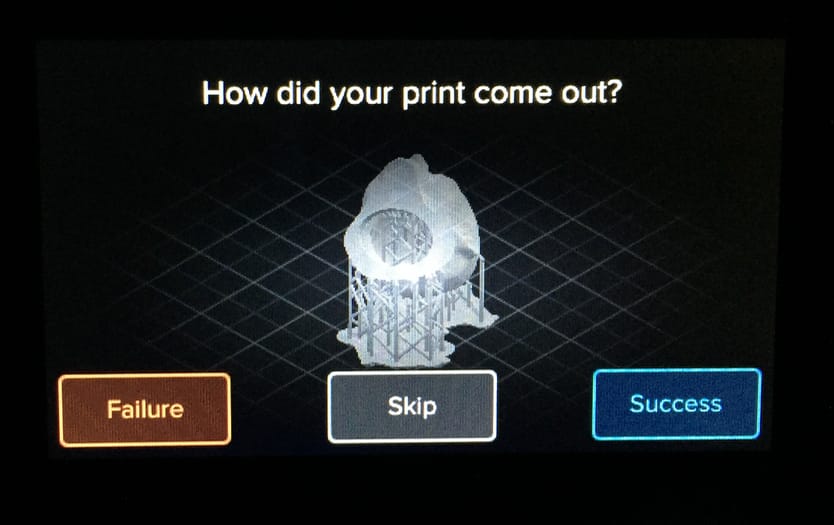
At the conclusion of the print, the Form 2 does something extremely interesting: it asks you how the print proceeded? Was it successful? Was there a failure? This information is collected by Formlabs to develop comprehensive performance statistics. From this they can almost directly measure improvements they make. For example, if they tweak the slicing software in the future, they should be able to see the effects on reliability later.
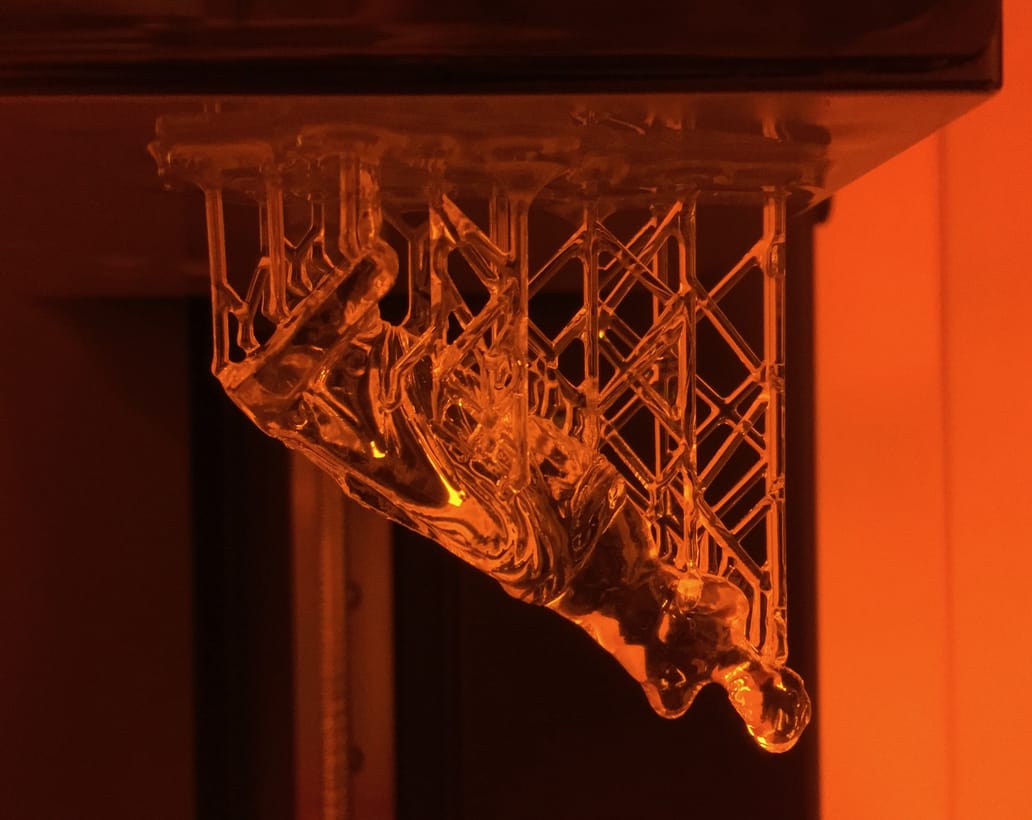
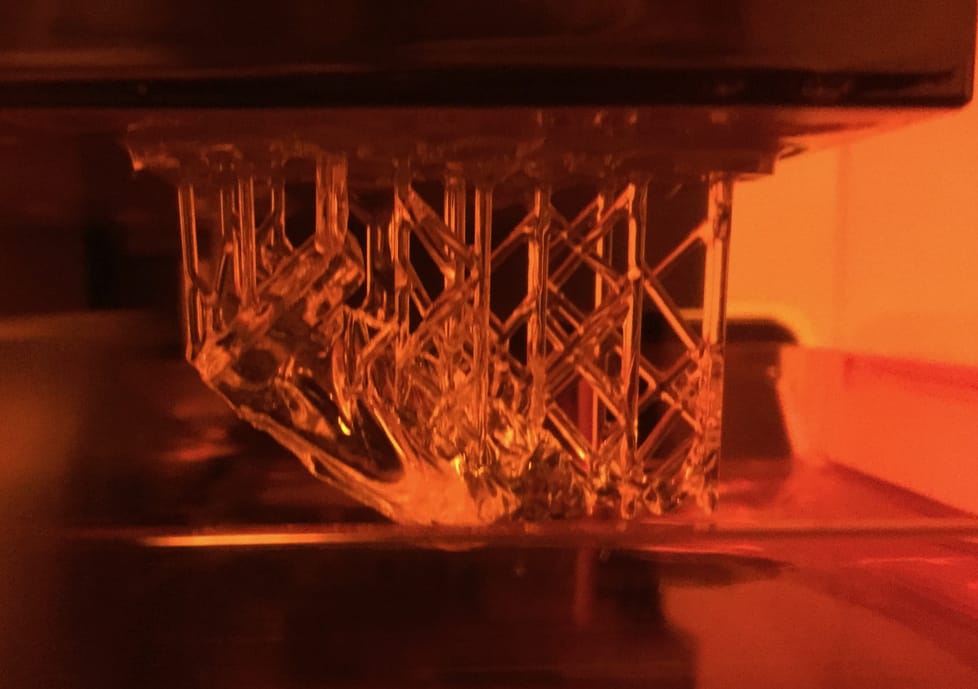
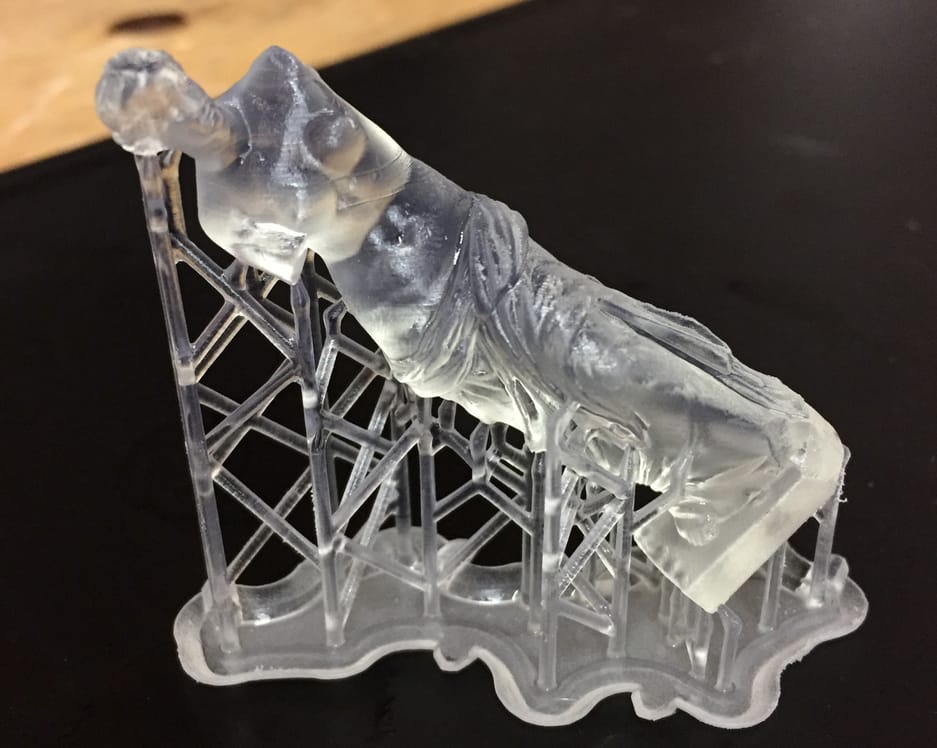
Finally, the print completes. Here you can see our first completed print and the associated support structure. It’s printed at an angle, very unlike what you would do on an extrusion 3D printer, I suspect because there is an optimal orientation to maximize the resin flow between layers: a big flat object might take more time for the resin to flow through to be ready for the next layer.
Before you start removing the print, I advise you to attempt to recover any stray resin by very gently scraping it off the flat portion of the build plate so that it drops into the tank. Your wallet will thank me later.
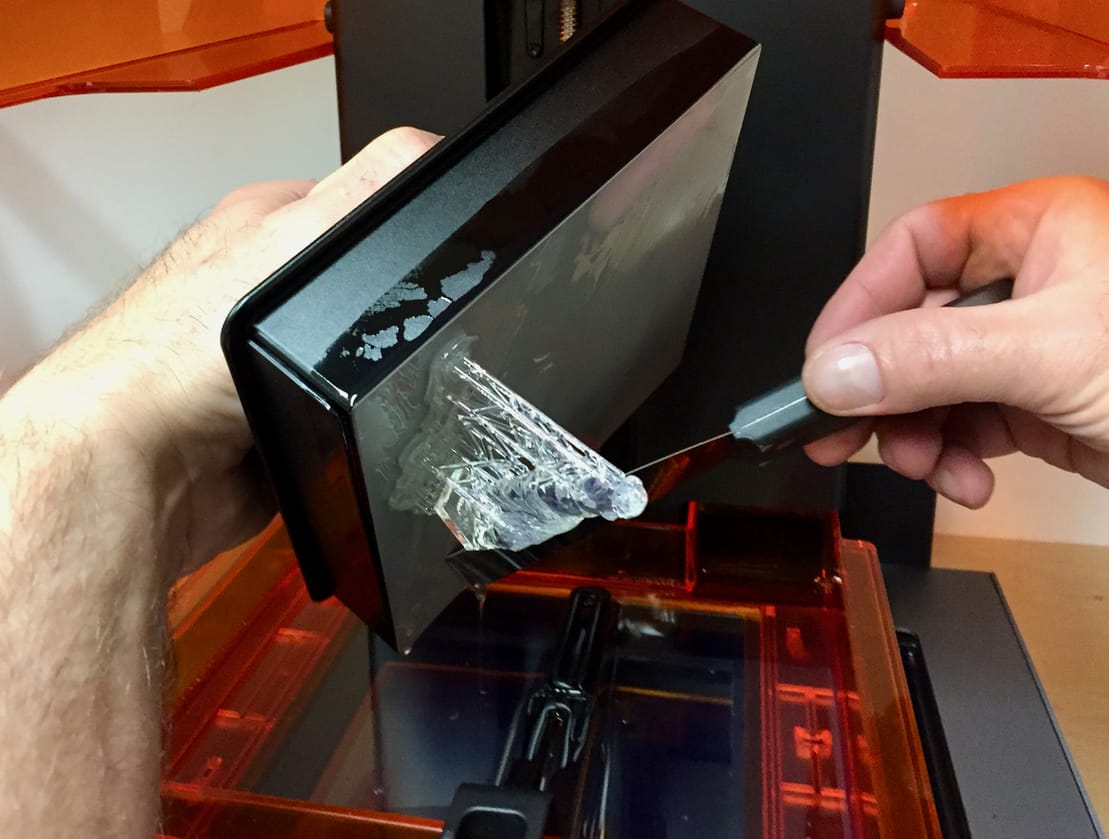
Removal of the print is straightforward. Formlabs provides a cool mounting system to hold the plate shown here.
You can then easily pry off the print with a specialized tool included with the Form 2. Just grab a corner and slowly lift and the whole thing will pop off.
You will need to snip off the support structure manually, which is perhaps the most laborious part of the Form 2 workflow. Formlabs provides a delicate snipper for this work, but for some reason they don’t supply a person to operate them.
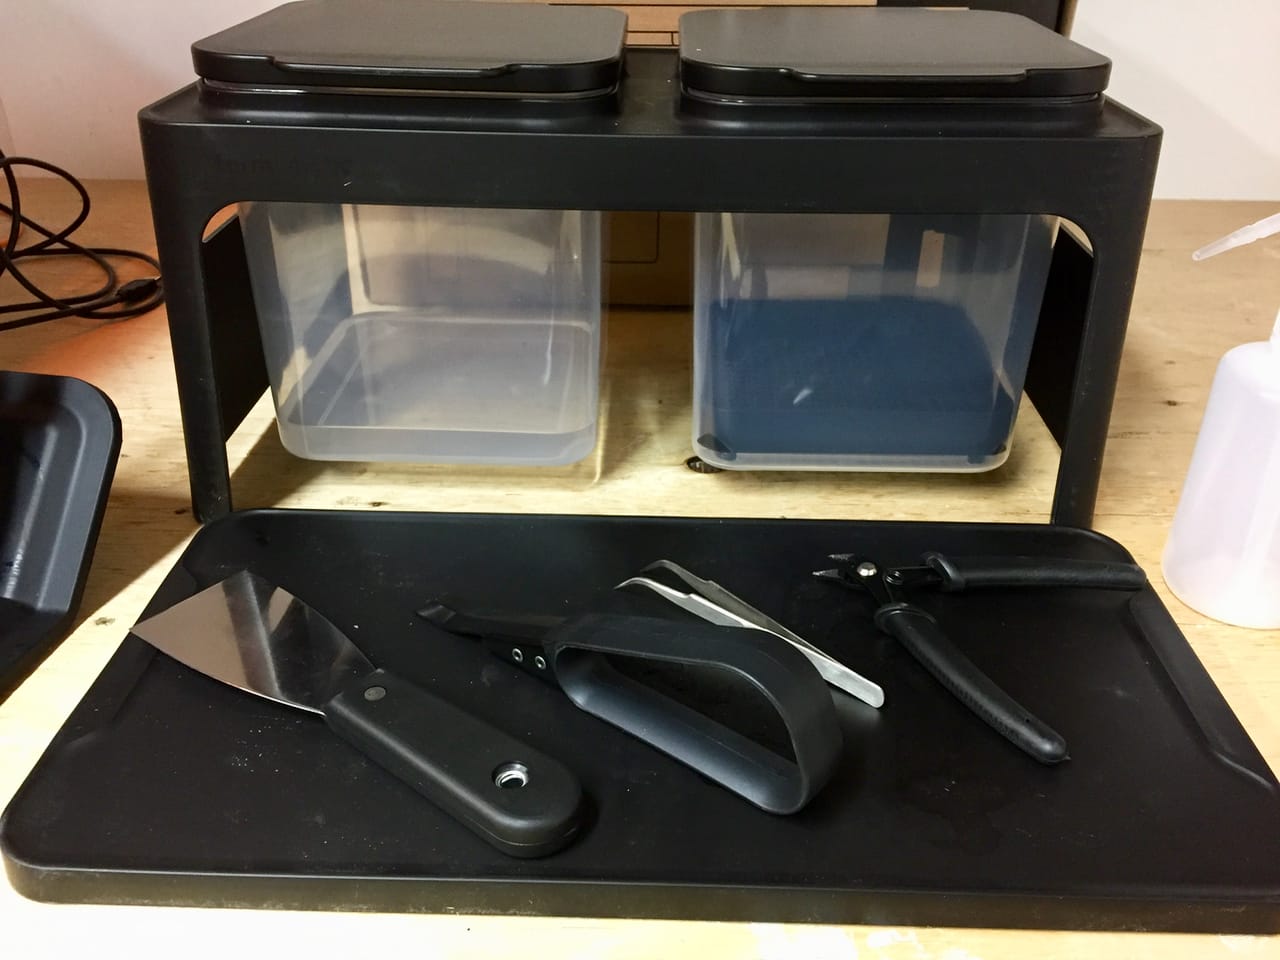
You’re not finished yet. The completed print is still coated with unfused liquid resin. For this you must wash it off with IPA. Formlabs includes a clean up station where there are two tubs for IPA bathing: one for “dirty” and one for “clean”. The dirty bath is used for the initial dunk, and it will become quite dirty with the differently colored resins. The second tank is more of a finisher to wash the object in a clean manner with IPA. You can also add a separate UV curing station for improved part performance, but we have not done so yet.
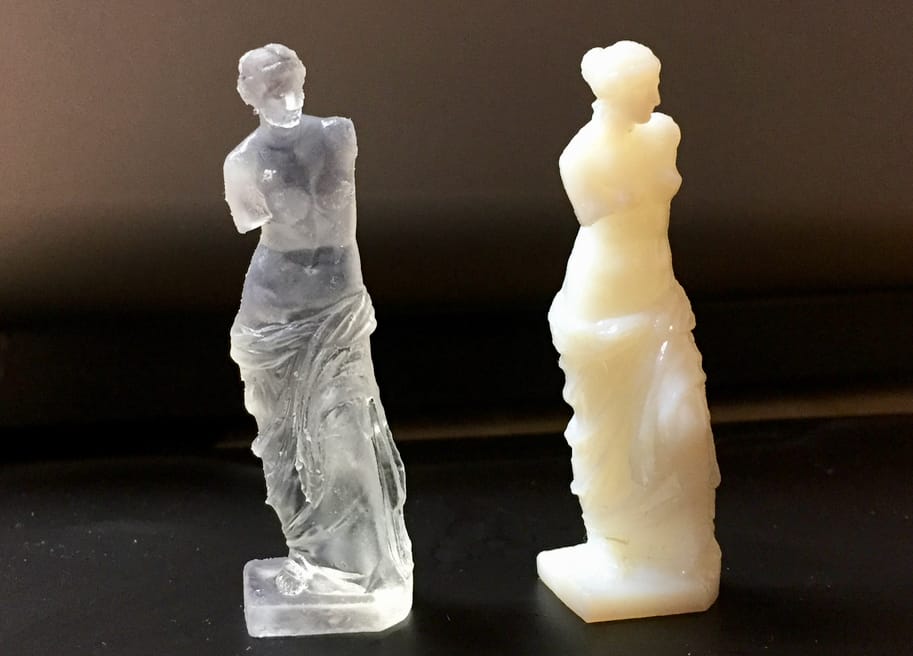
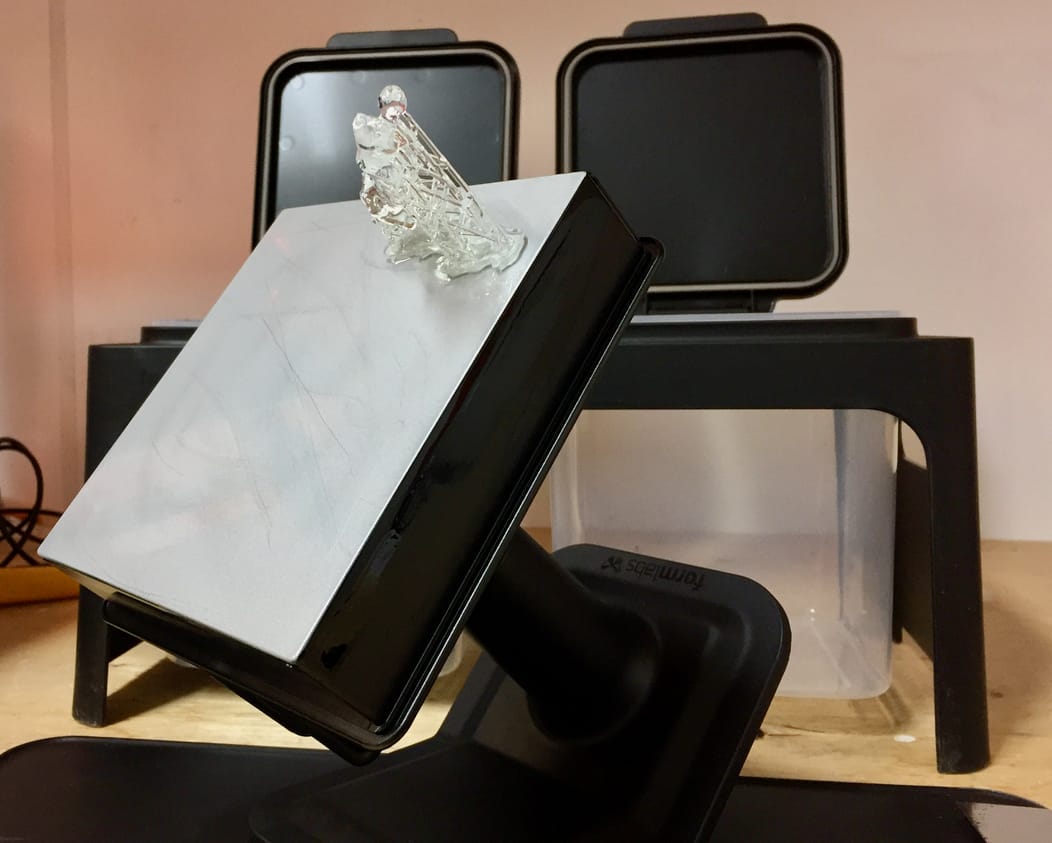
The print results are amazingly good. Here you can see the same object printed on the Form 2 (left) and a Stratasys Connex 260 at right. Maybe it’s the difference in material color, but the Form 2 part looks at least as good if not better.
We haven’t yet tested the many different materials available for the Form 2, but we’re looking forward to doing so.
Bottom line: the Form 2 is a very easy to use, inexpensive professional 3D printer that produces excellent results.
Via Formlabs