
Our review of 3DMakerpro’s Seal and Seal Lite 3D scanners continues with a look at operations, both desktop and mobile.
This is part two of a three part series, please read parts one and three.
3DMakerpro Seal Operations
Operating the Seal scanners is quite similar to other devices: very careful movements of the scanner while observing the capture in the software. I tested 3D scanning of a number of different subjects and found varying results, mostly due to the quality of the subject and the impatience of the operator (me).
As with all hardware 3D scanners, it is absolutely critical to have a delicate touch when moving the scanner along the surface of the subject. The best way to do this is to imagine there is an invisible box in front of the scanner that is the “active zone”. Your job is to slowly slide this box around to cover all surfaces.
If you move off target or too quickly, the scanner will instantly lose tracking. Fortunately, JMStudio is very good at re-capturing tracking when you move the view back to something it’s already seen. This is a very common situation during most scanning operations, and JMStudio makes it relatively painless. Some other systems simply give up when tracking is lost and you have to start over.
We’ll look at detailed results below, but let’s first look at some of the operational aspects I encountered while testing.

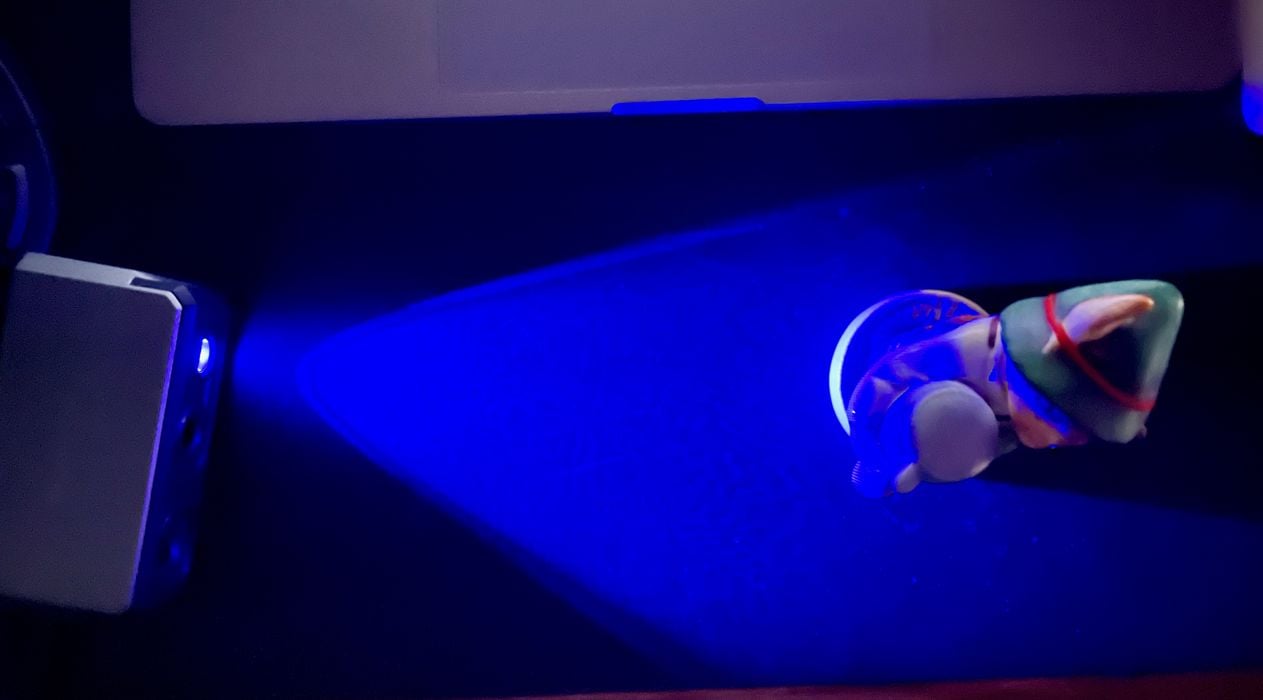
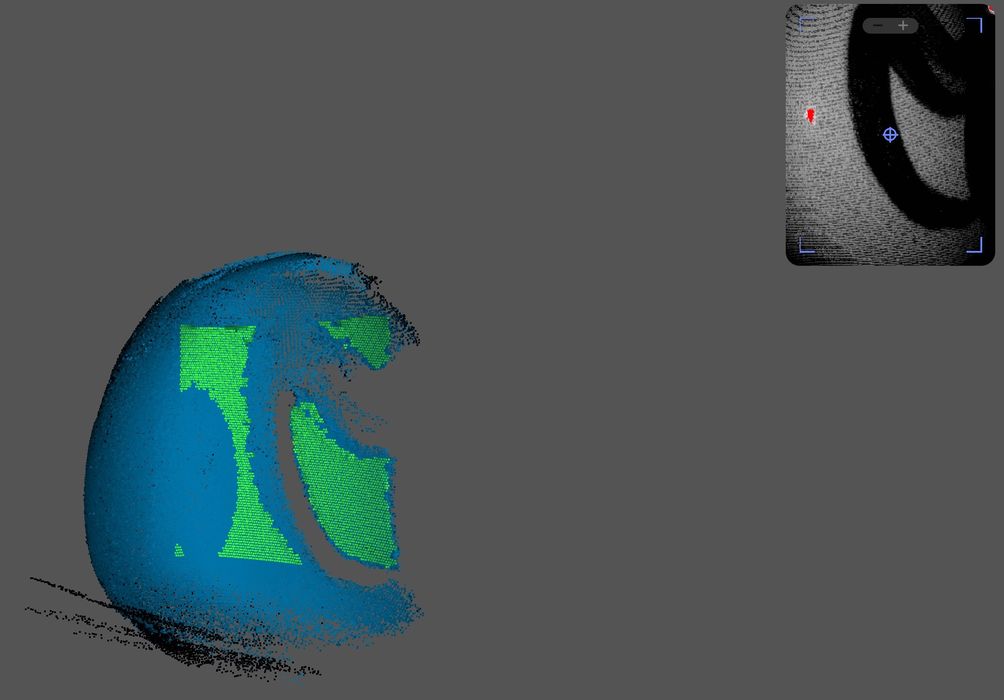
I decided to attempt a 3D scan of this laser thermometer. It didn’t turn out very well, as you can see here:
Notice that only one portion of the subject was successfully captured. This is likely due to imprecise tuning of the brightness setting and a semi-reflective target material.
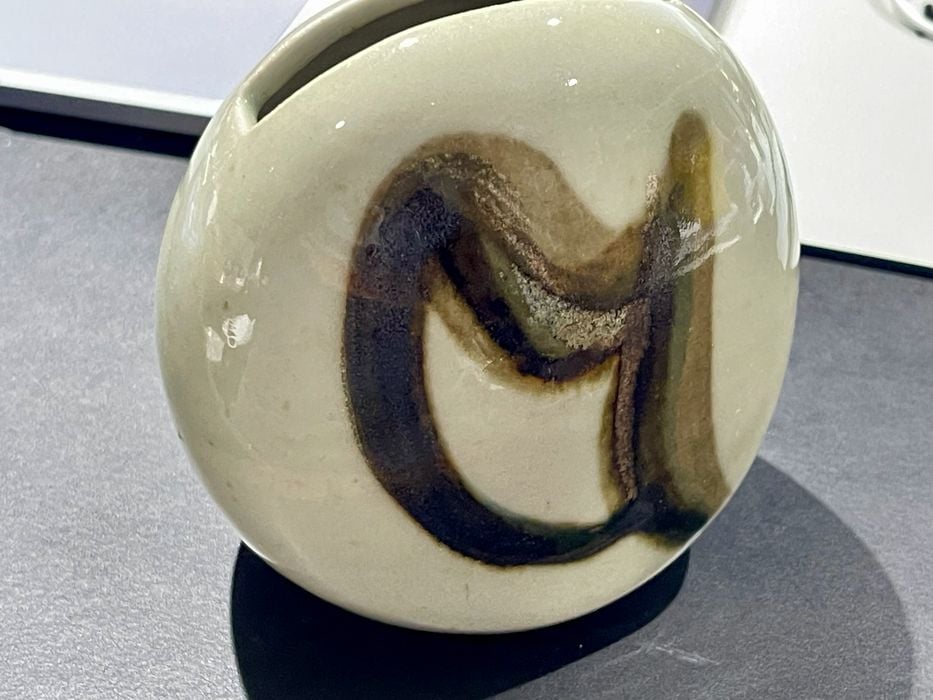
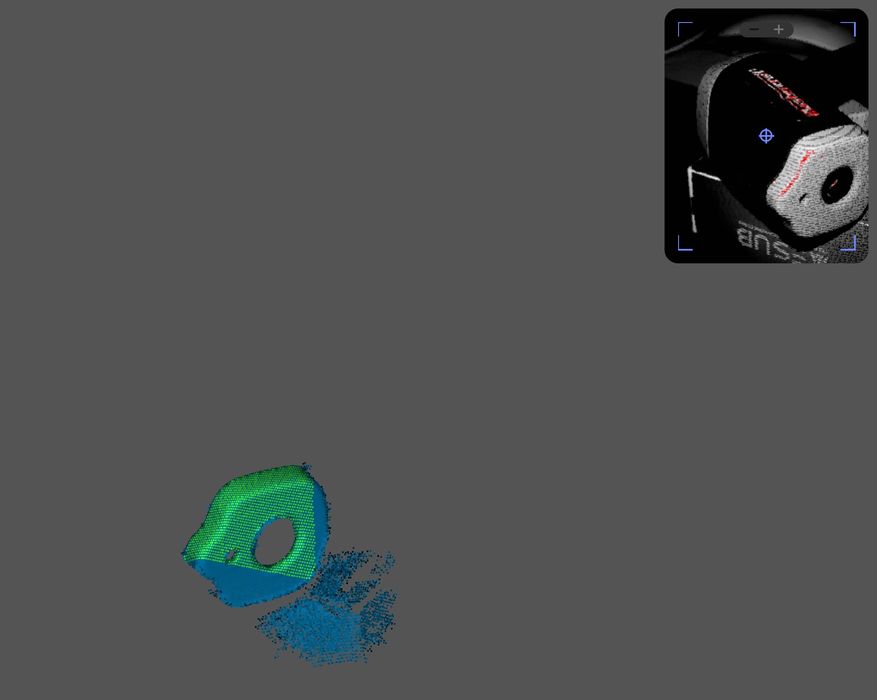
I attempted to scan another challenging subject: this shiny textured ceramic object. I’m not actually sure what it is, but it’s shiny.
Surprisingly, the Seal was able to capture some of the ceramic surface in spite of the shine. However, you’ll notice that it had trouble capturing the darker portions of the object. Evidently dark and shiny isn’t a great combination for capture.
What I’m getting at here is that the brightness setting is quite important. I found that I often had to shift it up — or down — for specific subjects. Typically the darker objects required more brightness, while the lighter ones did not.
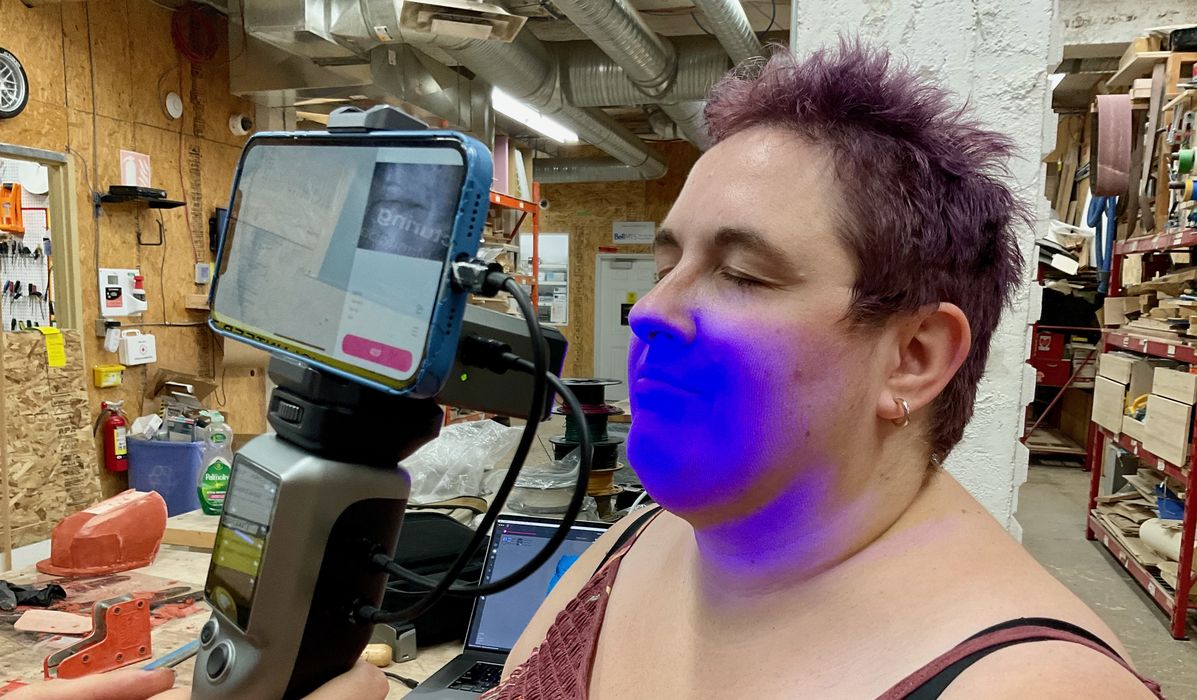
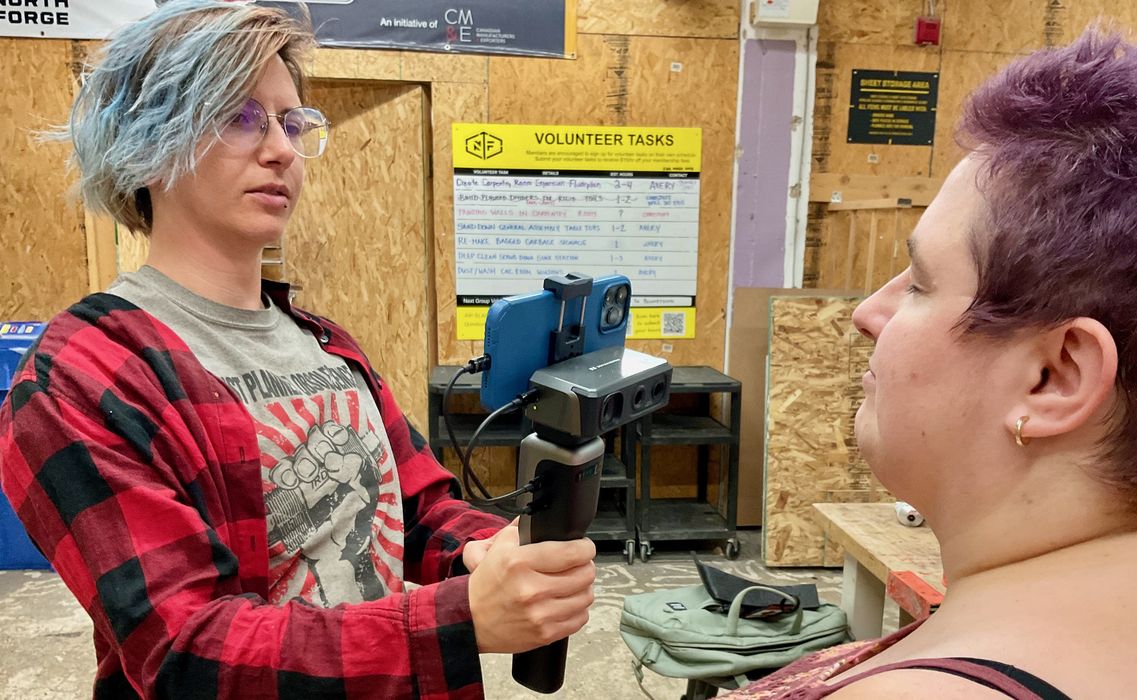
The blue light mentioned above is actually visible to the eye. Here you see what looks like a blue patch over our brave scanning volunteer, but in real life it’s actually flashing rapidly.
After some experiments, we recommend that human subjects close their eyes because the blue light is extremely bright. Do not even consider scanning someone sensitive to flashing lights. This is quite different than the invisible infrared light used by some other scanners.
In the end we found three factors as critical to a successful 3D scan with the Seal units:
- Extremely careful, precise and comprehensive movements by the operator
- A “Friendly Subject” that isn’t reflective, transparent or includes extremely fine details
- Suitable brightness setting to match the subject
3DMakerpro Seal Mobile Operations
I was quite intrigued to test the Smart Grip, which enables fully mobile 3D scanning operations with the Seal. There are absolutely NO cables to PCs required, and the scanning operator is free to move about while scanning a subject.
Note that when we tested the Smart Grip, the Seal was not yet compatible, but the Seal Lite was. My impression was that 3DMakerpro will be enabling this in the near future.
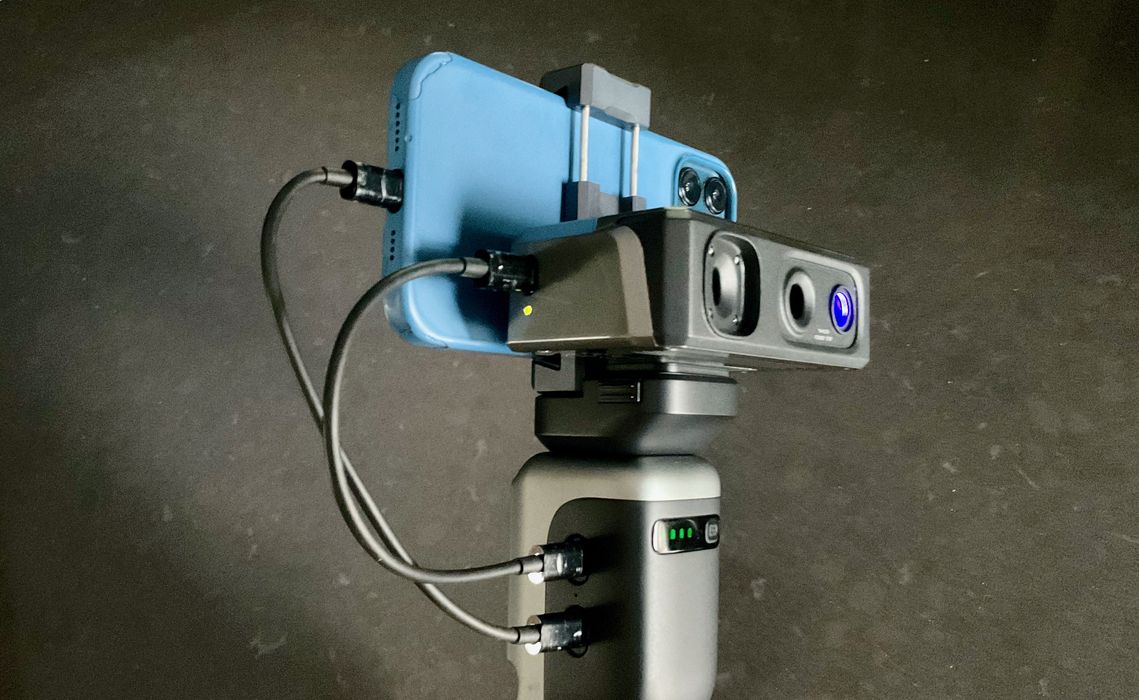
From the front you can see how the Smart Grip attaches to the Seal and a smartphone via two cables and a standard mount. The Smart Grip includes a universal bracket for holding any smartphone. 3DMakerpro provides the mobile JMStudio app for both Android and iOS platforms, which must be run on the smartphone while scanning.
The Smart Grip is the power source for the scanner, and it also provides a handy grip for moving the Seal. The combination of the three items, the grip, scanner and smartphone, is relatively lightweight, but you will experience fatigue on a longer scan. Fortunately you can take a brief rest and let JMStudio re-capture your position to continue. It’s also possible to pause operations if necessary.
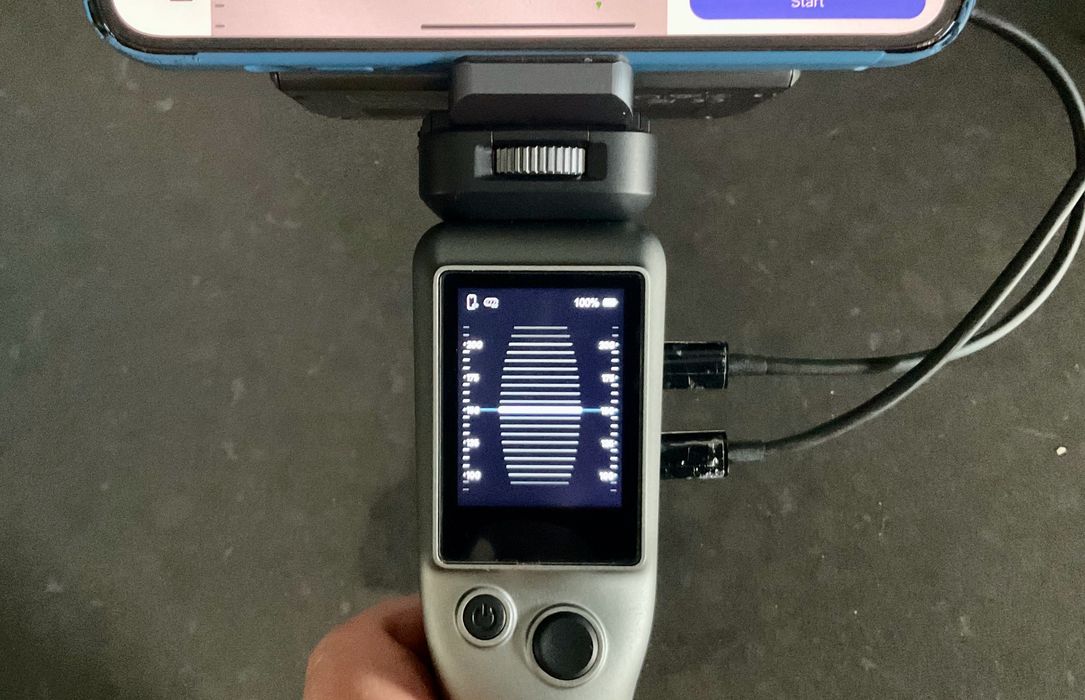
When operating the Smart Grip you’ll see this display on the handle. It seems to display the distance to the object, and should assist you in gauging whether to move in or out at any moment.
However, in practice we found this display wasn’t particularly useful, as we had eyes glued on the smartphone display during scanning. That’s absolutely critical because you have to maintain aim and position during any movement. Thus we didn’t often notice anything on this display.

The Smart Grip is essentially a big battery, and as such it requires periodic charging. I’m not sure how big the battery is, but it seemed to hold out for quite a number of scans before it required recharging. Unfortunately, there doesn’t seem to be an indicator on the grip to show when charging is complete.

After a mobile scan is captured, the data is sitting on the smartphone and no further functions can be done. All editing must still be done on the desktop version of JMStudio, so the scan must be exported from the grip and into the PC.
This turns out to be a multi-step process that can easily go wrong. However, after some practice I found that it was fairly reliable. The data is transferred over WiFi, so both PC and smartphone must be on the same network for this to work.
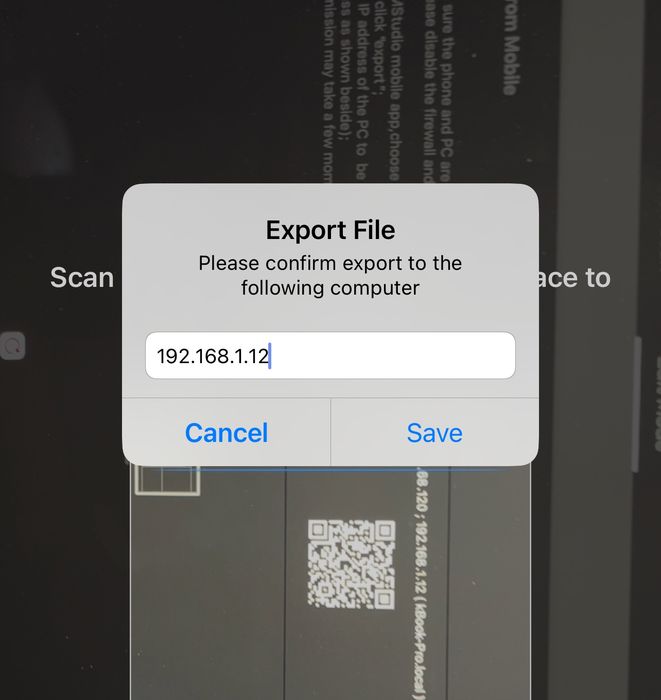
Here’s how it works: On the PC in JMStudio you select “Import from mobile”, and you are presented with a QR code. Then you must use the mobile JMStudio on the Smart Grip to scan that code.
This informs the mobile app of the IP address of the PC-based JMStudio. In this case it was 192.168.1.12.
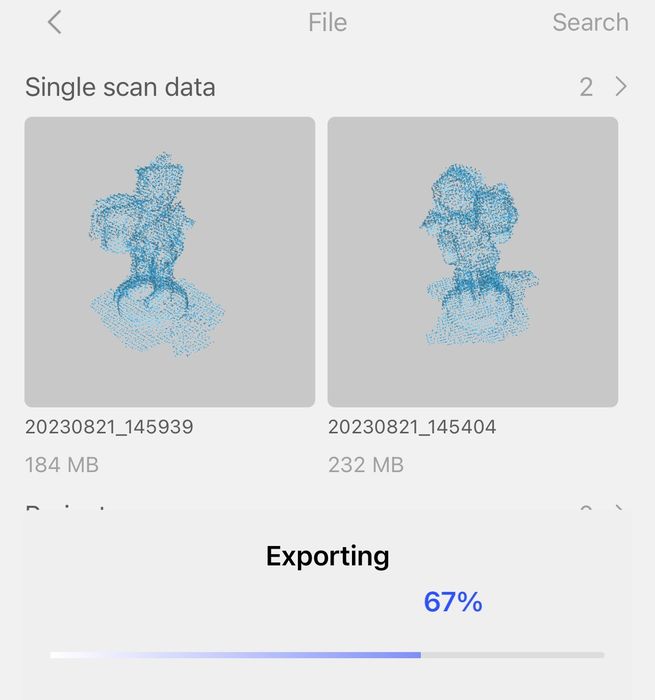
If all goes well, then the mobile app begins uploading the scan data.
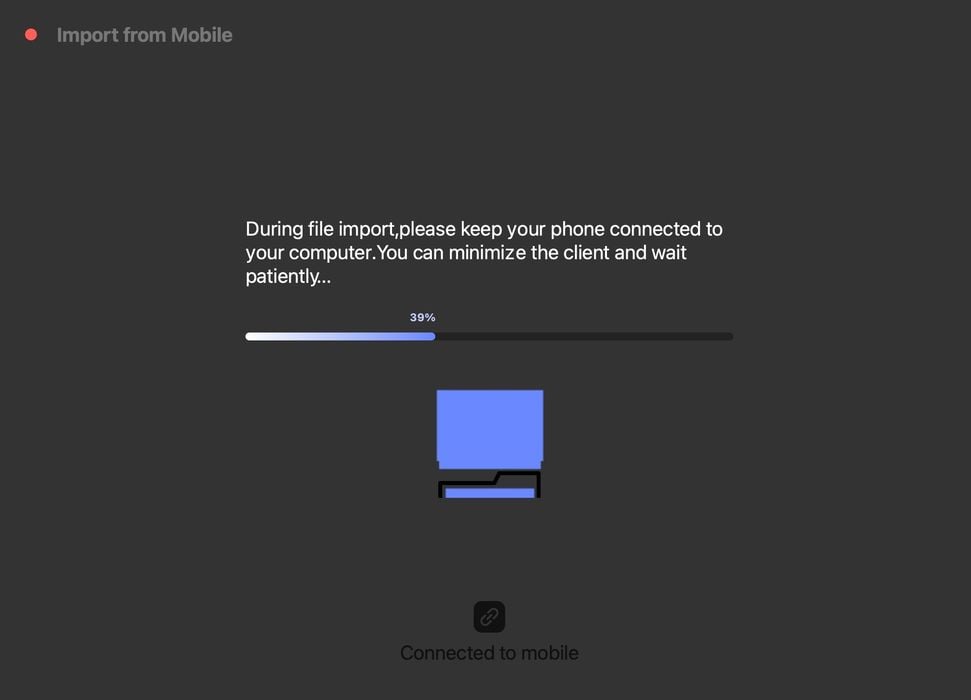
And on the other side, the desktop JMStudio will receive the imported file. As you might guess, you cannot interrupt anything at this point ortherwise the transfer will fail and you must start over.
If all that works, the file on the PC is then processed in the same manner as any scan captured directly on the PC.
I found this process to work well, but it felt a bit awkward. I hope that 3DMakerpro finds a way to simplify this process so that one doesn’t have to do QR codes. The apps should simply “find” each other automatically on the network.
This is part two of a three part series, please read parts one and three.
Via 3DMakerpro and Indiegogo