
Our review of the Anycubic Kobra 2 Pro continues with a look at Setup and Operations.
This is part two of a three part series, please read parts one and three.
Anycubic Kobra 2 Pro Setup and Calibration
Powering up the Kobra 2 Pro is slightly different than its predecessor. It takes a bit longer for anything to happen. I timed the boot up to take about 21 seconds, which is surprisingly longer than most other machines.
When boot up completes, the machine emits a double beep, which I prefer over the previous friendly but annoying musical jingle.
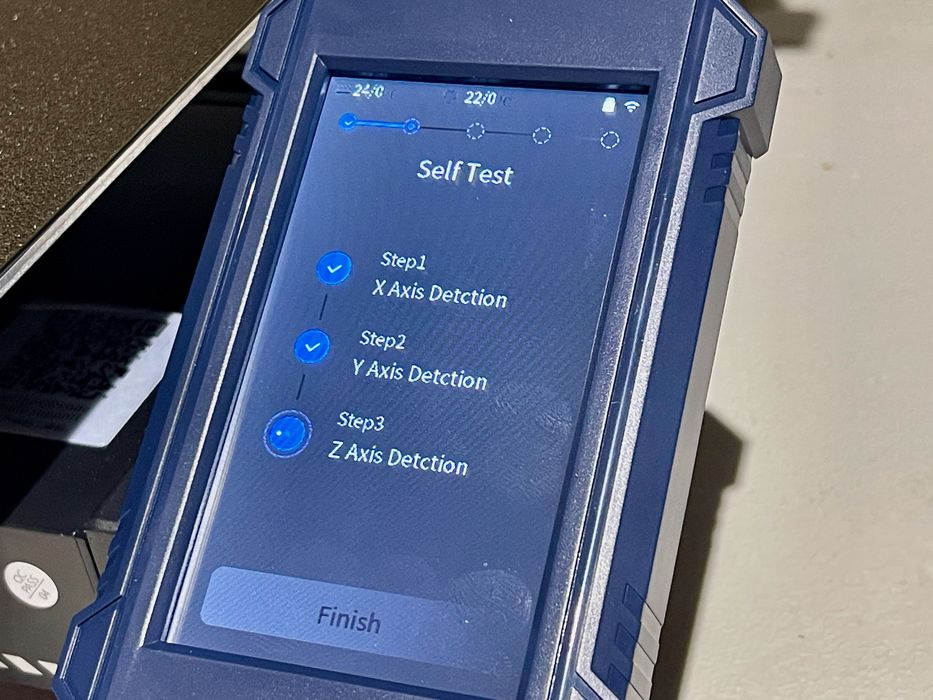
The Kobra 2 undergoes a self-test, something I first saw with their MSLA devices. Now they’ve ported the process to their FFF machines.
It seems to go through a sequence where it detects the presence of components and sensors. I presume that if you have cabled the machine incorrectly, this is where you’d find out. For me, it seemed to be OK.
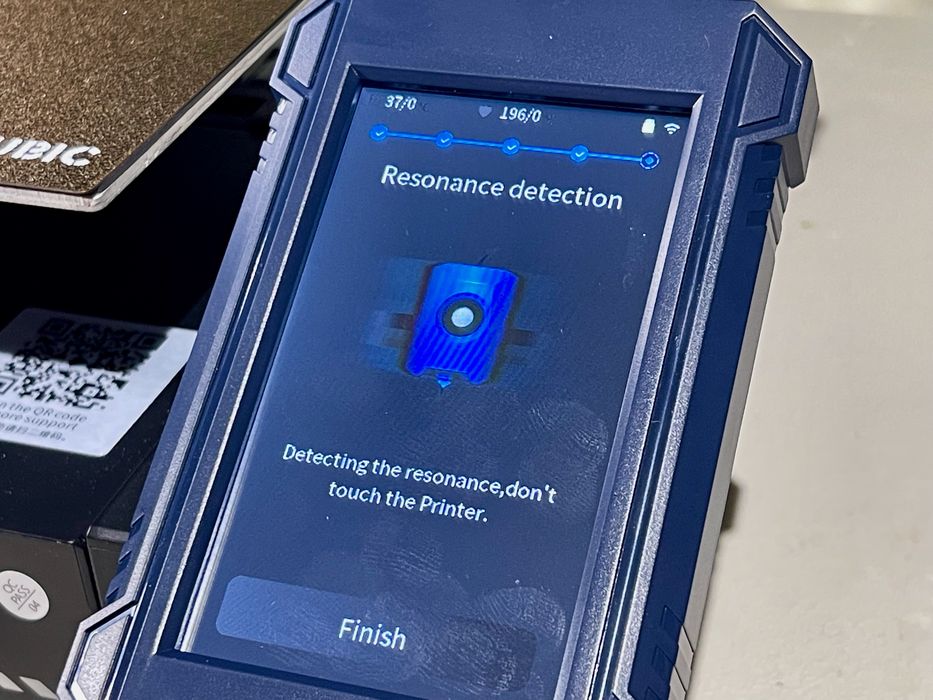
The next step was calibration, and this is something that only high speed 3D printers must perform.
In order to properly compensate for high speed vibration, the machine must precisely know the behavior of the toolhead when it moves rapidly and changes direction. In order to gain that knowledge, a calibration process is automatically performed.
This calibration is fascinating to watch, as it moves the print head in rapid fashion. The movements become shorter and shorter, eventually becoming a high frequency buzz. Within a few moments, the machine is perfectly calibrated.
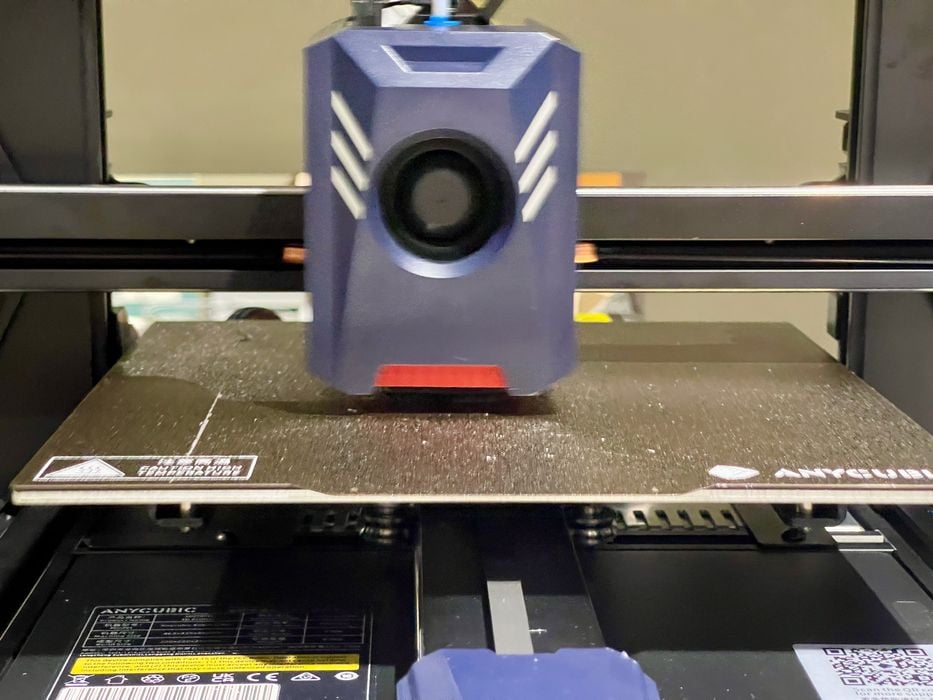
The Kobra 2 Pro includes the company’s new LeviQ 2.0 leveling system. This is a very competent system that performs not only the plate calibration, but also sets the Z-gap automatically. This is huge for newbies, as improper Z-gap is the cause of many print failures.
The leveling process takes a few minutes, and makes use of a unique “wiping” station that’s at the back of the print plate.
I found that once leveled and calibrated, the machine ran perfectly without issue. I never had any issues with leveling or Z-gap.
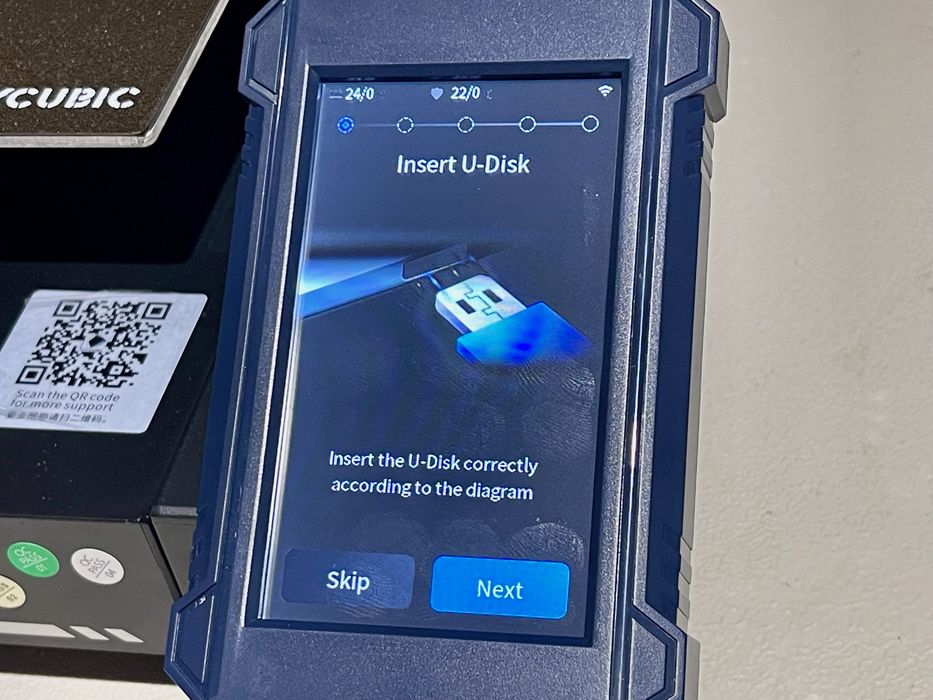
The Kobra 2 Pro includes a “U-Disk” or what I would call a “USB stick” with some files on it. These include some pre-sliced test prints that I tested later.
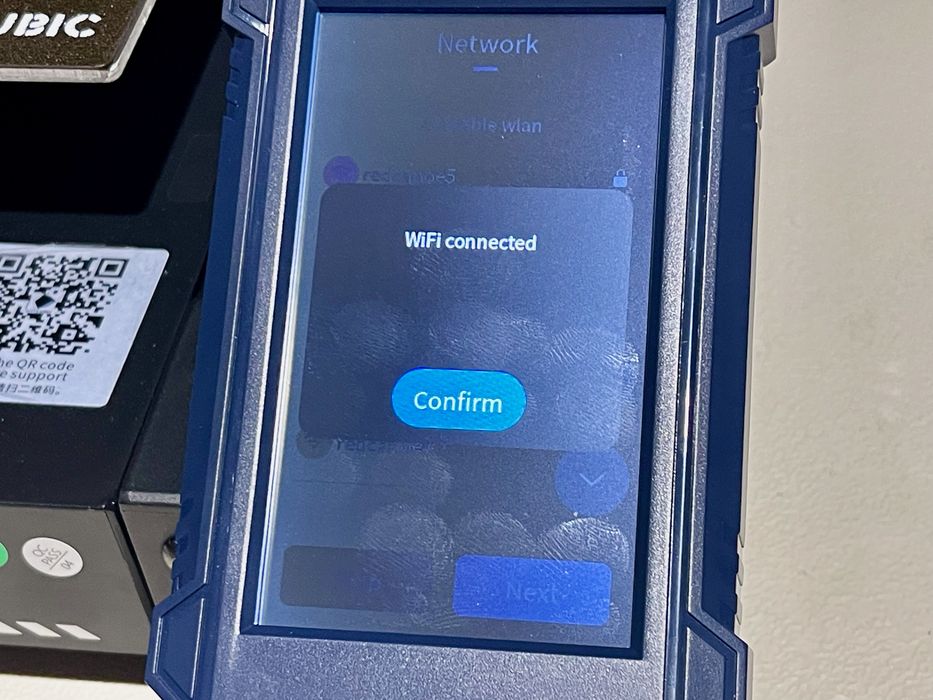
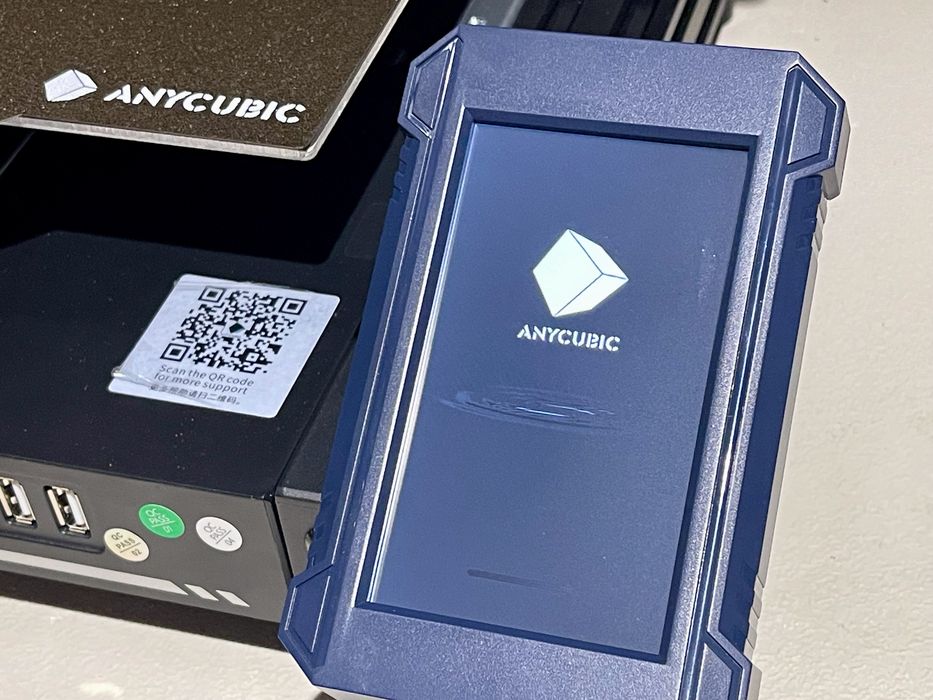
I noticed that the Kobra 2 Pro has WiFi capability. I was easily able to connect to my wireless LAN, and wondered exactly what this would allow me to do.

Unfortunately, I could not get any functionality from the WiFi. The three (three?) seemingly identical but different Anycubic apps all focus on their resin 3D printers and don’t seem to have the capability to add FFF devices.
My assumption here is that as we received this machine before the official release, Anycubic is still working on wireless operations and associated apps, which presumably will be available soon. Unfortunately, we were not able to test this feature.
Anycubic Kobra 2 Pro Operations
The first thing I noticed with the operations is that the touchscreen interface is completely different from the Kobra 2. Evidently the new firmware required for high speed operations also comes with a different interface.
I found the interface pretty easy to use, as most things were in places I’d expect to see them.
There was one confusing part: it turns out that the Kobra 2 Pro includes LOCAL file storage! When you insert a stick you are able to browse its files — but only if you touch the stick menu item. By default the machine first presents the contents of the on board storage. It does not automatically switch to the stick panel if you plug one in.
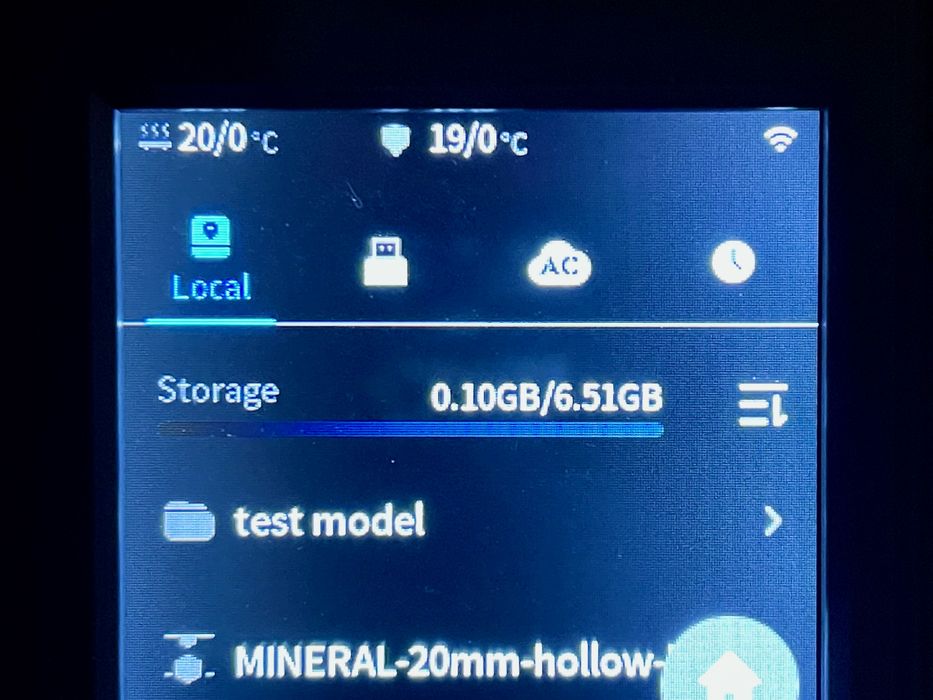
What’s in the 6.5GB local storage? It seems that every time you print a file it is automatically copied to local storage. This is good if you intend on repeating the print, as you won’t need a stick.
However, it can also be confusing. Because files are copied over, the initial appearance of the files can be quite similar to the contents of your USB stick. Several times I found myself scrolling through local storage looking for that file I had just sliced, but only to realize I was on the wrong panel.
I think local storage is a good feature, you just have be clear about what you’re looking at. You can easily use the wrong version of a file if the name is similar.
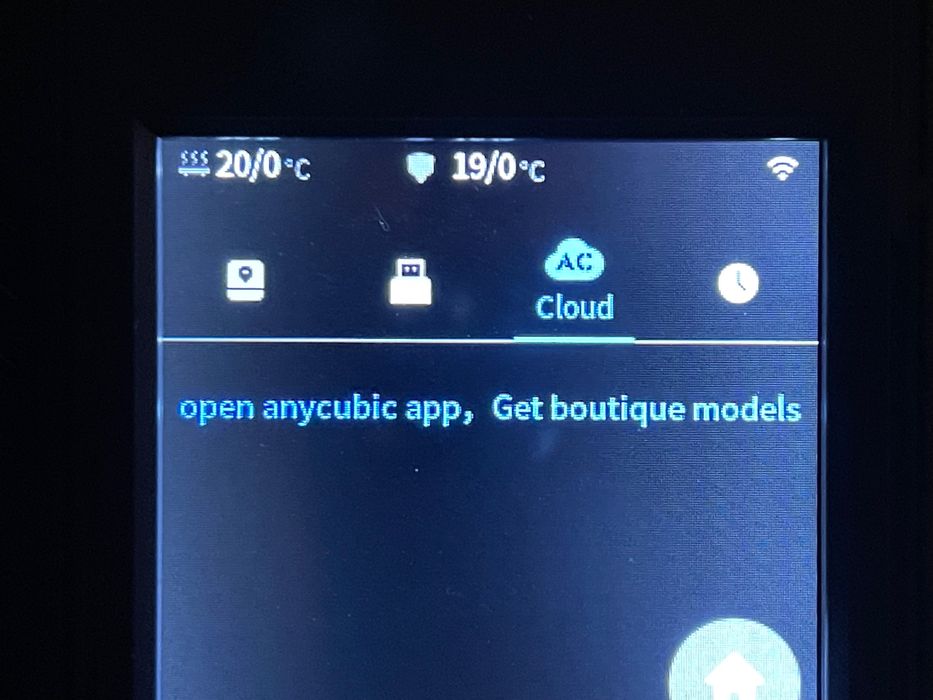
There is also a tab for cloud connection, with “AC Cloud” on the label. I suspect this could be used in the future to enable downloads of favorite 3D models from the Anycubic Cloud. However, it didn’t seem operational on our system yet.
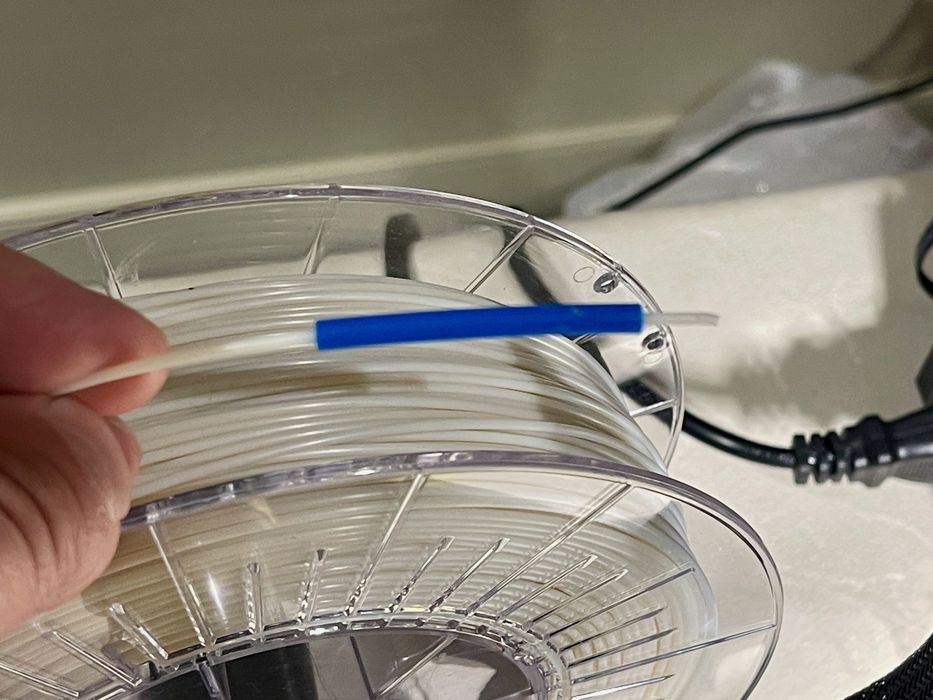
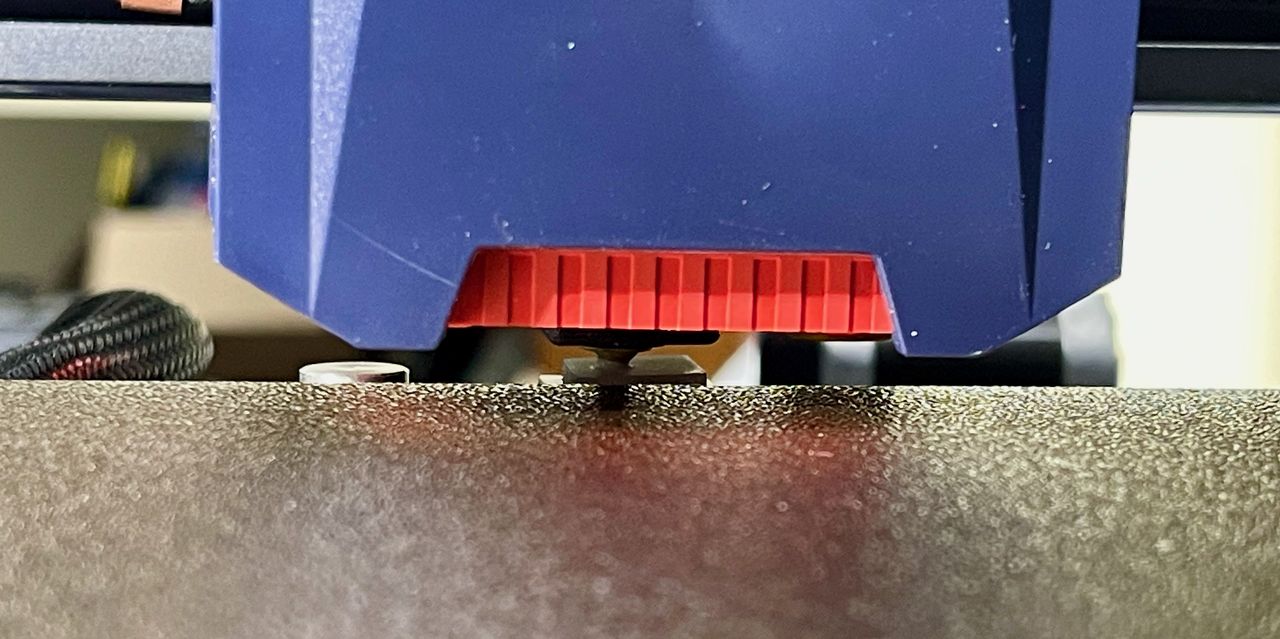
There’s a loose blue segment of PTFE tube that’s supposed to be placed on the input side of the filament sensor. I’m not sure why this is required, and I almost always found it on the end of a spool I had just removed. Eventually I just left it out entirely, and the Kobra 2 Pro operated fine without it.
One feature I’d like to see Anycubic add is some method of aligning the print plate. Many machines have some pins at the back to instantly line up the plate, but the Kobra 2 Pro has nothing. This means that you’ll likely be using fingers to align the plate, and that can be tricky when the plate is hot.
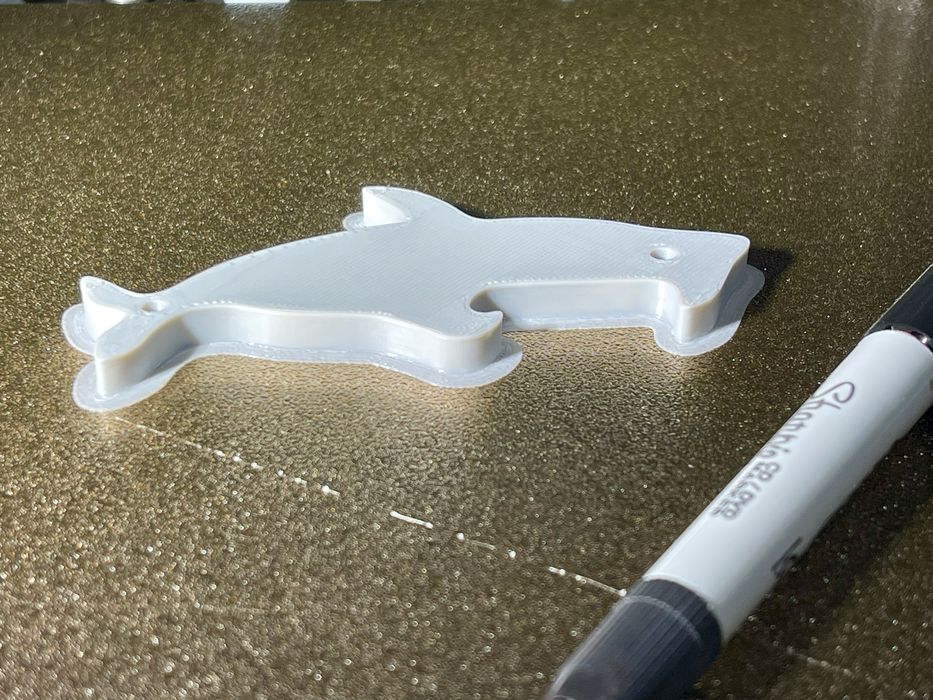
I printed the shark 3D model from the pre-sliced files, and was amazed at not only the quality but the sheer speed of the printer. Anyone used to seeing a typical 3D printer run will be totally shocked at how fast the toolhead bops around on the Kobra 2 Pro.
Pro tip: DO NOT put the Kobra 2 Pro on a wobbly table. It vibrates a great deal and I found it actually shook enough to dump some items off my less-than-capable table.
While the Kobra 2 Pro is billed at being able to print at 500mm/s (and it actually can), the normal default speed in the supplied print profile is “only” 300mm/s. While a bit slower, that is still ridiculously fast for any 3D printer.
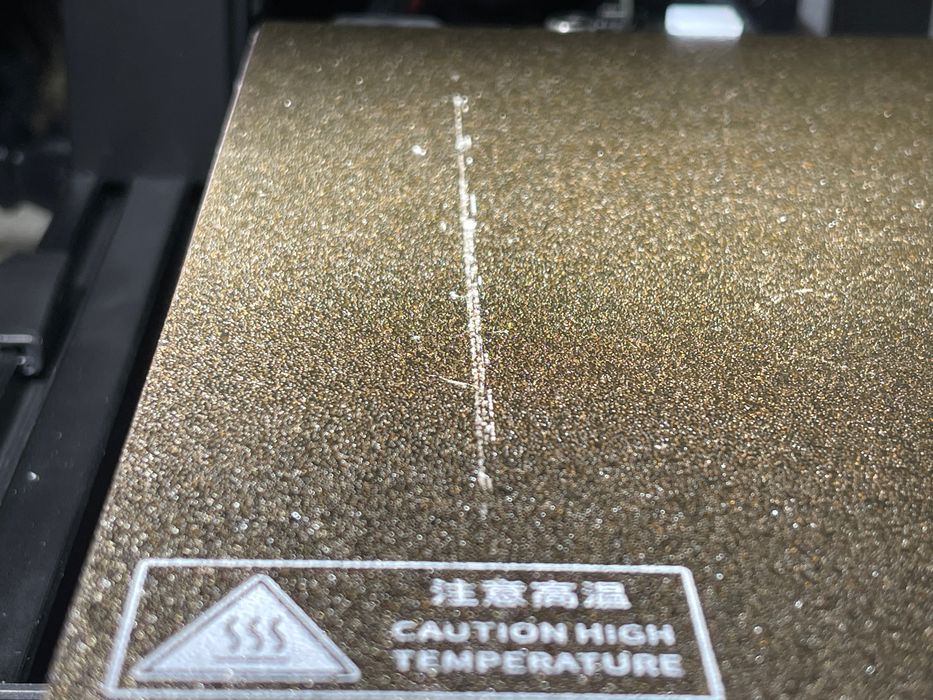
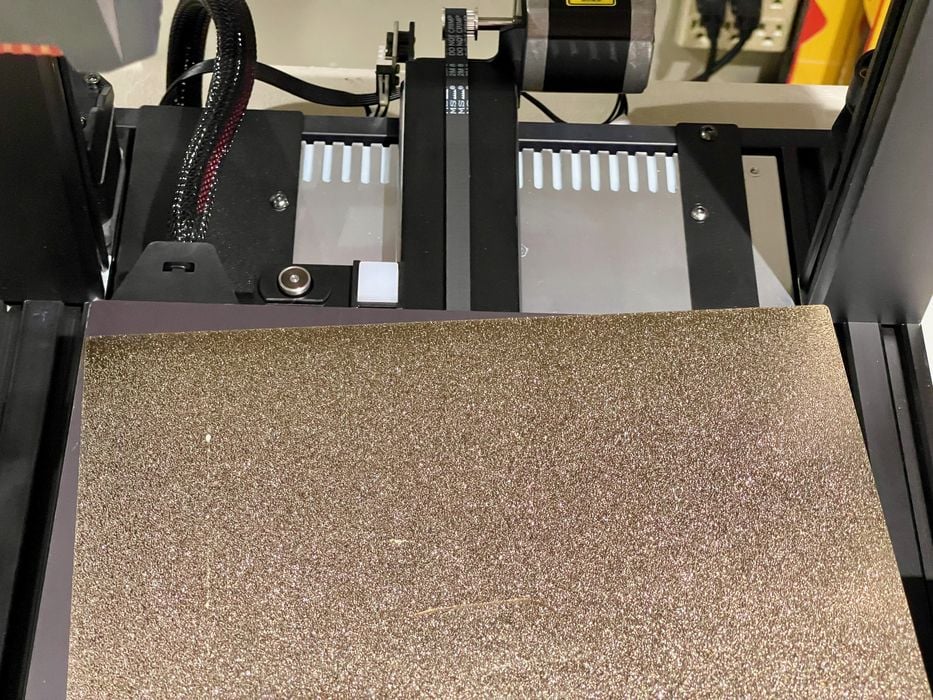
One minor issue was that the startup sequence has the toolhead position at the rear left to heat up. Then it lowers almost to the plate and moves forward to print the priming line and proceed with the print. However, that movement from front to back inevitably results in a drag of material. My print plate has a permanent streak in this zone from this that is basically impossible to remove.
We’ll look at print results later, but one experiment is of interest to operational aspects.
Anycubic provided us with a couple of spools of their “high speed” filament, which was used for most of our testing. I wondered whether “normal” filament could be used. I grabbed a handy spool of high quality — but not “high speed” Prusament to see if it would work.
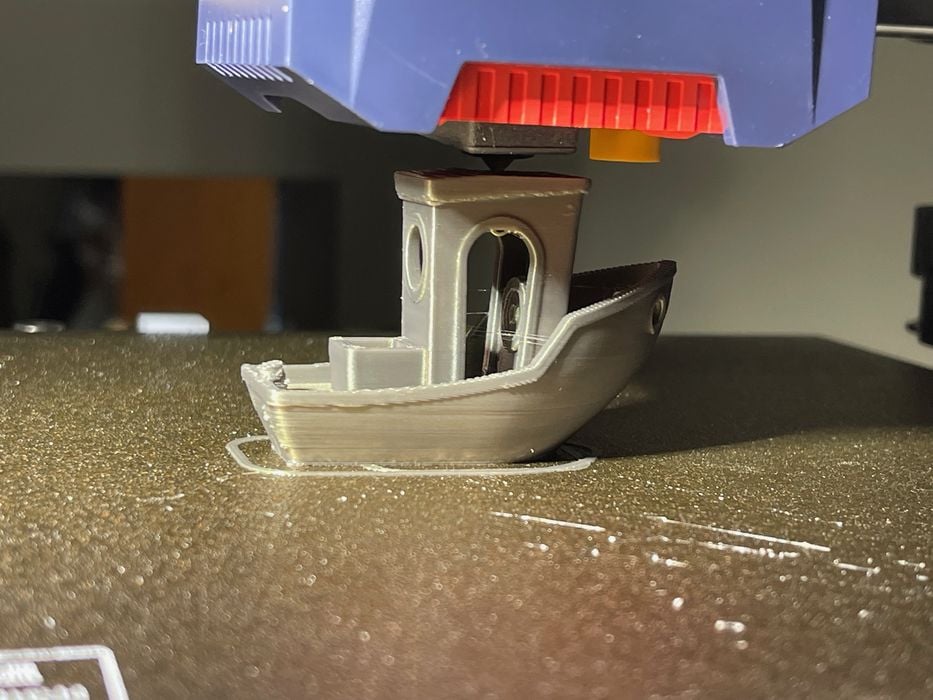
I printed a #3DBenchy using the stock PLA profile with Prusament, and it came out just fine! Perhaps one doesn’t need high speed filament for this machine?
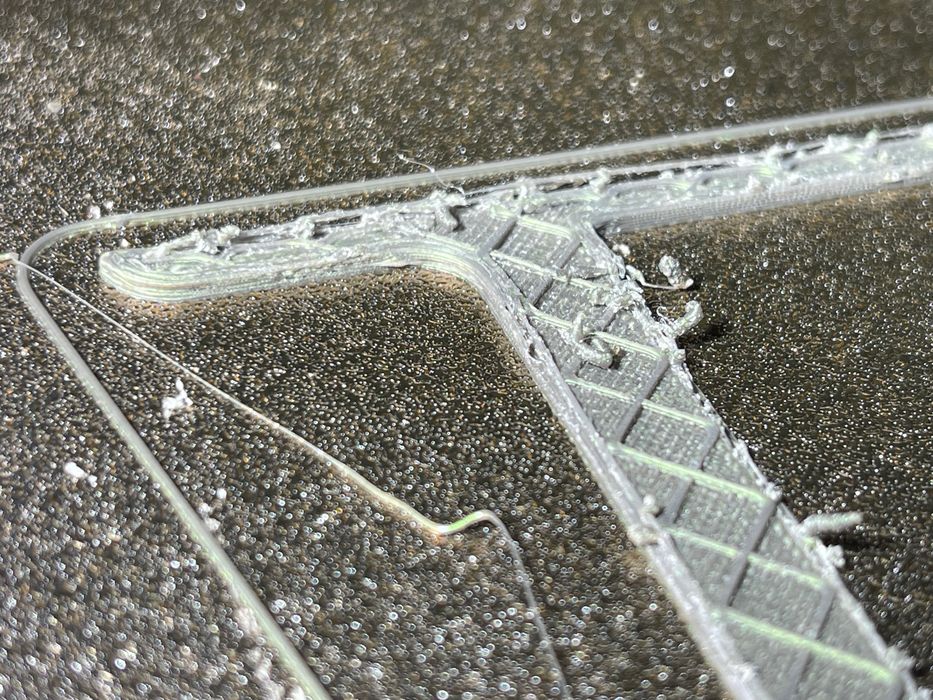
Nope, I tried printing a model at 500mm/s and the Prusament could not keep up. Perhaps it might have been somewhat more successful if I had raised the temperature slightly, but then you’re messing with other aspects of the print profile.
The bottom line here is that “some” quality filament “may” work at higher speeds on the Kobra 2 Pro. But some may not.
This is part two of a three part series, please read parts one and three.