
Our review of the new Anycubic M3 Premium resin 3D printer continues with a look at setup, calibration, and software.
This is part two of a three part series, please read parts one and three.
Anycubic Photon M3 Premium Setup and Calibration
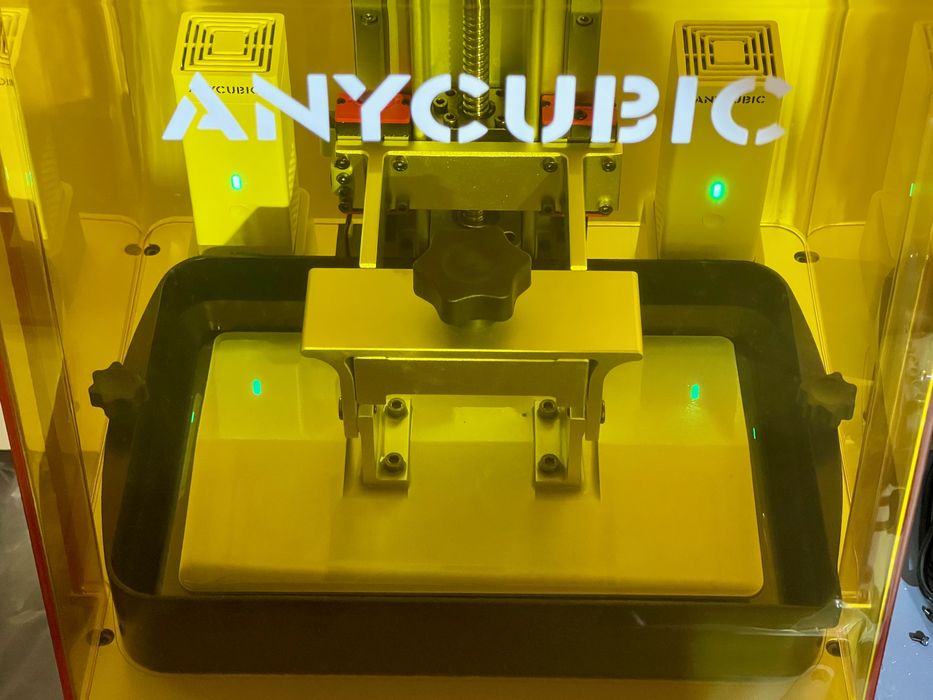
As with most resin 3D printers, there isn’t that much involved in setting up the machine. Mechanically, the only step is to level the print plate.
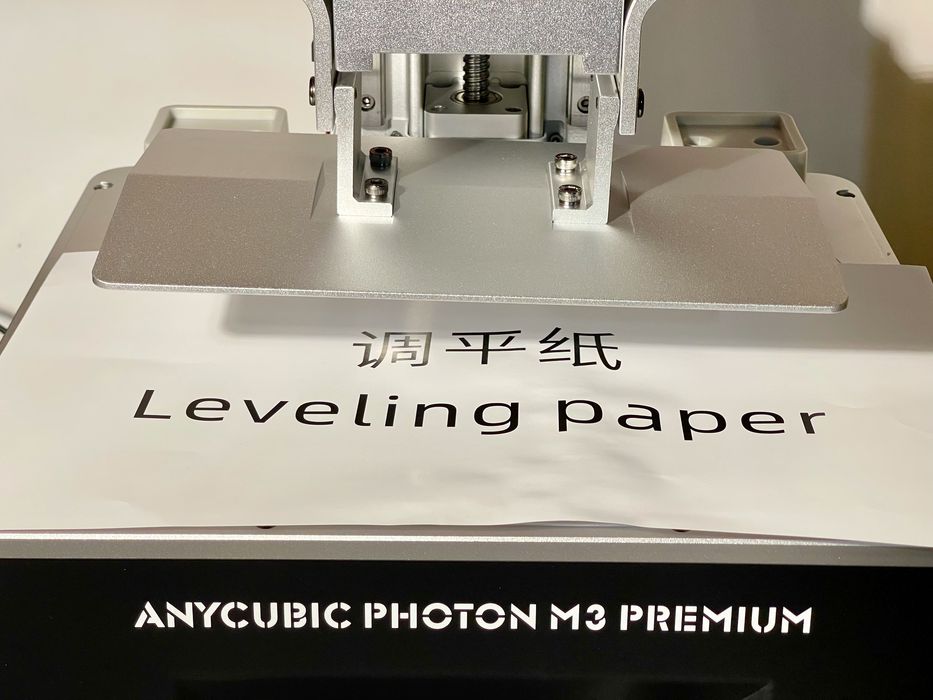
This is done by ensuring the bolts are loose on the print plate mount, which you may recall must be assembled. The trick here is to leave them loose until AFTER you finish the leveling, otherwise you’re tightening, loosening, and then tightening again.
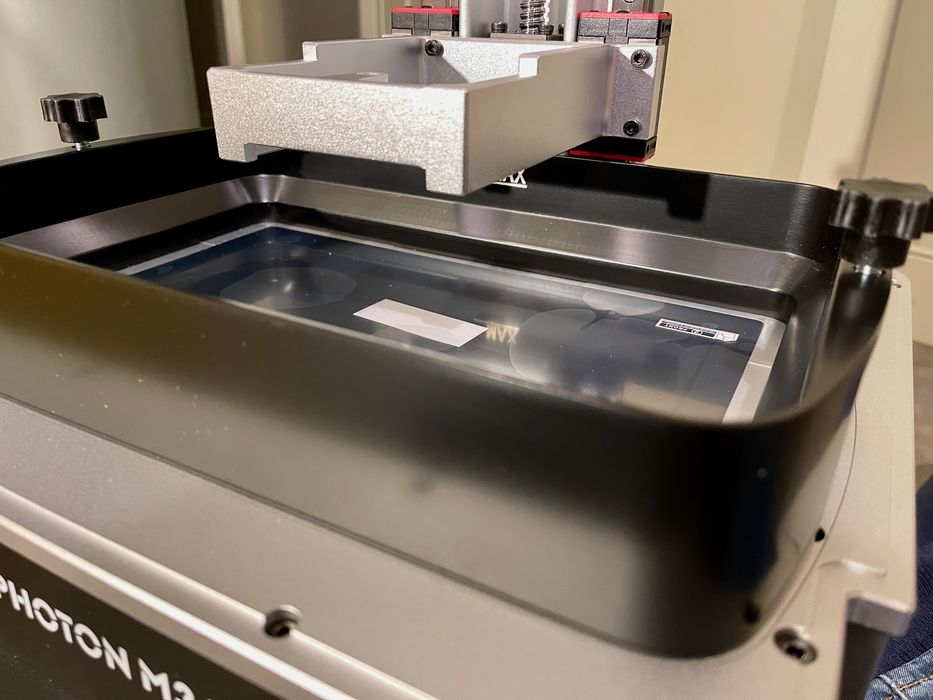
The resin tank on the M3 Premium is quite large and deep to account for the large build volume. It’s likely you could fill it up and print a very large object without having to refill the tank during the job. The larger tank is actually a lot simpler than other systems that have complex refilling systems. Here you just fill it up once and you’re probably good.
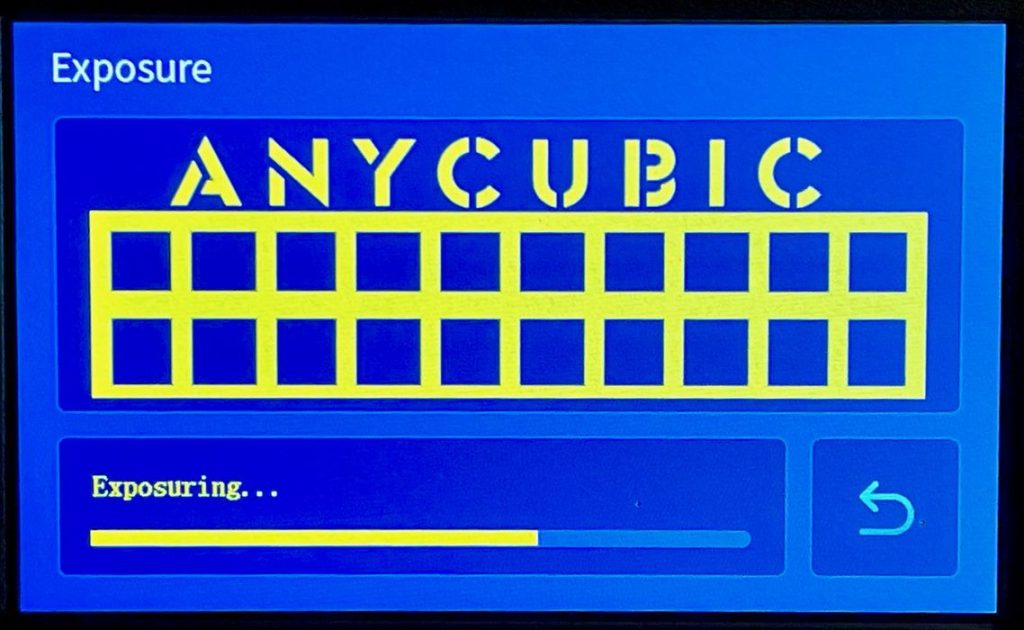
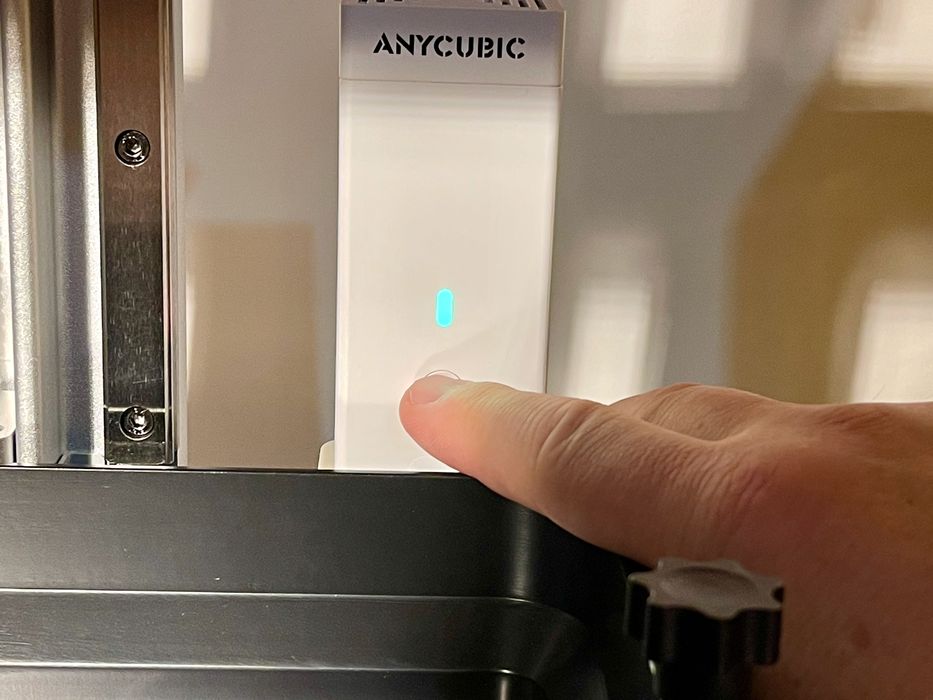
Part of the calibration and setup is to ensure the light engine is working properly. This is done by a menu command to display one of several patterns on the LCD panel. This is usually not a big deal, but I did notice a spelling error on the command as you can see above. Of course, this doesn’t affect the machine’s performance in any way.
The final step is to pour in some resin. Anycubic supplied me with some of their new water washable resin, which I had never used previously.
Anycubic Photon M3 Premium Operations
When you power up the M3 Premium, one of the things you immediately notice is the green LED light on each of the dual AirPure units. This indicates the devices are working. Note that they’re “on” whenever the machine is powered up, so if you leave the machine powered on overnight, you’re wasting those filters.
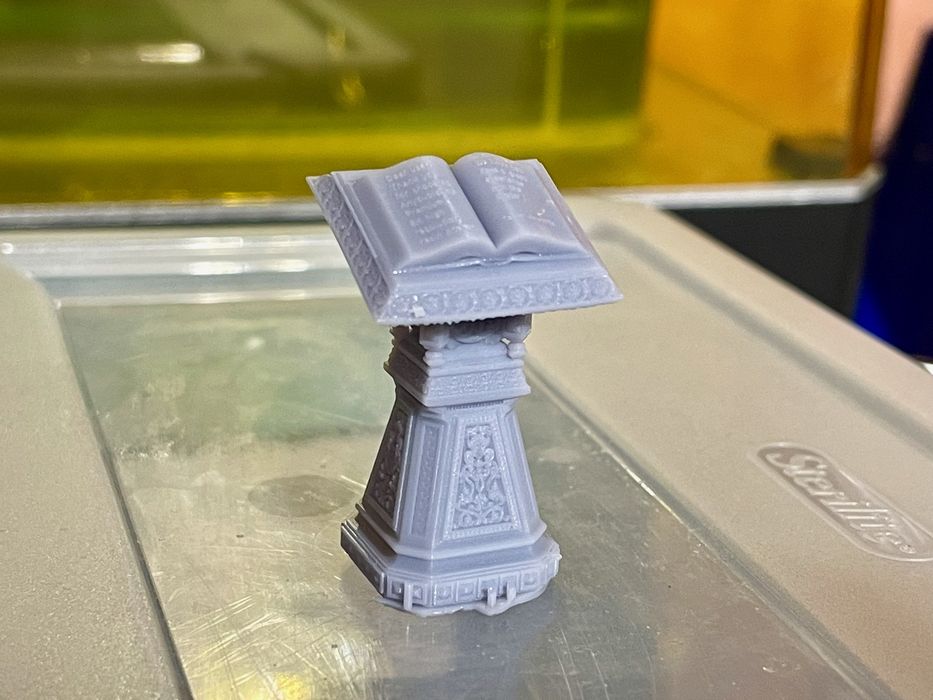
The first step one normally does when testing a resin 3D printer is to run the provided print job. Theoretically it is already tuned to produce a great result, and that was the case here.

The print was of a small podium, and it came out quite well. However, I noticed there was some writing on the book on top of the podium, and it was almost readable – the text is so small I could not take a proper picture of it. The message thanks the user for purchasing the M3 Premium 8K printer. A nice hidden easter egg for those buying this machine.
The control panel on the M3 Premium is quite large, as the big machine really needs a correspondingly large panel. I found it easy to use and quite responsive, as my big fingers were less prone to hitting the wrong button as they would be on smaller panels.
One of the most important steps to complete on a resin 3D printer is to calibrate the exposures for the resin being used. The chemistry of resins varies considerably, and so do the light engines of 3D printers. This means you can’t really use any quoted specs and expect good results.
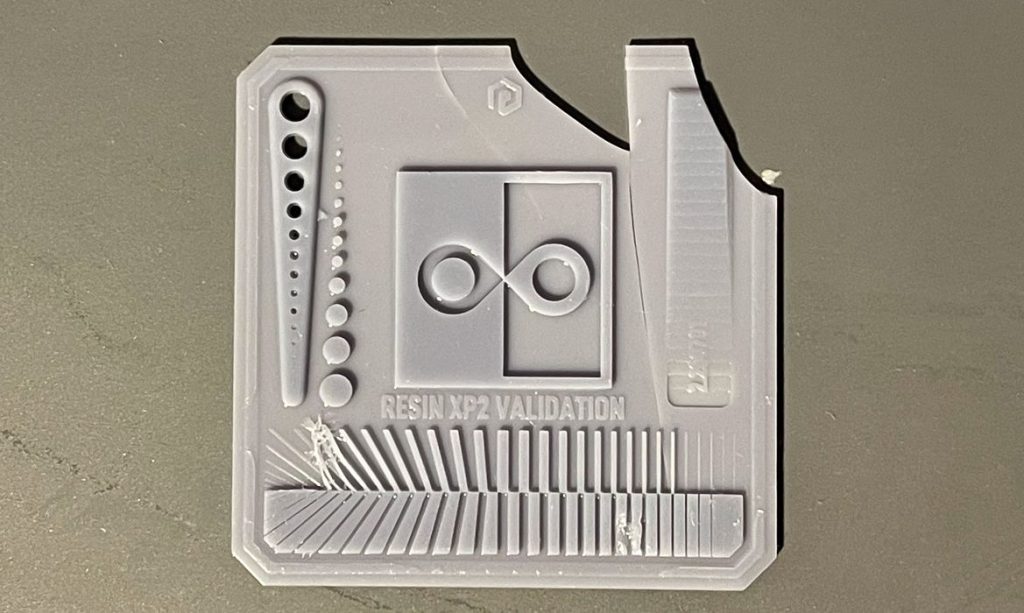
The calibration method normally is to repeatedly print a calibration object, such as the Validation Matrix, and slightly tweak the exposure time on each job. By examining the results you can determine the optimum exposure.
However, that process can take considerable time to complete. Even though the print job takes only ten minutes, you still have to set up the job, clean the print, clean up resin messes and use a lot of paper towels and disposable nitrile gloves. This is a minimum of 30 minutes per print in my workflow. Honestly, I’ve spent entire days doing resin calibration, and I’m kinda tired of the process.
Fortunately, Anycubic has engineered a brilliant solution to this issue: R_E_R_F. This is a special print job containing eight identical calibration objects laid out across the build plate.

The idea is that in software you specify one exposure time, and the firmware simply adds 0.25s to each succeeding instance. In other words, you could, for example, get test prints for 2.00, 2.25, 2.50, 2.75, 3.00, 3.25, 3.50, and 3.75 seconds ALL IN THE SAME PRINT JOB!
This can save an extraordinary amount of calibration effort. In my workflow, it would definitely save me perhaps six hours of printing and cleaning.
There’s only one issue with R_E_R_F that I could find: the models are unlabeled, so you have to use the “map” in the instruction manual to identify which one is which. But then you can get confused about whether you’re looking at the image upside down or mirrored due to the printing process. I had to sit down and very carefully figure out which models corresponded to 1-8 in the manual.
However, once I did so, I was easily able to identify the best settings. I do wish, however, that Anycubic would change the R_E_R_F process to at least number the prints so we can easily identify them.
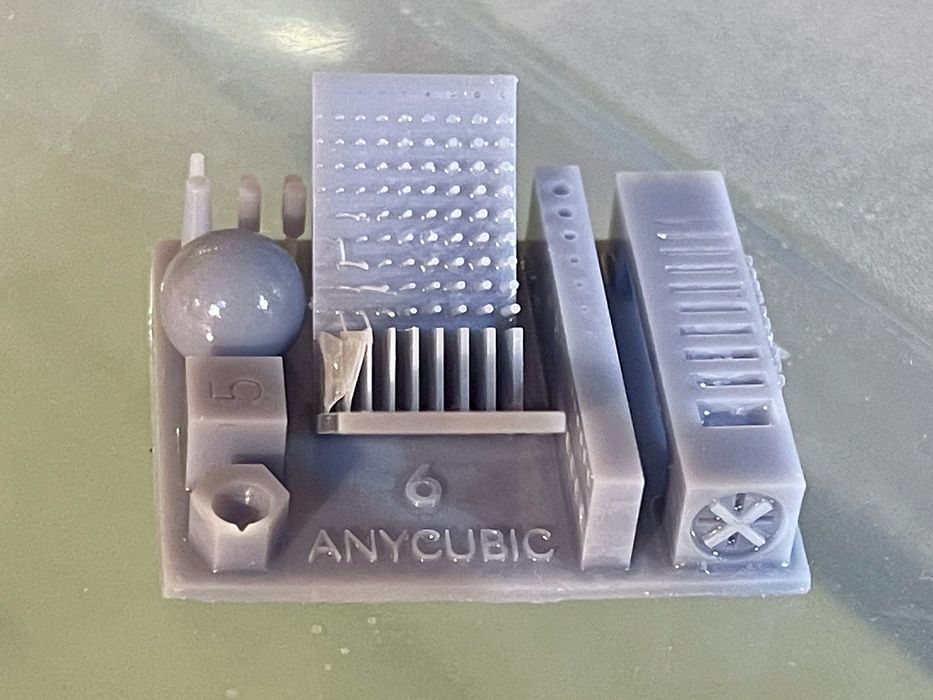
[UPDATE] It turns out that the R_E_R_F models ARE indeed labeled! The numbering is hidden underneath one of the overhangs, and is invisible if looking from the top. Once you see them, however, they are very easy to find. The part above is #6 in the series I printed, and it turned out to be the best one of the bunch. The Anycubic engineering team is going to relocate the numbers so they are more visible on the R_E_R_F models. Thanks, Anycubic!
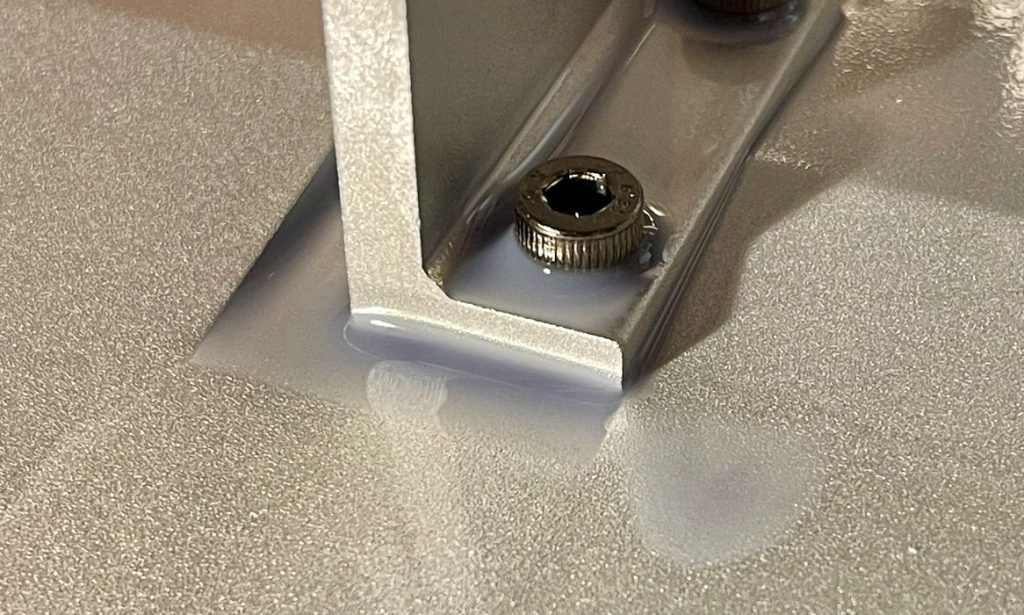
I did notice one aspect of the machine’s design I didn’t like much: there are too many nooks and crannies that can collect resin on the build plate mount.
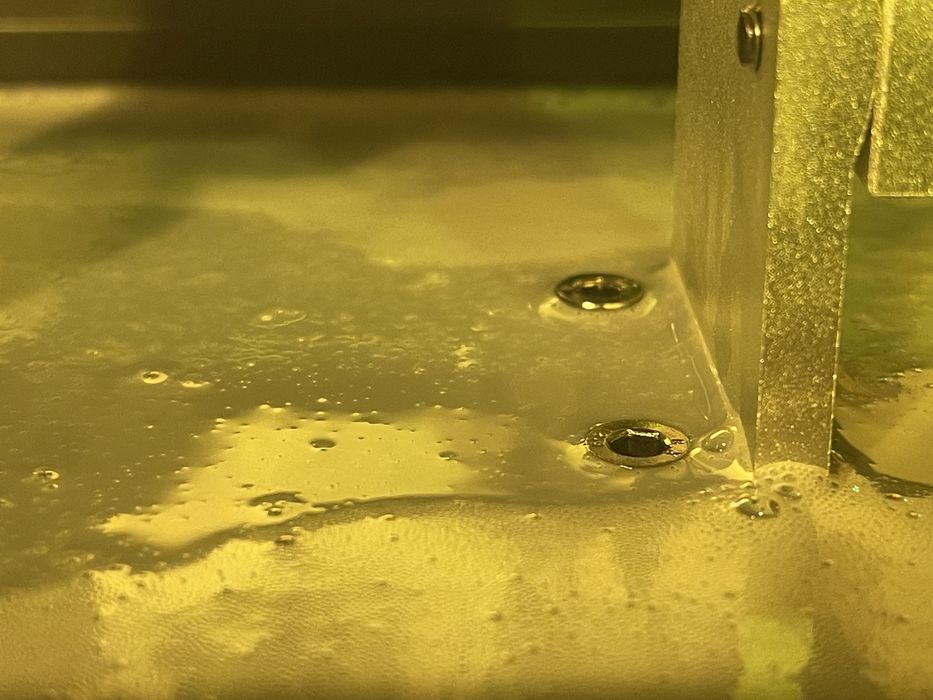
This is especially true when you have a full tank, and the result is much more dripping when you remove the print plate. The resin is expensive, so you don’t want to do this. I wish the plate and mount were designed to be entirely smooth so that resin could easily drip off after the print completes.
[UPDATE] Anycubic has recognized this issue and the product manager is now considering how to resolve this issue in the future.
The rest of the print process on the M3 Premium is about the same as most 3D printers. Wait for the print to finish, and then clean the objects with your wash and cure stations.
One observation is that the much larger build plate is quite a bit heavier than you’d find on other smaller resin 3D printers. This means that it can be tricky to hold it up for a long period to drip off stray resin.
Don’t forget to keep your work area clean of toxic drippings!
This is part two of a three part series, please read parts one and three.
Via Anycubic