

Our lab was busy taking a close look at the new Anycubic M3 Premium resin 3D printer.
This is part one of a three part series, please read parts two and three.
Anycubic Photon M3 Premium Background
Anycubic has continually released increasingly powerful desktop 3D printers for several years now, and has focused on both FFF and resin 3D printers.
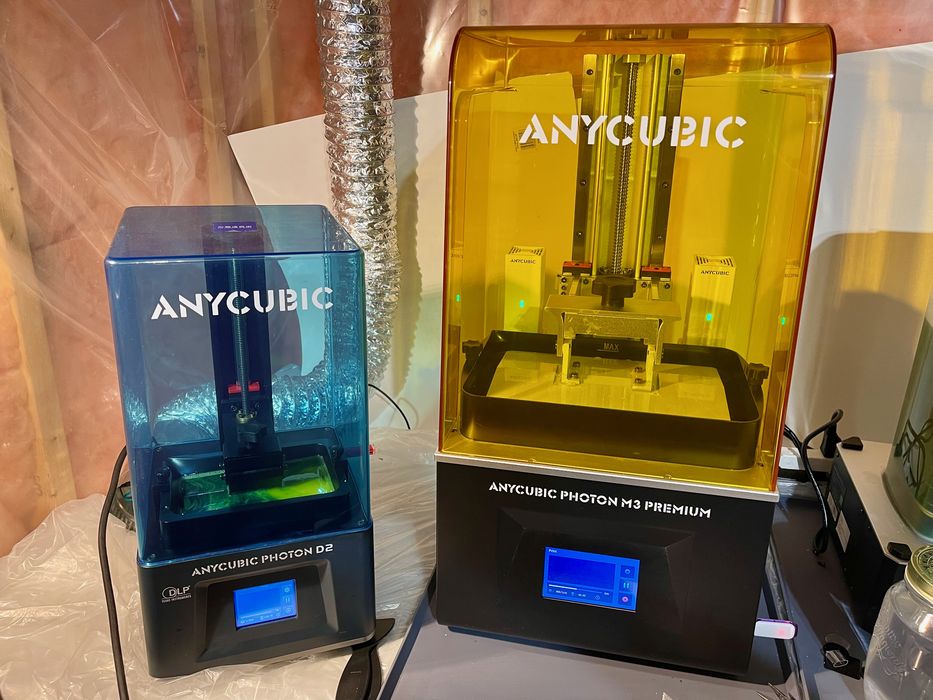
Recently they introduced the Photon M3 series, which includes a variety of different models. We’ve tested two of them in our lab, the Photon M3 and Photon M3 Plus. There’s also the Photon M3 Max, a much larger machine.
Now they’ve introduced the new Photon M3 Premium, which builds on their experience with prior models.
Anycubic Photon M3 Premium Specifications and Features
The Photon M3 is a somewhat large desktop resin 3D printer; most resin 3D printers have small build volumes as that allows the manufacturers to save on the cost of the light engine, but the M3 Premium is a lot bigger.
In addition, most of the common MSLA 3D printers use standard LCD panels to mask light heading to the resin vat, and thus the manufacturers are subject to the LCD panel formats available.
Over time equipment has shifted from coarse resolution to higher resolution, with 2560px widths being the common standard these days. Some equipment now includes “4K” panels that provide for additional resolution — or a larger build volume.
Here the Photon M3 Premium includes a very rare component: an 8K LCD panel. The pixel array is 7680 x 4320.
These pixels are spread across a build layer of 219 x 123 mm, yielding a pixel size of 0.0285mm, which is quite small. In other words, the Photon M3 Premium is a machine that is both large AND of high resolution.
For the Z-axis, the Photon M3 Premium can raise the platform up to 250mm, which is also quite tall for a desktop resin 3D printer. This machine should be able to 3D print some very large 3D models.
The printer uses Anycubic’s LightTurbo 2.0 light engine, which uses a COB LED system. If you’re not familiar with “COB lighting”, it simply means the LED chips are mounted directly on a PCB, where they can be packed in far more densely. This means more light in a smaller area, leading to a powerful light source for 3D printing. That is required here, given the large build area of the Photon M3 Premium.
Anycubic also lists the contrast ratio of the light engine at 380 : 1, which is pretty good. This is important because a poor contrast ratio means light is leaking into areas where it should not.
From the COB light source, light bounces off a carefully designed concave reflector to land at the resin vat. Anycubic said the system has a light uniformity of over 90%, which is “much higher” than other systems using fresnel lenses. There is also very low light dispersion. Again, these should result in better quality prints.
There is a fan on the Photon M3 Premium, which automatically engages when the temperature is detected to be 65C or higher.
Anycubic decided to use a linear rail with ball screw to implement the Z-axis. This results in a Z-axis accuracy of 0.005mm, which should help in eliminating layer lines. They say the Z-axis is able to move more quickly than other large desktop resin 3D printers because of this, and therefore could reduce print durations.
One of the more unique features of the Photon M3 Premium is dual air filters, right in the build chamber. Anycubic has re-purposed their AirPure device to fit directly into USB plugs inside. No batteries are required in these filters, because it’s powered by the printer itself. These should reduce some of the odor produced by the resin.
Anycubic Photon M3 Premium Unboxing and Assembly
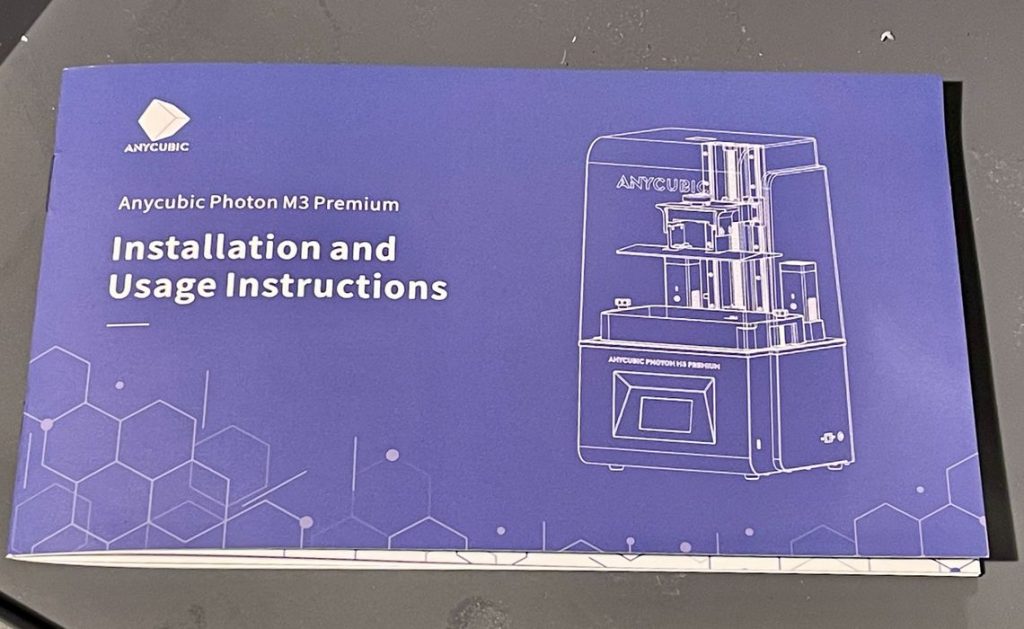
As usual, Anycubic included a pretty decent instruction manual, and extra points to them for making it large enough to read. Some of the other printers we’ve recently reviewed provide instructions that require a microscope to read.
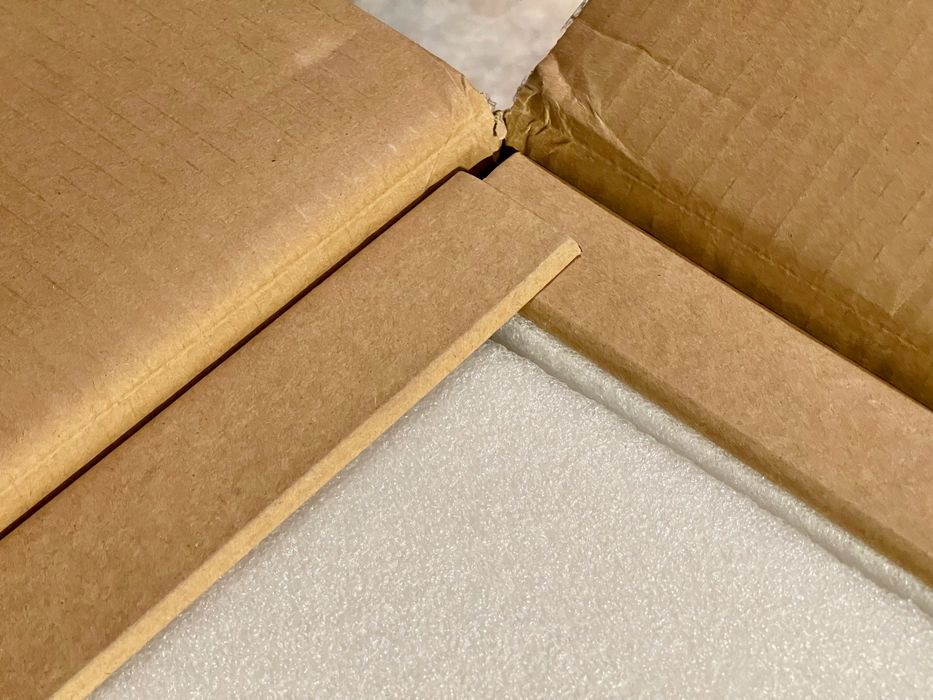
As I’ve come to expect with Anycubic, the Photon M3 Premium is packed very robustly, and nothing was broken during shipment. Anycubic is one of the few companies that uses rigid corner pieces in their shipping boxes, which makes a big difference.
All parts in the shipping box are extremely well cared for. As you can see in this image, the components are stuffed tightly into custom-fit foam that protects them during shipment. I’ve never had a broken item from Anycubic because of this.
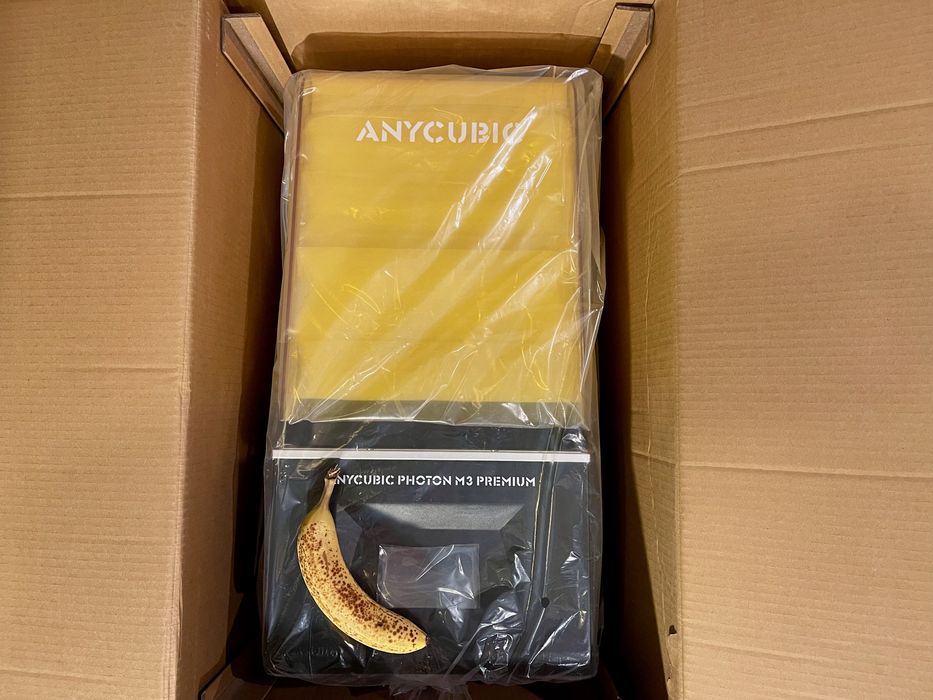
I should note that because this machine has a larger build volume, the shipping box is quite large. It’s far larger than typical FFF 3D printers, which are often broken down for near-flat packing. Not so with the Photon M3 Premium, which comes fully assembled.

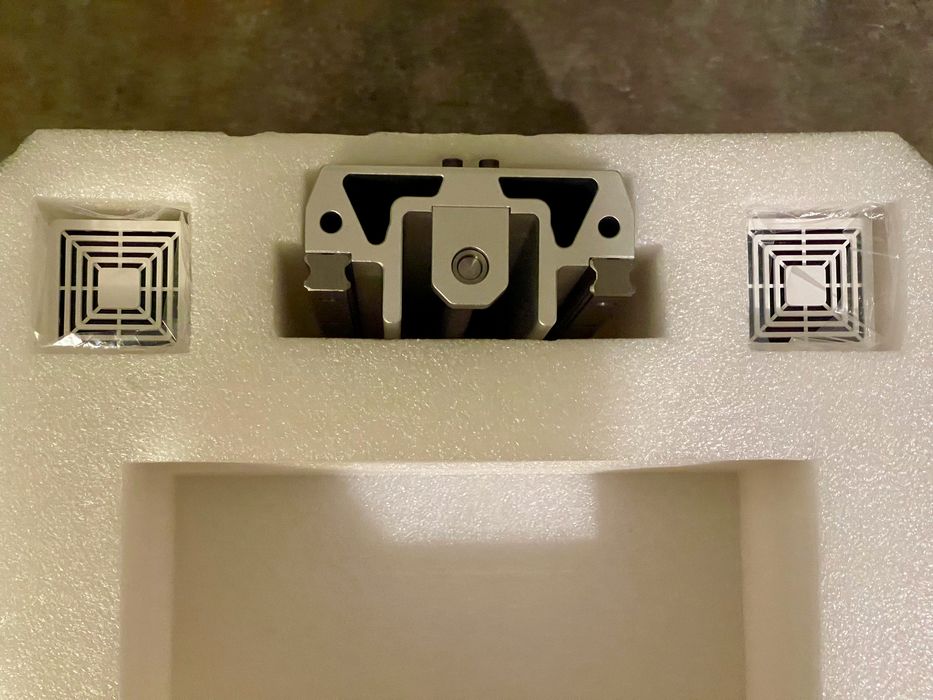
The M3 Premium doesn’t come with a lot of extra items, but as you can see in this image, you basically get everything you need to start printing, aside from a bottle of resin that is not provided with the unit.
Well, almost. There are a couple of things to do.
You have to assemble the build plate, which is a bit different from most units, where the build plate merely needs mounting. Here you have to bolt the plate itself to the mount. Not a big deal, but different from the usual pattern. Likely this is because the parts are much bigger on the M3 Premium.
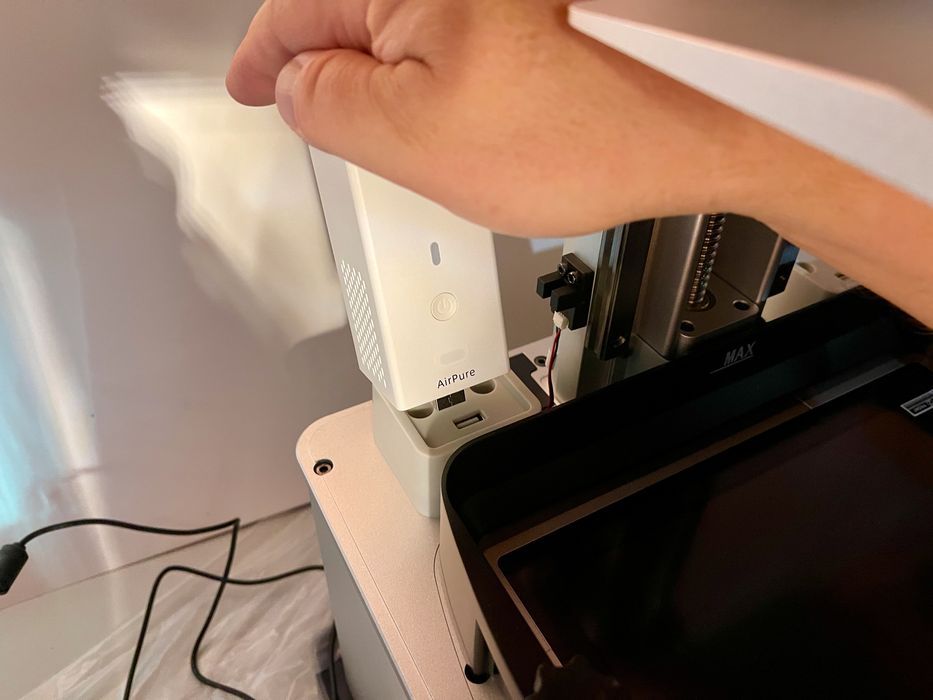
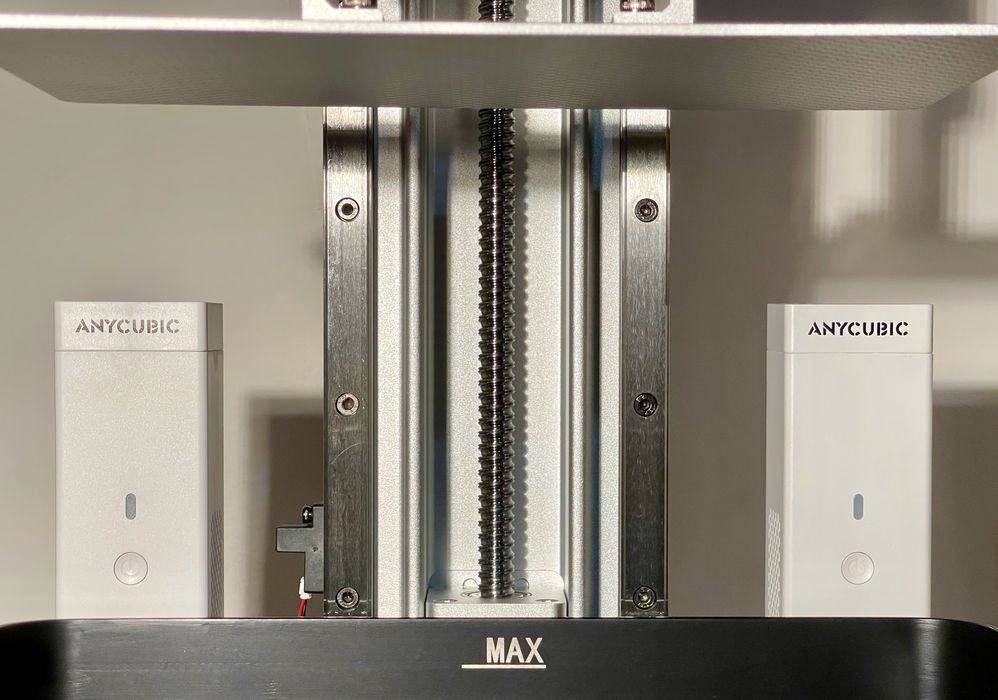
One easy step is to plug in the dual AirPure filters. Their USB plugs fit neatly into the top of the printer at the back.
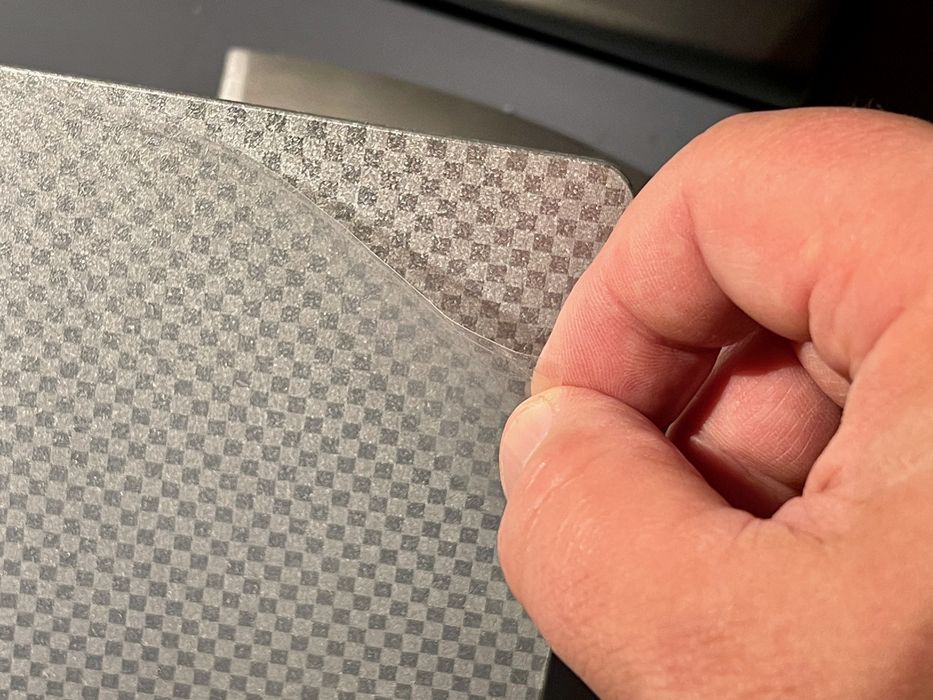
Don’t forget to remove the protective film from the build plate. This is sometimes not present on resin 3D printers, but it is on the M3 Premium. If you don’t remove it, you’ll definitely have problems when using the device.
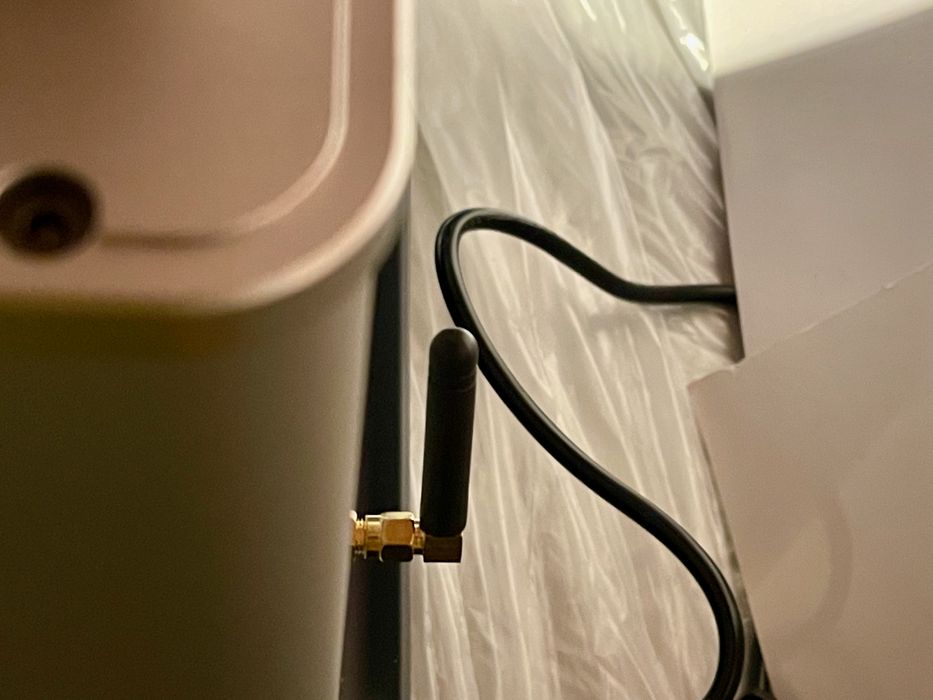
A curious installation step was the WiFi antenna. This is not mentioned as a feature, and did not appear in my assembly instructions. It’s a small antenna that fits into a plug at the back. I’m told that Anycubic intends on “activating” the M3 Premium in the future for connectivity to their cloud system for remote monitoring and control. However, I could not test it on my unit as it wasn’t yet enabled.
[UPDATE] Anycubic informs me that they will indeed launch the WiFi feature for the device in early 2023, and information about the service will be included in the M3 Premium manual at that time.
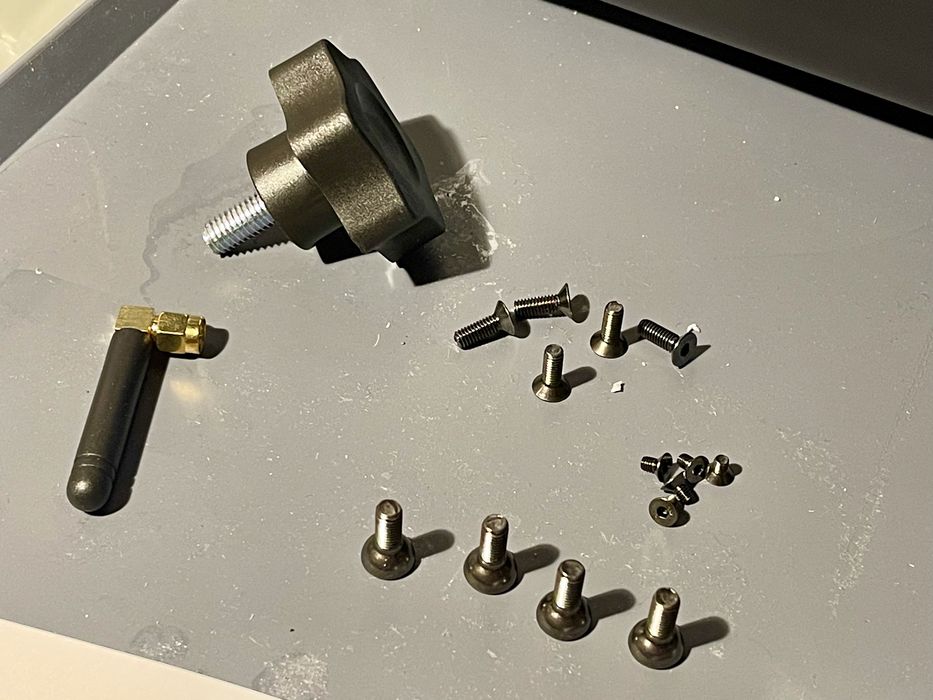
Somehow I ended up with some extra bolts, and I’m not sure where they are to be used. It may be that like the curious WiFi antenna, there are future plans for the M3 Premium we don’t know about yet.

[UPDATE] Anycubic has explained the purpose of each of these extra bolts in this image they provided to us.
This is part one of a three part series, please read parts two and three.
Via Anycubic