
Our look at the new Bambu Lab H2S desktop 3D printer continues with unboxing, assembly and calibration.
This is part two of a four-part series; please read parts one, three and four.
Bambu Lab H2S Unboxing and Assembly

The first thing you’ll notice about the H2S is that it is big. It’s probably the biggest desktop 3D printer you’ve ever seen, especially when it’s in the box. The box weighs 35kg, and it really requires two people to deal with.
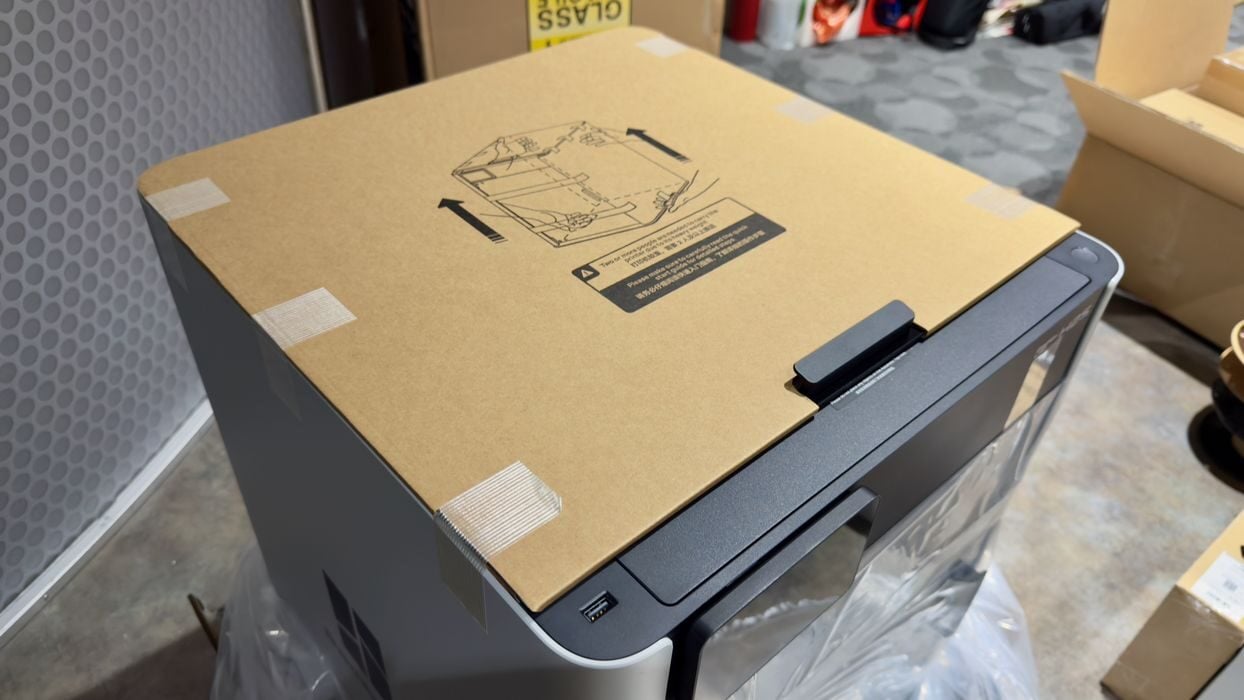
Fortunately, Bambu Lab has packaged the H2S so that you can detach some clips at the bottom and lift off the top. You don’t need to lift the massive machine out of a tall cardboard box.
Note: Save the packaging in case you ever need to send the H2S in for repairs.
As always, the H2S is superbly packed. It’s unlikely your unit will be damaged during shipping unless something catastrophic happens. Here you can see how Bambu Lab specially wrapped the glass top cover of the H2S for protection.
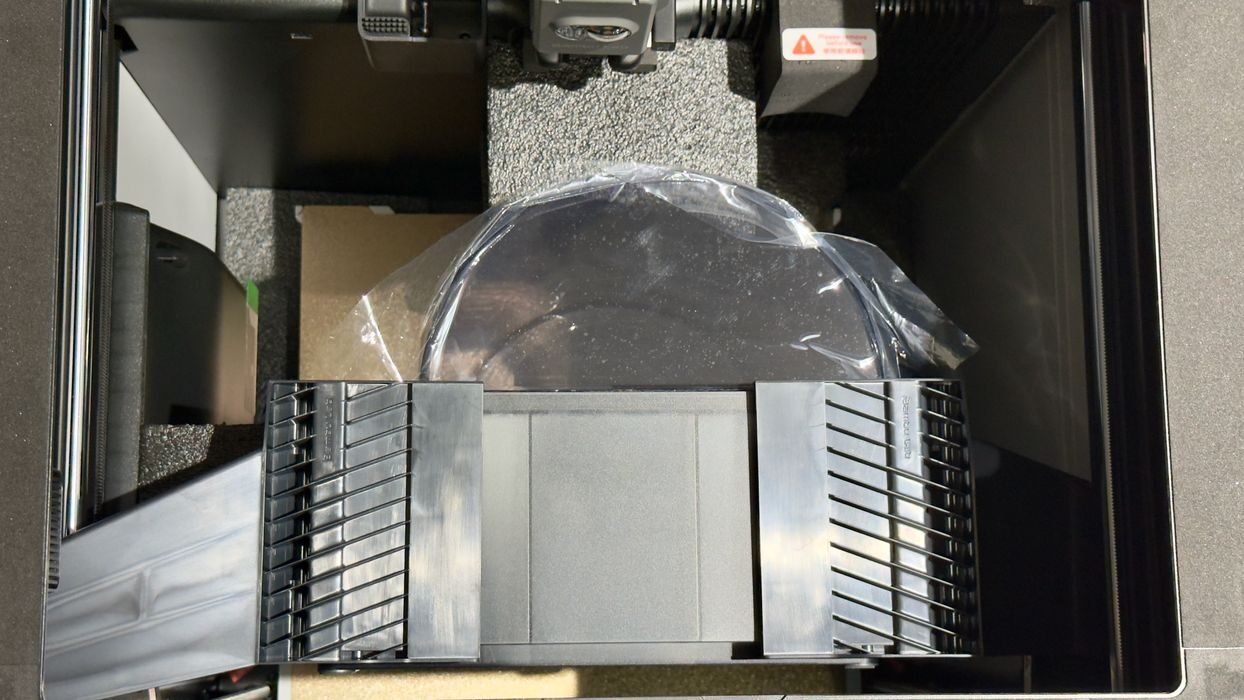
Hold on, this is supposed to be a Combo unit with an AMS 2 Pro. Where is it? It turns out they have expertly packed it inside the massive build chamber. It’s held down by some throwaway brackets that you’ll need to unbolt and remove.
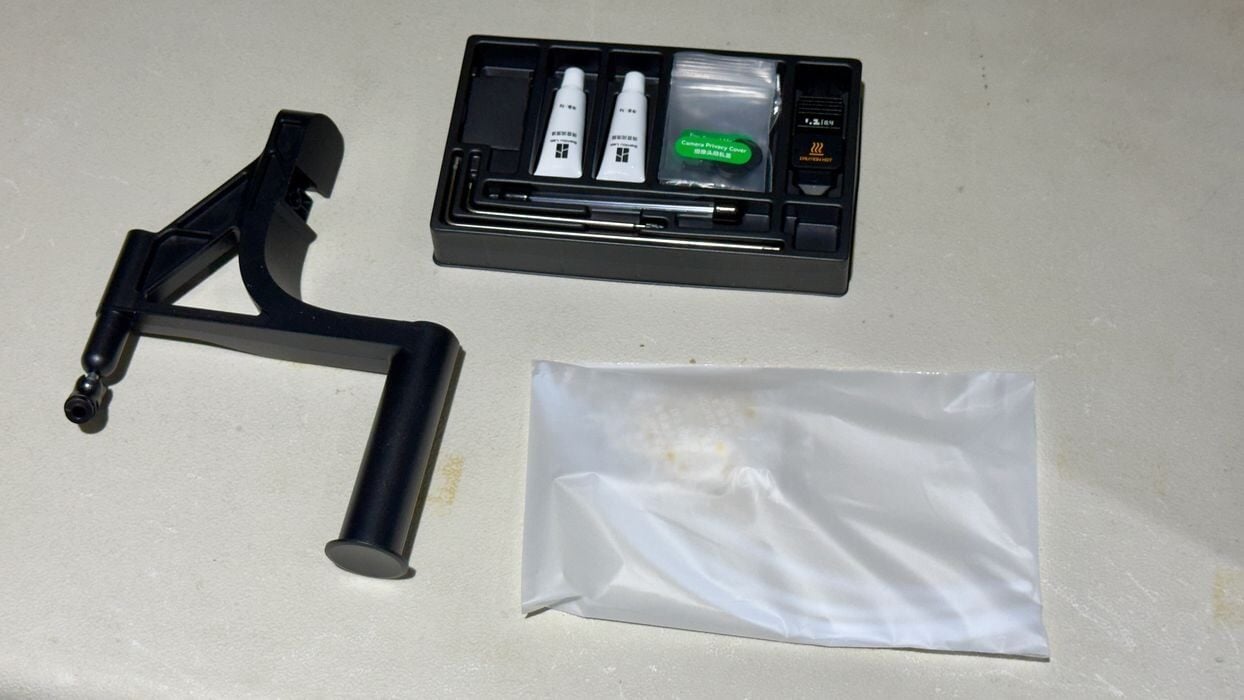
The toolkit provided with the H2S is pretty much identical to the kit you receive with other Bambu Lab devices. Except here it looks tiny compared to the huge 3D printer. There’s also a slide-on external spool holder that we’ll use a bit later.
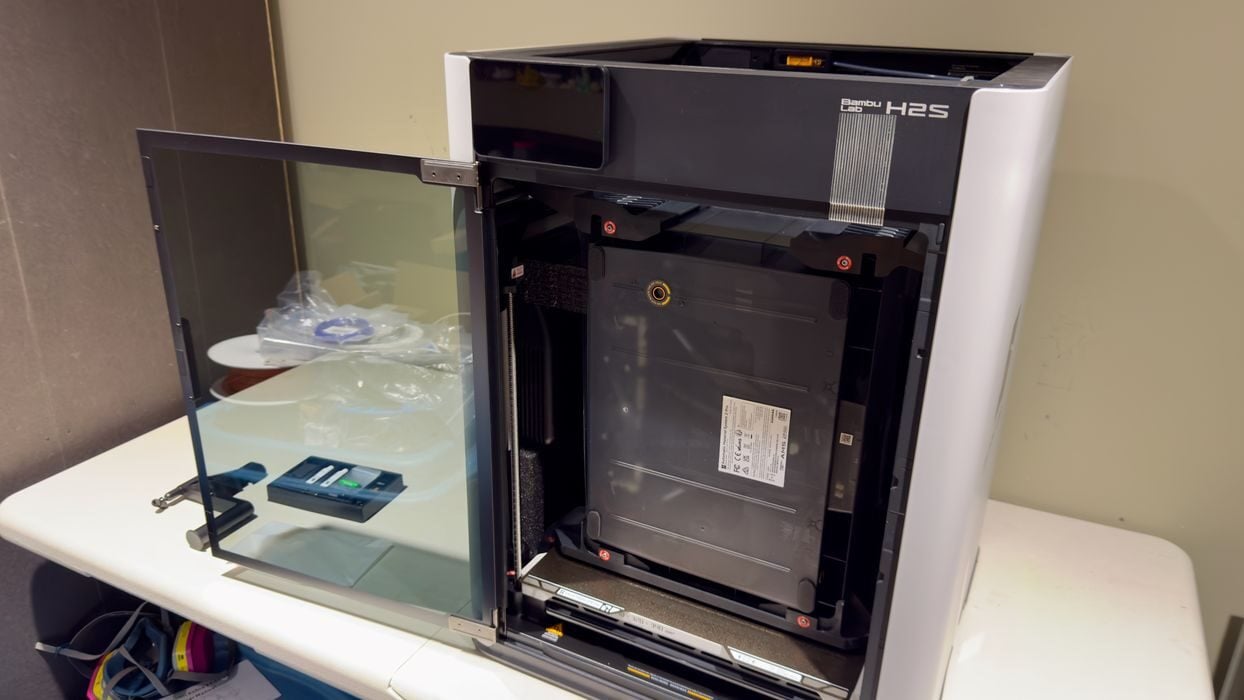
If you’ve used an X1C you will be familiar with the door problem: it doesn’t fully open. Some operators actually break their X1C door by opening it too far. That isn’t happening on the H2S because the door fully opens, 180 degrees.
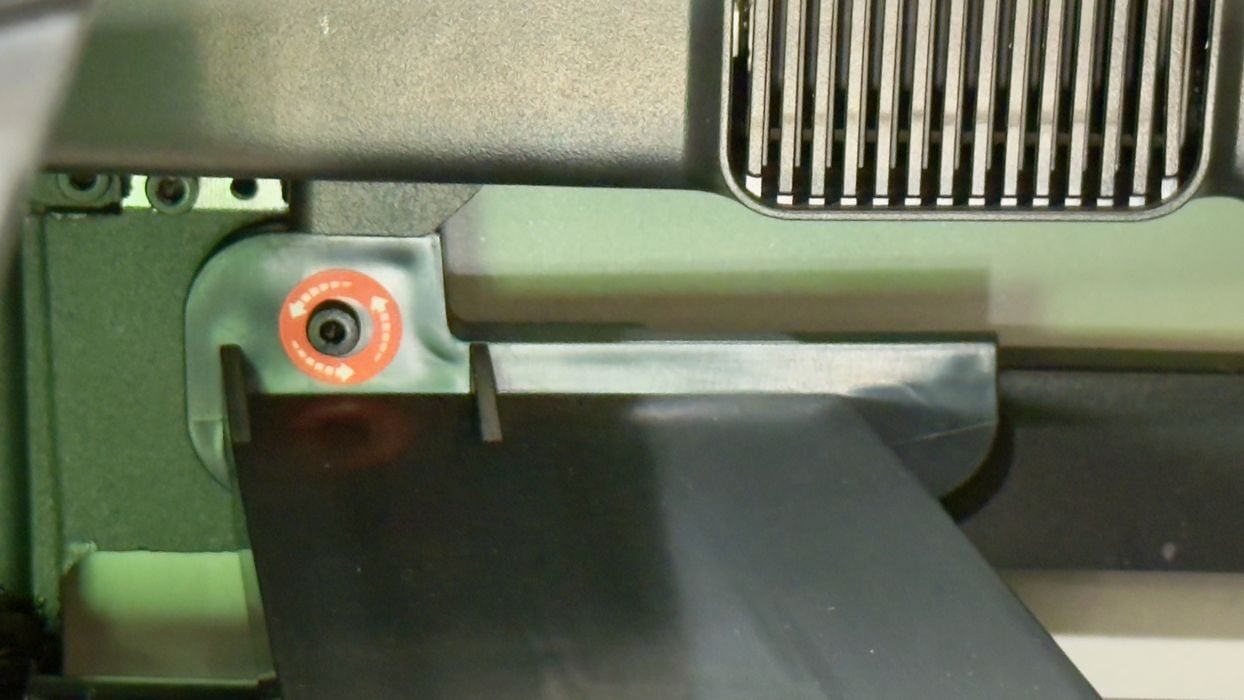
I’m always impressed with how Bambu Lab marks all the items you must deal with during assembly. Here you can see a bolt buried deep inside. It’s red for easy visibility, but they also show which direction to rotate the driver.
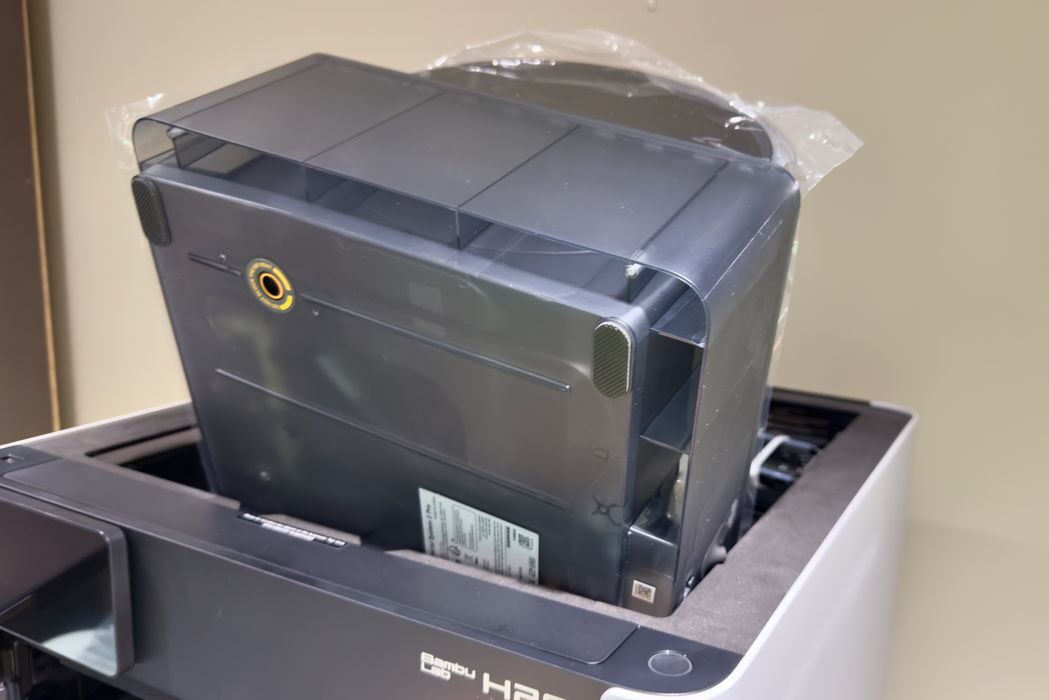
After removing the aforementioned brackets you can slide the AMS 2 Pro out the top of the machine. It’s quite light, so there’s no problem doing so.
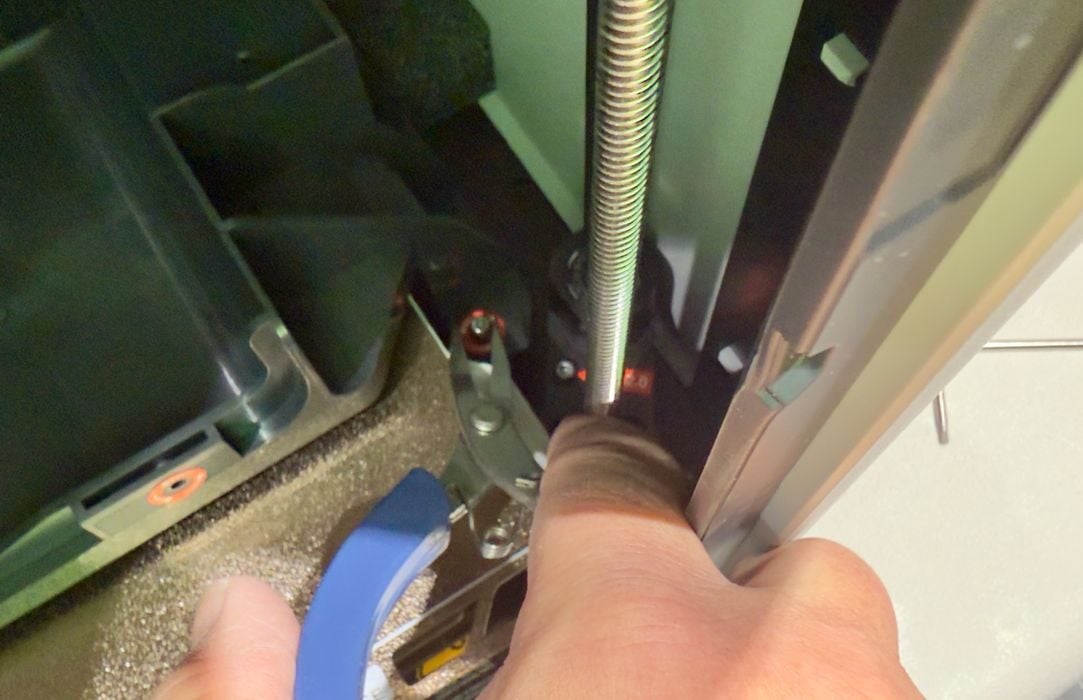
I proceeded to work on the various bolts and other shipment fittings. Some of them turn out to be pretty deep inside the machine, and my fat fingers can’t easily reach them. Have a set of needlenose pliers ready to grab loose bolts.
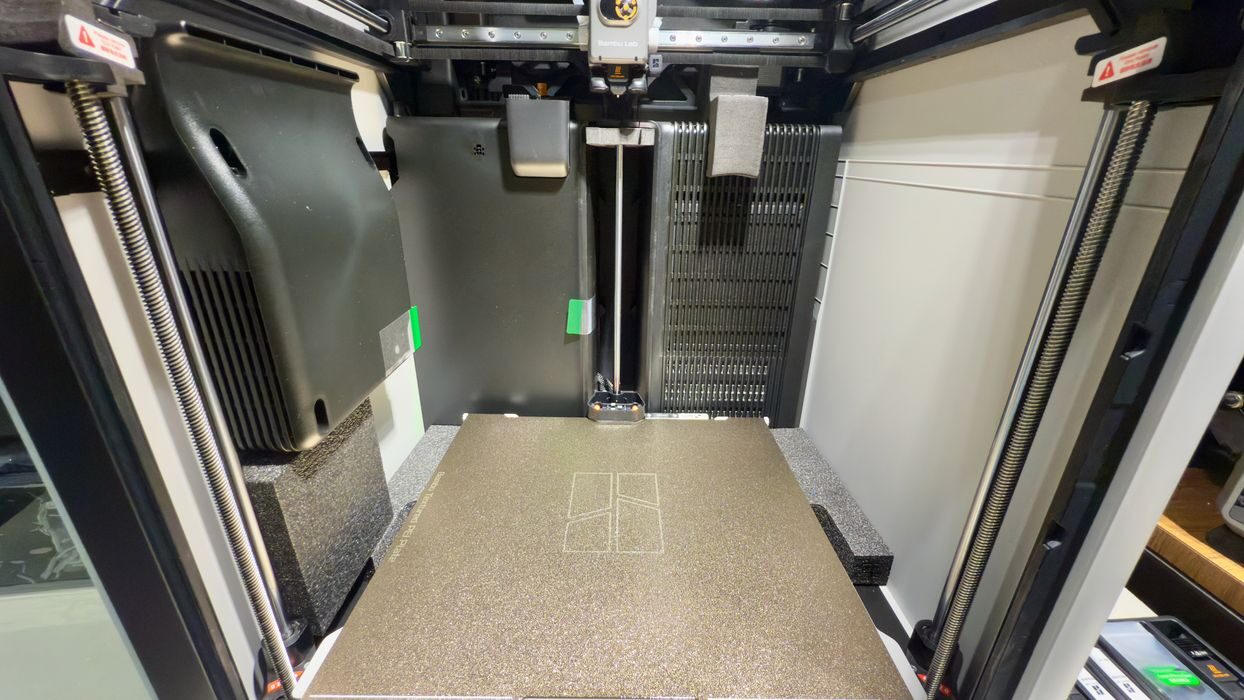
After clearing most of the build chamber, it’s possible to see how truly massive this machine is. The build chamber is gigantic, both wide and tall.
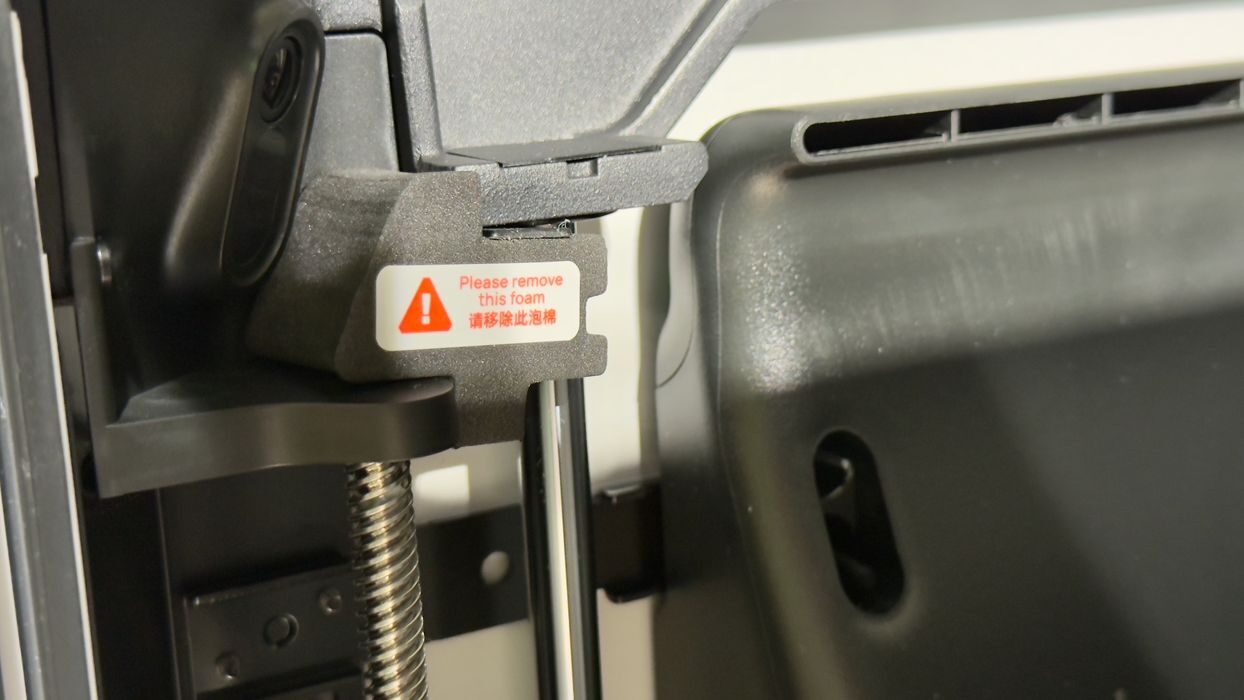
There are plenty of small bits to remove, and not all of these are mentioned in the assembly instructions. You have to spend some time carefully looking around the machine to make sure you pulled out everything that needs to be removed. Fortunately, Bambu Lab has put highly visible markings on them, such as this small piece of shipping foam.

I noticed that at the back of the print plate, there is a special section for cleaning the nozzle. But there are also some interesting symbolic markings. More on this later.
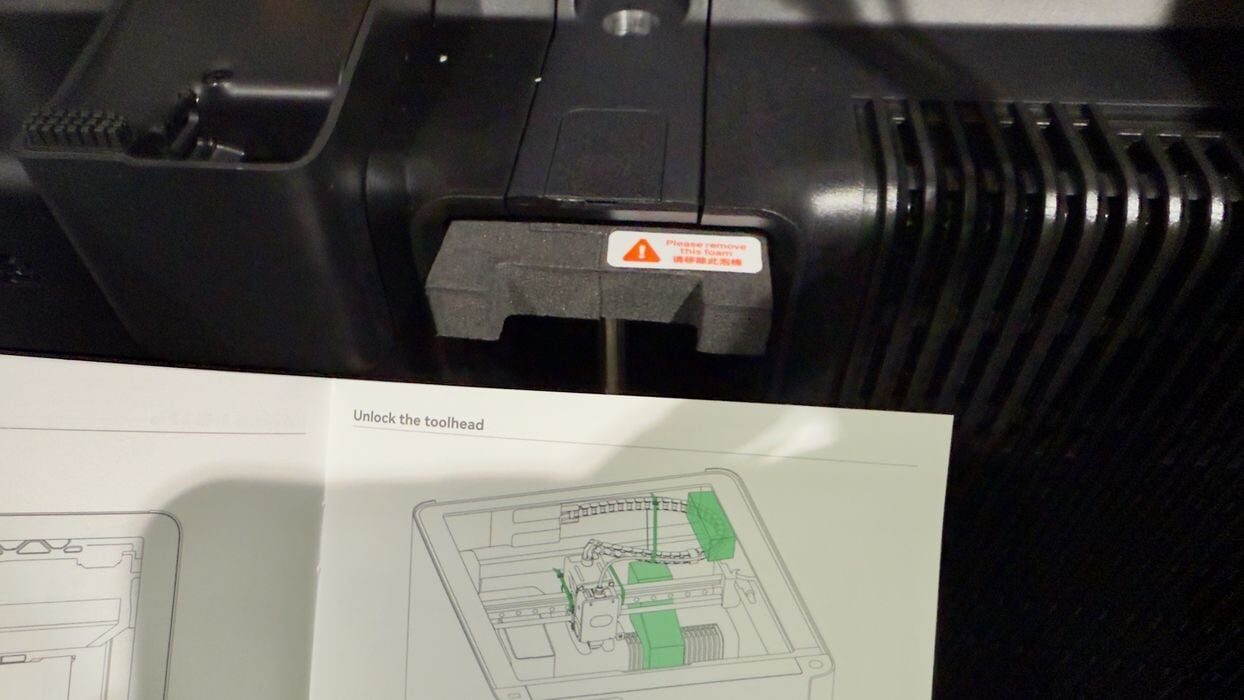
I found several instances where there were foam pieces to be removed that were not mentioned in the instructions. Please be diligent in finding all of them before powering up. Note that there are two large pieces of foam under the build plate — you can’t remove them until the build plate rises after power on. Those can stay for the moment.

Peeking inside the AMS 2 Pro, we can see a bag of parts (tubes, power, and signal cables, etc.). At the bottom, there are short PTFE tubes visible that are easily accessible. If a filament breaks in one of those tubes, it would be very simple to extract it: just remove the tube and push it out.
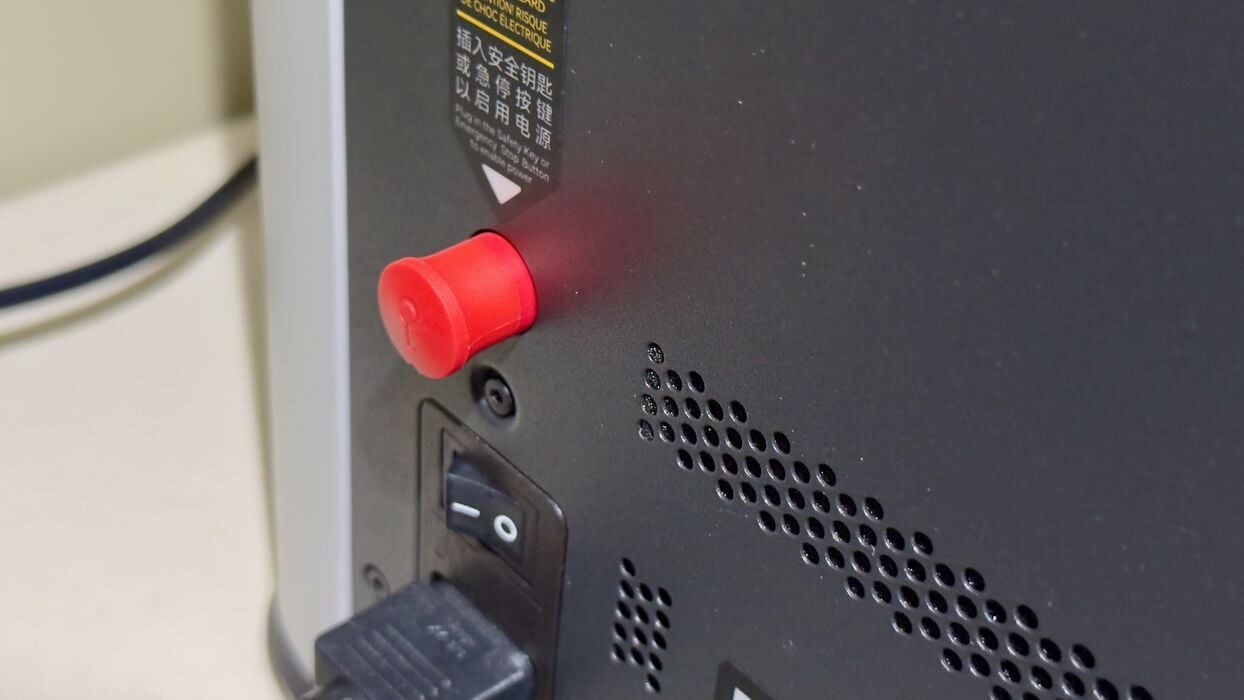
At the back of the machine is the safety key. This red key, if removed, will instantly power down the system completely. It’s analogous to the red emergency power-off button seen on industrial equipment, but here it’s hidden in the back of the machine. EPO buttons are usually highly visible on the front of machines, so this seems to be a design compromise. The bottom line here is that you should make sure the operator can easily reach the key in the event an emergency occurs.

Setting up the AMS 2 Pro is straightforward. You must unbag some desiccant and slide the packets into the slots. These help keep the chamber dry after a drying cycle.
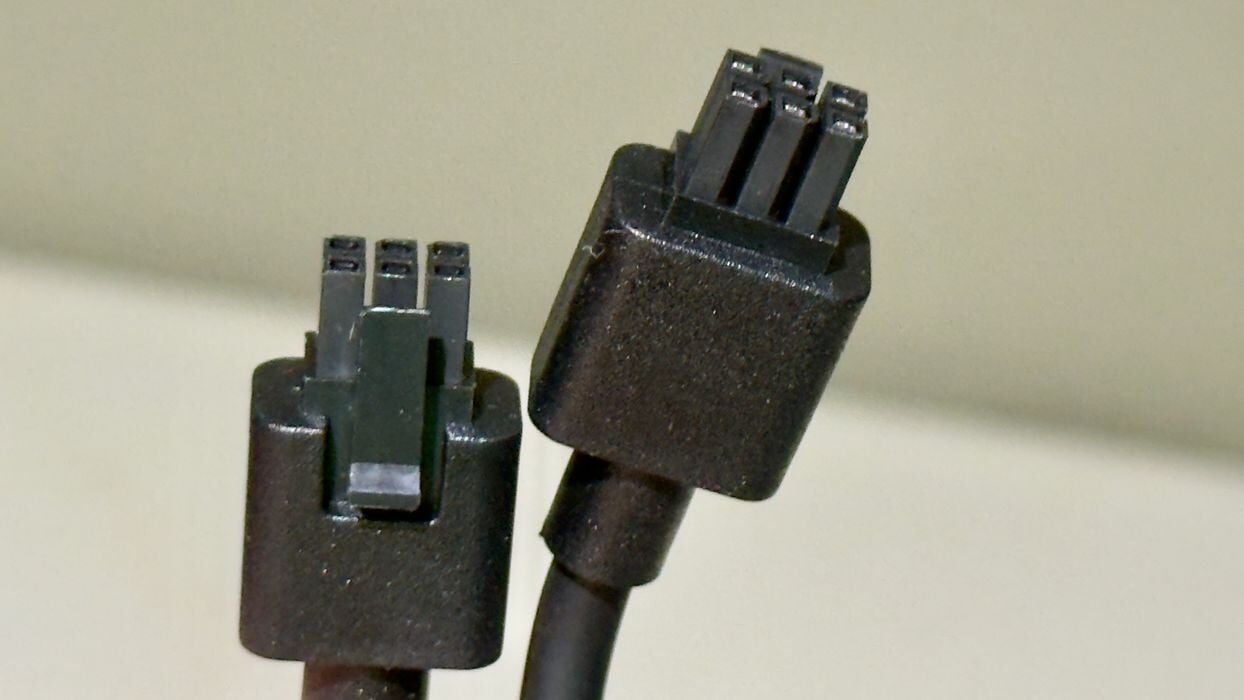
The AMS 2 Pro is attached to the H2S via a six-pin cable. Notably, the cable is bi-directional, and you can use either end to plug in. This is different from some competing systems where you have to be concerned about cable ends. There is a second socket to daisychain additional AMS units if required, as they all communicate on the BambuBus.

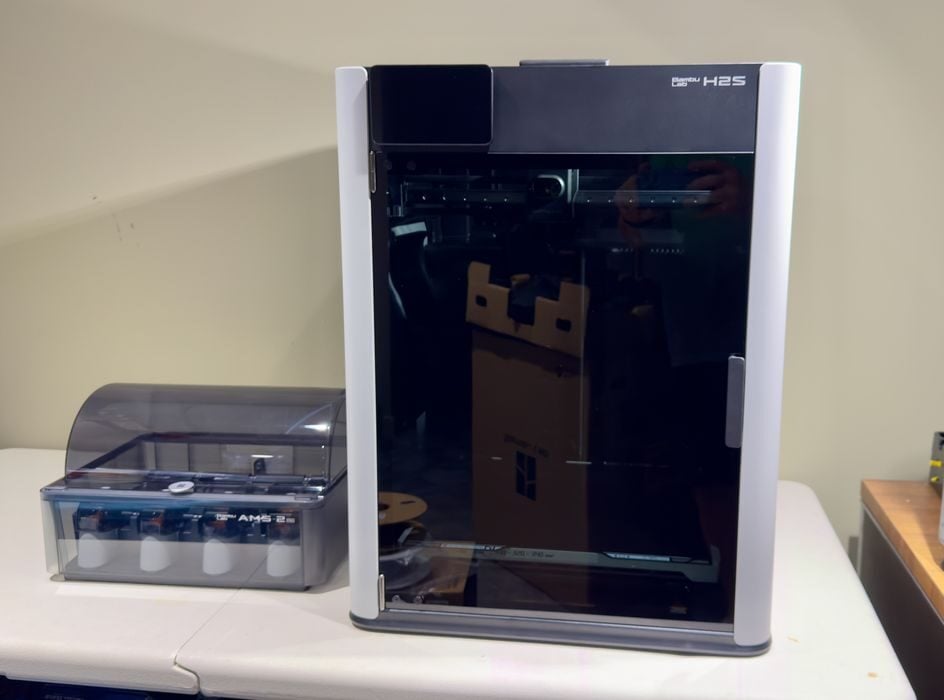
Here we see the AMS 2 Pro properly connected. You have a choice of putting it on top of the H2S as seen in many promotional images, or on the side as I have done. There are different lengths of PTFE tube for each.
I chose the side for reasons that will become clear later, but for now, don’t think that you have to put the AMS 2 Pro on top of the H2S.
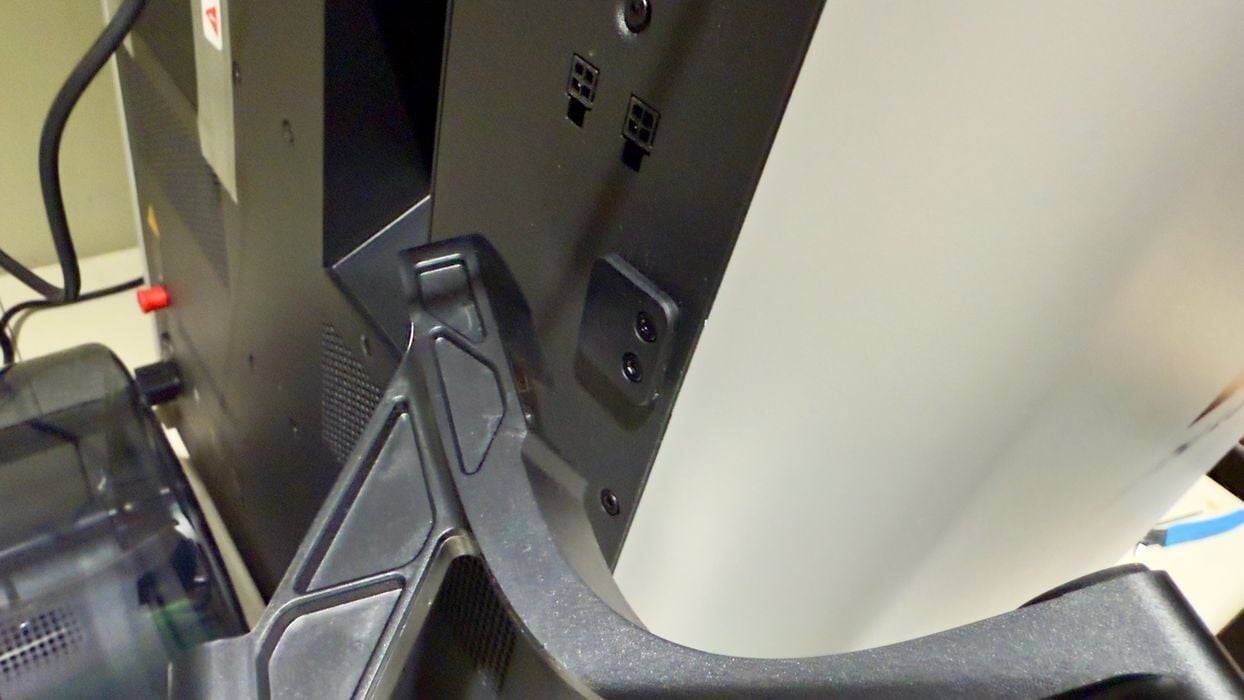
The spool mount easily slides onto a connector on the corner of the H2S. The H2D can hold two spools, but here only one is required because of the single nozzle setup.

At this point, I was ready to power up the H2S, which booted up without issue.
Bambu Lab H2S Setup and Calibration
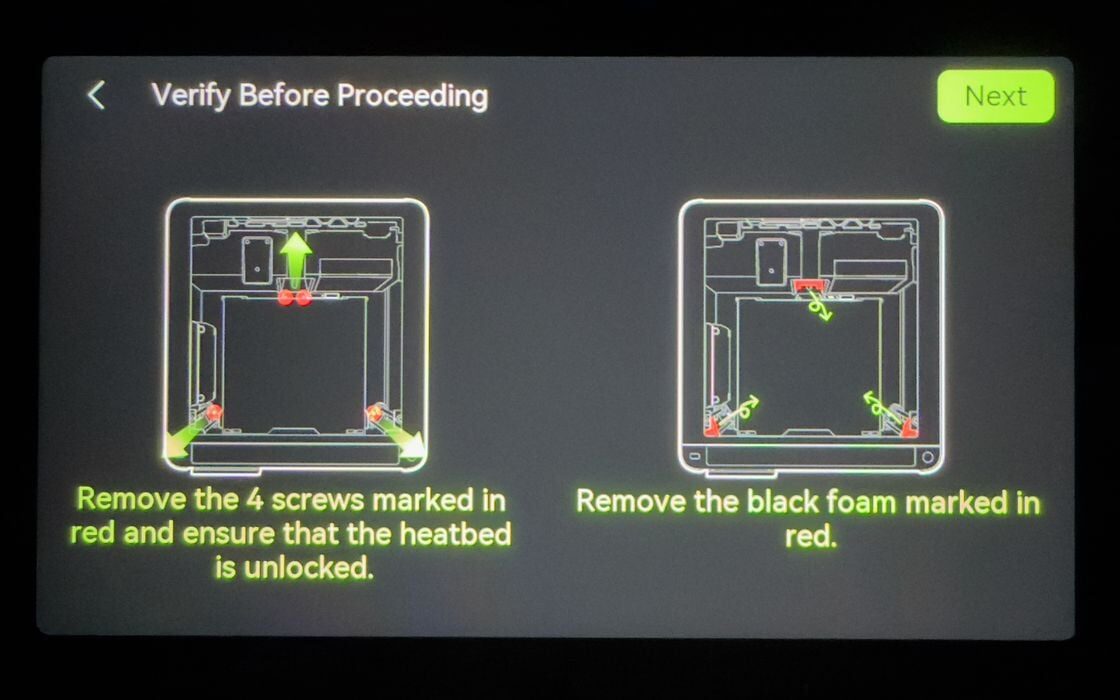
Upon power-up, the H2S immediately asks for language choice, network connection, etc. Then it asks directly about the removal of the shipping bolts. These I had previously removed as part of the assembly process, but the H2S wants to confirm this before attempting to move the build plate upwards. If the bolts had not been removed, I expect the H2S would make some uncomfortable noises.
When the plate finally lifts, you’re able to slide out those two foam pieces. Again, don’t try to pull them out until the plate lifts after power-up.
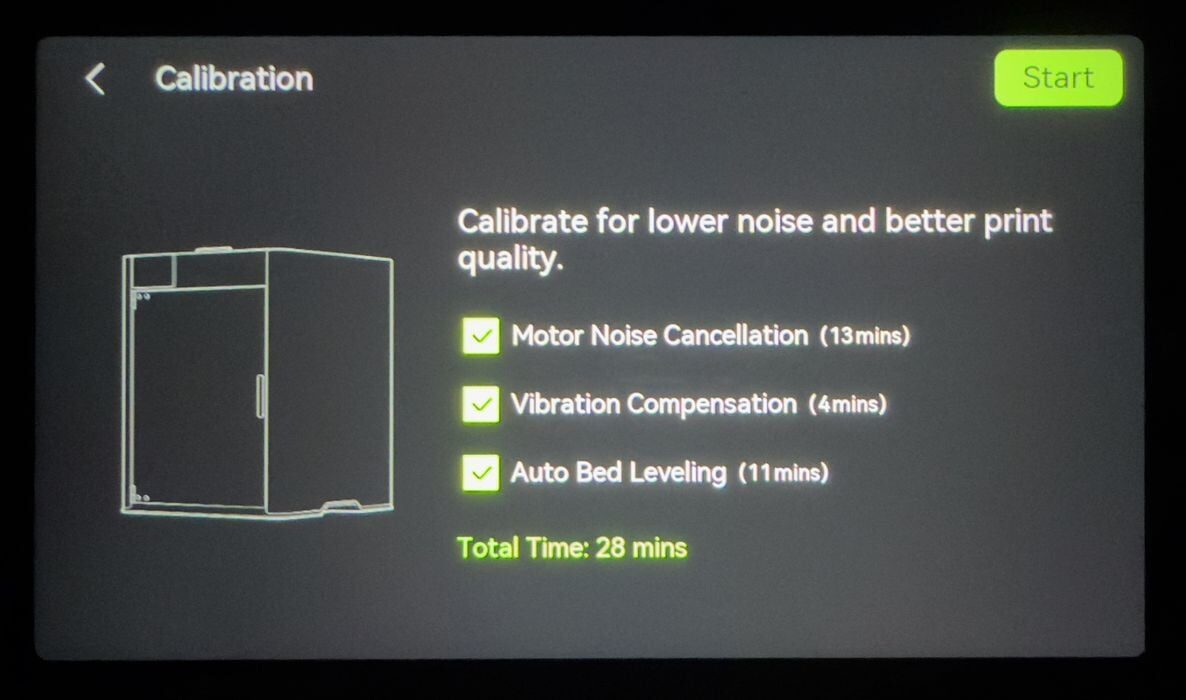
At this point, the machine must do a lengthy self-calibration. The steps are the same familiar ones you’d see on other Bambu Lab equipment, but here, for some reason, the majority of the 28-minute calibration was spent doing “Motor Noise Cancellation”.
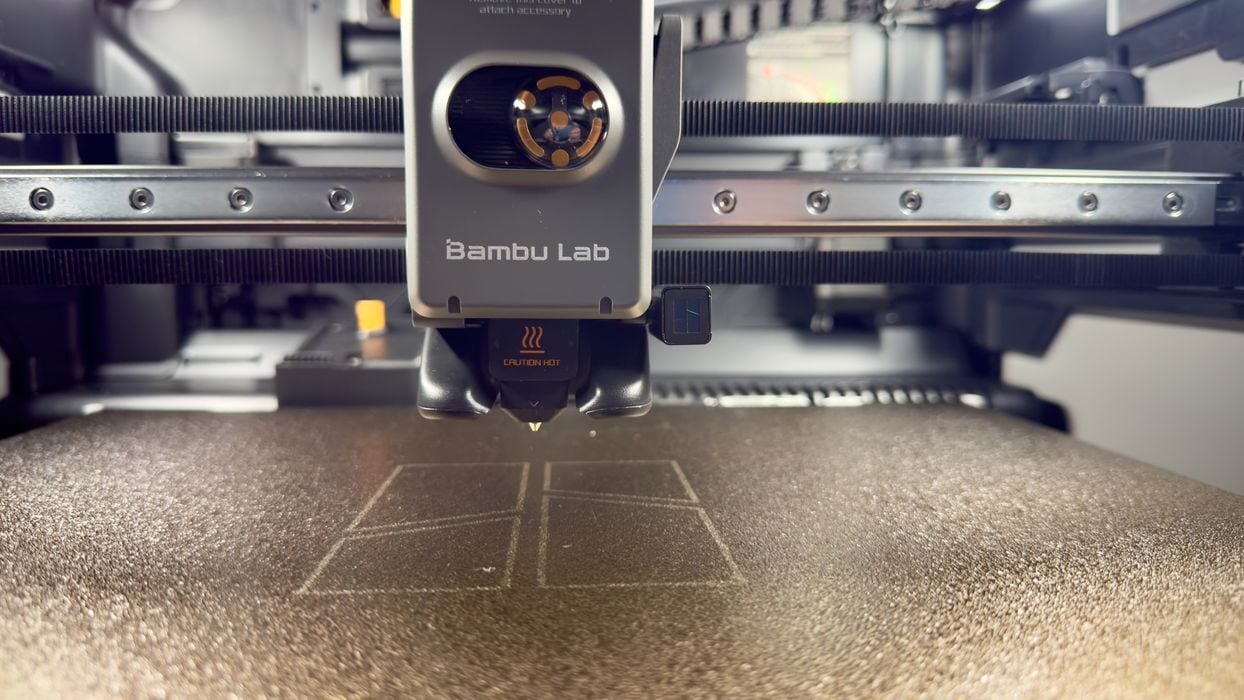
At this point, I took a look around the H2S. The toolhead is quite different from the H2D and X and P series, as it looks very much like an A series toolhead. I didn’t take it apart, but I understand nozzles are as easy to swap as the A series.
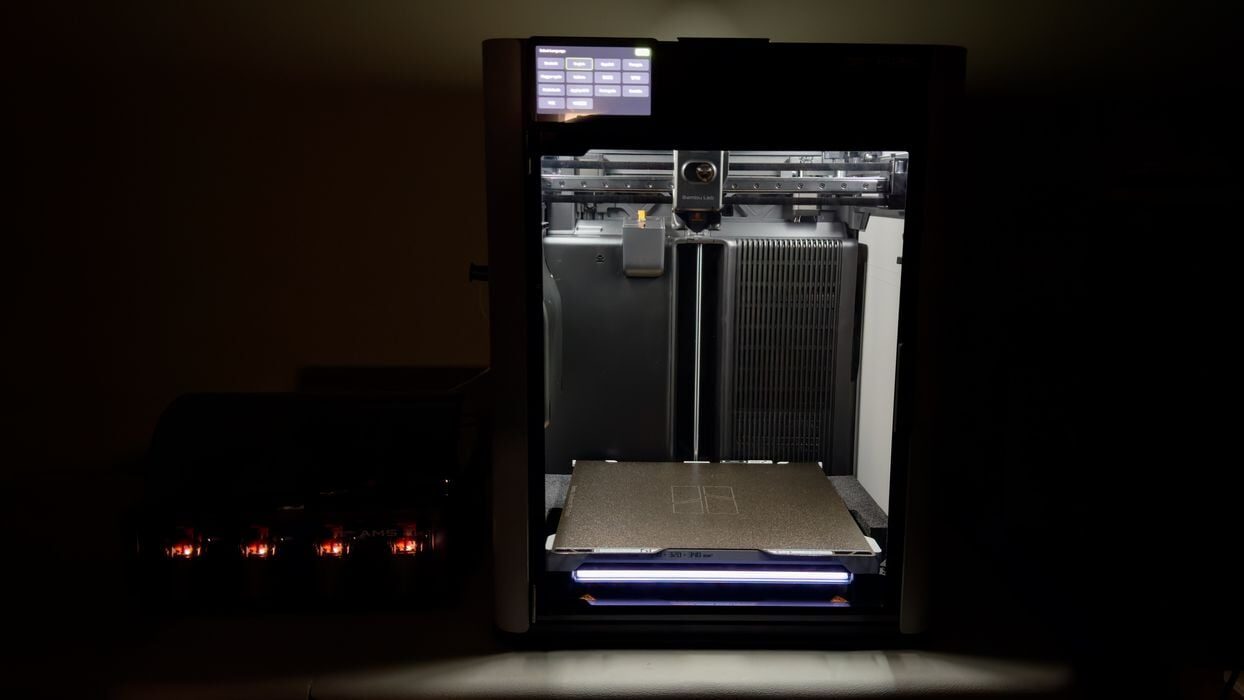
The build chamber’s lighting is superb. I’ve tested so many enclosed 3D printers without adequate lighting that I’ve had to add my own. Here, the lighting is so bright that not only can you see clearly what’s going on inside, but the camera views are also quite visible.
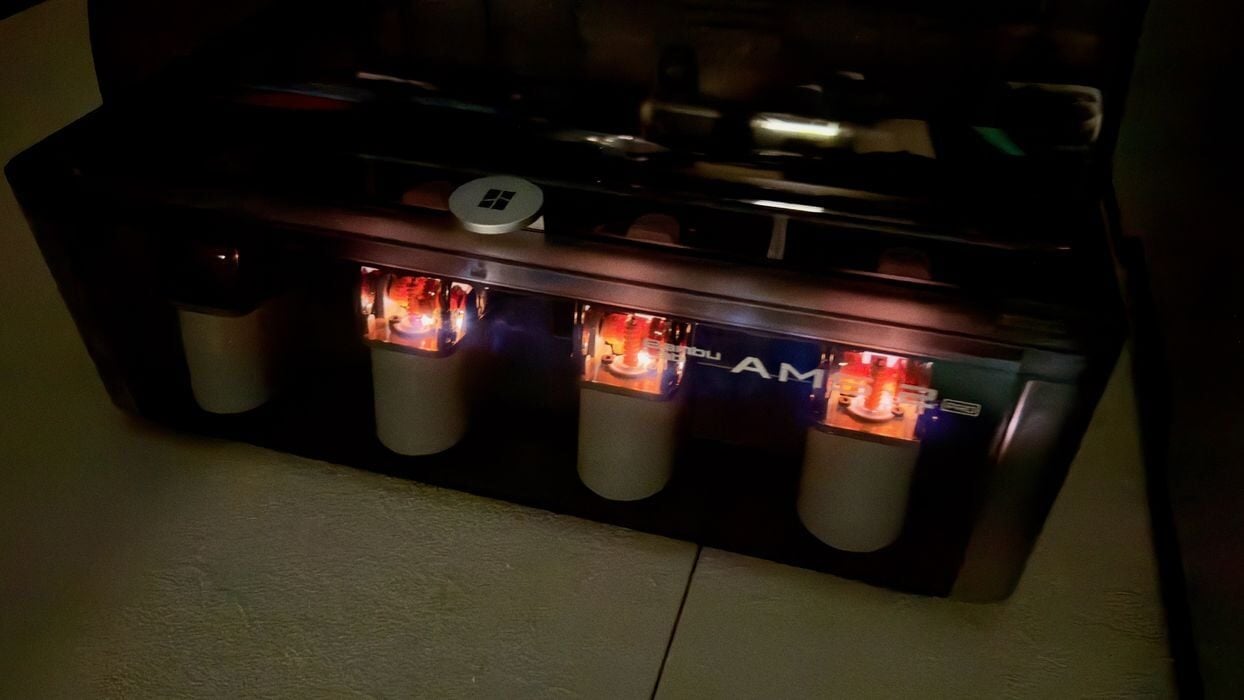
The AMS 2 Pro has lights for each of the four slots, and they blink when loading or when there is an error of some sort.
In all, the configuration wasn’t a big deal. It’s mostly automated, and you’re simply waiting most of the time. I was ready to try printing something.
This is part two of a four-part series; please read parts one, three and four.
Via Bambu Lab