
Our review of the Elegoo Jupiter 2 resin 3D printer continues with setup, calibration, and software.
This is part two of a four part series, please read parts one, three and four.
Elegoo Jupiter 2 Setup and Calibration
The printed user manual says that upon startup, the printer will conduct an automated self-check of key hardware components. So we double checked we hadn’t missed anything, plugged the Elegoo Jupiter 2 in to power, and turned it on.
We were greeted by the familiar Elegoo logo and then went through a series of prompts. First we chose our language, then selected our region of North America, added our WiFi, and named the printer.
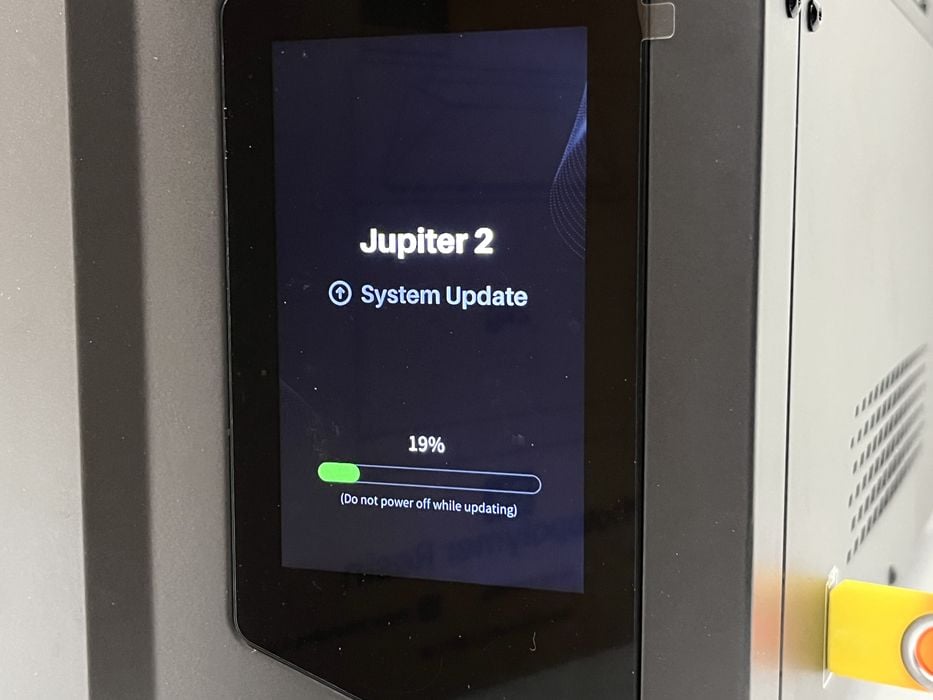
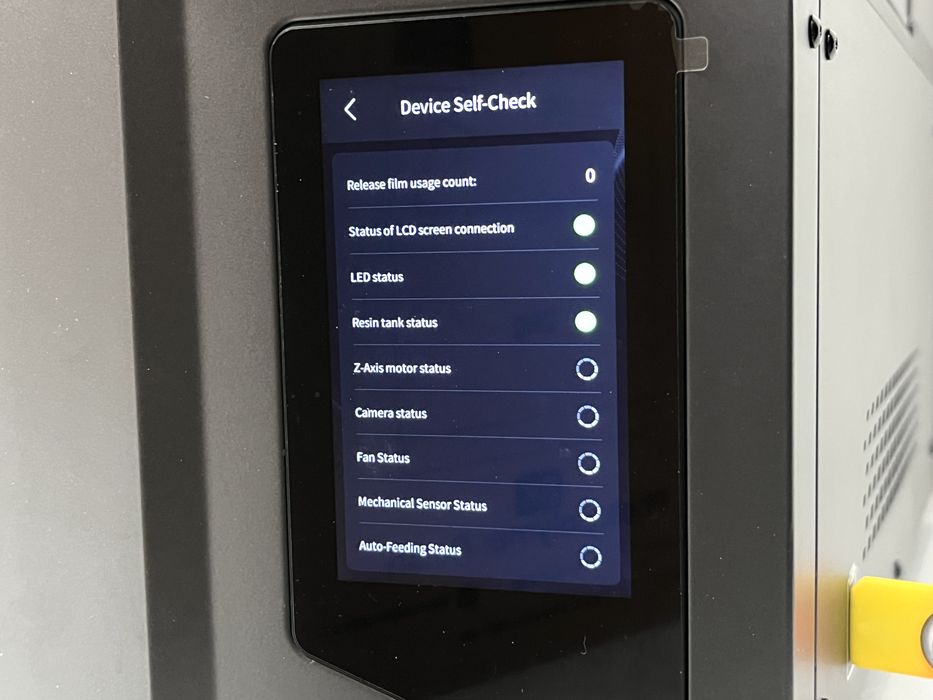
It then launched a quick nine point Device Self-Check, followed by checking for and finding a new version of firmware which we agreed to install. When the Elegoo Jupiter 2 rebooted from the update, it performed the device self-check again and then went to the main menu where it displayed Print, Tool, Settings and Device Info.
We explored the various menu items to get familiar with the printer.
The Print menu gave access to USB File, Local Files, and Print History.
The Tool menu contained Manual control of the Z -axis, Screen Exposure, Tank Cleaning, Device Self-Check, and Emergency Stop.
The Settings menu contained Language, WiFi, App Settings, Accessibility, Service and Version Upgrade. The Accessibility tab having simple functions under it for controlling Light and Sound as well as, major functions such as Resin Recycling, Heating and Leveling. The latter which would have been better served being grouped under a separate control menu.
Device Info contained pertinent information such as the name of the printer, model number, serial number, etc. In all, navigating the Jupiter 2 menu system wasn’t all that different from other machines we’ve seen recently.
We were now ready to attempt launching a print, but first we needed to add some resin to the tank.
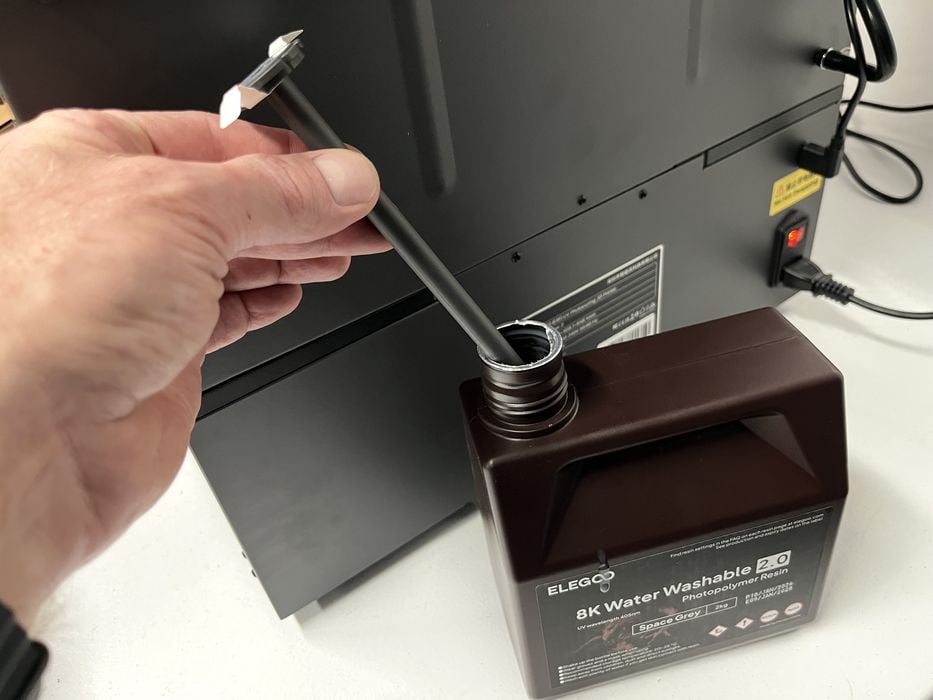
The user manual suggests to confirm that auto feeding is enabled, which we did. Then we prepared a new jug of water washable resin by vigorously shaking it up, installing the feeding tube into the jug, placing the jug into the ARFRM holder and then screwing the mating cap into place.
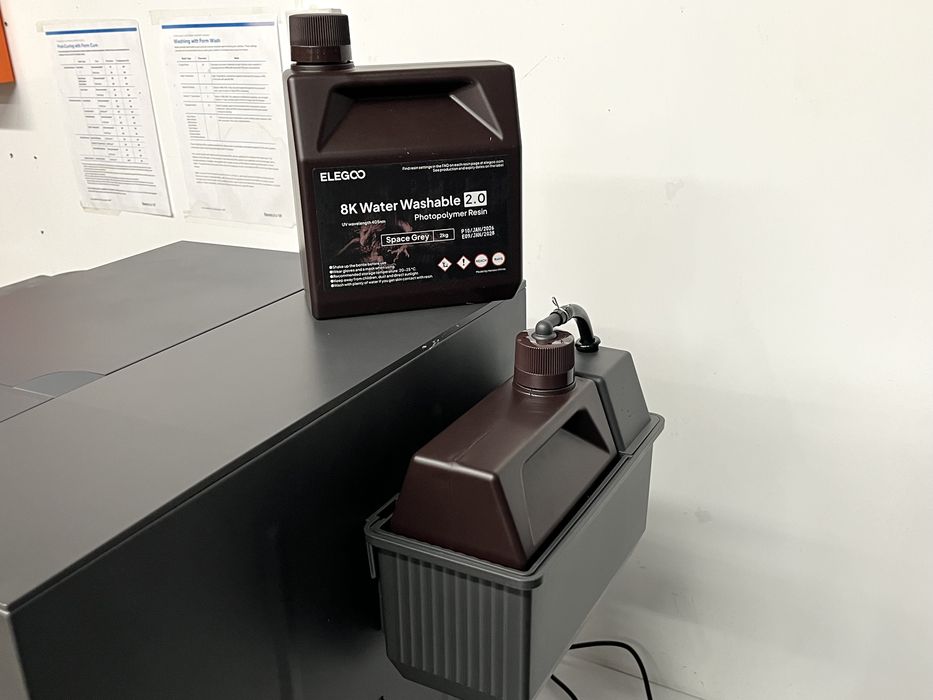
We noticed that once installed there was no visible indication of what type of resin was in use as all the factory labelling on the jug was now covered! This where those small blank labels would come in handy for identifying the type of resin in a jug.
We did one final visual check of the printer before launching our first print. In the past we would have confirmed that the build platform was level to the LCD, but we skipped that as the Jupiter 2 has sensors that apparently do the work for you, or hopefully at least warn if something is not right. We went to the Print menu – USB drive and chose the existing ROOK.goo presliced print. (The file suffix “.goo” is terrific feature, BTW.)
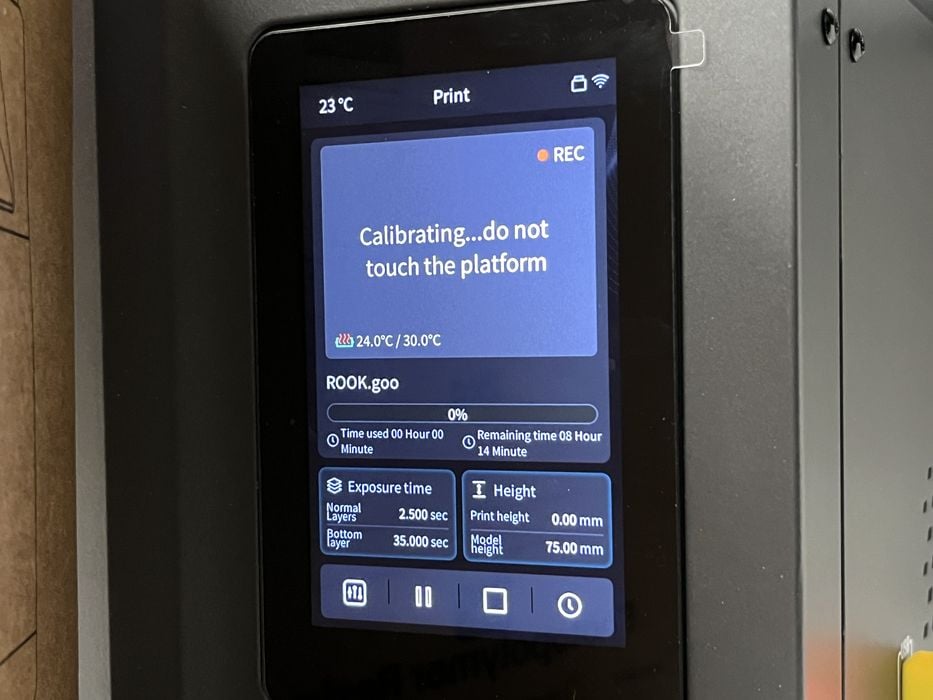
Once launched, the Jupiter 2 came to life, indicated that it was calibrating and then began automatically filling the tank with resin.
Elegoo Jupiter 2 Software

Now that we had started something printing, we moved over to our Mac to install and configure the SatelLite slicing software, downloading a newer version than was supplied on the thumb drive. This is something we always have to do because software updates happen so frequently on these machines.
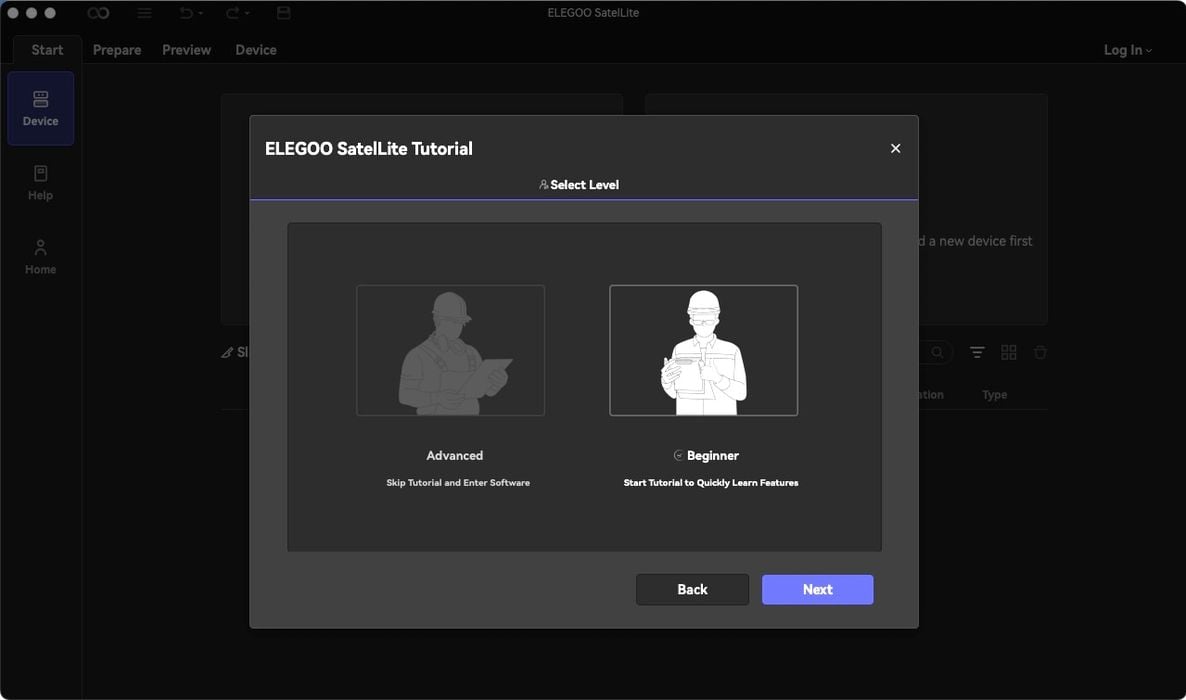
Once copied over and launched, the installer had us choose North America as a region, followed by our language, a choice between a dark or light color theme, and then either beginner mode for a tutorial, or advanced for manual configuration.
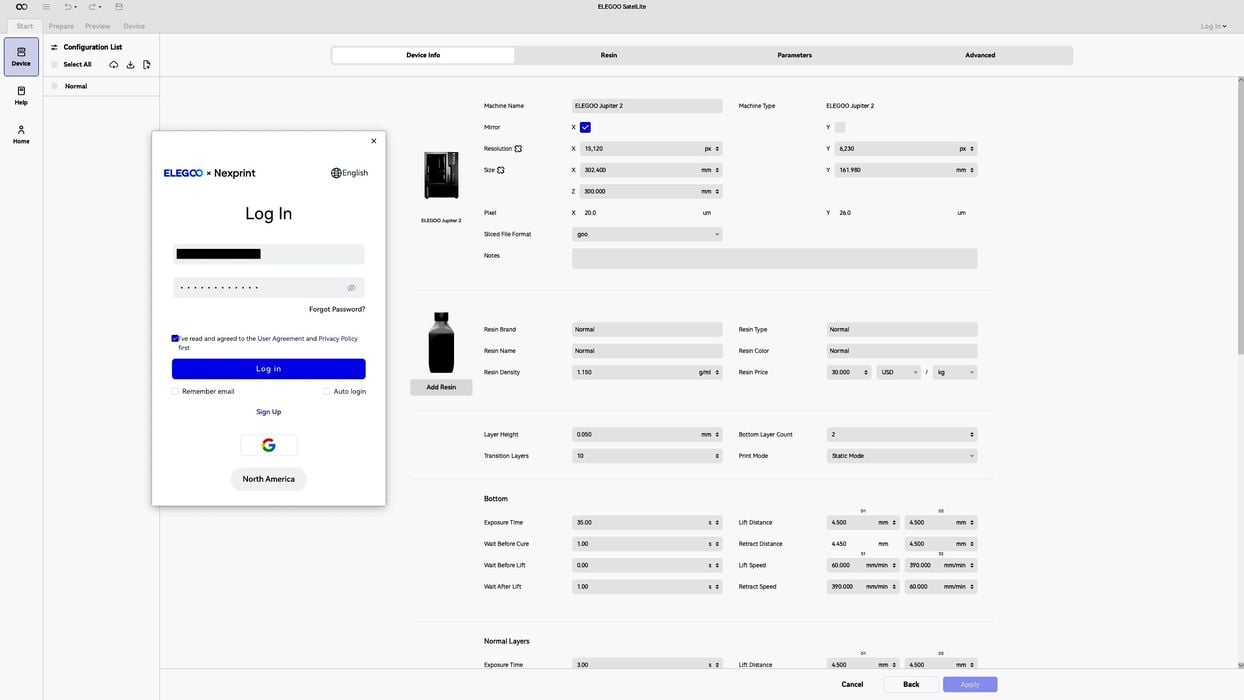
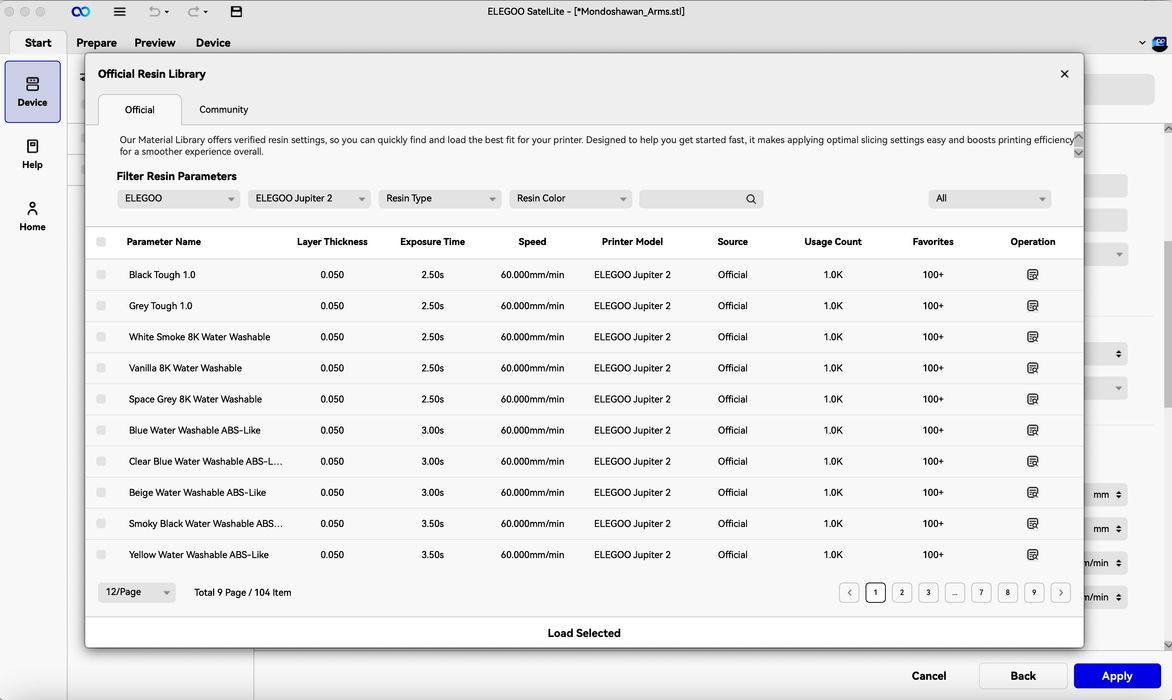
We chose Tutorial first and found it is really just a simulation of adding/setting up the Elegoo Jupiter 2, so we went back and chose Advanced where we were greeted by an Add Device menu. We chose the Jupiter 2 as our printer and logged into Nexprint when the login prompt popped up. We switched to the Resin tab and first searched for and then added a resin profile for Elegoo Space Grey 8k Water Washable. This is not an intuitive process and we were initially unsure where to find the resin profiles, but eventually found it under the Cloud Import tab and then the Official resin library.
SatelLite slicer has most of the typical features used for preparing resin prints such as, scale, hollow, add holes, etc. However, it has the feel of being a bit sparse, somewhat immature and less intuitive when compared with the other resin slicers on the market. But for the most part, if you are familiar with any of the other programs, then you are fine to bump around until you find what you want.
One thing we did make note of is the inability to change resin print setting values in the Project bar when under the Prepare tab, but the editable settings do show up in the same Project bar under the Preview tab once you’ve SLICED the file – that is with the exception of changing the layer thickness value. To change that value you will oddly need to travel all the way to the Start/Device/Printer/Resin tab and edit the resin profile itself.
Switching over to the Device menu at the top of the slicer we saw the Jupiter 2 in the Device List, but when we clicked on the camera icon under Real-time Monitoring, nothing displayed and we eventually received a connection timeout message.
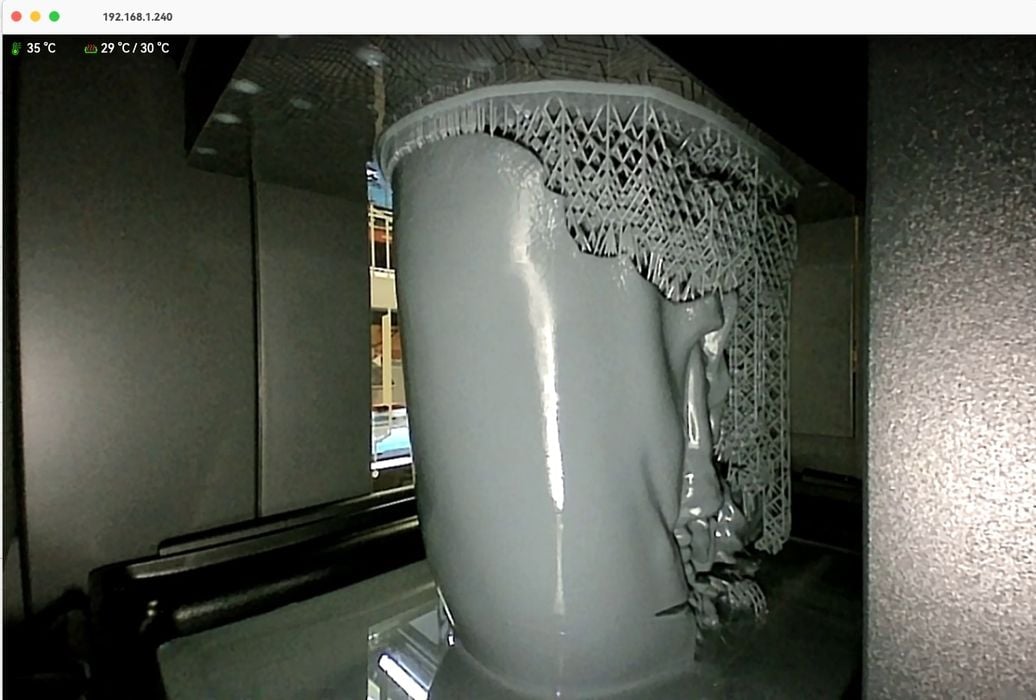
However, when we went to Operation – View, we were able to successfully view the print progress status info of the ROOK.goo print we launched. Some bugs still in the software?
This is part two of a four part series, please read parts one, three and four.
Via Elegoo