
We’re testing the brand new Jupiter 2 resin 3D printer from Elegoo.
This is part one of a four part series, please read parts two, three and four.
Elegoo Jupiter 2 Background
Founded in 2015 in Shenzhen, Elegoo have been busy designing and manufacturing both resin and FFF printers, with the launch of their Mars resin platform in 2018 and Neptune FFF platform in 2019.
They have since followed up with additional FFF and MSLA printer platforms – Saturn in 2020 and Jupiter in 2021, with the Jupiter SE offering the largest build size.
Now Elegoo raises the bar even more by releasing the Jupiter 2 with an yet larger build volume and even more features. We were quite excited to learn that they were sending one over to the lab for us to check out!
Elegoo Jupiter 2 Specifications and Features
To understand the significant changes between the new Jupiter 2 and the older SE model, we visited Elegoo’s website to look up specifications for each model and compare.
The Jupiter 2’s physical dimensions are 465 × 508 × 648 mm with a net weight of 29kg, vs,. the Jupiter SE at 480 × 377 × 658 mm at 20kg. The new Elegoo Jupiter 2 has a build volume of 302 × 162 × 300 mm vs,. the older 278 × 156 × 300 mm, but Elegoo are not just offering larger print sizes here.
The Jupiter 2 is equipped with a 14” 16K Mono LCD panel vs. the Jupiter SE at 12.8” 6K – an additional 10K pixels! This, combined with a COB Light source + Fresnel collimating lens produces a gigantic XY resolution of 15120 × 6230 (20×26 μm) vs,. the SE’s lower 5448 × 3064 (19×24 μm). Similar pixel sizes, but a lot more of them.
The Jupiter 2 and SE have the same 0.02 mm Z- axis accuracy and layer thickness of 0.01–0.2 mm, but the new Elegoo Jupiter 2 has a better maximum print speed of 90mm/h vs. 70mm/h. And this is where the similarities pretty much end.
The build plate is still laser engraved, but it is now dual grip and features a firmware based multi-point auto leveling system consisting of four independent force sensors.
That said, Elegoo’s website mentions that there is also “Intuitive Manual Leveling” available with real-time data feedback while adjusting the leveling screws on the build plate, so you can fine tune things if you so desire. The build plate attaches to the z-axis with a quick-release lever for ease of installation and removal.
The resin tank is improved on the Jupiter 2. It still employs the same type of PFA release film, but the film itself is now in a quick-swappable screw together frame. In addition, “Smart Tank Heating” has been added that automatically keeps resin at an ideal 30°C to enhance fluidity and layer adhesion.
Elegoo have devised a new Smart Automated Resin system that features a two-way pump paired with a rear mounted 2kg resin bottle for automatic resin feeding and recycling, that keeps the tank filled to the ideal level, with alerts to prevent print failures caused by resin shortages.
A built-in camera and LED light help an operator remotely monitor prints in real time to identify and resolve issues, reducing material waste and failed prints, as well as the ability to capture time-lapse videos to view later.
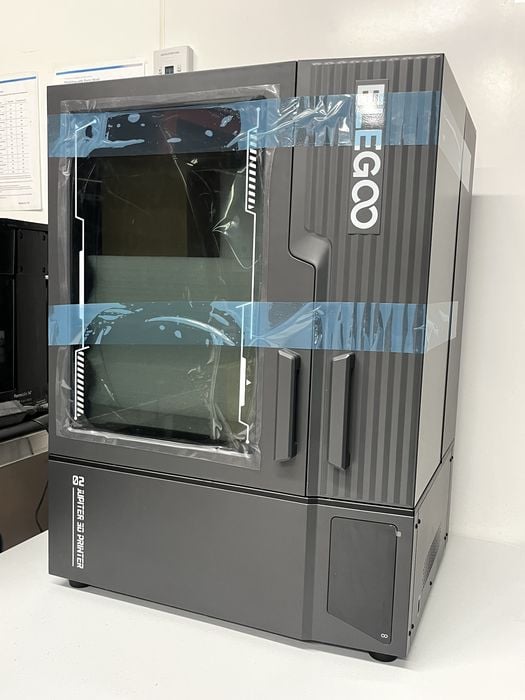
The user interface on the Jupiter 2 is a 4.0” Capacitive Touch screen, with connectivity to the Elegoo Jupiter 2 is done via USB & WiFi and sliced files are sent directly from SatelLite slicer over the network.
The printer‘s chassis has evolved from the old lift off lid style into a new double-door design that includes a handy viewing window in the door itself, so no need to open them if you just want a quick peek inside to see what is happening.
Just to round things out, Power Loss Recovery exists that allows a print to resume seamlessly after a power outage with no lost progress or wasted resin.
Finally, Elegoo website mentions that the Jupiter 2 has a “Fully Integrated Ecosystem” where you can browse and download from Nexprint, their online model repository, slice in their own SatelLite software, and remotely control with their Matrix smartphone app.
Elegoo Jupiter 2 Unboxing and Assembly
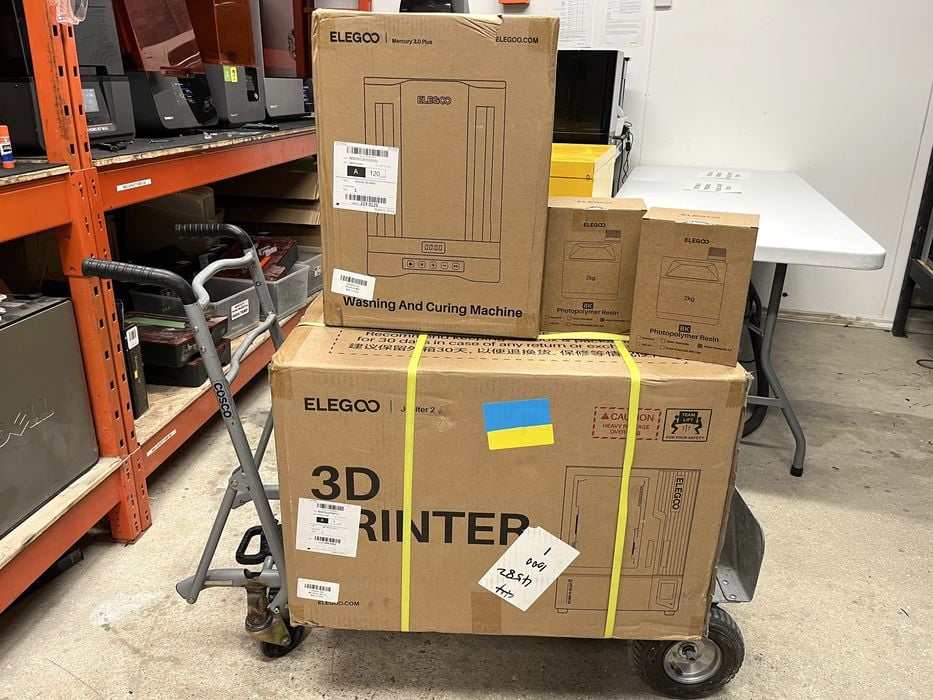
The shipment from Elegoo consisted of several pieces – a large boxed printer weighing 35.8kg, a smaller box containing a wash and cure weighing approximately 7kg, and two 2kg bottles of Water Washable 2.0 Resin.
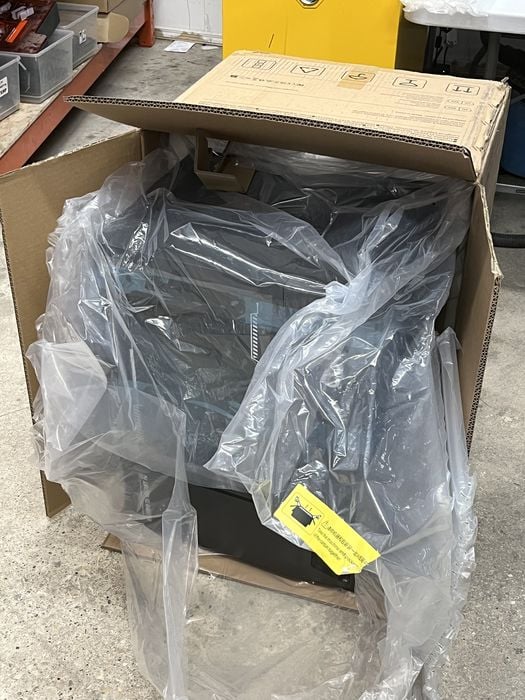
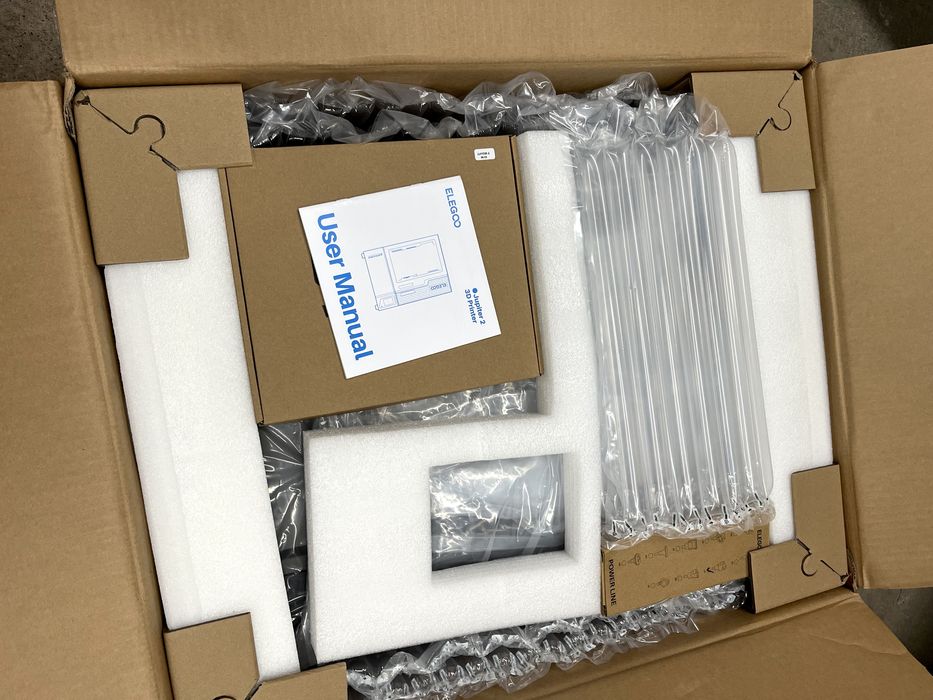
When we opened the printer’s sturdy cardboard shipping box, the first thing we saw was a printed user manual and a box of goodies resting on the bagged printer. Everything was surrounded by cushy foam or air tube packaging materials to keep the printer safe during shipping.
The Jupiter 2 is a large printer and far too heavy to lift out of the box, so we put the box on its side and pulled the bagged printer out of it sideways. While doing so we noticed a long skinny cardboard box in the rear of the packaging.
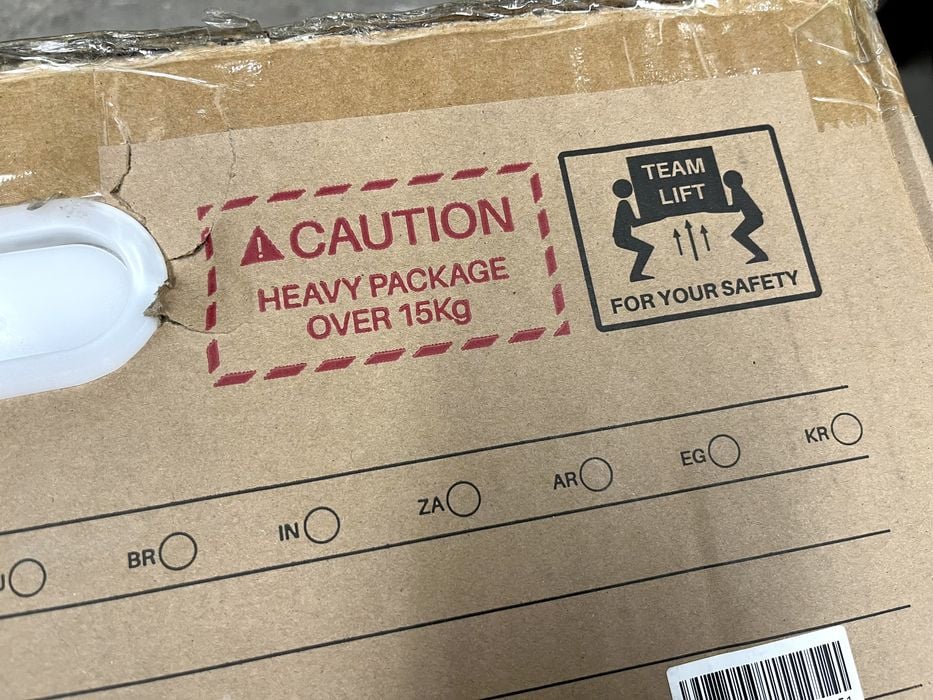
The printer is fairly hefty and most people will find that it is a two-person lift to place it up and onto a work bench.
We gave the printed user manual a quick peek and found no unboxing instructions, so we proceeded to do what we thought were obvious steps.
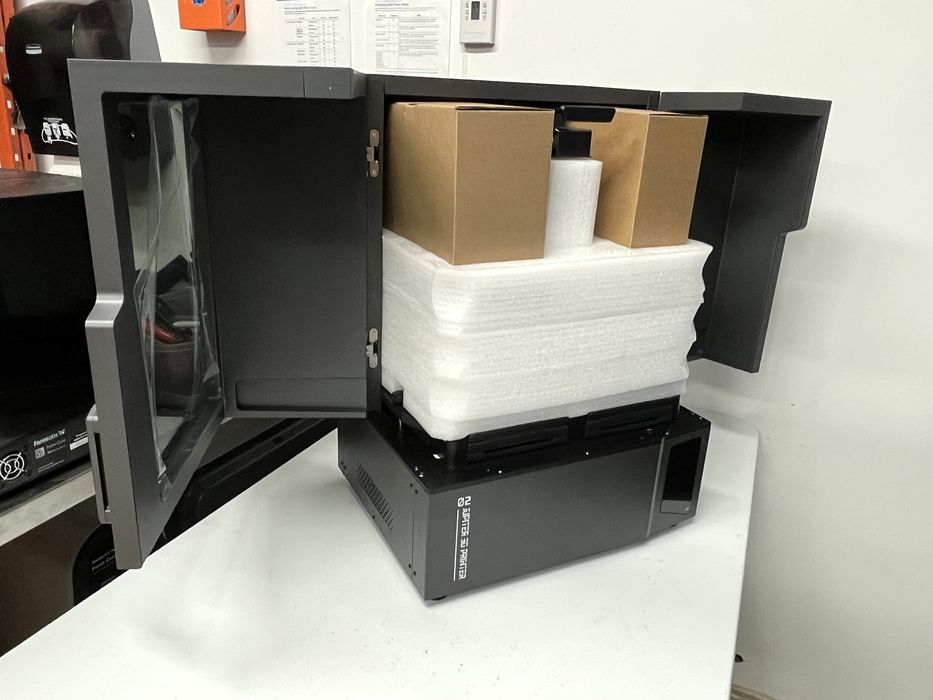
We removed some tape that was wrapped around the enclosure to prevent the double doors from accidentally opening.
Once the doors were open, we removed some soft foam packaging, two cardboard boxes and a build plate from the build chamber. While doing so, we noticed a small electrical connector on the back of the build plate that matched a small electrical connector located on the Z-axis of the printer. This means the printer should know when the build plate is attached.
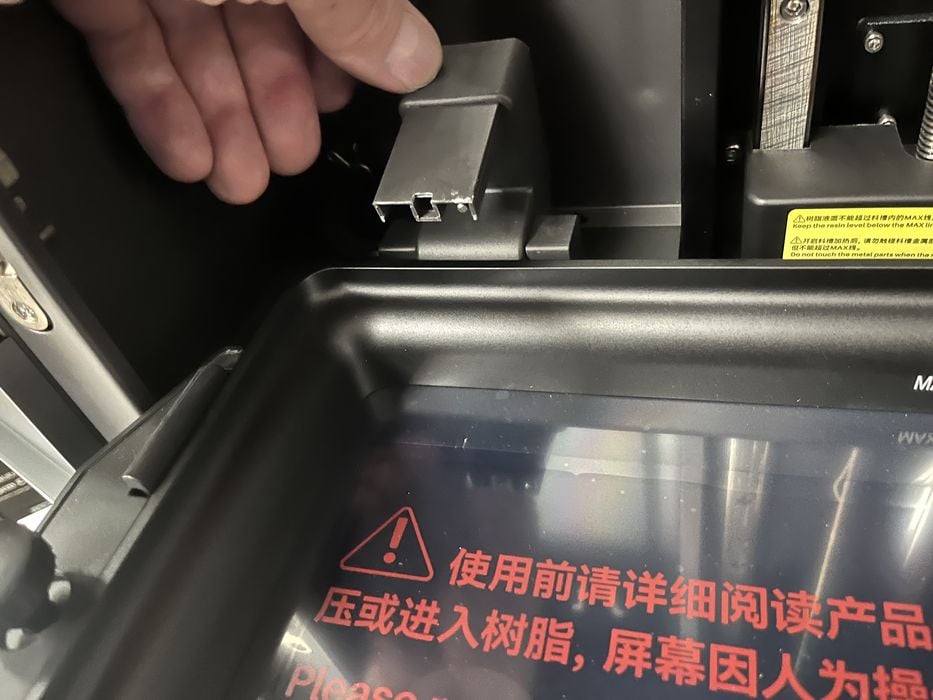
Unpacking continued by loosening the two thumb screws holding the tank in place, but when we tried to raise the tank we found the resin dispenser was in the way. We gave the dispenser a wiggle and found that it simply rotated up and out of the way for the tank to be removed.
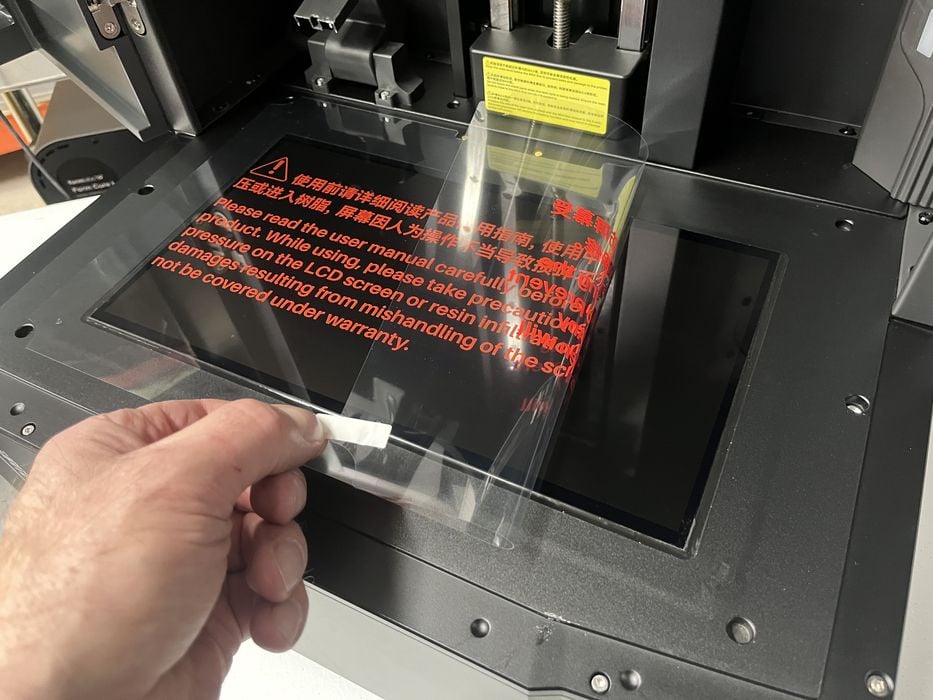
With everything out of the build chamber, we went about removing a bunch of protective films – pulling one from on top of the large LCD screen, from the bottom of the tank film, another from the build plate, and finally one from the inside of the door window. Once done, we reassembled all items back into place, inserting the tank, tightening the thumb screws, flipping the resin dispenser back down and attaching the build plate to the Z-axis.
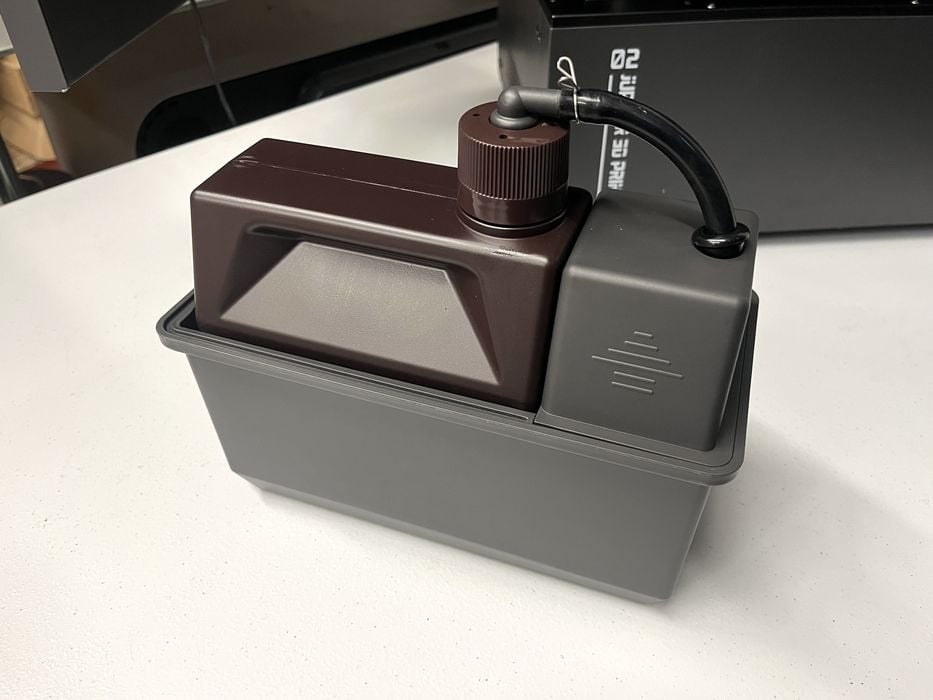
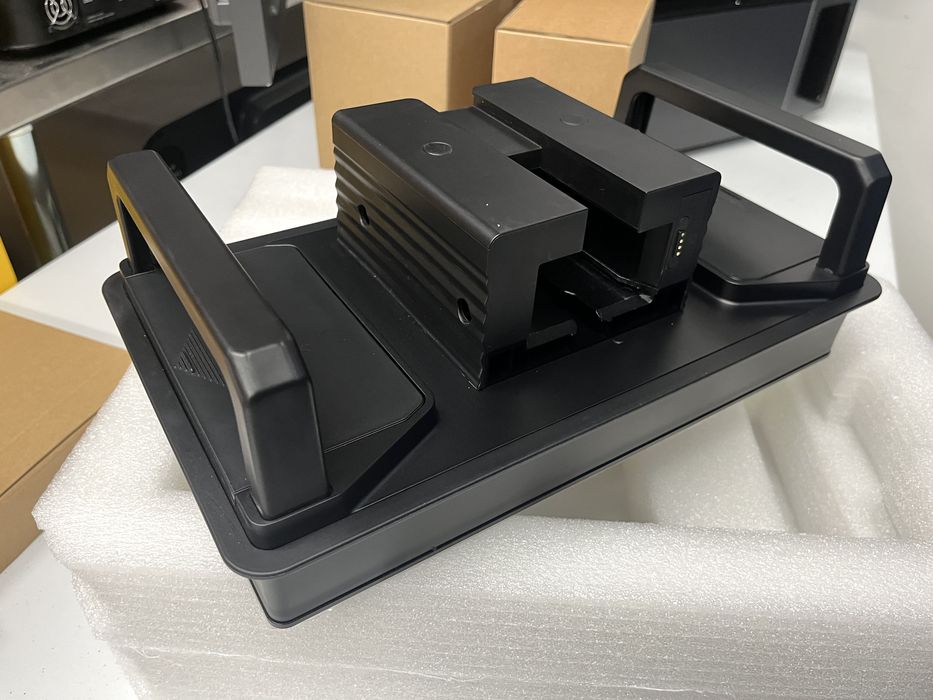
The two small boxes from inside the build chamber contained an “Auto Resin Feeding and Recycling Module” (ARFRM) in one box and additional parts for it in the other box, including the cable and tubing that would connect the ARFRM to the printer. Also included were some small blank labels.
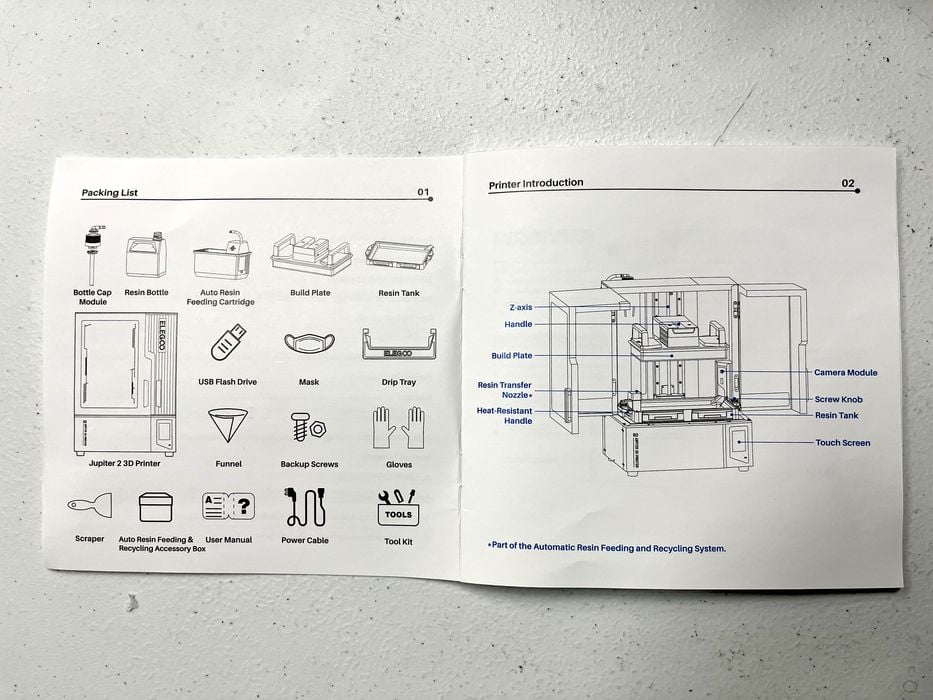
We returned to the printed user manual for a quick read to see what was required for assembly.
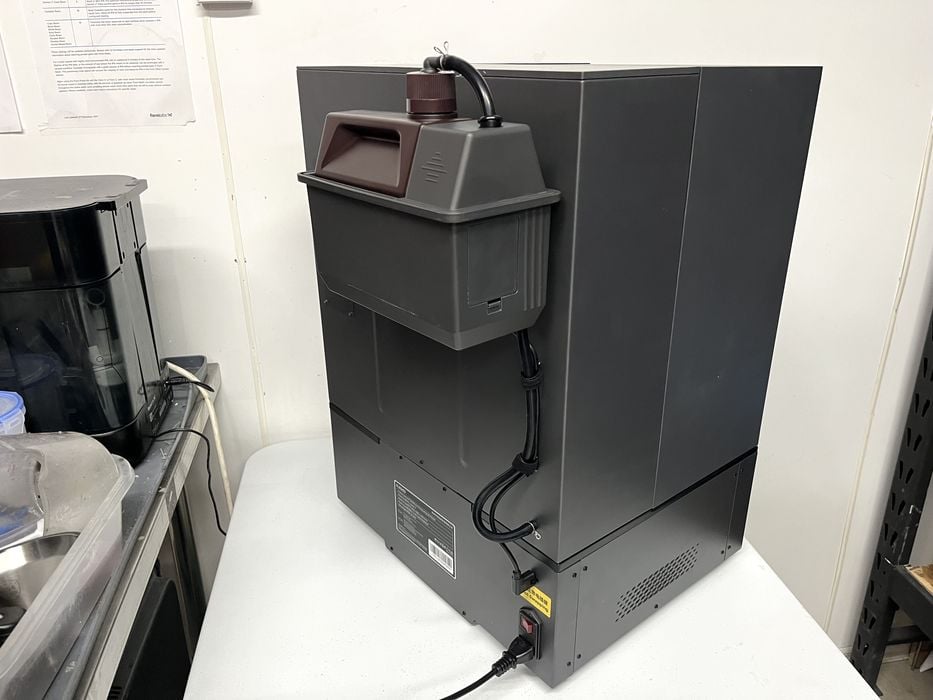
The gist of the instructions was to attach the communication cable and resin tube to the ARFRM, slide the module into place on the rear of the Elegoo Jupiter 2, and then connect the other ends of the cable and tube to the corresponding ports on the back panel, but No Hot-Swapping!
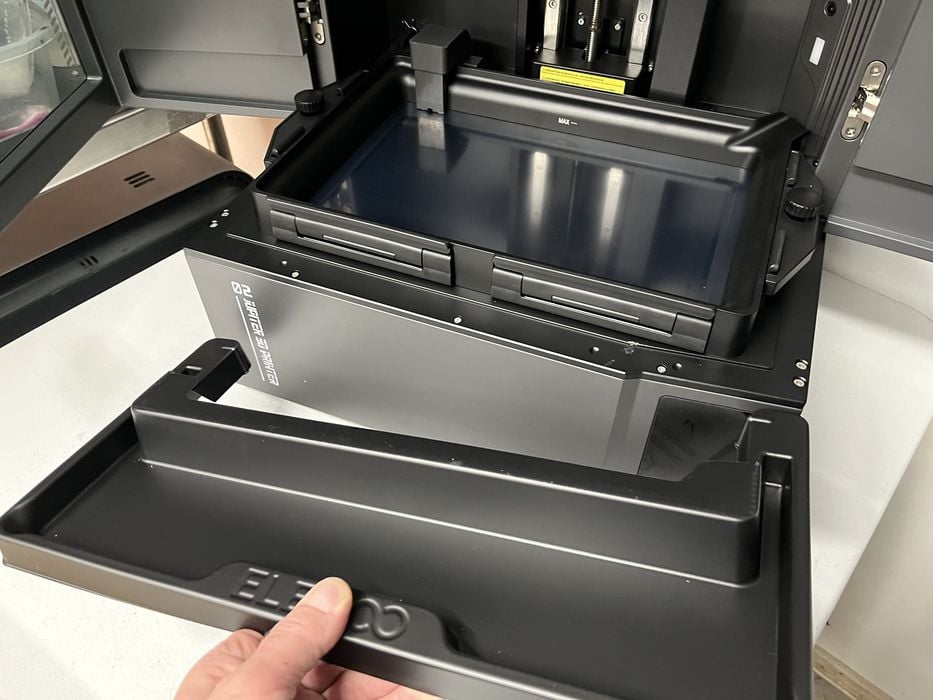
We still had a few boxes to open. The long cardboard box contained a drip tray that was to be installed around the tank whenever removing the build plate. That’s a handy feature that we were familiar with from our previous Saturn 4 Ultra review.
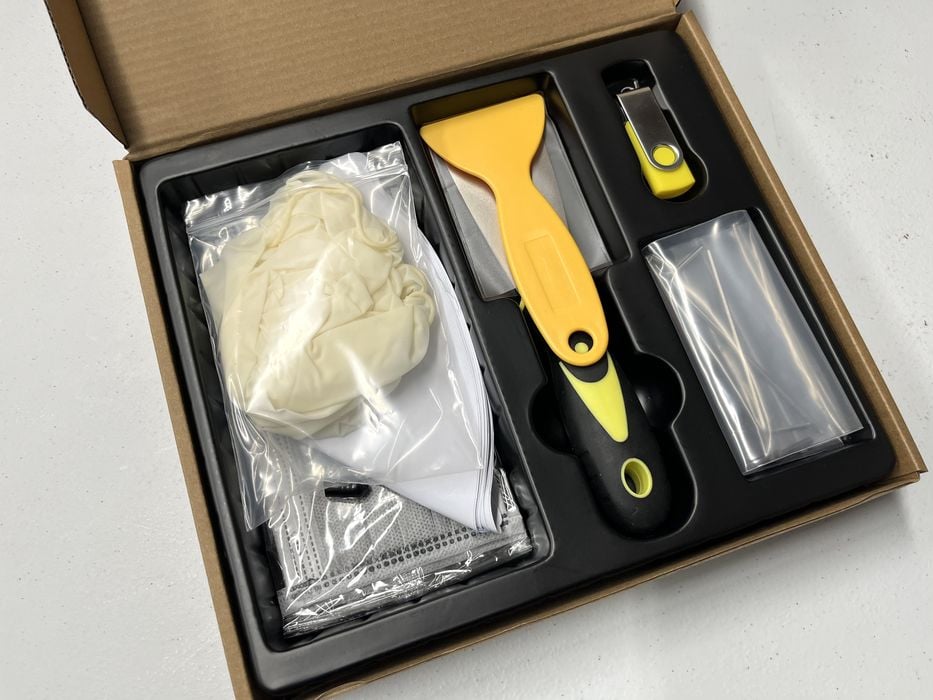
The tool kit box contained a few hex wrenches, a metal and plastic spatulas, protective masks and gloves for our protection, paint filters for resin recycling, and a USB thumb drive possibly containing software and sample print files. Curiously missing was a spare release film and frame for the resin tank.

Elegoo included their larger Mercury 3.0 Plus Wash & Cure station as part of our review. Unboxing and assembly of it was very straightforward and consisted of removing some films off the mirrors, some protective sleeves from the UV light bars and then plugging in power.
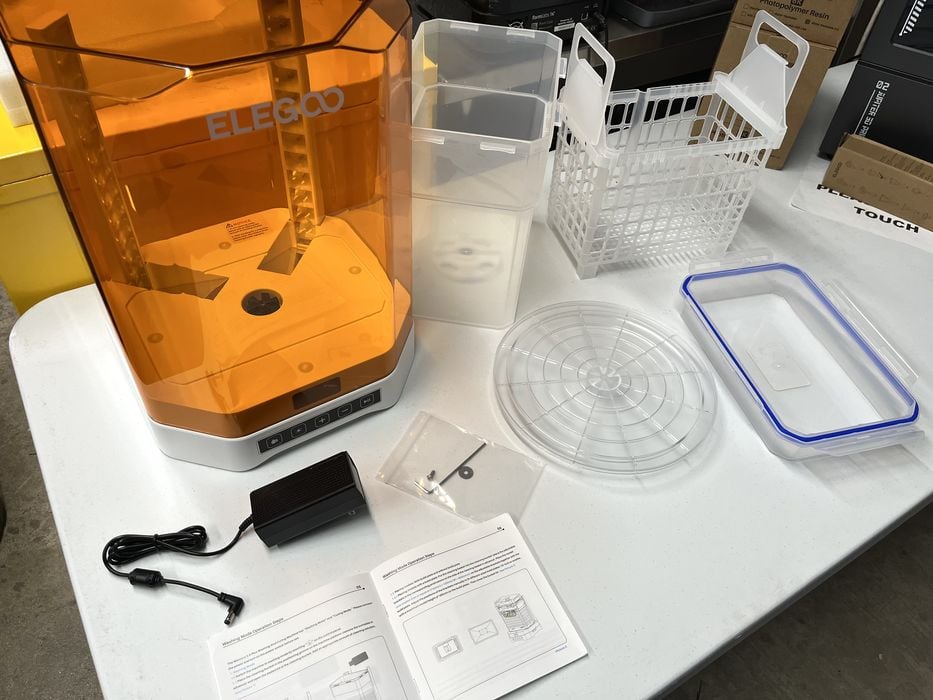
The base of the system is designed to swap between the wash bucket & removable basket for removing uncured resin and the rotating platter & UV lid for curing cleaned prints. A hex wrench and replacement bolt & washer were included for when the impeller of the cleaning bucket eventually required disassembly and cleaning.
We noticed some instructions mentioning something about adjusting the brackets on the basket to accommodate placing the build plate directly into the wash, however, we wouldn’t be using that feature as the build plate for the Jupiter 2 is enormous and doesn’t even come close to fitting into the Mercury 3.0 wash bucket.
At this point we had fully assembled the Jupiter 2 and were ready to power it up.
This is part one of a four part series, please read parts two, three and four.
Via Elegoo