
Our look at the Elegoo Jupiter 2 resin 3D printer continues with Operations and Print Results.
This is part three of a four part series, please read parts one, two and four.
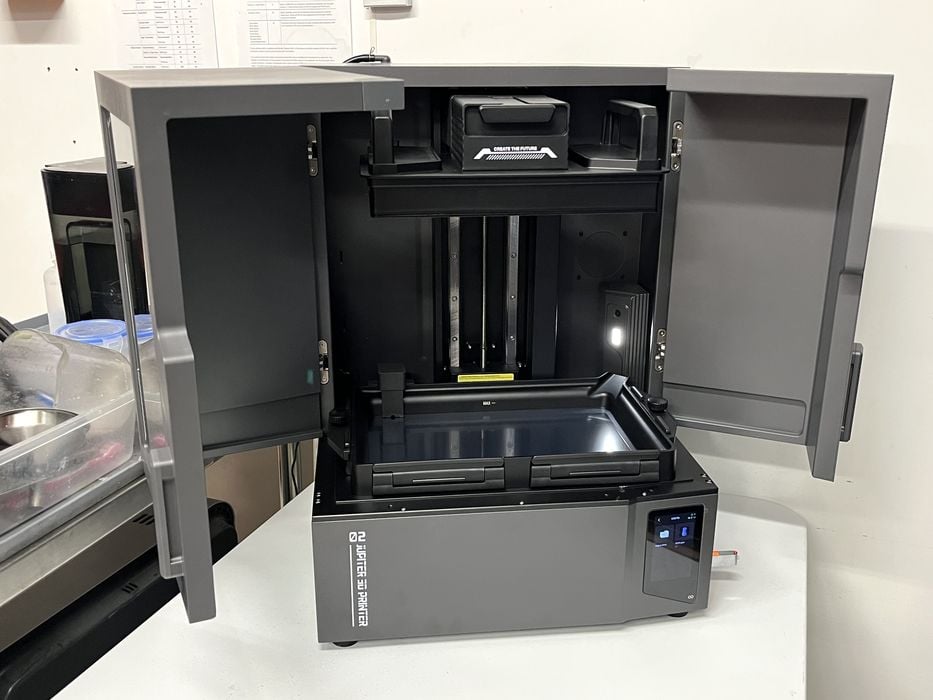
Elegoo Jupiter 2 Operations
We returned to our test print to find it completed after 7h45m. When we opened the printer doors and peeked inside at the build plate we found nothing attached. This is not terribly surprising, since the pre-sliced file on the USB stick was most likely not sliced for the specific resin that we were printing with, and therefore first layer exposure settings were probably way off. In addition we had not received any leveling errors.
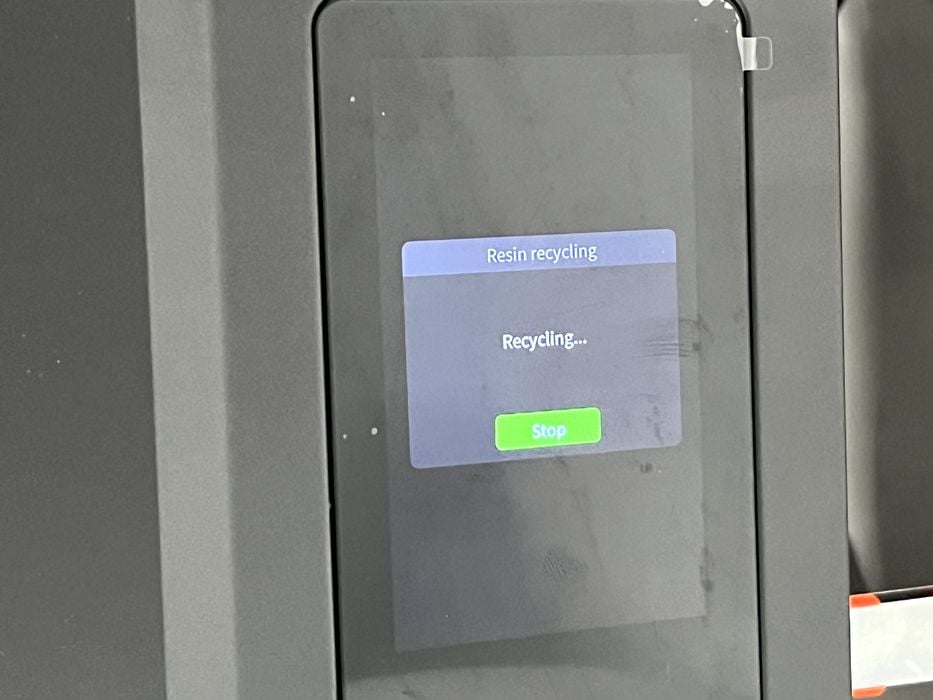
To determine what had happened, we drained the tank using the feature in the firmware. Jupiter 2’s user manual had us remove and place a tank screw knob under the right front corner of the tank to better tilt it toward the pickup tube to drain any remaining resin. As the tank emptied we found the missing print stuck onto the PFA, but it was easy to remove with the plastic spatula. The failed print had detached from the build plate when it was several millimetres into the job.
Given the fact that the failure could be due to incompatible resin parameters in the pre-sliced file, we decided to test out the firmware resin calibration function mentioned in both the printed and digital manuals to test for what the proper exposure value would be for the resin. However, when we checked the Tool menu on the LCD, no such feature existed yet?
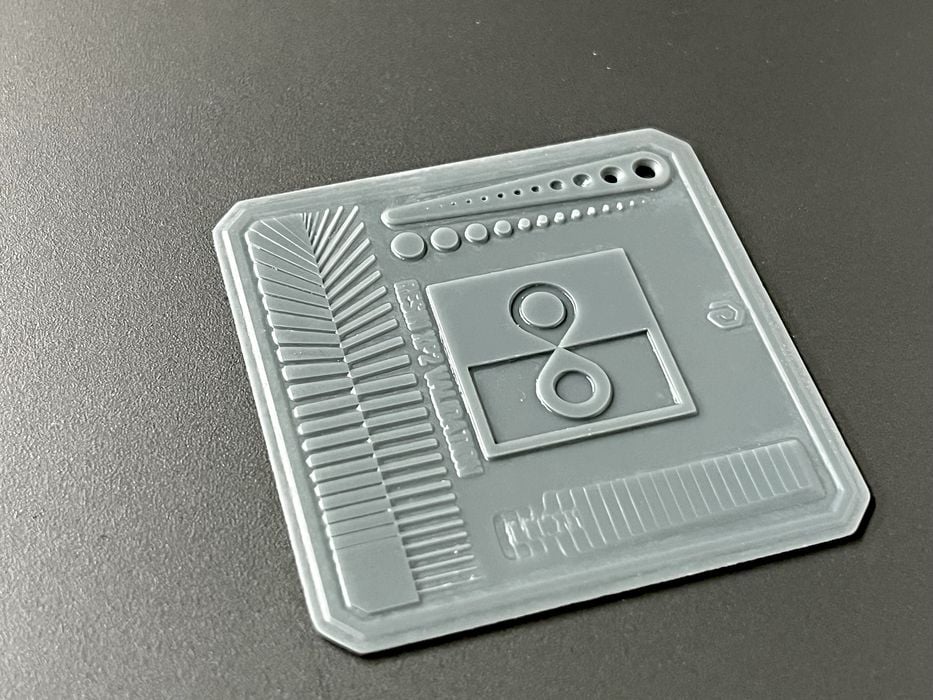
Instead, we decided to move forward with slicing some of our own test prints using a proper profile for the supplied review resin. We loaded up a Validation Matrix 3D model, chose Space Grey 8K Water Washable resin as the profile and sliced the job with default settings and layer height of 0.050mm, getting an estimated print time of 3m40s using less than 2g of resin.
When slicing was complete we were automatically transferred to the Preview tab where we viewed and then confirmed the various default print settings, then clicked on Network Transmission, first sending and then launching the print.
Switching to the Device tab, we were able to monitor print progress (although the camera was still not working) and noted that the estimated remaining time was 19m. When we walked over and physically checked the printer we found that it had automatically filled the tank with resin and had begun to print.
The job completed in 12m and we had no difficulty removing it from the build plate using the metal spatula. After running it through a wash and cure cycle we found the quality looked very good in its positive and negative features. So the settings for the supplied resin profile appeared to be accurate.
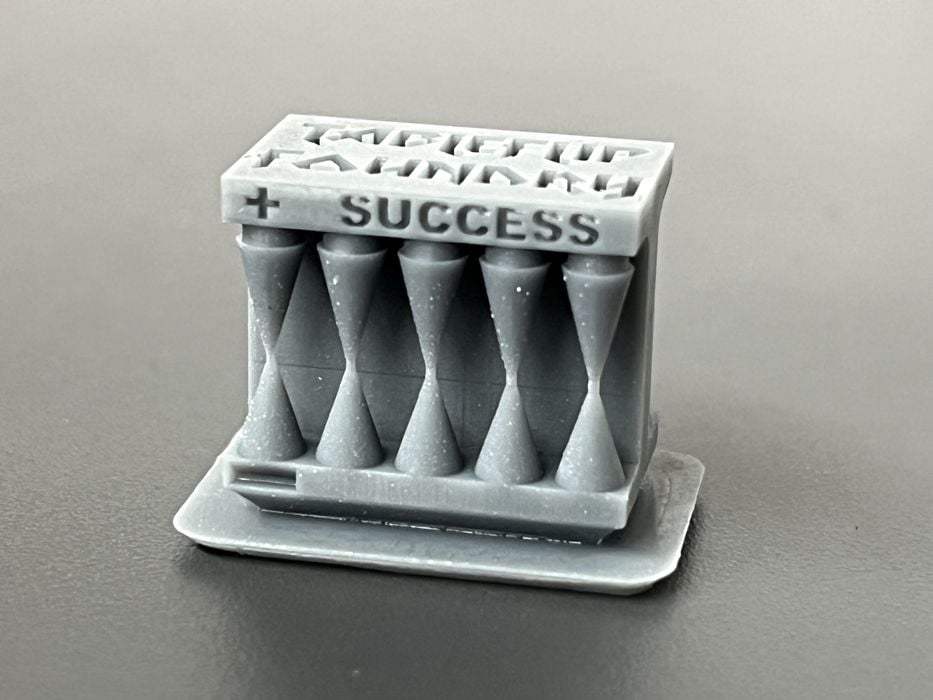
To confirm this we sliced and printed the Cones Of Calibration test model, getting an estimated print time of 1h35m using 2.3g of resin. The print completed in 1h47m with the model features on both the success and failure sides turning out perfectly, confirming that the resin profile was indeed accurate for exposure times.
Elegoo Jupiter 2 Print Results

We went through a few of the typical models we use for reviews so we could get a feel for the Elegoo Jupiter 2, starting with Ameralabs Town model getting an estimated build time of 1h28m using 1.8 g of resin. The actual print time was 1h37m, and the print turned out with very good quality.
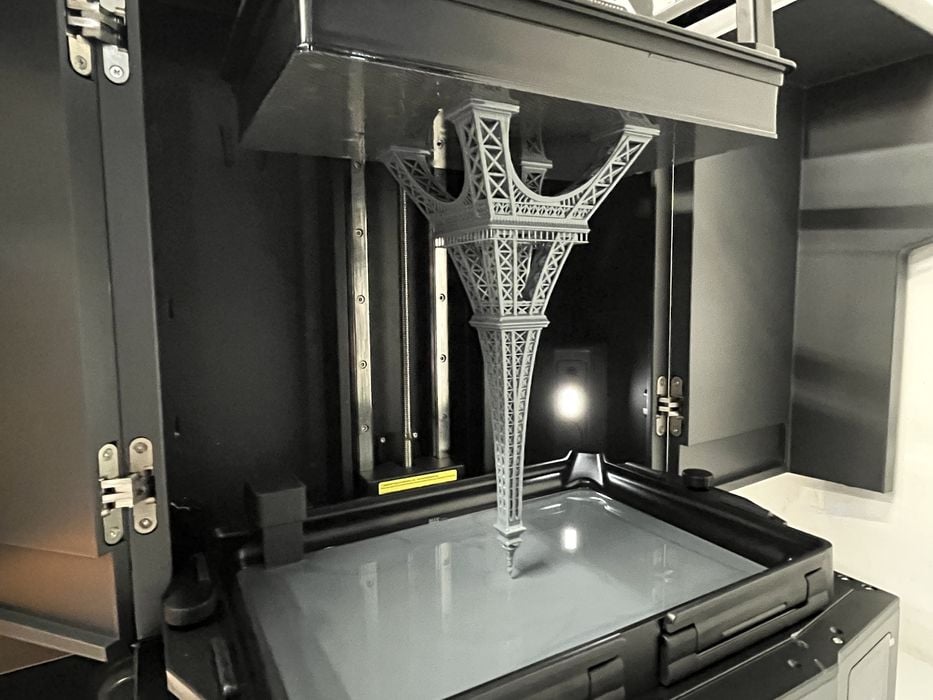
We scaled up an Eiffel Tower 3D model to a height of 295mm (just short of the maximum build height) to demonstrate the build volume of the Jupiter 2, getting an estimated print time of 26h55m, using 154g of resin.
After the print was sent and launched we went back to the Preview tab only to find that the estimated print time had changed from 26h55m to 9h55m. A puzzling development, as the numbers of layers and amount of resin had stayed the same. Another bug?
The print ended up completing in 30h22m and not matching either time estimate.
We chipped the feet of the tower trying to remove it from the build plate, as that particular model is never easy to pry off with a spatula.
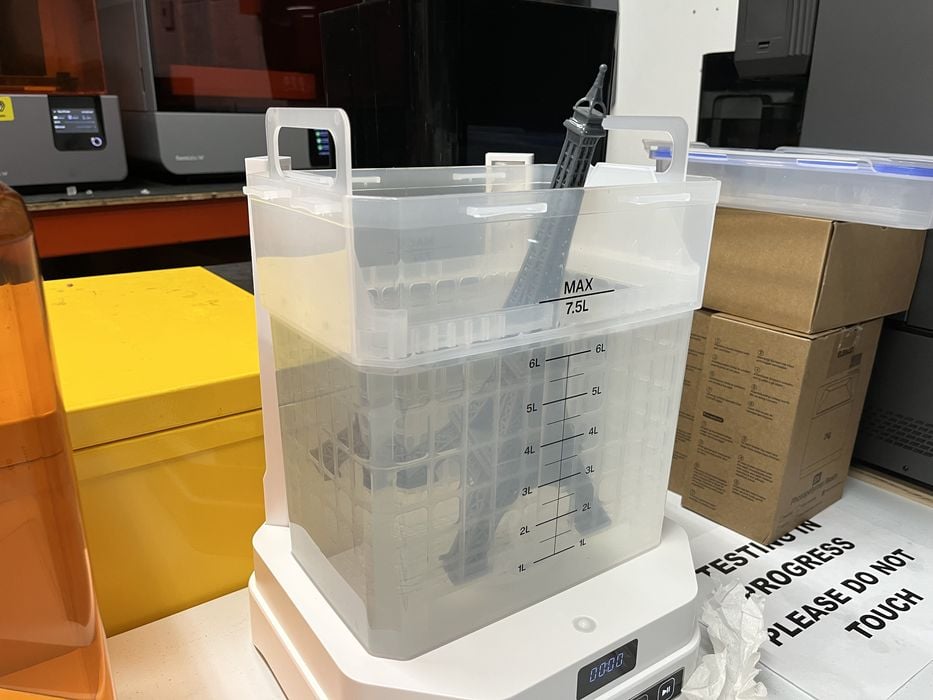
Once removed, the tower was too big to fit entirely into the wash station, so we ran a fairly long wash cycle and flipped the print end-for-end a few times and then rinsed it in clean water before curing. The model still had visible light grey resin residue that we missed, but the overall print quality was quite good.
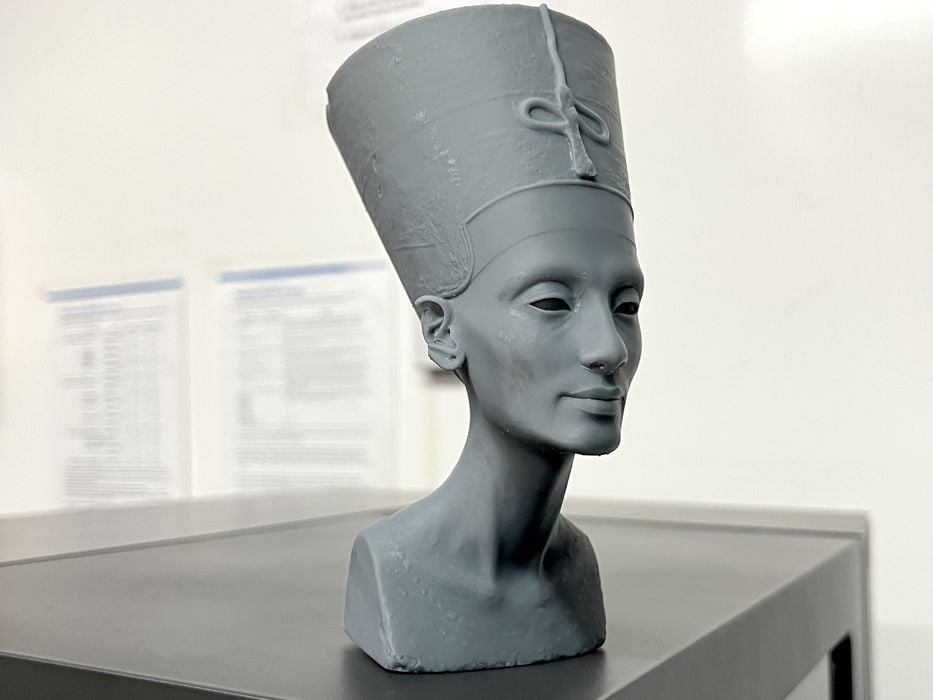
Our next print, Nefertiti, was the first to require supports. We hollowed the model, made holes to prevent suction, rotated, and then auto generated supports, getting an estimated build time of 12h32m using 82g of resin.
We ran into a weird glitch where we were unable to remotely send the job to the printer and ended up rebooting both the printer and our MacBook to sort out the issue.
When we returned to the slicer we were finally able to send the job without issue, and for the first time we were able to view the live camera feed!
The print completed in 14h08m and easily detached from the build plate and then from its support structure. In fact, the support structure was quite robust and actually remained in one piece despite being torn off the model.
We found again that extra time was required for cleaning residue off the model, even after a few ten minute wash cycles, with some stubborn water washable resin still showing in Nefertiti’s nostrils. That aside, the print quality itself was excellent.
We sliced the highly detailed Aztec Calendar 3D model, getting an estimated build time of 5h9m,, using 336g of resin, but getting an actual print time of 5h49m. The auto support structure was massive yet detached easily.
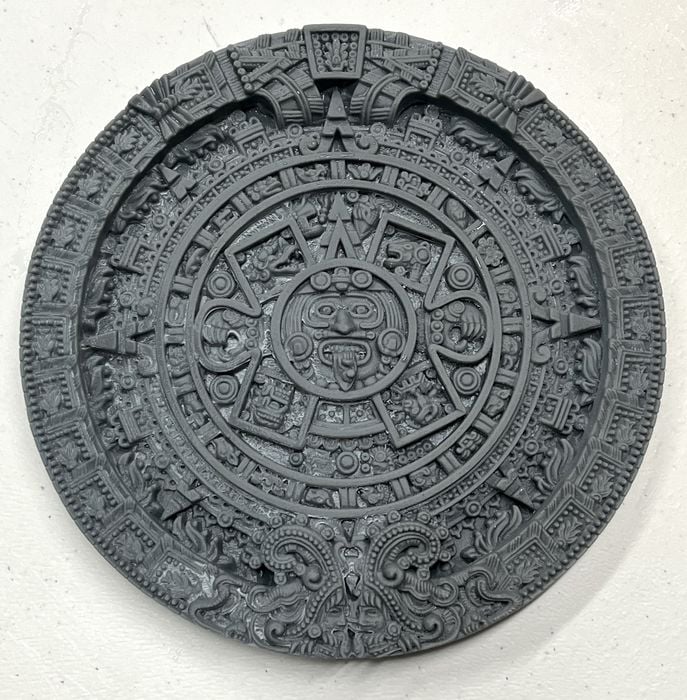
There was a crisp detail on the finished model, but extra cleaning was again required after running multiple wash cycles to try removing embedded water washable resin residue in all the nooks and crannies. We used a fine scrub brush on one side of the model to show a before/after difference that a manual cleaning offered.
We checked the user manual for the wash to see if there were any suggestions for our issue and found mention to “add an appropriate amount of cleaning solution” to the wash. However, nothing had been included with the system for this.

We went big with a Xeno Trophy Head for our next print, getting an estimated build time of 22h44m, using 783g of resin. The auto-feed system ran out of resin halfway through, requiring us to switch over to a new jug. Once swapped, we were given only two choices to continue and had to choose between Cancel Print, or Mandatory Printing, of which we chose the latter. Hopefully it was still auto-feeding?
The print completed in 29h35m with multiple layer separation failures due to what looked like supports detaching or not forming at all. In fact, supports in general were observed to not be very rigid and instead were weak and flimsy, moving easily when prodded with a finger.
We saw that the tank was at the proper level of resin when the print completed and therefore not the source of failure. Draining the tank showed cured resin adhered to the release film, so to be safe we ran a Clean Tank procedure to capture any loose bits of cured resin in one large cured sheet.
We were a bit perplexed with the failure as the factory resin profile settings for exposure had seemed to be adequate given the successful Cones of Calibration test and subsequent successful prints.
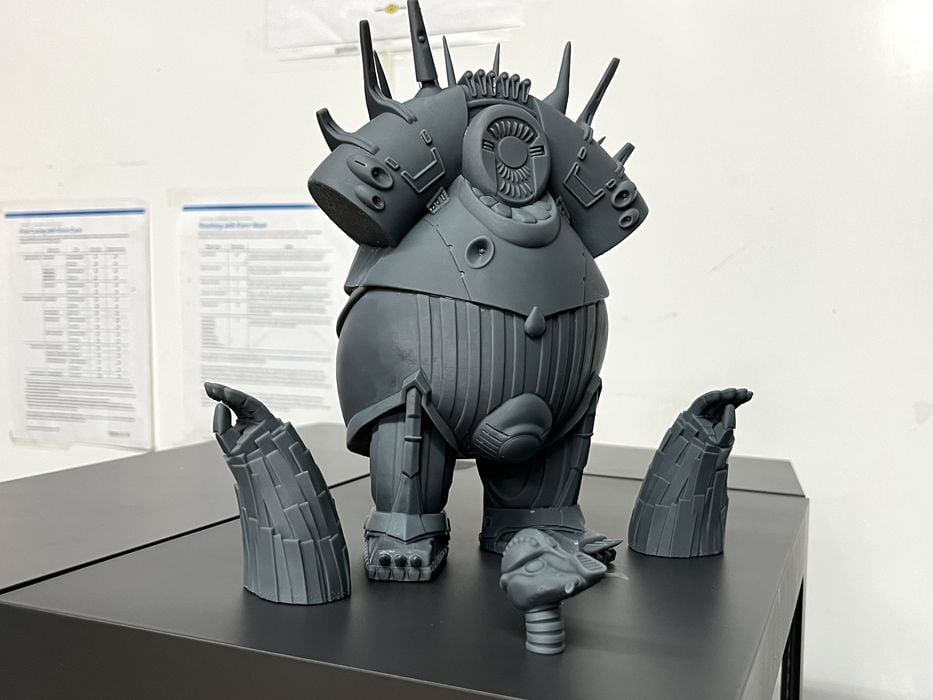
Considering this was the first time we had printed this particular model and that poor geometry issues can always play a role, we decided to skip reprinting and instead slice and print something we’ve used in the past, the Mondoshawan 3D model, getting an estimated build time of 18h54m and using 332g of resin. The print completed in 21h02m with great surface finish, however the head unfortunately detached from its supports in mid print, so we sliced and printed a replacement head that completed without issue in 3h51m. After some extra washing the finished print assembled well and looked fantastic.
Given our recent failures and/or difficulties cleaning uncured water washable resin residue from the prints, we switched over to Elegoo Standard Grey Resin to compare print quality, making sure to switch over to the proper resin profile in the slicer.
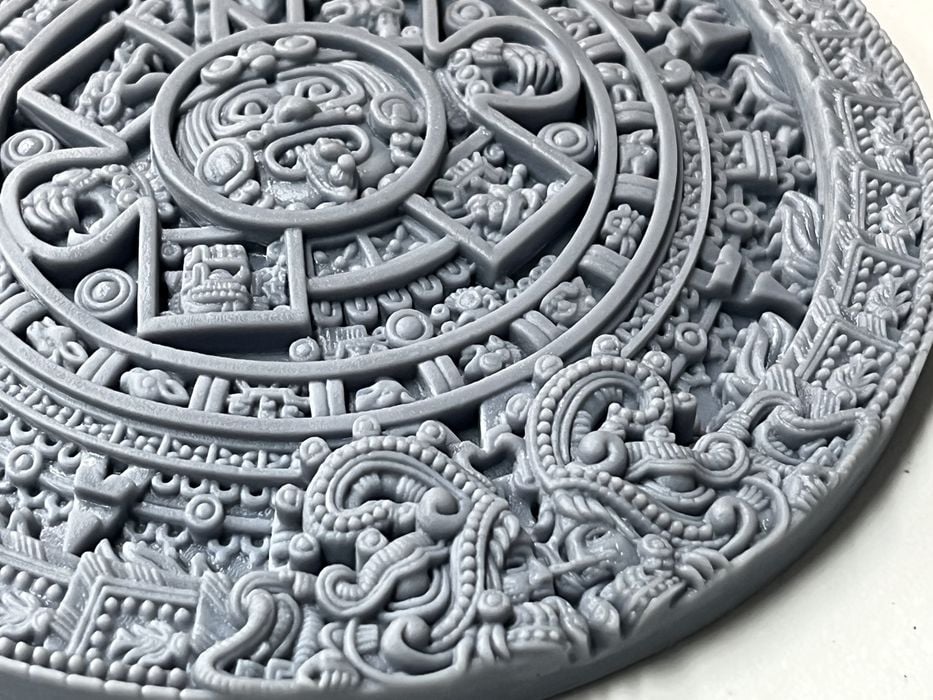
We reprinted an Aztec Calendar in 5h24m, using 351g of resin, with an actual print time of 6h08m. It came out with fabulous quality and had incredible surface finish in all the small details after an IPA wash.
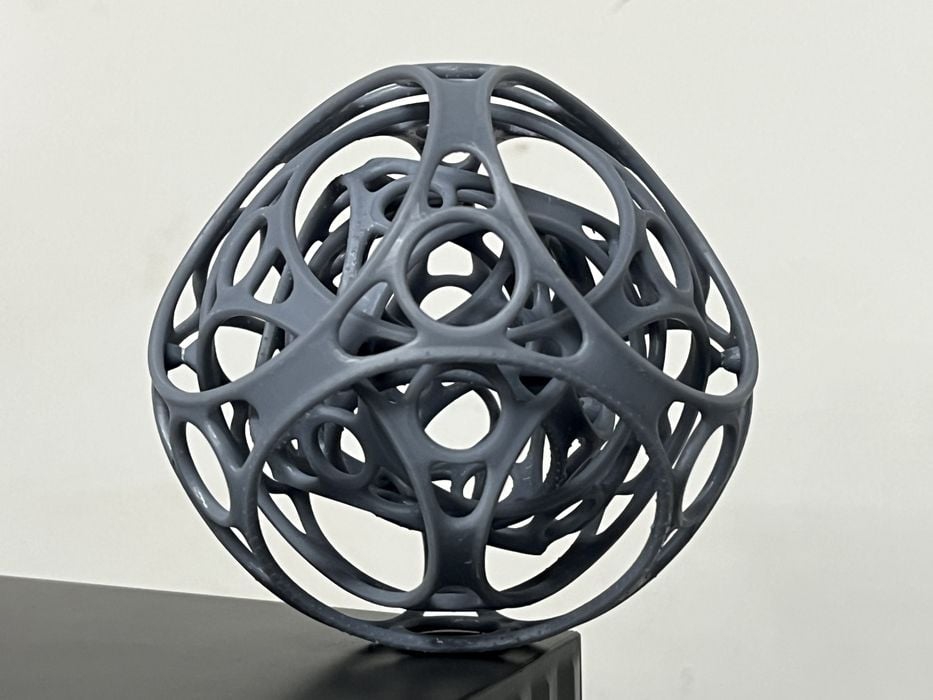
A Gyro Air 3D model was estimated for 7h03m, using 61g of resin, which completed in 7h58m and looked perfect, assembling and articulating as designed.
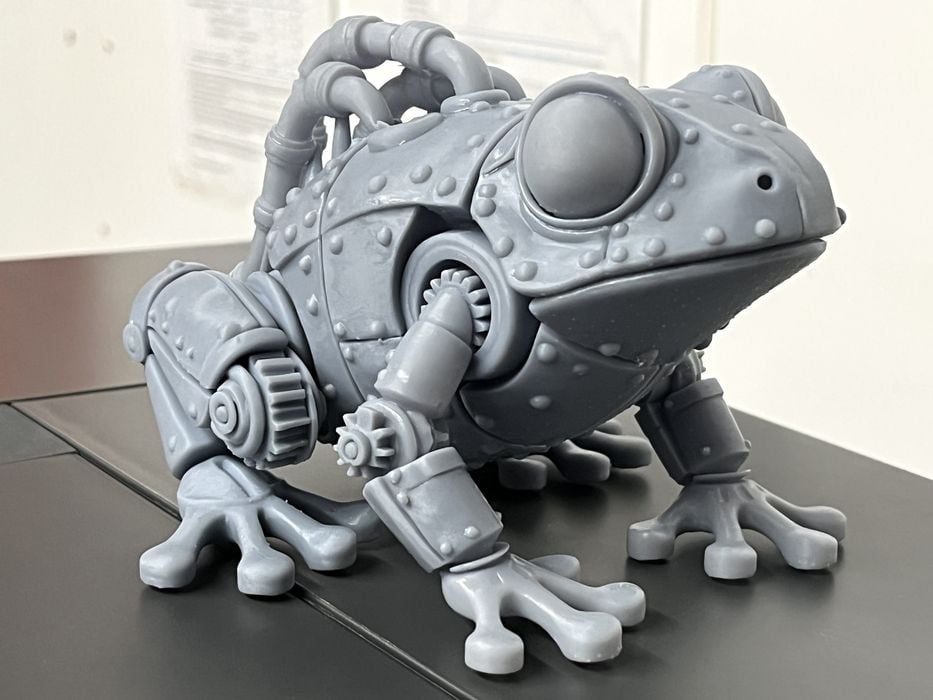
A Steampunk Frog Sliced for 8h44m, using 172g of resin. In our rush to slice we didn’t notice that the rear legs of the model weren’t even attached! But the print succeeded anyway, completing in 9h54m and looked amazing when washed and cured.
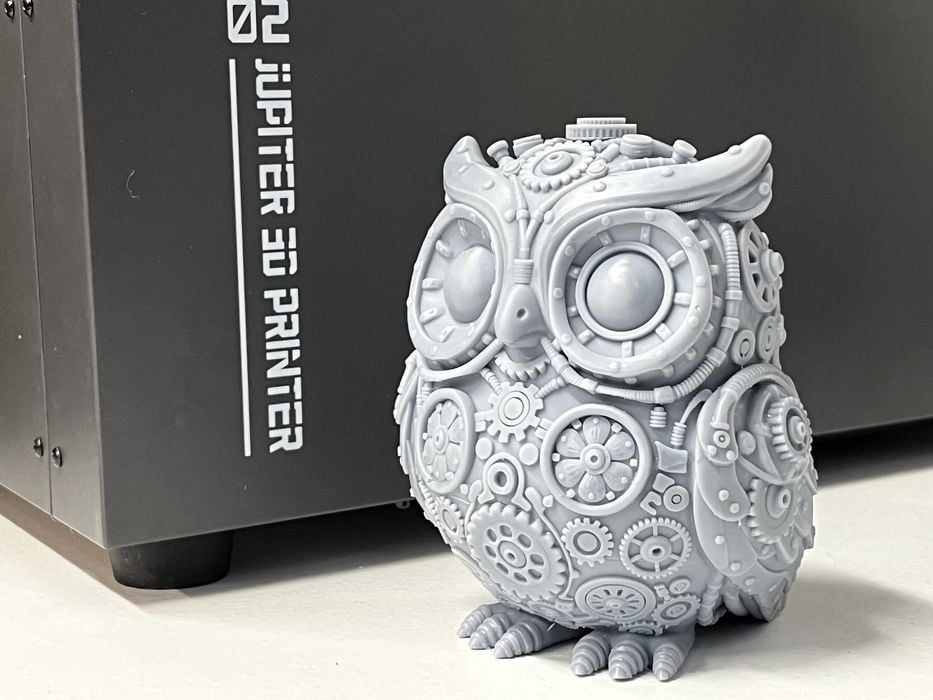
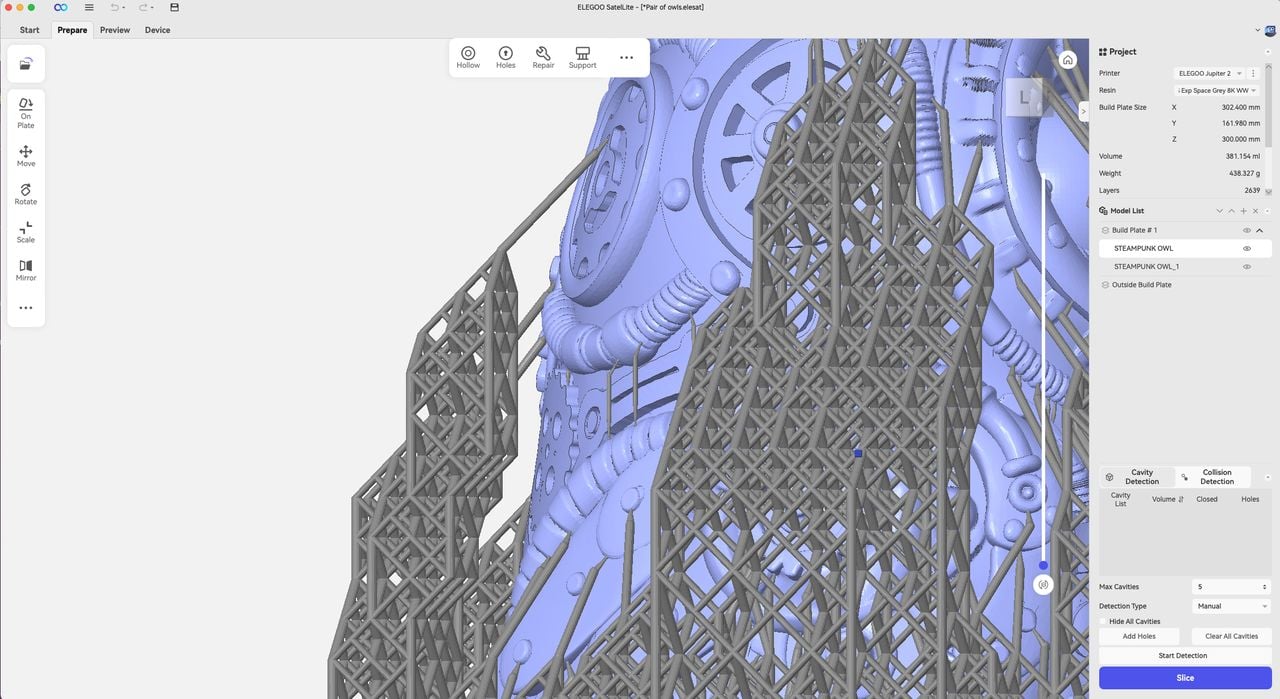
A Steampunk Owl sliced for 12h04m, using 173g of resin, which completed in 13h41m and was a superb print with a very high level of detail in all the surface features.
This is part three of a four part series, please read parts one, two and four.
Via Elegoo