

We recently got our hands on Kingroon’s latest 3D printer, the KP3S Pro S1, and we were eager to see what this new 3D printer had to offer.
This is part one of a three part series, please read parts two and three.
Kingroon KP3S Pro S1 Background
As we’ve previously noted, Kingroon hails from Shenzhen/Hong Kong and is among a number of producers in China crafting desktop 3D printers. The company has a deep history dating back eight years and has a fair share of successful 3D printer models under its belt.
Their KP5L printer impressed us with its performance and print quality, especially considering its budget-friendly price tag.
Now, they’ve offered us their compact KP3S Pro S1 for review. This petite printer is the third in the KP3 series, and we were excited to see what upgrades and improvements the new iteration brings.
Kingroon KP3S Pro S1 Specifications and Features
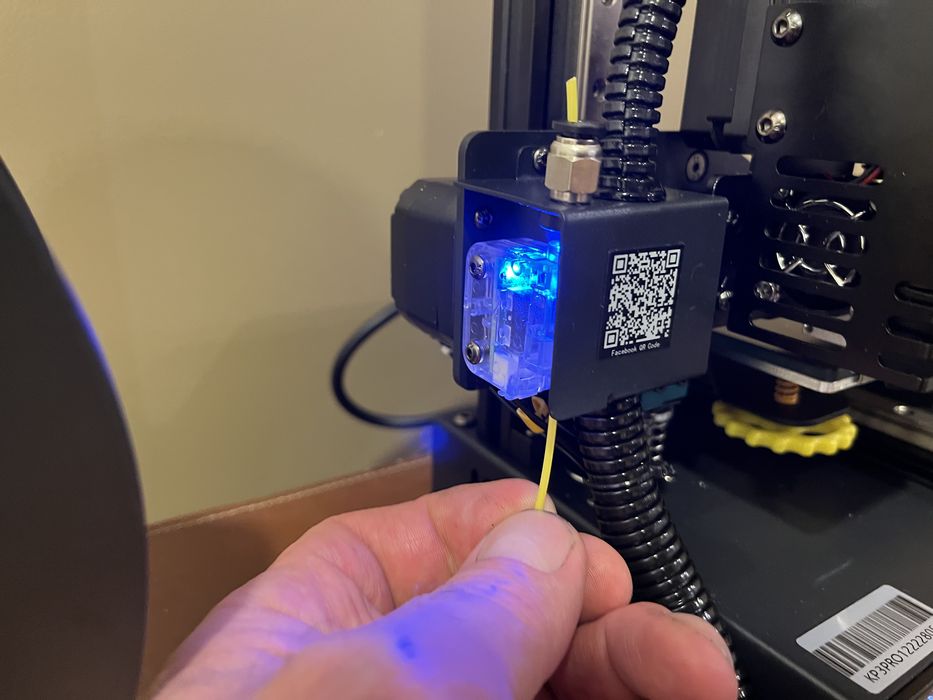
The KP3S Pro S1 is a cantilever-style FFF device equipped with a 1.75mm filament extruder, reportedly “based on a titan direct drive extruder with a 3:1 gear ratio.”
The machine has a single hot end, featuring a 0.4mm nozzle and a maximum temperature of 260C, accommodating a range of typical PLA, PETG, TPU filaments.
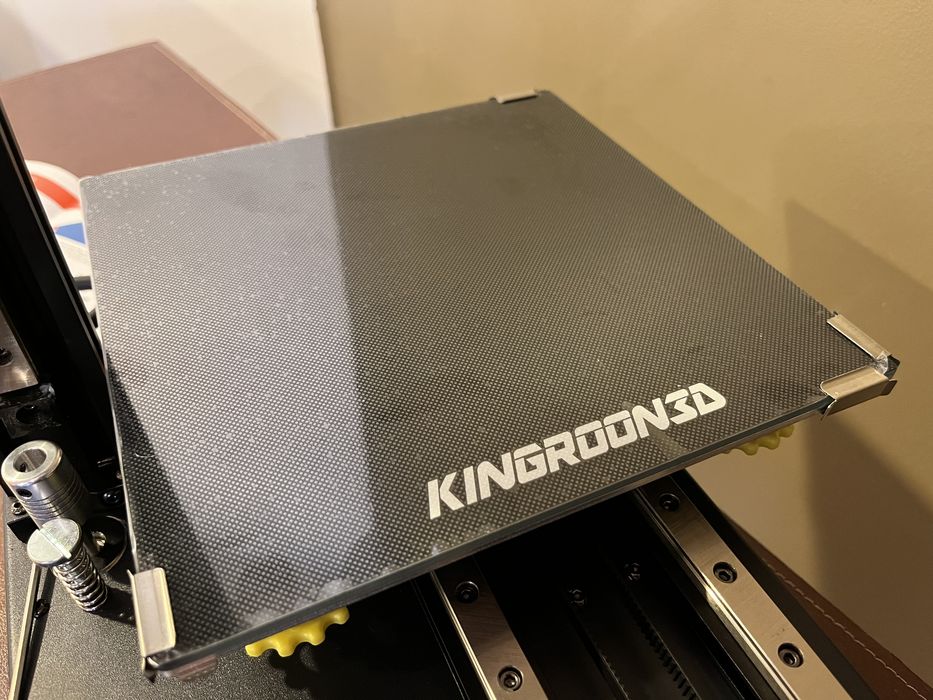
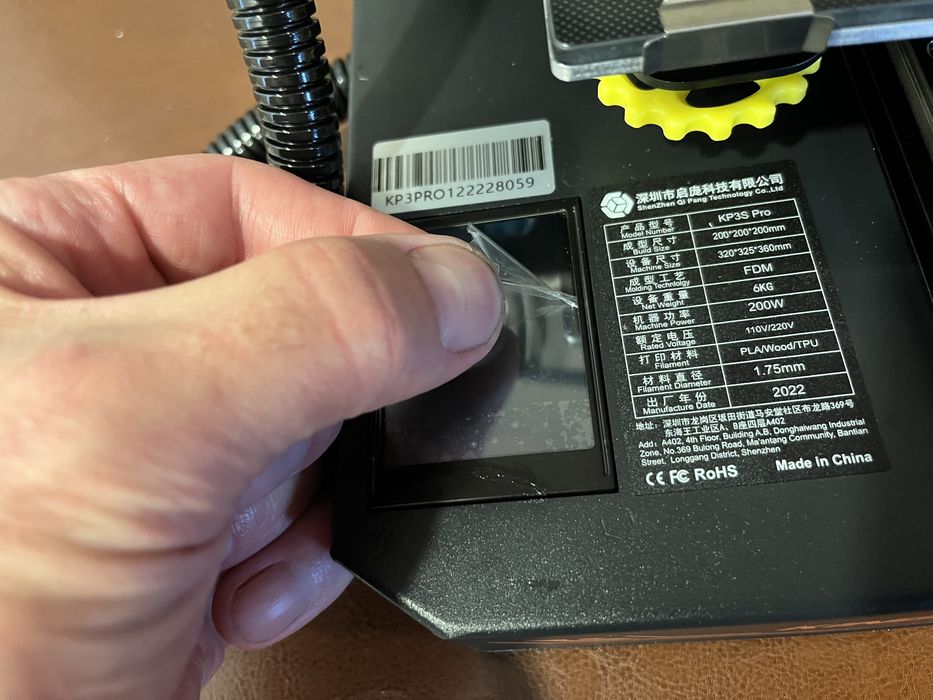
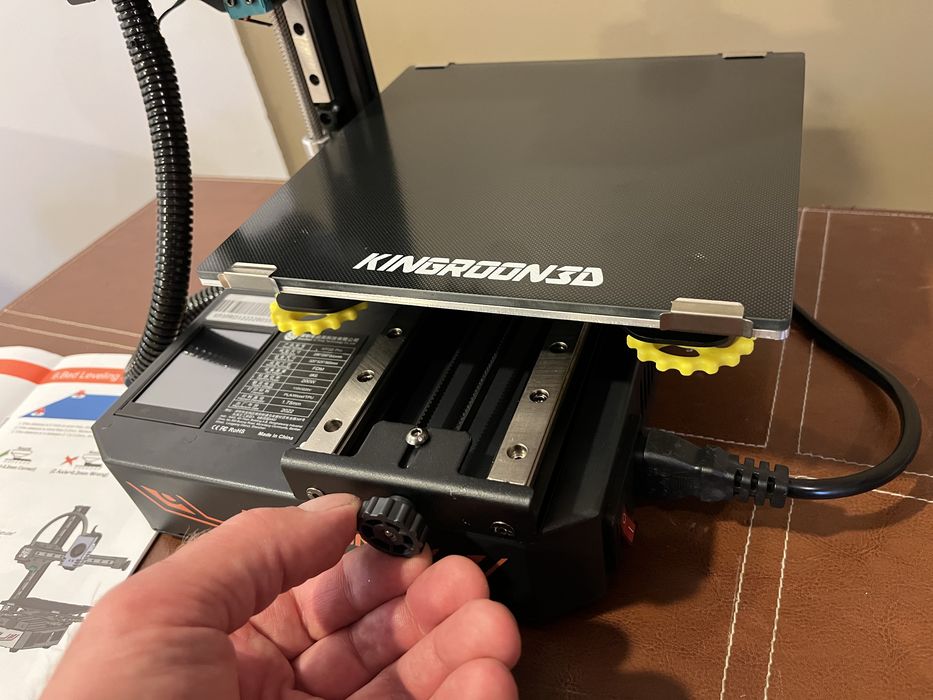
The build volume is a compact 200 x 200 x 200 mm, sporting a carborundum glass build plate with a maximum temperature of 100C.
Each axis is catered to with linear rails, with one each for the x and Z-axis and a double dose for the Y-axis to enhance bed stability. The motion system consists of linear rails for all three axis – one each for the X & Z-axis and two for the Y-axis to increase bed stability during printing.
A sturdy metal extrusion frame and TMC2225 stepper drivers ensure near-silent and mechanically stable operations.
The built-in filament sensor ensures that you won’t run out of material mid print and is a handy feature for using up partial spools, while the absence of an automated leveling procedure should not be a significant concern due to the smaller print bed.
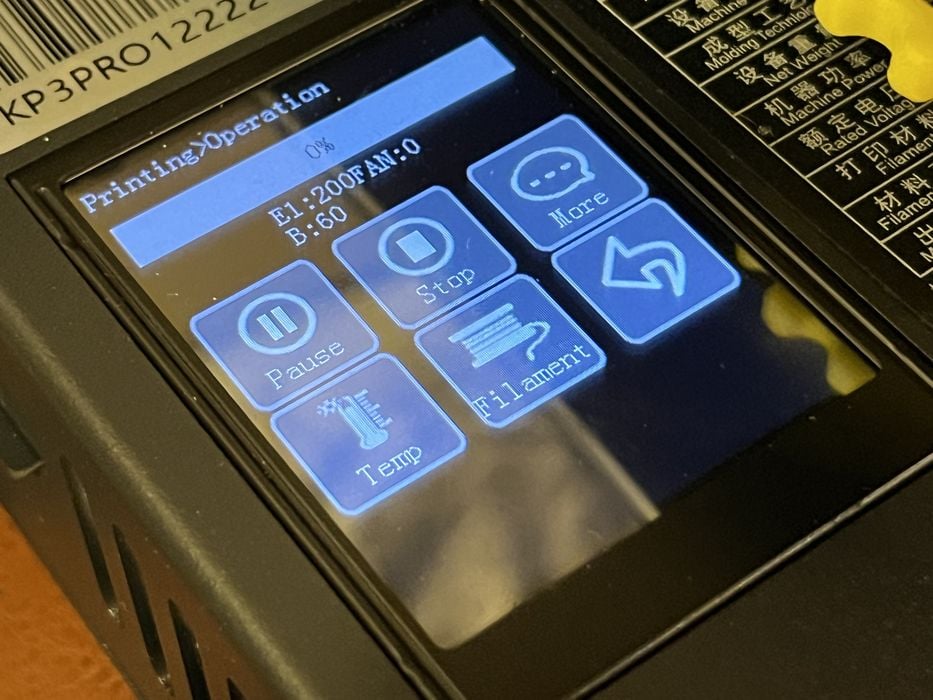
A smallish 5 x 4 cm LCD touchscreen is used to control the device, and the KP3S Pro S1 comes with a built-in power supply, unlike earlier KP3 models that came with separate P/S units.
Kingroon KP3S Pro S1 Unboxing and Assembly
When unboxing we were pleasantly surprised to find a secondary package taped to the main box, revealing a full roll of Kingroon-branded PLA filament. That’s a nice touch from the very friendly folks at Kingroon.
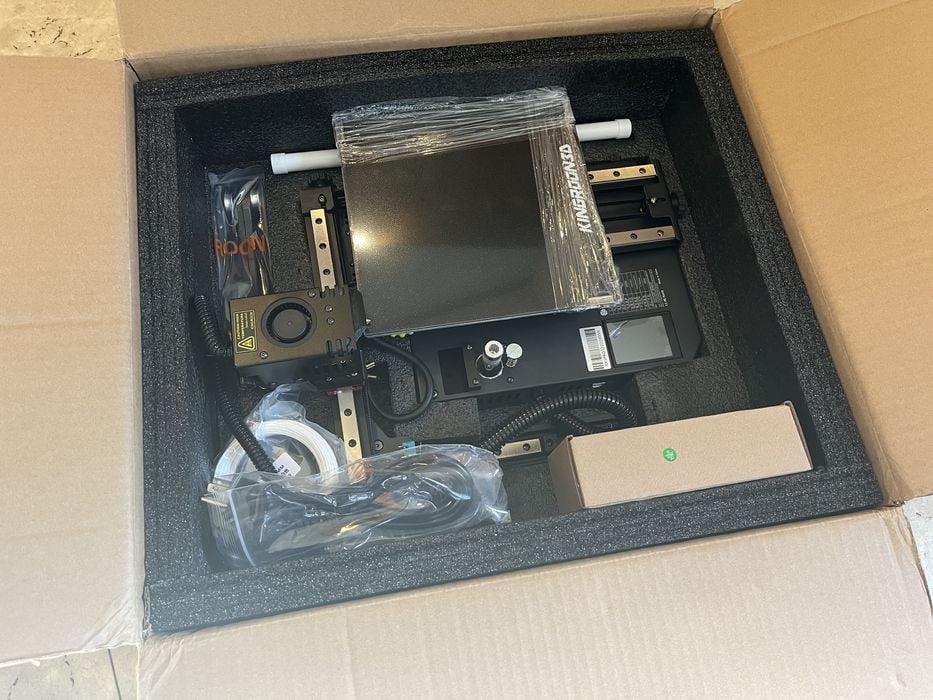
Their packaging was superb, securing the printer components with sturdy foam inserts for shipping. However, it was a bit tricky to unpack, given that the printer was split into two parts yet interconnected with the wiring harness. A little extra care will go a long way during this stage as there was nothing stopping the X-axis from flopping around while we lifted and moved both parts of the printer simultaneously.
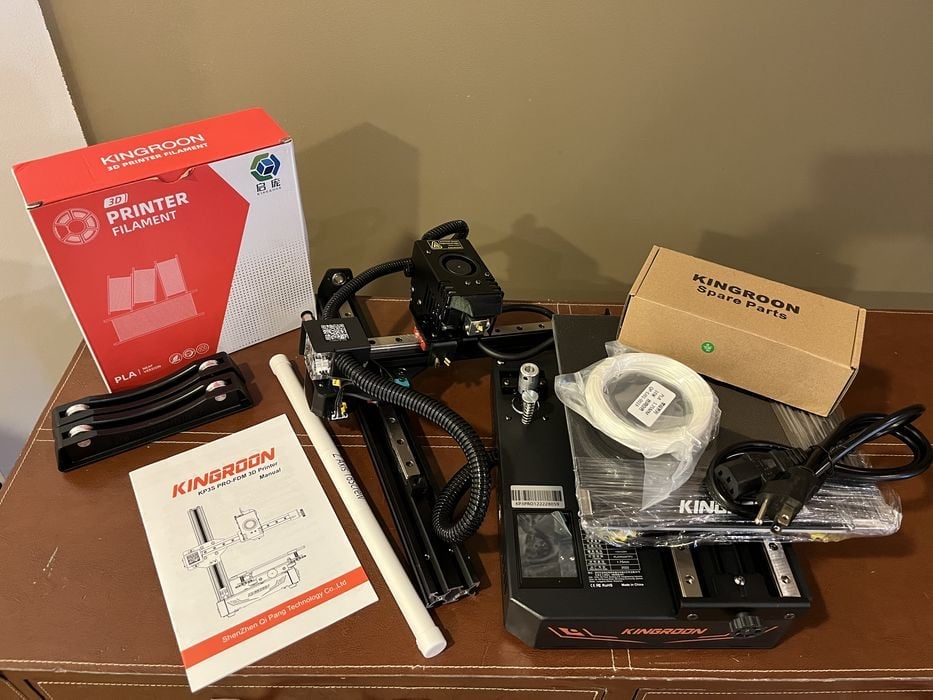
Laid out on our workspace were the Y-axis base for the printer, a tethered X/Z axis assembly, a full-sized spool of Kingroon PLA filament, a PLA filament sample coil, spool rollers, power cord, Z-axis lead screw, and a 14-page full-color user manual.
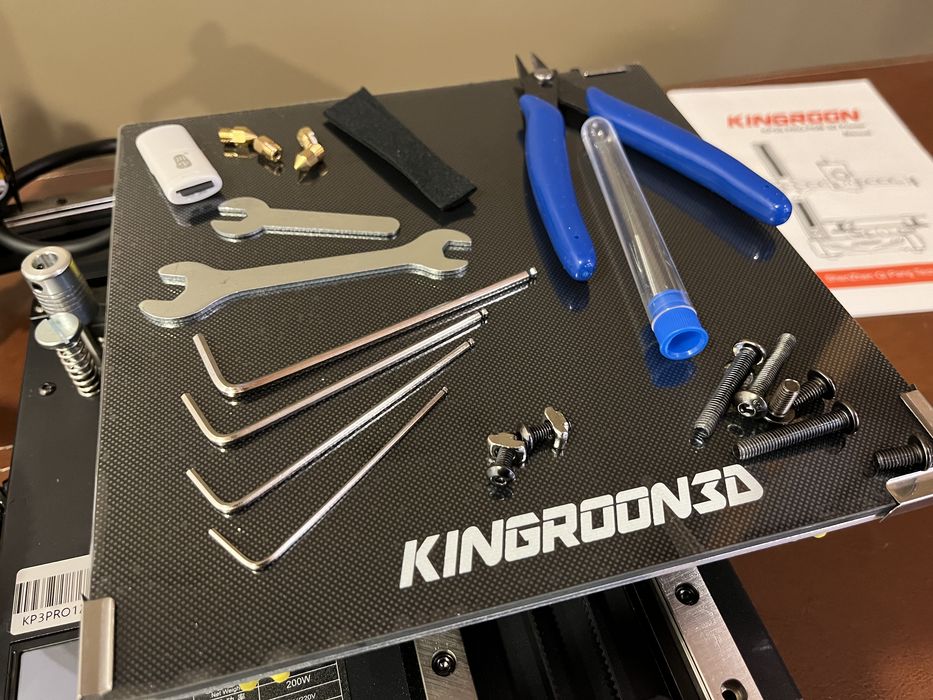
We also found a “Spare Parts” box full of useful tools and extras like micro SD card & reader, wrenches, screws & nuts, brass nozzles, nozzle jam-clearing needle, snips, PTFE tubing, and a USB cable.
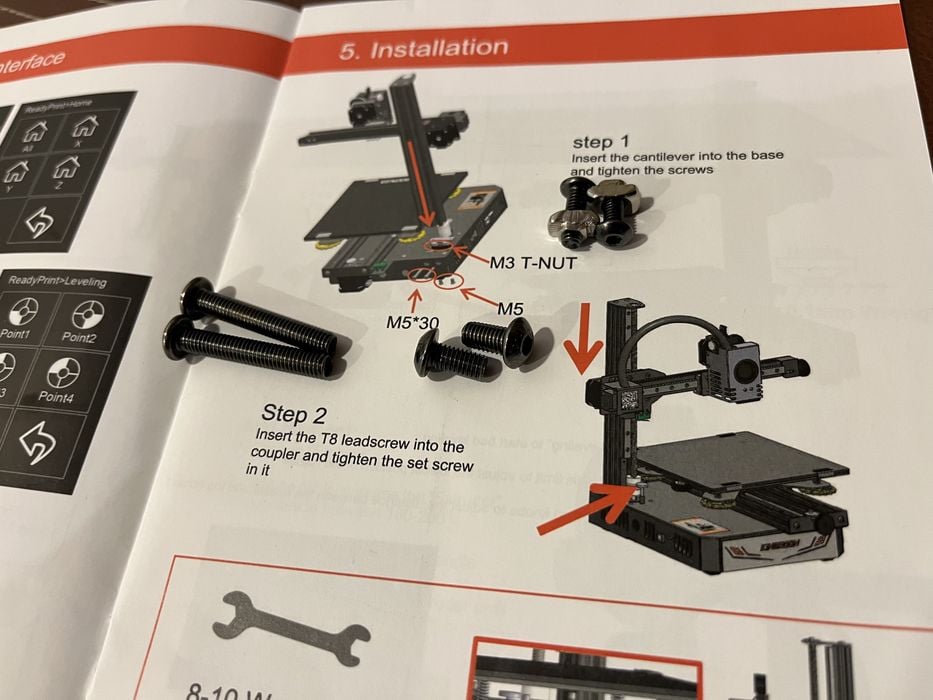
The assembly instructions in the user manual were somewhat vague, but we managed to make sense of the rather small illustrations.

We first had to install T-nut hardware before sliding the beam into the base, which was a bit fiddly but manageable: It is possible for the nuts to fall into the base unit while being threaded onto the screws.
We also zip-tied the X-axis to the top of the Z-axis for convenience. It is good practice to remove the glass build plate during this process to prevent accidental damage. While doing that we made note of the plastic films on the glass and heatbed that would need to be removed before reinstalling later.
There was no specified order of operations for installing the rest of the screws, so we just inserted them all loose and then tightened everything up when we were done.
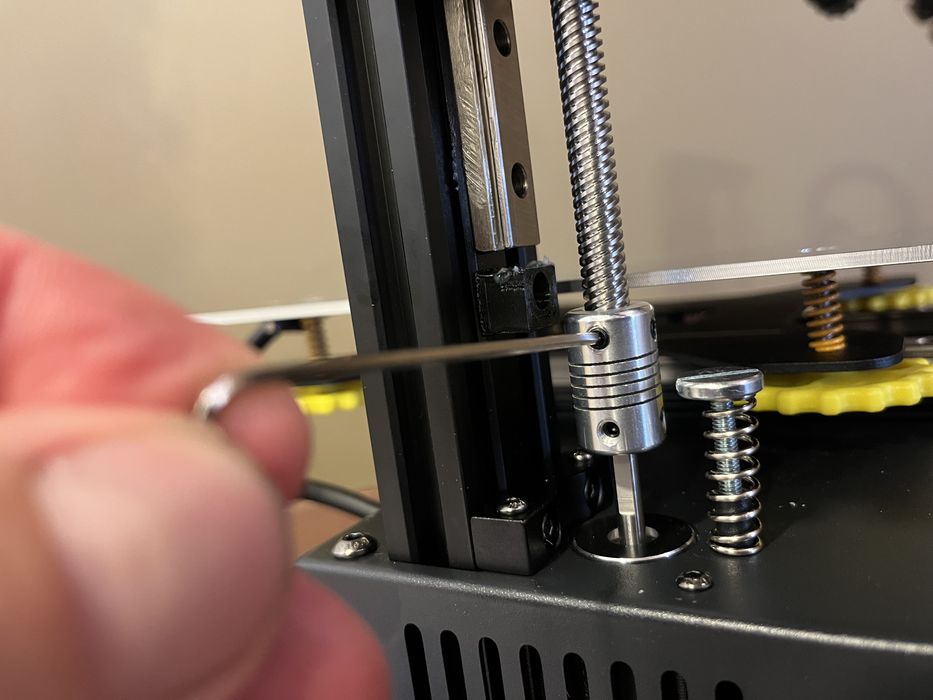
Once the printer parts were securely joined, we installed the lead screw. This part of the process was also vague, but we found our way around.
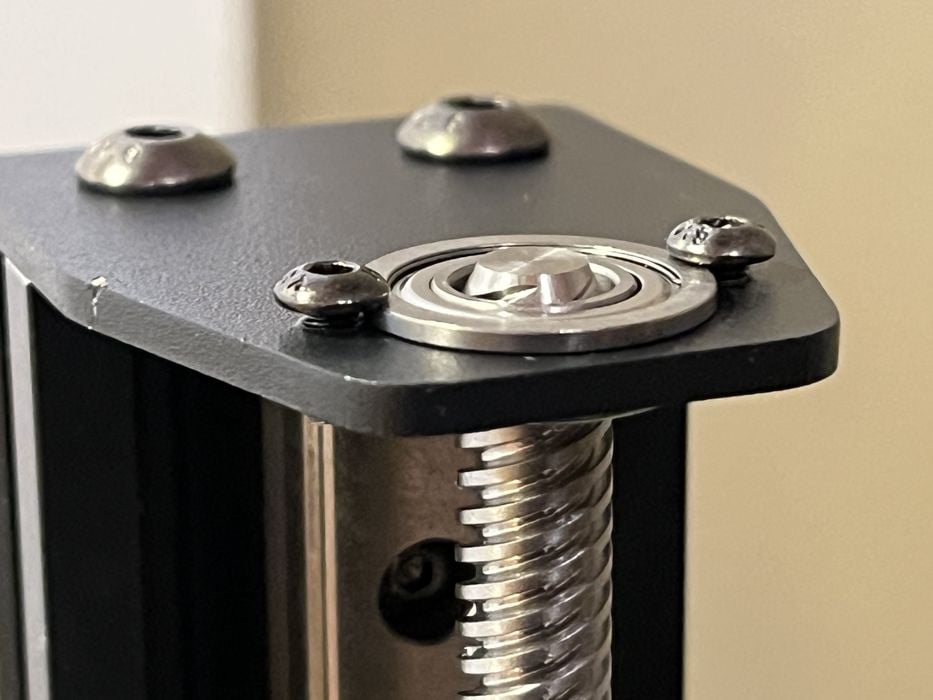
The two screws holding the bearing at the top of the lead screw were loose, we left them that way during assembly of the lead screw assuming the bearing might need a bit of movement. We made sure to snug these up.
It was clear that the manual was lagging behind the rapid development of the 3D printer; the manual directed us to tighten Y-axis eccentric nuts that were nonexistent. Instead, this model featured a robust linear rail system. The documentation issue was a minor hiccup, but we were eager to move forward and put the machine to its paces.
We did not forget to run a check of the belt tension, a step often forgotten but not explicitly mentioned in the guide. To our delight, we found it factory-set to perfection.

Of course, we also ensured that the input voltage selector was accurately configured for our location. This is a critical step you cannot miss, as you risk damaging the 3D printer if set incorrectly.
A final inspection was undertaken to see if anything had slipped our minds. And voila, we wrapped up the assembly in record time, making it one of the quickest printer assemblies we’ve ever undertaken.
This is part one of a three part series, please read parts two and three.
Via Kingroon