
Our review of the Kingroon KP3S Pro S1 continues with setup & calibration, operations and software.
This is part two of a three part series, please read parts one and three.
Kingroon KP3S Pro S1 Setup and Calibration
Our next pursuit was the always critical bed leveling process.
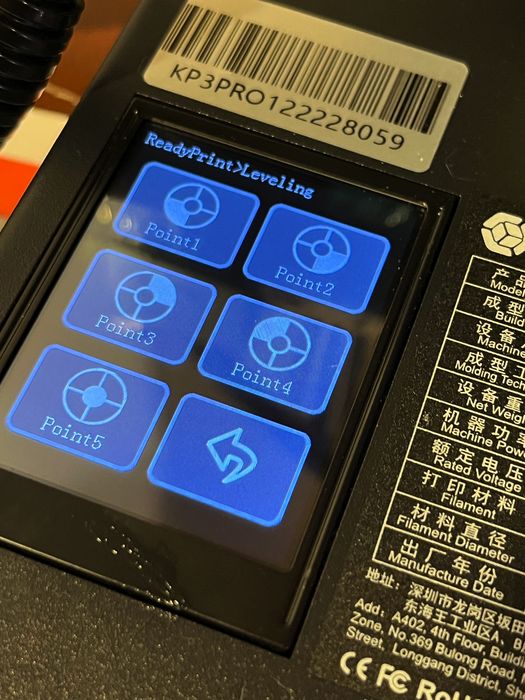
The KP3S Pro S1, being a manual bed leveling machine, involves the customary four bed thumb screws, an A4 piece of paper, and a five-point leveling regime on the LCD. The idea is to ensure the paper is just snug under the nozzle at each leveling point by adjusting the height of the platform with the thumb screws.
At the second leveling point, we ran into a hiccup as the nozzle appeared too distant for the leveling screws to accomplish their task. After some thought, it became apparent that the X-axis beam was out of alignment. We promptly contacted Kingroon’s support team, who prescribed a series of steps to rectify the situation.
Acting on their advice, we quickly and successfully squared up the X-axis beam and could proceed with bed leveling, achieving a perfect A4 paper thickness gap at all five points.
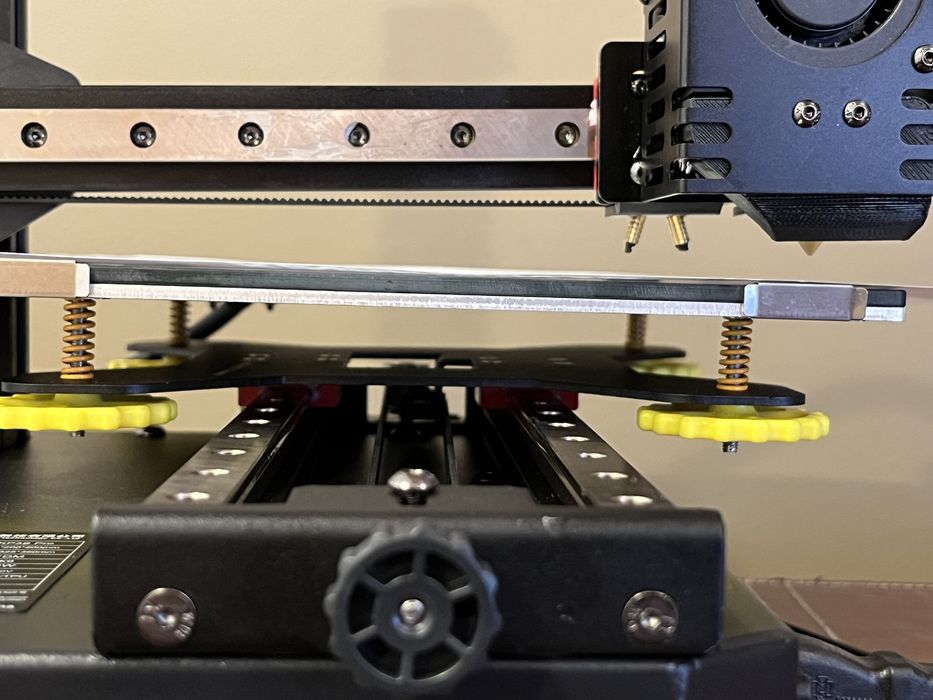
It’s worth noting that this appears to be the exclusive method to adjust the nozzle gap, as we didn’t spot any firmware options for dynamic Z-gap alteration that is often found on other 3D printer models. In other words: make certain you get the Z-gap correct, it’s your only chance to do it.
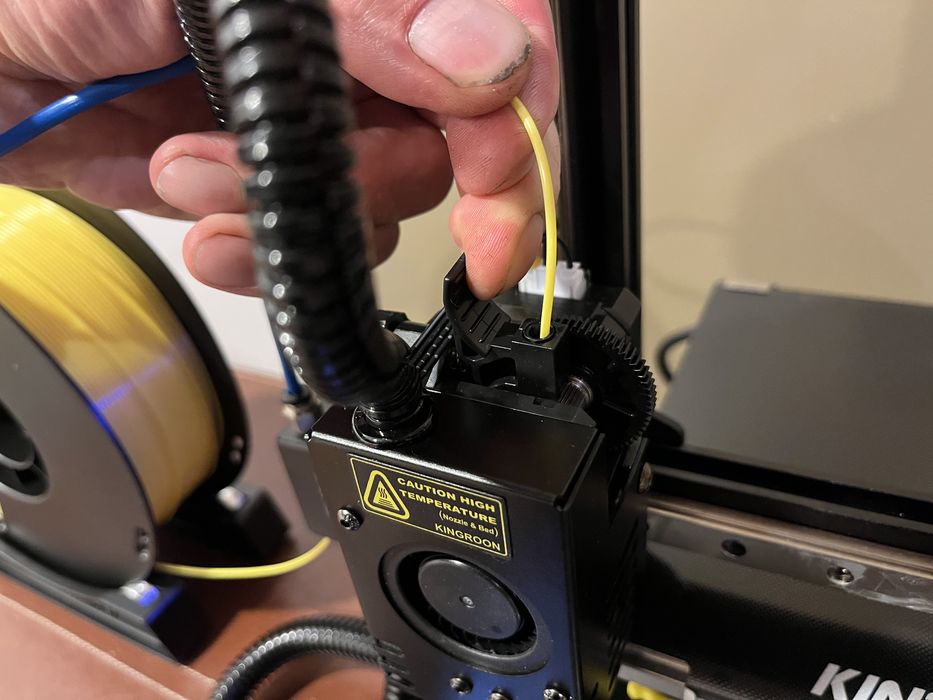
When preheating the 3D printer for filament loading, we realized there were no preset temperatures or automated loading routines to choose from. This required us to manually set the temperature appropriate for the Kingroon-branded PLA filament we were to load.
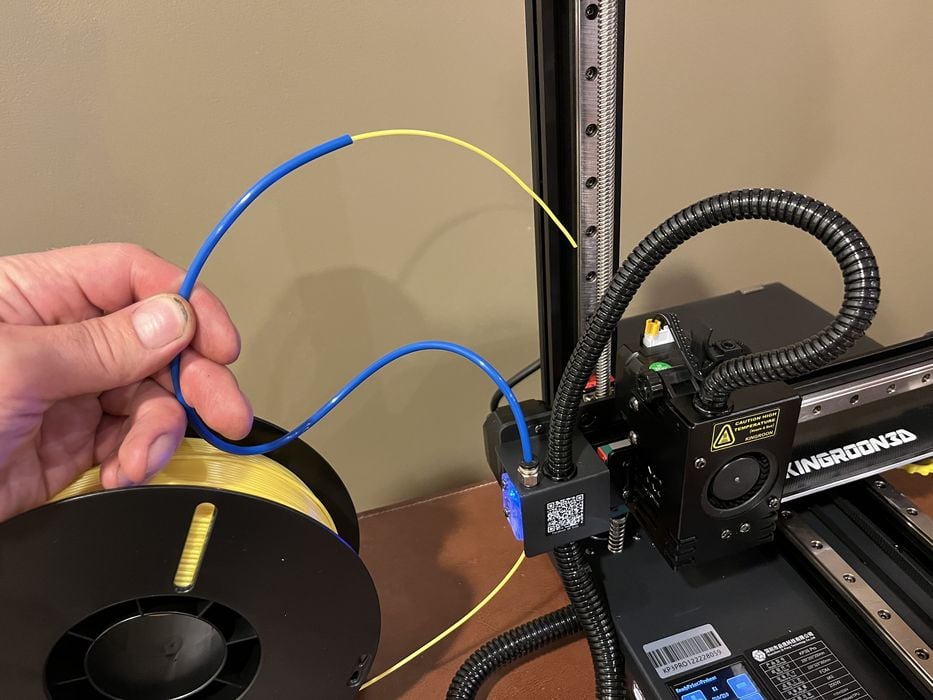
Having fixed the spool of filament onto the rollers, we guided the filament through the sensor and a section of PTFE tubing until we had a protruding end. With no motorized filament loading process, we simply retracted the extruder handle and manually inserted the filament, continuing to push until we observed the filament extruding from the nozzle. Loading filament is entirely manual, but it works. Now we were print-ready!
Kingroon KP3S Pro S1 Operations
Before embarking on our first print, we took the prudent step of duplicating the contents of the provided SD card onto our computer. This not only ensures there is a backup of all essential data but also provided us with an opportunity to set up any slicing software included while launching one of Kingroon’s pre-sliced test prints.
We found the pre-sliced prints’ names were in a language other than English, and could not identify what they were. To proceed we randomly selected one of them and launched the print process through the tiny LCD screen.
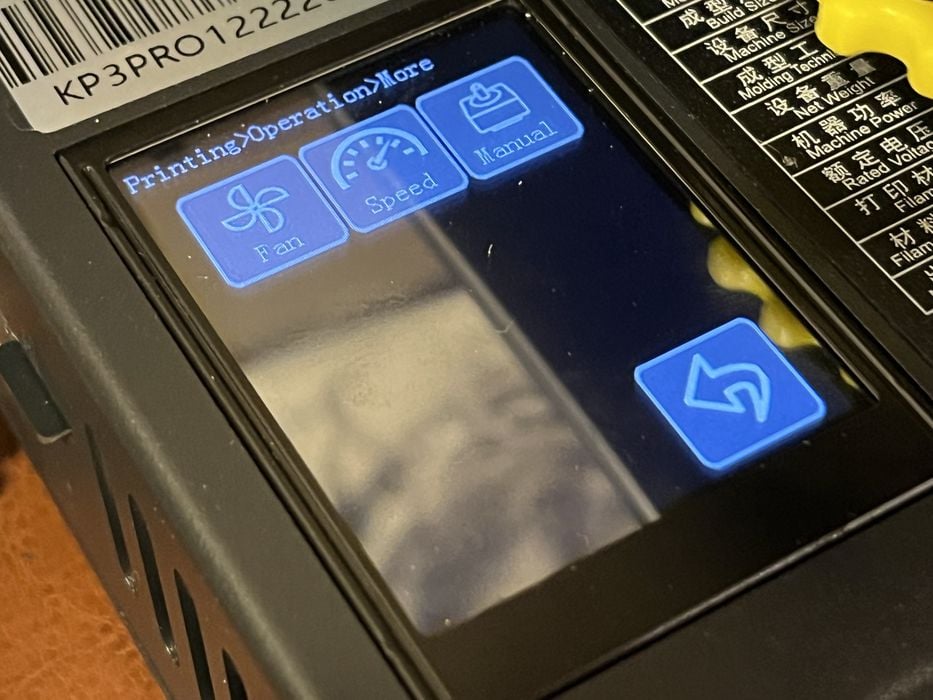
The active print menu on the KP3S Pro S1 matches that of the KP5L, offering useful information such as elapsed time, current temperatures and fan speeds, along with an additional options menu for pause, stop, and filament change commands.
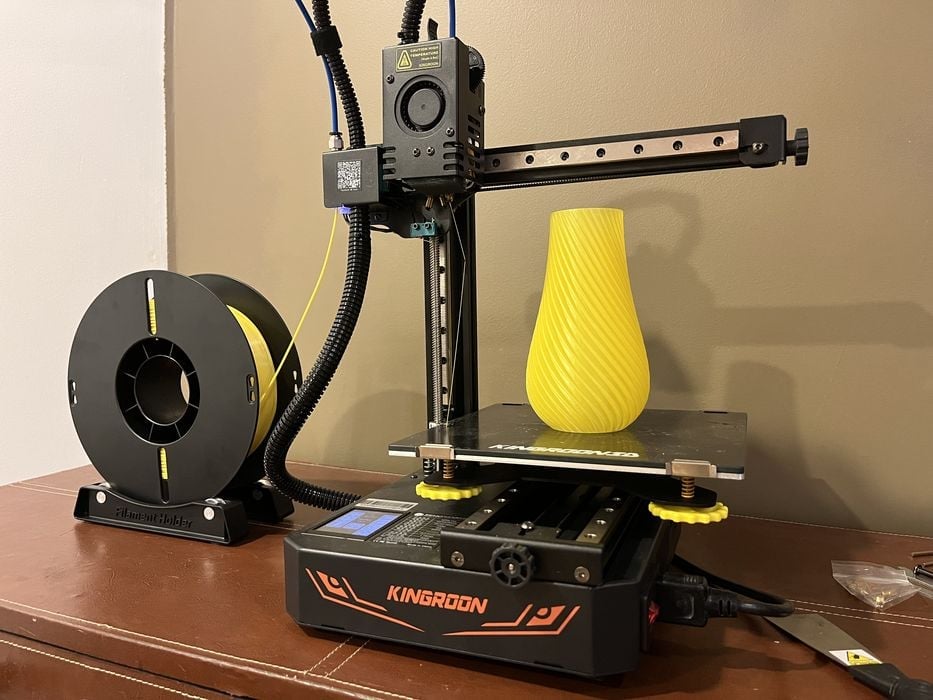
The printer got to work rapidly, heating up and laying down the first layer with superb adhesion.
Roughly 3.5 hours later, our inaugural print, a finely detailed rook, was complete, exhibiting some minor stringing at the top. The print was effortlessly removable from the cooled glass build plate. Note that it is very important to allow the glass plate to cool before attempting removal.
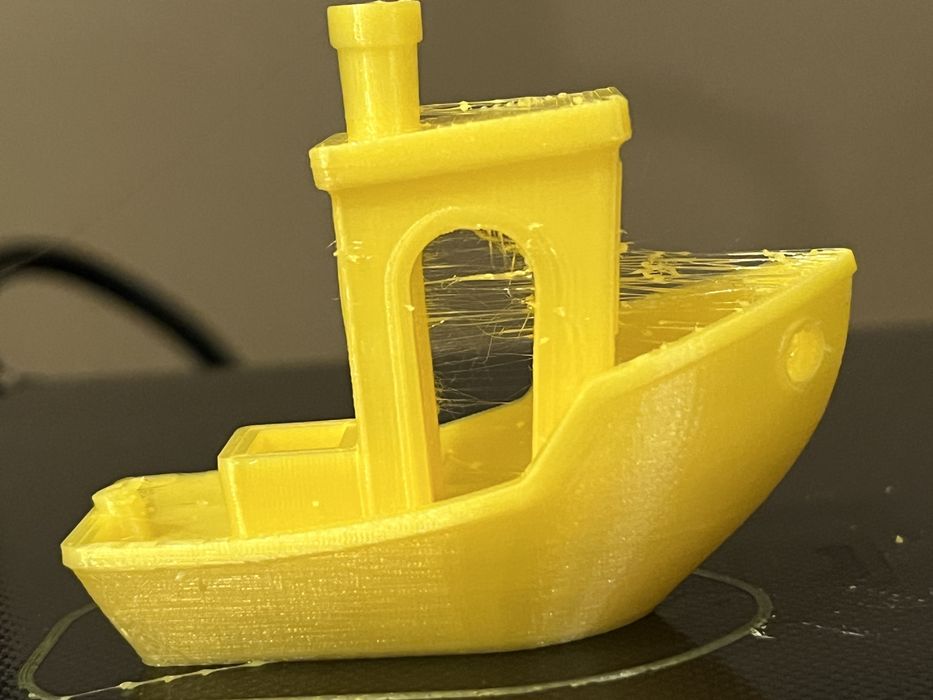
Deciding to test the limits of the printer’s potential, we printed the remaining pre-sliced prints supplied by Kingroon, but were surprised by severe stringing issues on several of them.
Reruns of these prints using the provided white Kingroon PLA yielded better results with reduced stringing. However, we chose to postpone any further troubleshooting until we sliced our own prints.
Kingroon KP3S Pro S1 Software
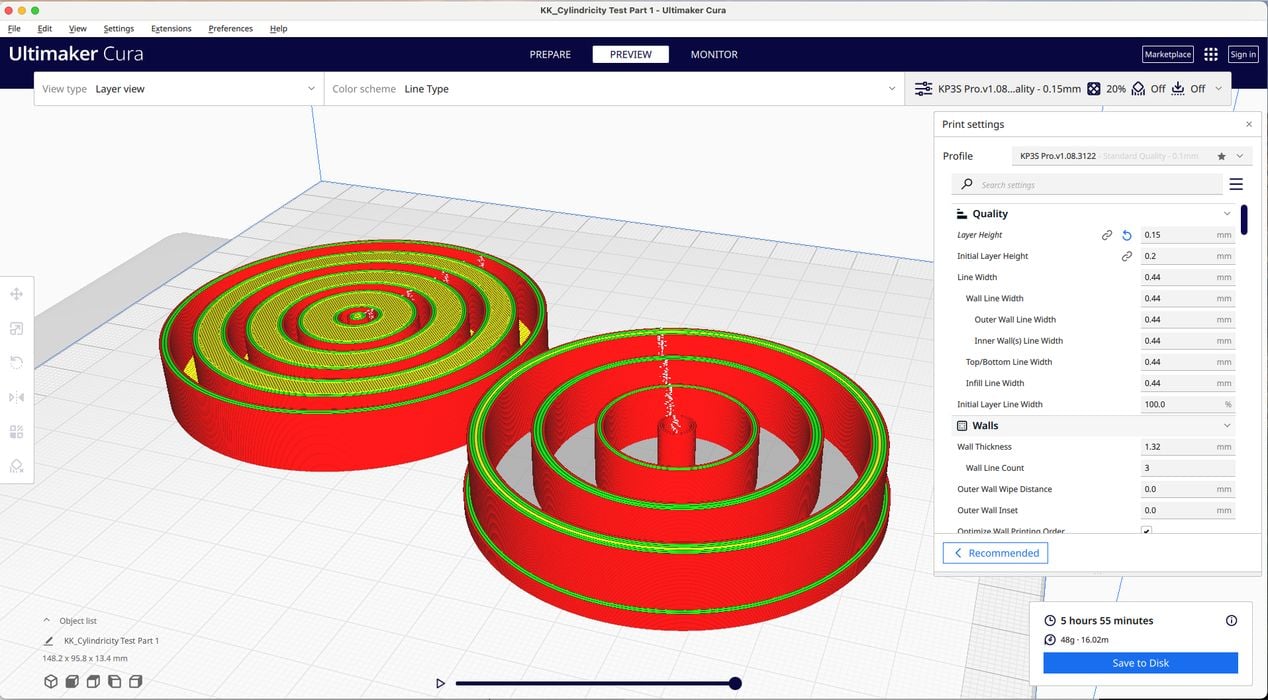
Kingroon, lacking its own proprietary slicing software, instead recommends use of Ultimaker Cura for GCODE generation. The provided SD card, unfortunately, only contained an outdated Windows version, leaving us Mac users with the simple task of procuring the current version from Ultimaker’s website. This is a common issue and it’s almost best practice to always get the most up to date software from the Internet instead of using the older versions supplied with the device.
Though the user manual outlines the steps required to configure the printer in Ultimaker Cura, the accompanying images were rather minuscule and challenging to decipher. Nevertheless, the process itself was relatively straightforward — it was just a matter of adding the printer as a KP3S and modifying the build volume to 200 x 200 x 200 mm. Finally, we were ready to slice our own 3D model files.
This is part two of a three part series, please read parts one and three.
Via Kingroon