
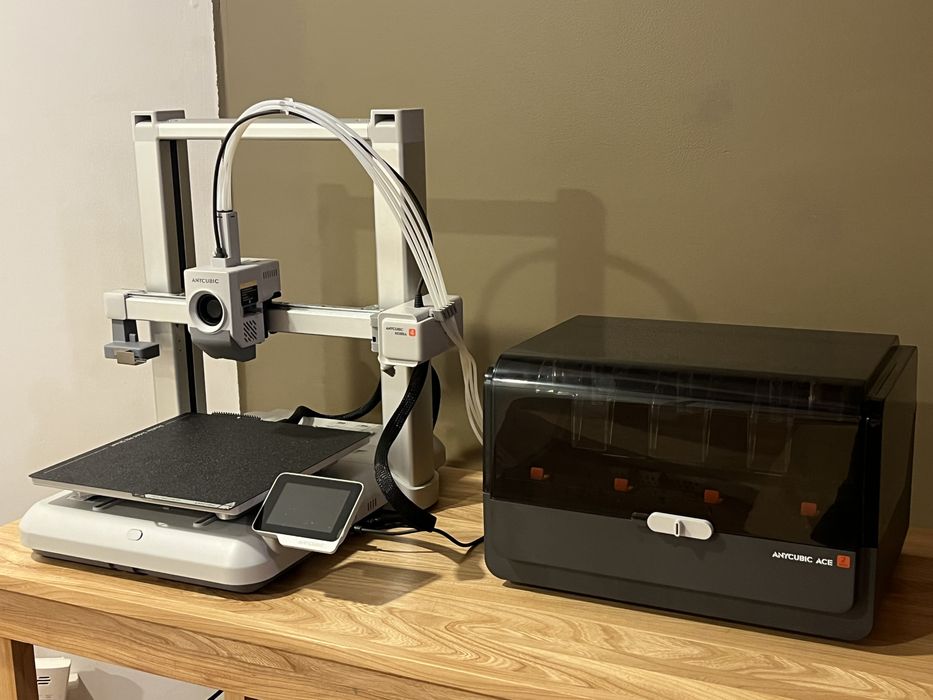
We continue our review of the Kobra 4 Combo 3D printer with setup, calibration, operations and software.
This is part two of a three-part series. Please read parts one and three.
Kobra 4 Combo Setup and Calibration
When we powered on the printer, we were greeted by the Anycubic logo and walked through a series of setup steps on the LCD screen, choosing our language, region, and logging into our WiFi network.
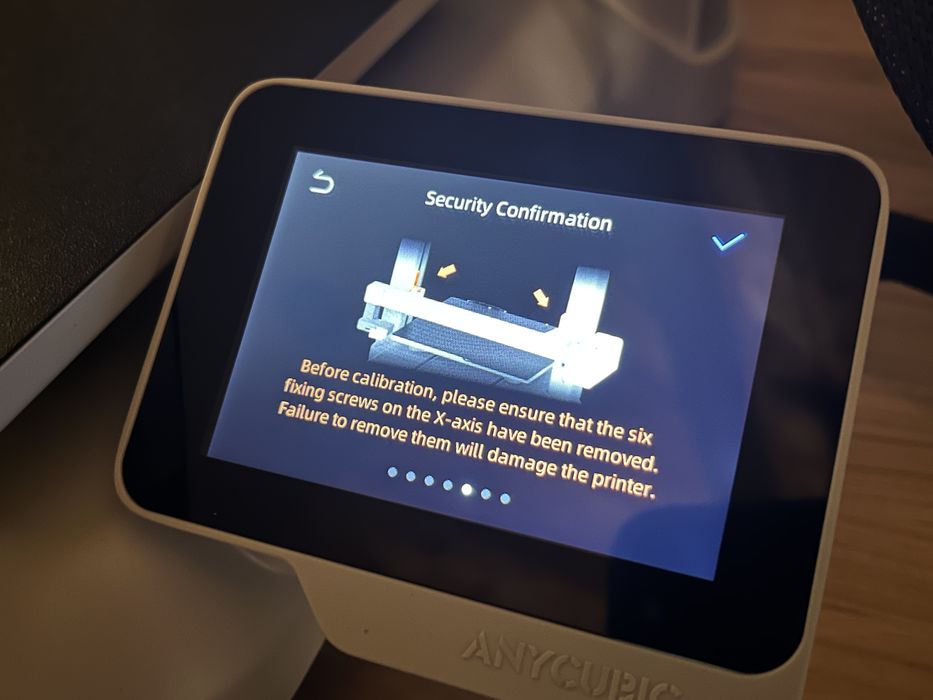
We were asked to confirm (again) that the six screws had indeed been removed from the X-axis, as “Failure to remove them will damage the printer”! Indeed that would be the case, but we had already removed them.
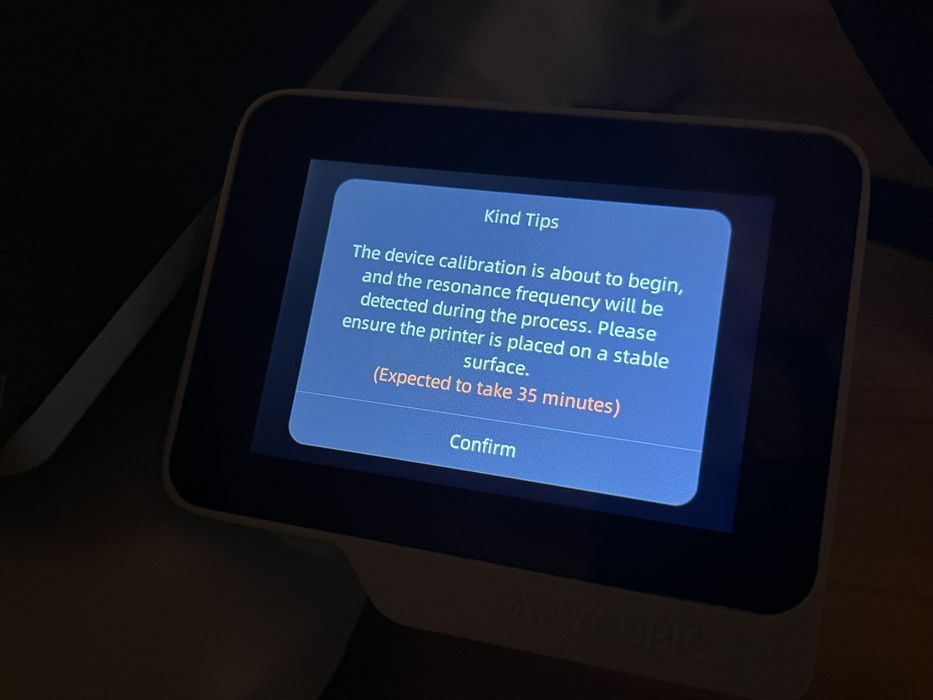
Next, the printer began performing a series of calibration routines with an estimated time of 35 minutes. Upon completion, it displayed the friendly message, “Enjoy and have fun!” We guess this is to replace the “happy face” styrofoam packaging the company had long used.
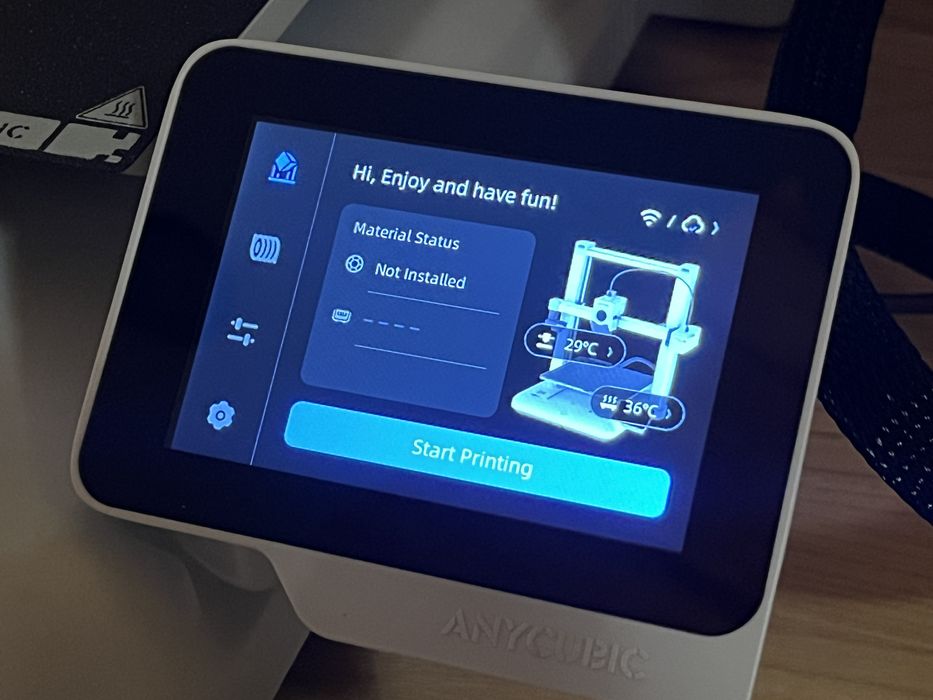
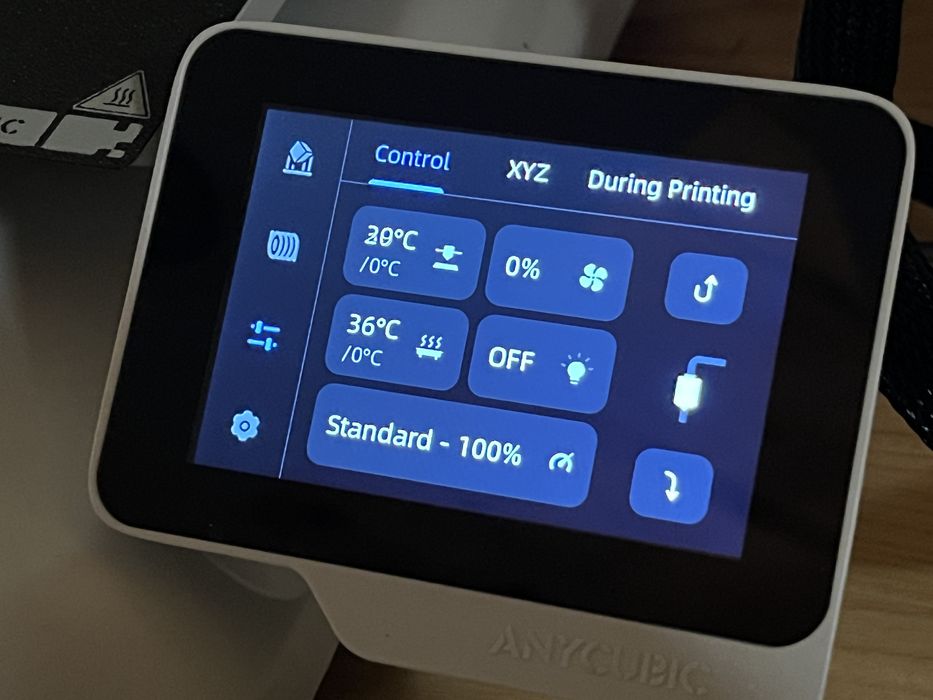
We went through several screens to get acquainted with the printer. The main menu gave an overview of temperatures and material status. The second screen gave the status of what was loaded in the ACE2 Pro and the ability to activate filament drying. The third screen gave various controls for enabling heating, lighting, speeds, movement in the XYZ axis, and some additional functions available during printing such as: filament run out, clogging, AI detection for spaghetti or foreign object, type of nozzle used, etc. The last screen showed various settings for network, device, and some general settings for the Kobra 4 Combo.
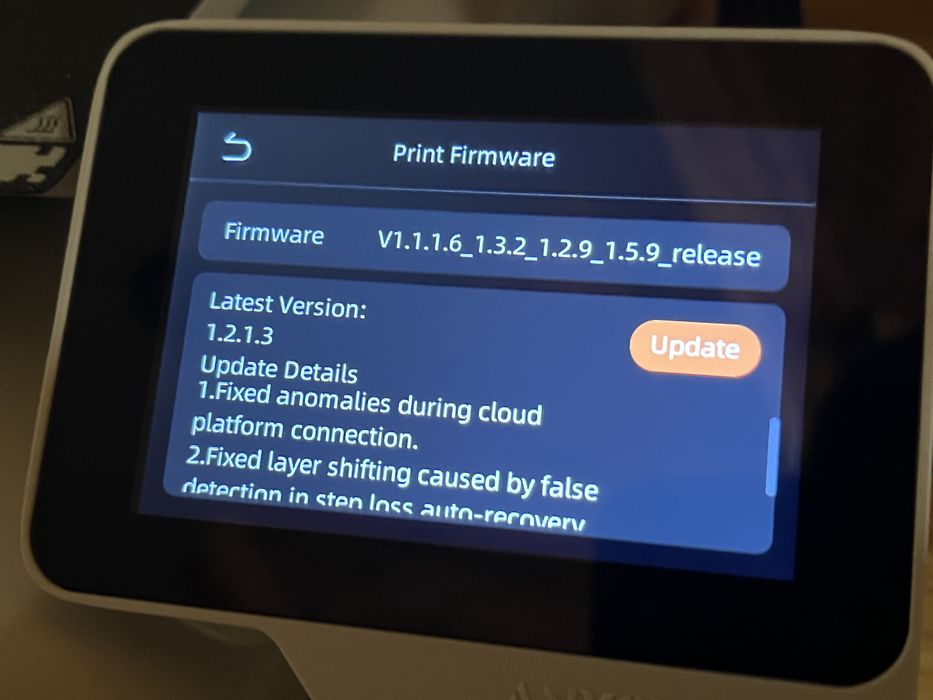
We bound the printer to our Anycubic account using the QR code on the Kobra 4 Combo and then the printer promptly found new firmware, which we downloaded and installed.
Once we rebooted, we were greeted with a message saying that the “Ace installation was successful. To ensure printing quality and prevent interference between PTFE tubes above the print head, please print and install the preset wire clip model.” We assumed they were referring to making a spare of the small clip we had installed during assembly, so we passed on doing it.
We went about loading some filament into the ACE2 Pro, placing a roll into the first bay and pushing the filament into the feeder tube until it was slowly pulled from our fingers and fed through the mechanism.
The filament wasn’t branded Anycubic RFID, so after it finished loading we went to the LCD screen and manually entered the appropriate type and colour. We did try out some Anycubic RFID’d filament at the end of the review and can confirm that the ACE2 Pro correctly recognizes and inputs the type and colour automatically as it loads.
Kobra 4 Combo Operations
We decided to launch some pre-sliced prints that manufacturers typically provide that show off a printer, finding a folder on the LCD labelled Test Model and choosing Spider Plate with an estimated build time of 19m. Some on-screen choices prior to launching the print were Auto Leveling, Flow Calibration, and Timelapse. We left everything at default settings and launched the job.
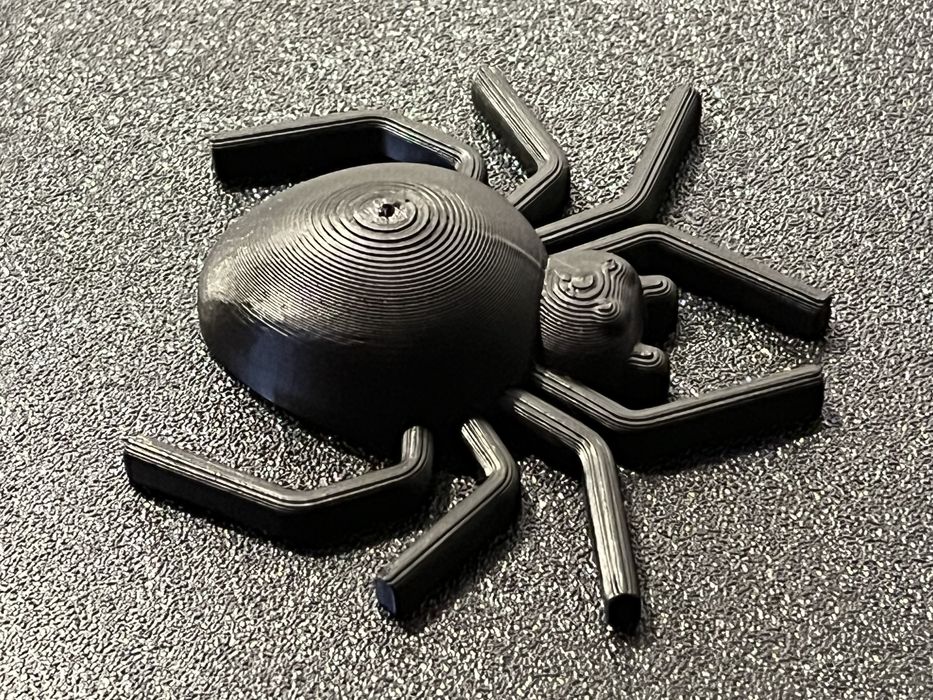
The print completed in 18m, detached easily from the bed and was of excellent quality.
We tried a few other pre-sliced prints, choosing a #3DBenchy with an estimated fairly long print time of 46m, which turned out with excellent quality in, you guessed it, 46m.
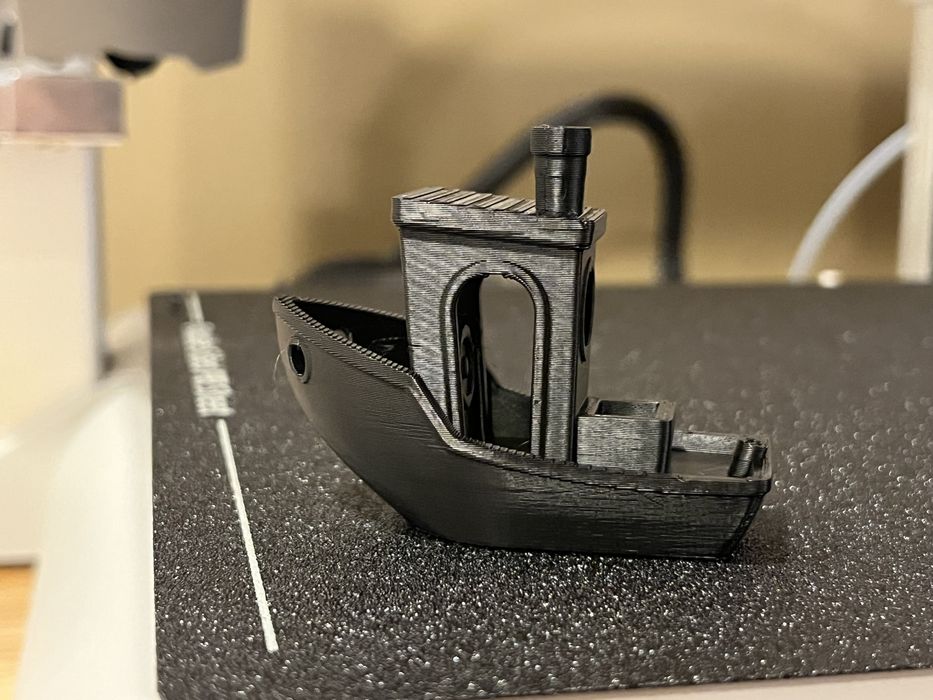
We followed up with another pre-sliced #3DBenchy with a print time of just 15m. It had a coarser layer height, but looked quite good considering that it had completed in just 1/3 of the time as the first #3DBenchy.
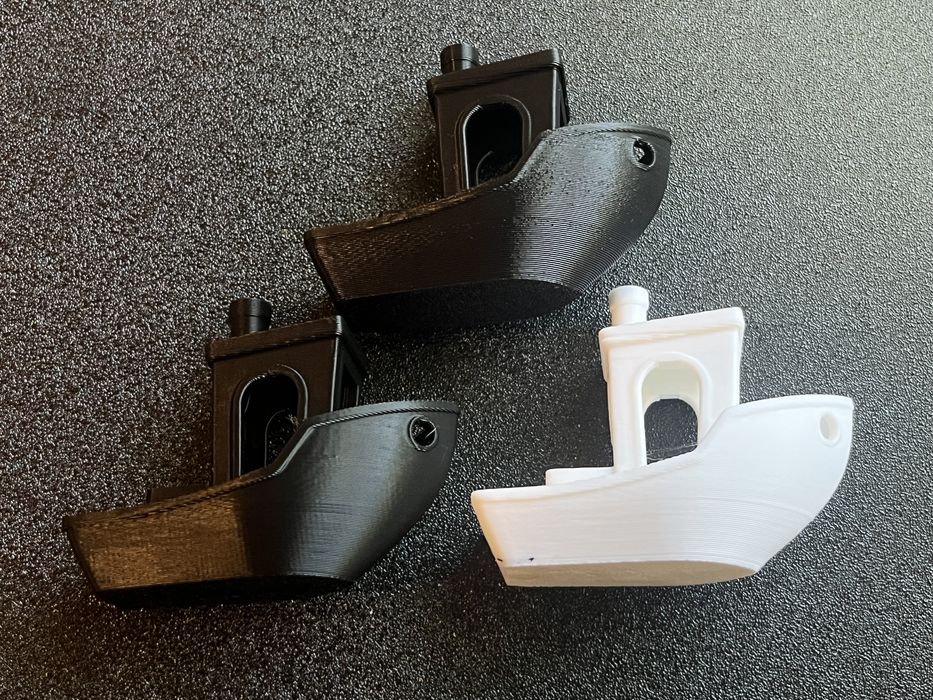
We ran the same print in white PLA just to see some additional surface detail that can get hidden by darker filament, getting pretty much the same results for quality.
Kobra 4 Combo Software
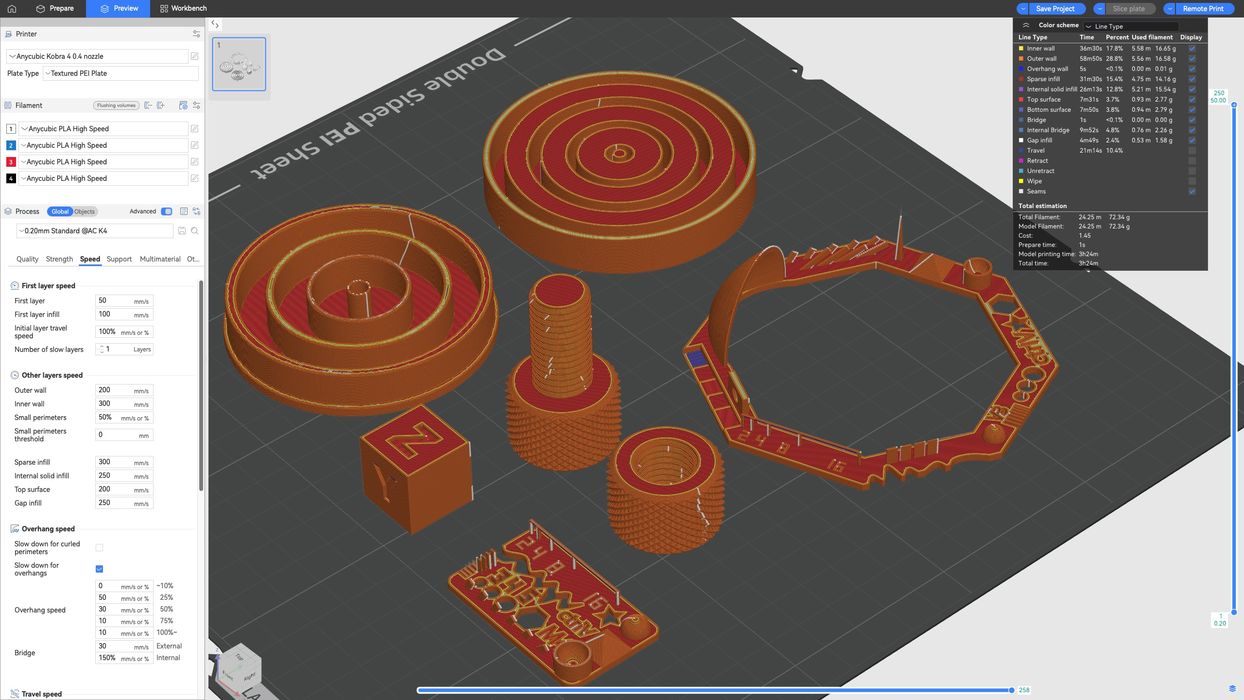
Now it was time to slice our own test prints and this is where we would typically check a supplied thumb drive to determine which slicing software to install. Since no such device was included with the printer, we visited Anycubic’s Wiki to find what we required, downloading and installing Anycubic Slicer Next (Orca Version) V1.4.1.1.
We generally choose to use desktop slicers for our reviews, as they offer much better screenshots for the articles, but the Anycubic app can also be used for preparing your prints if you prefer. That said, we typically use the app often for checking in on prints in progress and find that function really handy.
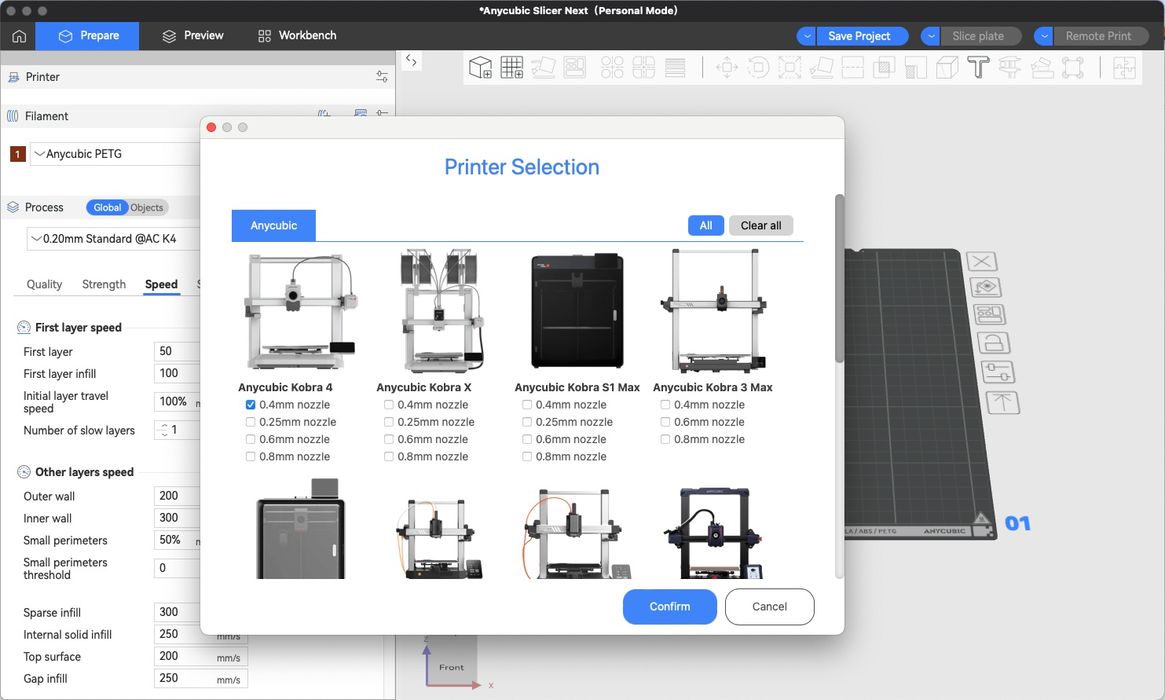
We launched Anycubic Slicer Next, chose a Kobra 4 printer profile from the list, then logged into our Anycubic account to connect to the printer that we had bound to our account earlier. Now we were able to slice and send our files to the printer via the Anycubic Cloud.
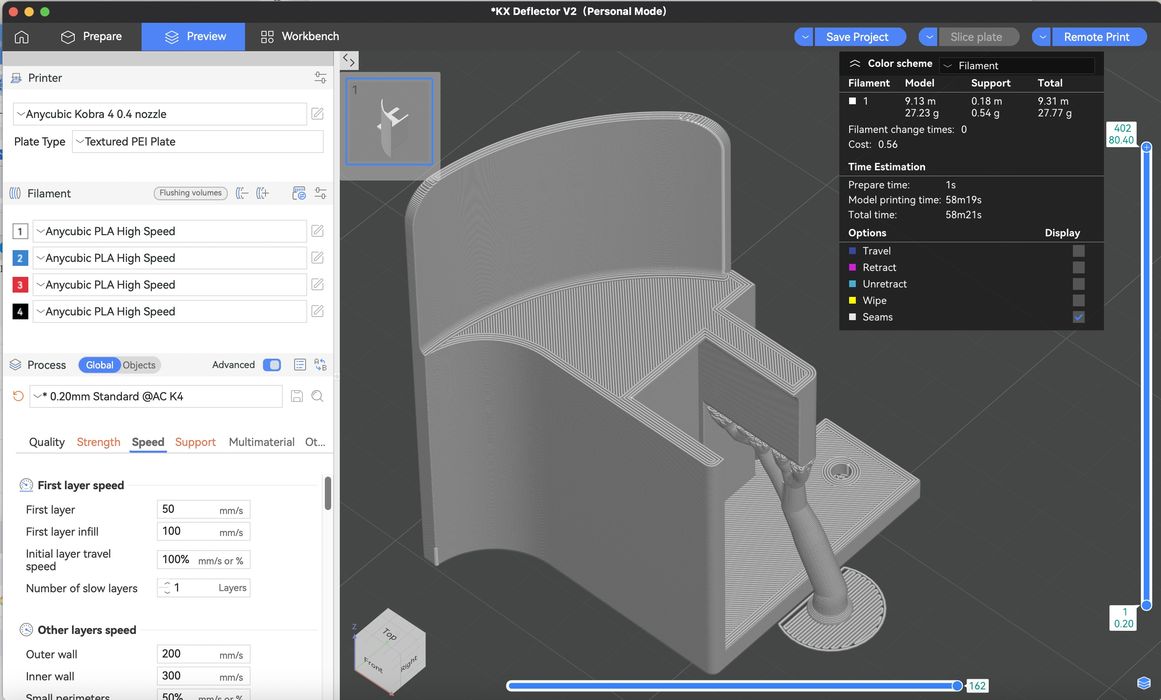
Anycubic Slicer Next is a port of OrcaSlicer and therefore very similar to many of the newer PrusaSlicer-based software out there.
Slicing is straightforward for single material models and setting up for multi-material prints is easy too. An operator just needs to remember to hit the “Synchronize Filament” button prior to setting up a print job, to ensure any filament loaded into the ACE2 Pro is recognized in the slicer.
Also, when multicolor printing, the flush multiplier needs to be set up correctly for each print to avoid ending up with blended colors or wasting too much material with flushing amounts.
This is part two of a three-part series. Please read parts one and three.
Via Anycubic