

Our review of the Raise3D Pro3 Plus high speed 3D printer concludes with software, print results and final thoughts.
This is part three of a three part series, please read parts one and two.
Raise3D Pro3 Software
Software for the Pro3 Plus is IdeaMaker. It’s a Cura-like tool provided by Raise3D, and it is able to handle not only Raise3D equipment but others as well.
There’s not much to say about IdeaMaker because it is so similar to UltiMaker Cura. There are some curious interface differences, however. One is that you always must click through to get to the detailed settings.
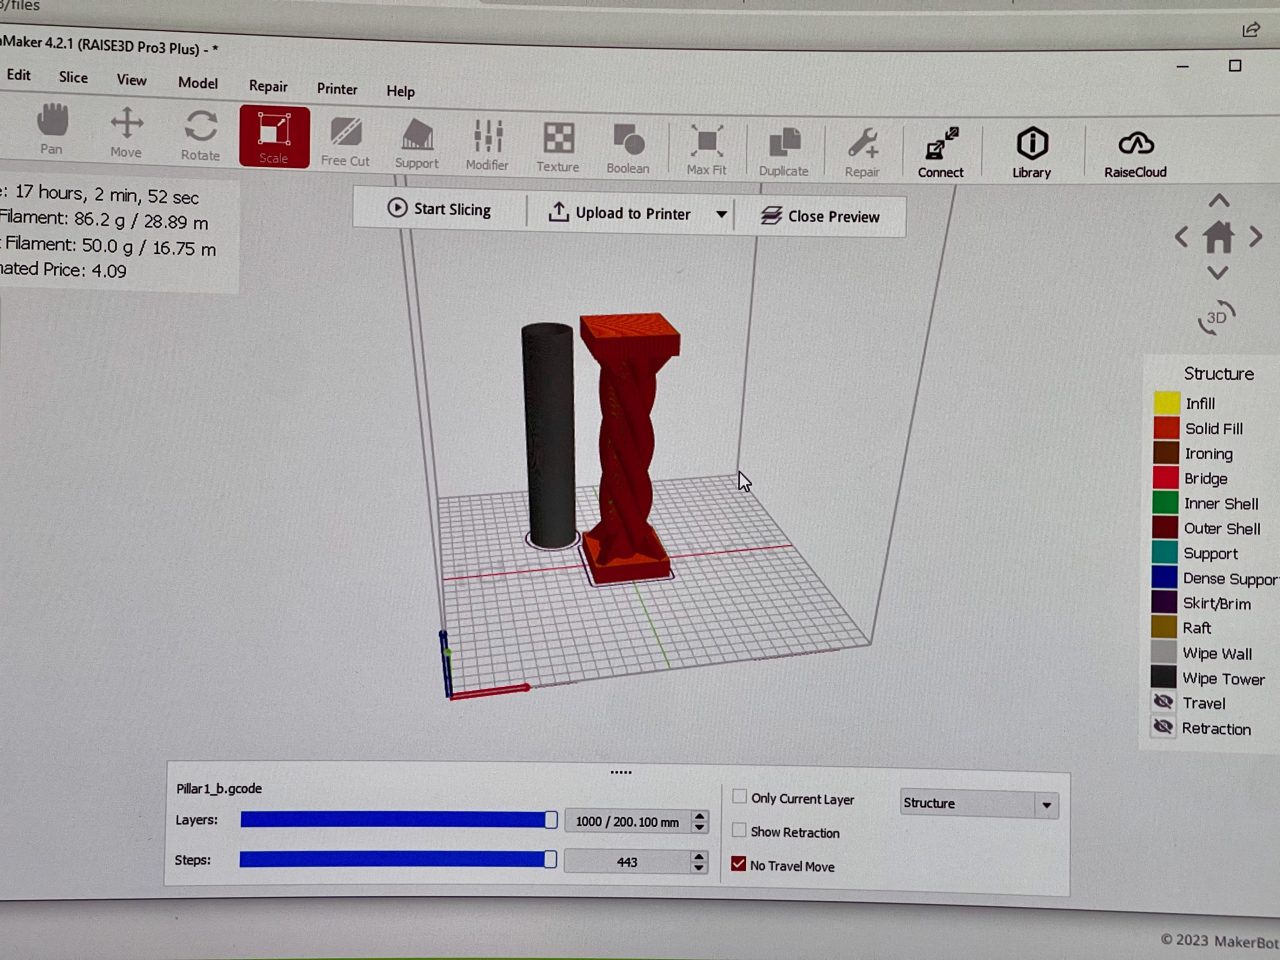
Most of our other equipment is single extruder, so our operators ran into a new issue with the Pro3 Plus: mixing up extruders. The Pro3 Plus’ IDEX system has two extruders, and you must ensure that the job preparation’s extruder configuration matches the physical state of the machine.
Often we’d find people running jobs with seemingly the wrong parameters, but they had simply clicked on the wrong extruder settings in IdeaMaker. They thought they were changing a parameter for extruder 2 but they were really tweaking extruder 1 because it’s not visually obvious in IdeaMaker and very easy to make a mistake. I suggest you always double and triple check which tool you’re tweaking.
It does take special attention during multi-color 3D print jobs because you must carefully assign the correct extruder to selected portions of your 3D model. Again, double and triple checking is required.
One suggestion reported by our operators was for more support options. It seems that other slicing tools have adopted organic / tree supports, and they aren’t yet available in IdeaMaker. This can make it more difficult to post process prints that have a lot of support material.
IdeaMaker does link to the company’s cloud system where you can find profiles for many different materials. However, the process of finding and loading profiles didn’t seem quite as smooth as compared to other software that has profiles pre-installed in the tool. However, we were usually able to find what we required.
Raise3D Pro3 Print Results
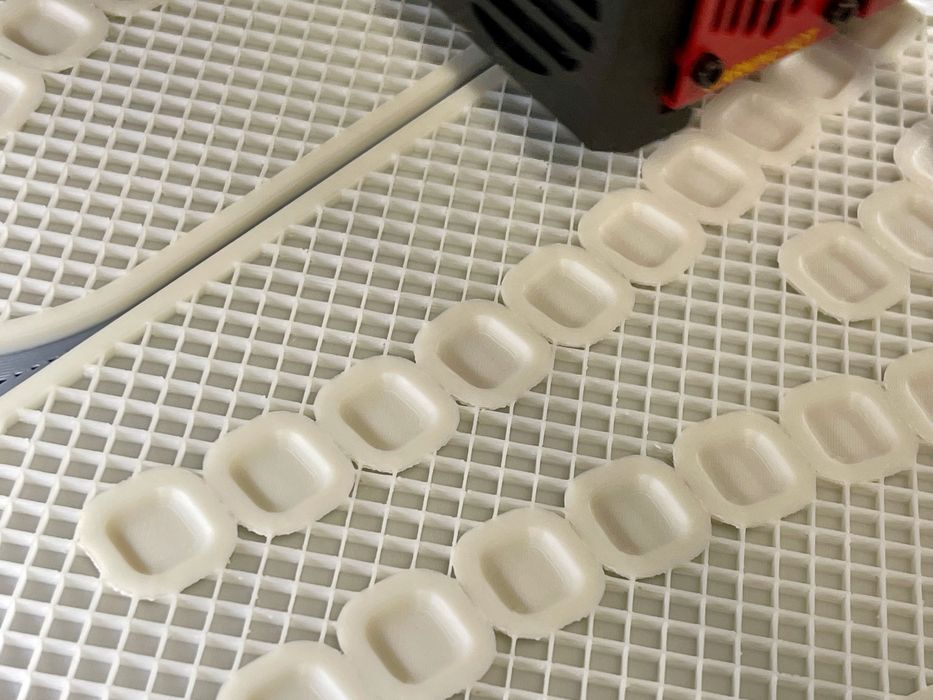
I can’t say enough about how good the quality of prints are on the Pro3 Plus. We’ve never had print failures — aside from parameter screwups — and surface quality is always outstanding.
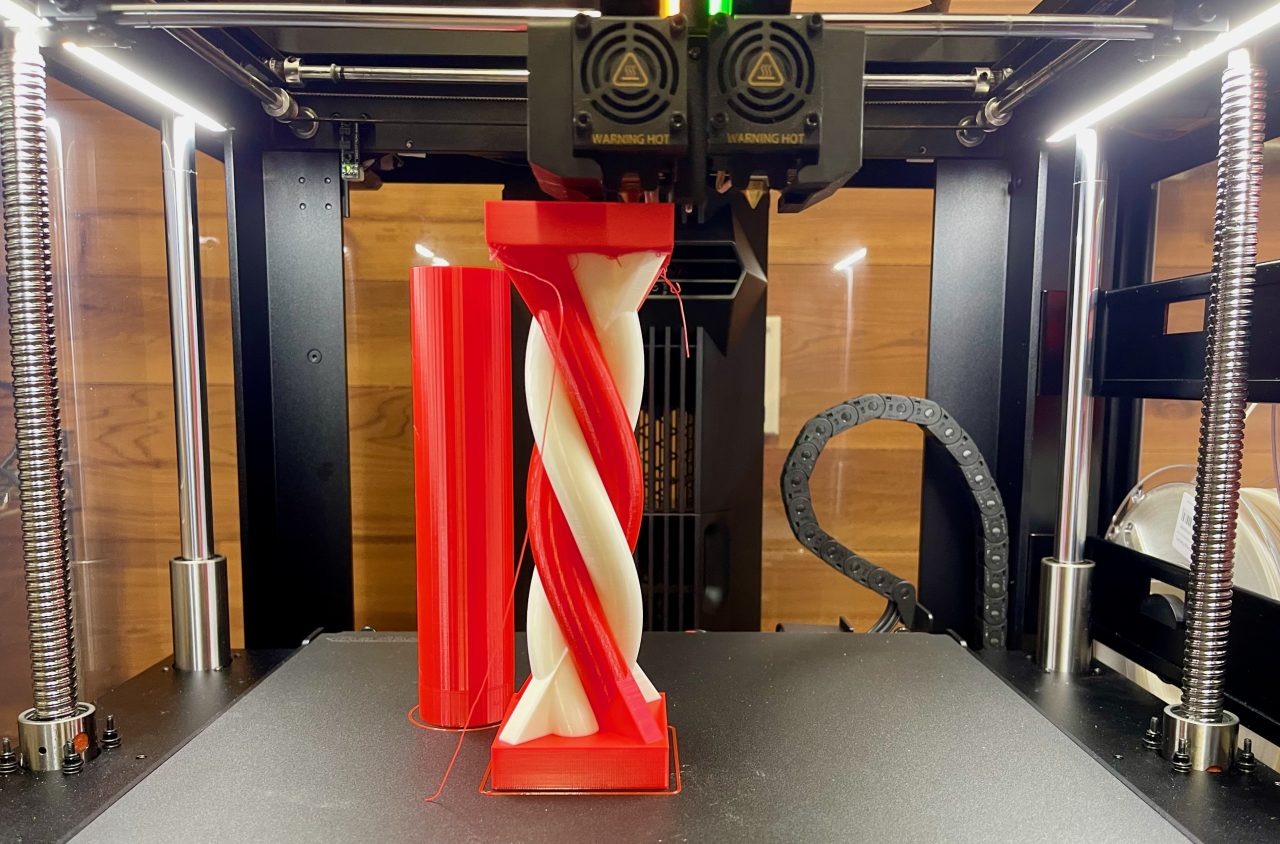
This was our first two-color print, which came out very well.
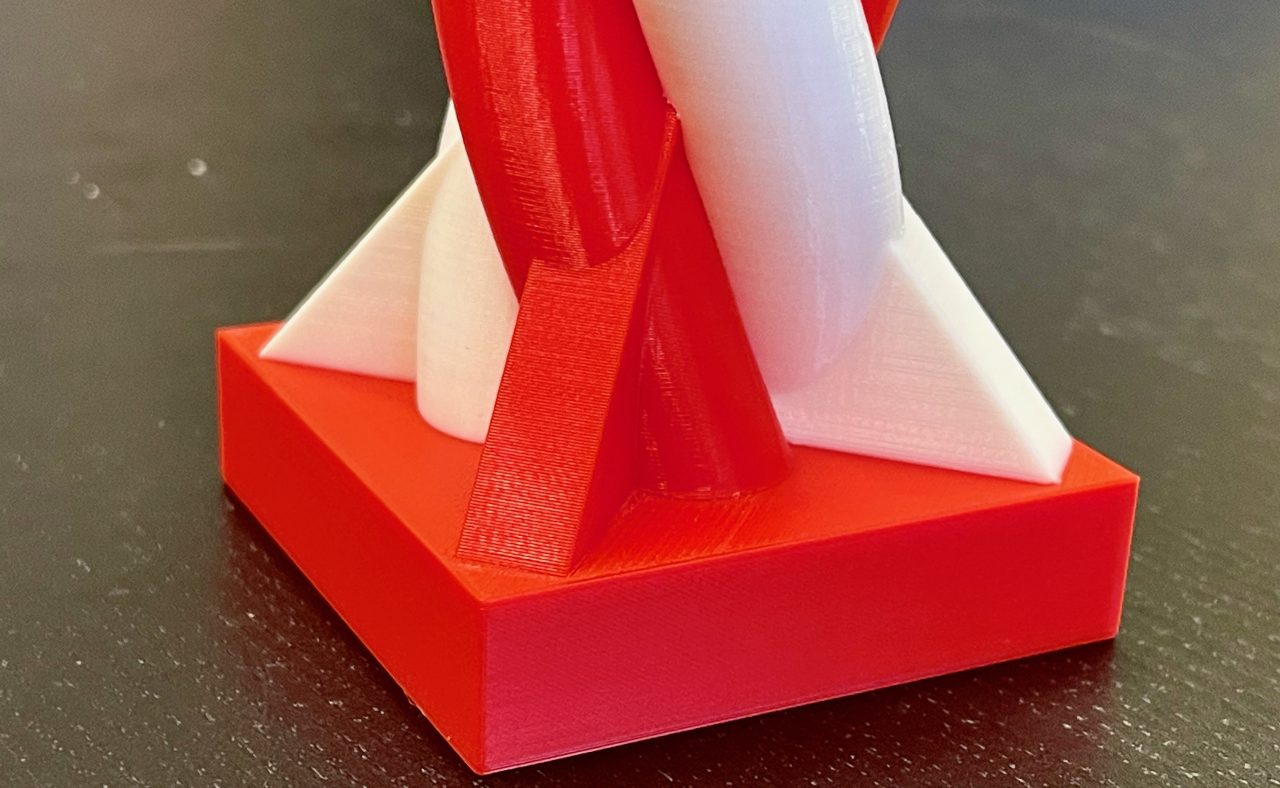
If you zoom in, you can see the very consistent quality of the layers. Every print we produced looked like this.
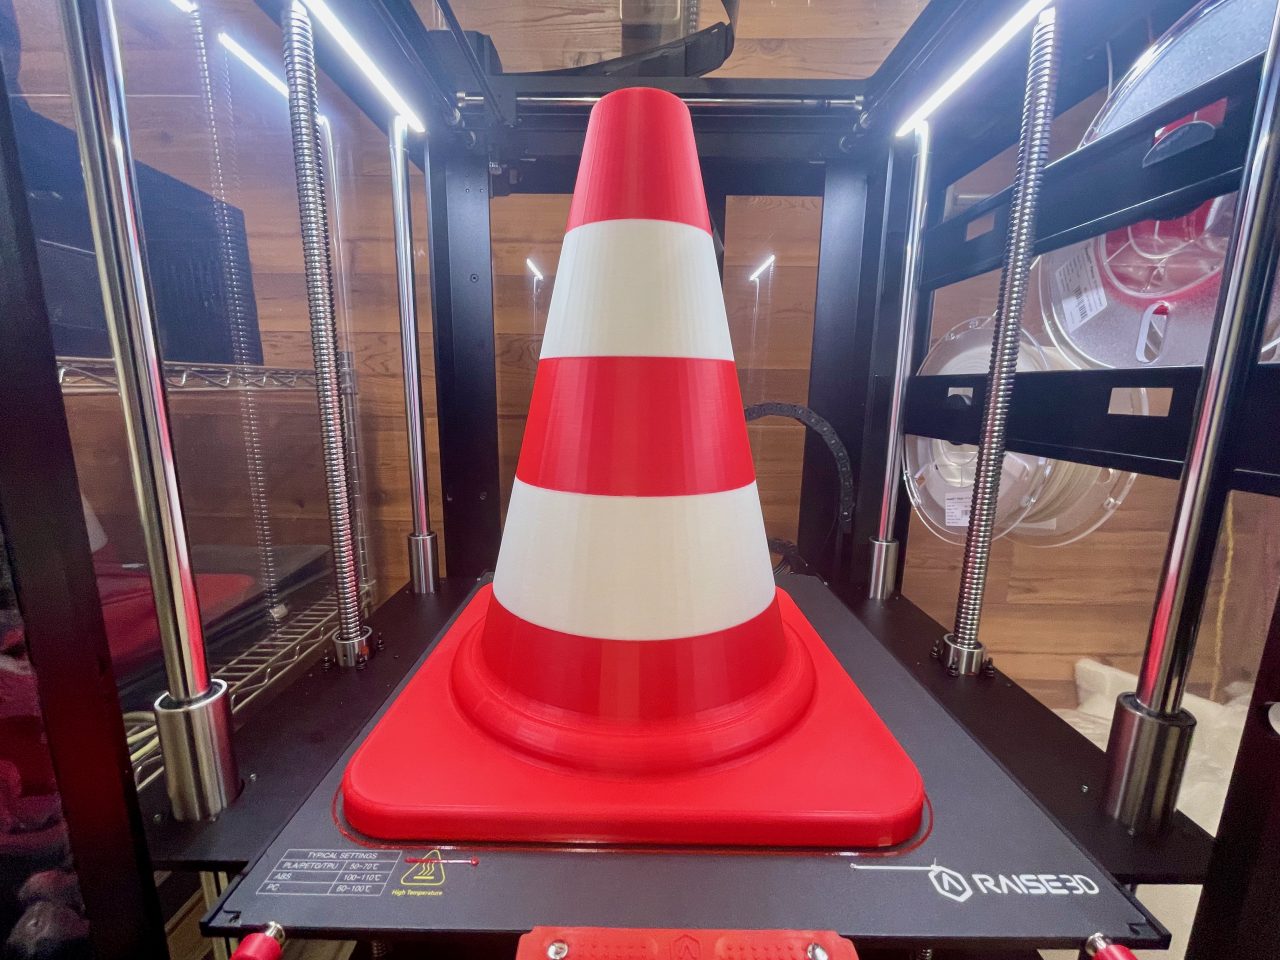
For fun we printed the standard multi-color pylon 3D model, except at a giant size to make use of the enormous build volume of the Pro3 Plus. It came out very well, except for one problem: the model is designed to be tiny, so its walls were incredibly thick at a larger scale.
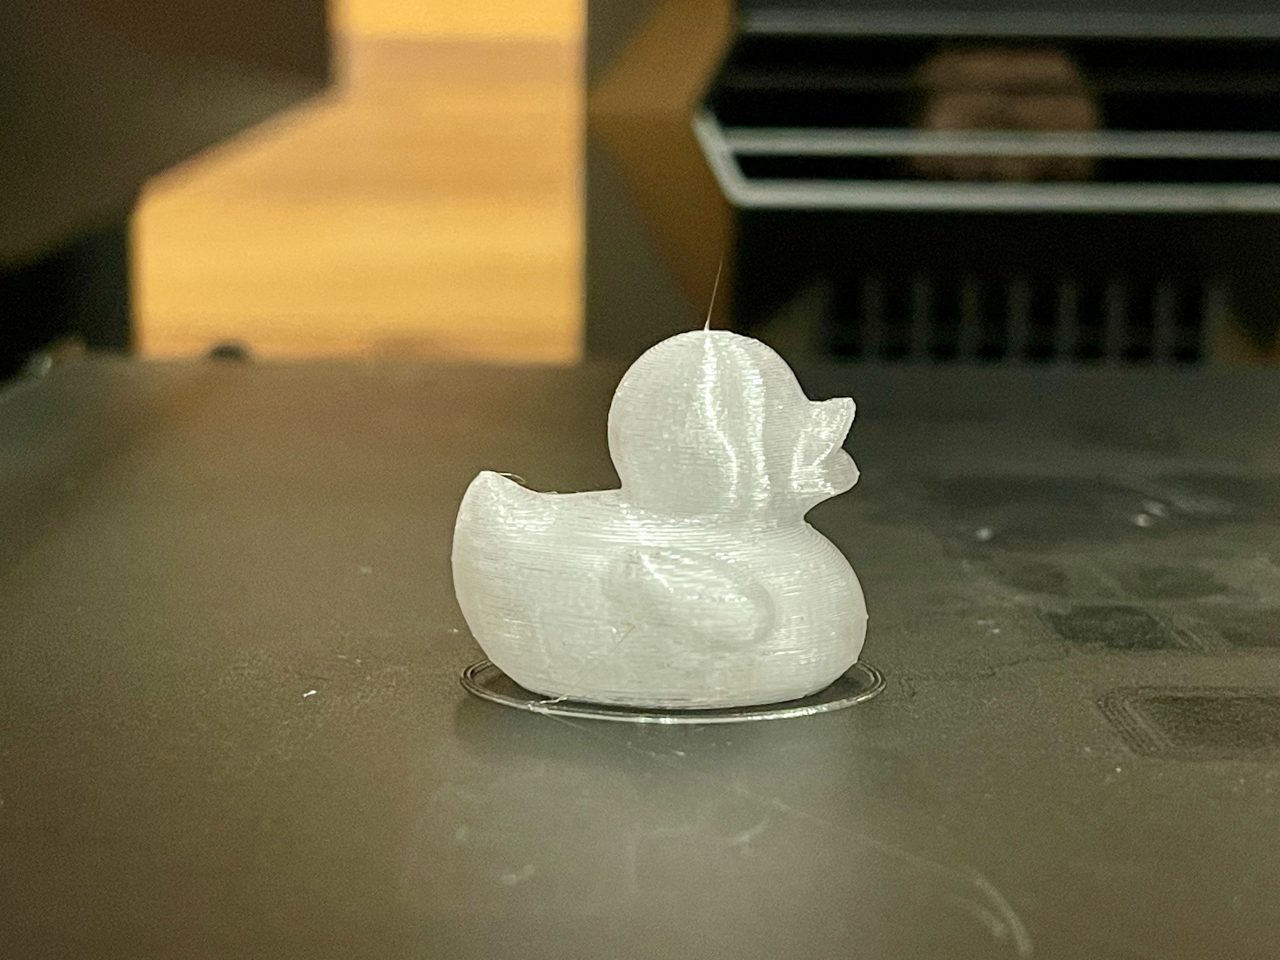
We required a large print using a clear PETG material, and we couldn’t easily find a profile for this material. However, we made up one and gave it a try with this rubber duck model. The PETG came out very well on the first try — although we used slow speeds because it wasn’t a high speed material.
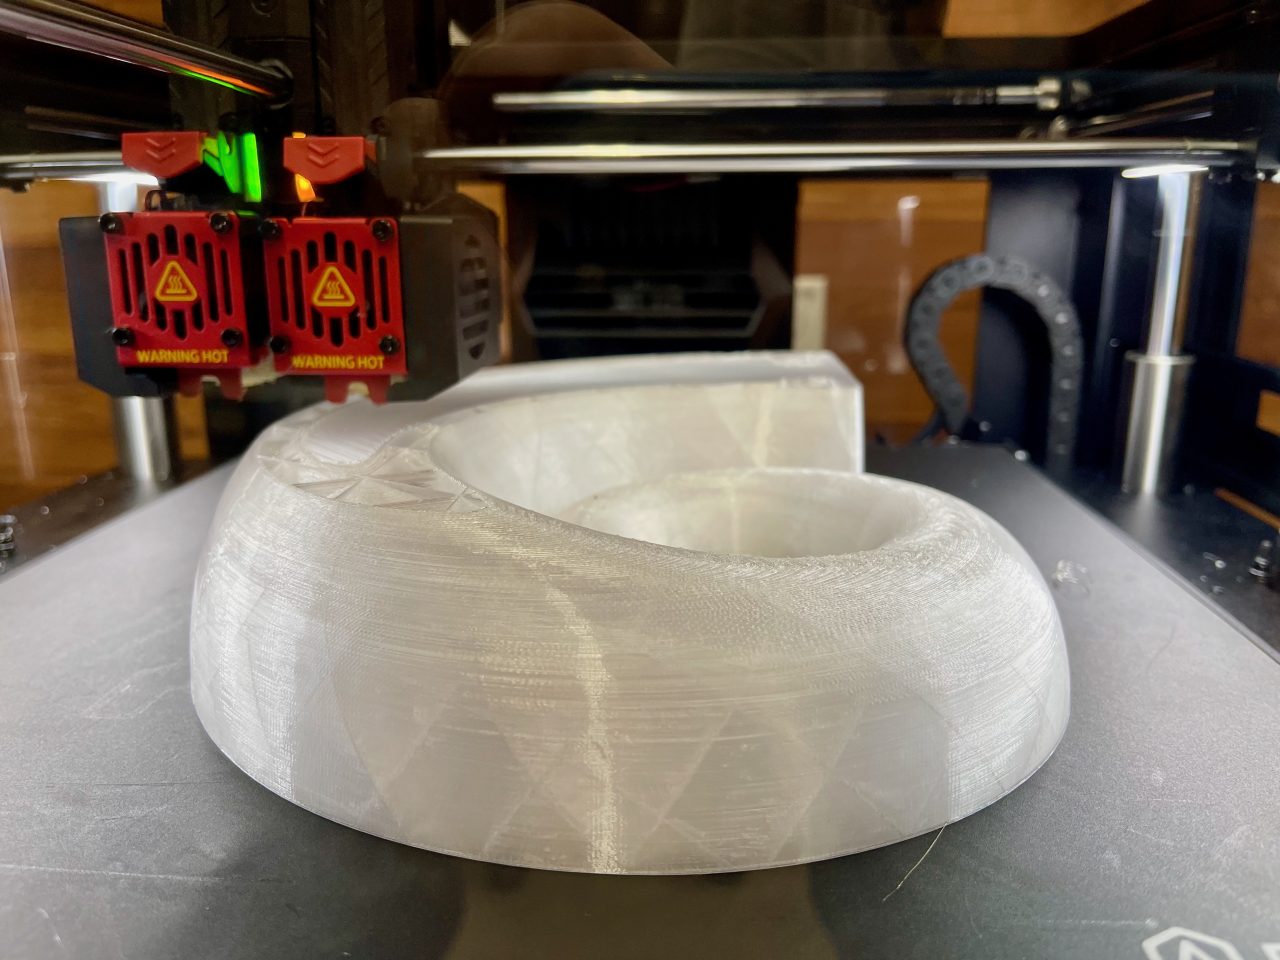
Here PETG was used again for a large nautilus print that was used in a theatrical production. We printed several of these, and all came out perfectly. However, they were done at slow speeds so we didn’t take advantage of the higher speeds.
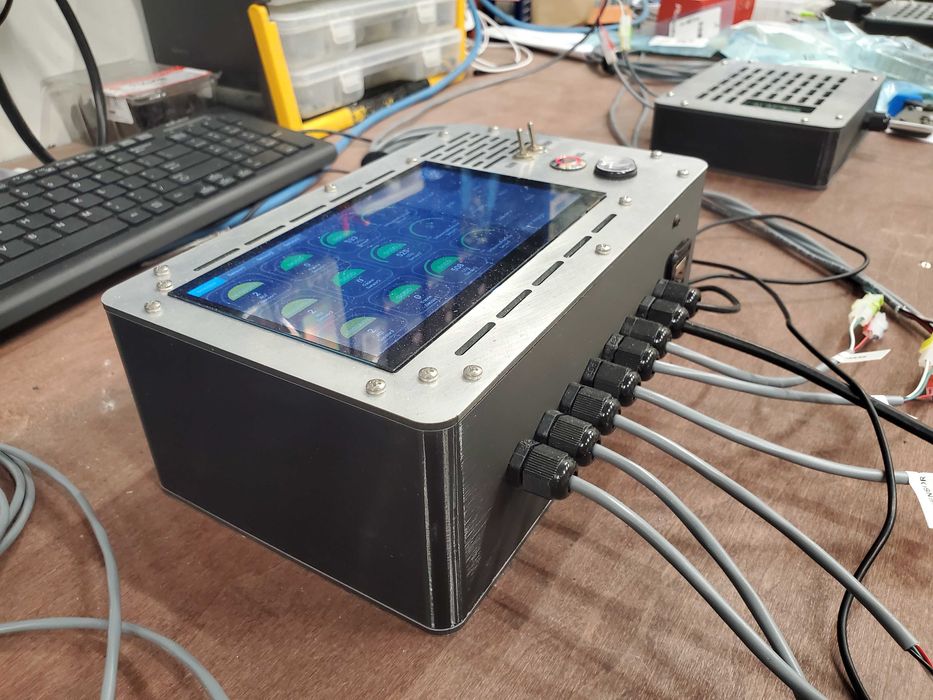
We were able to produce a number of production parts on the Pro3. Here we have a custom electronics box that was successfully used. The large build volume allowed for parts to be produced that could not be made on our other equipment.
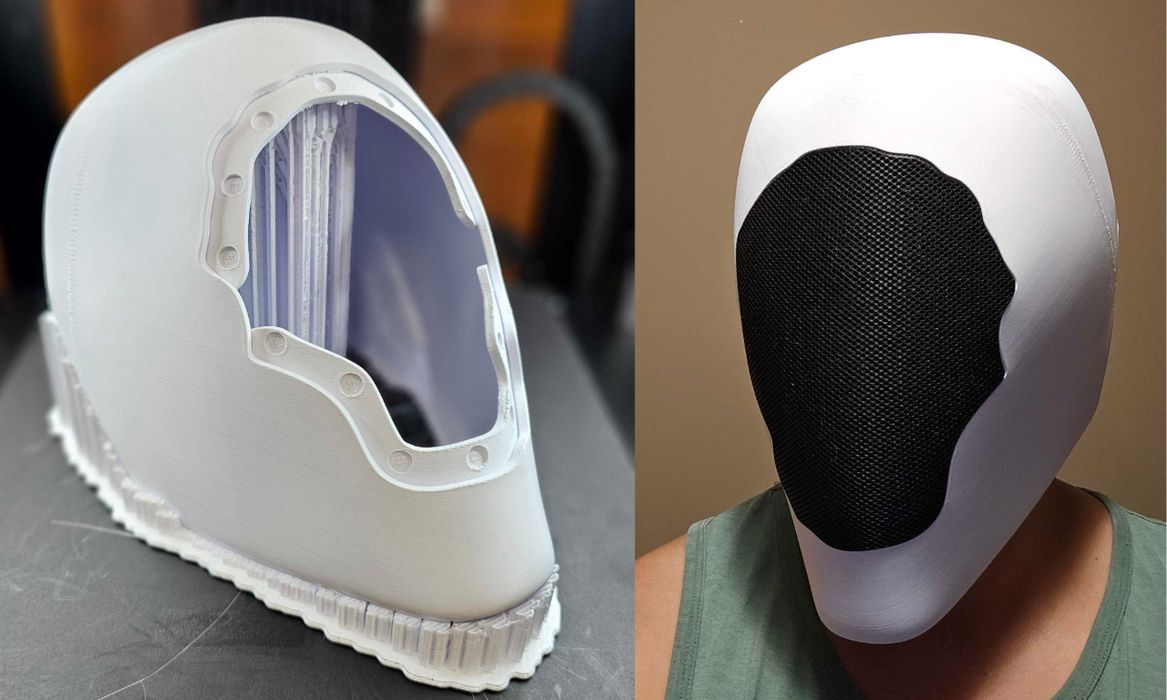
This is a life-size helmet intended for part of a cosplay setup — it’s Halloween, after all. This demonstrates the sheer size of the build volume on the Pro3 Plus. Printing large items is easy on this machine, and we’ve also produced multiple prototypes of specialized safety helmets that cannot be shown.
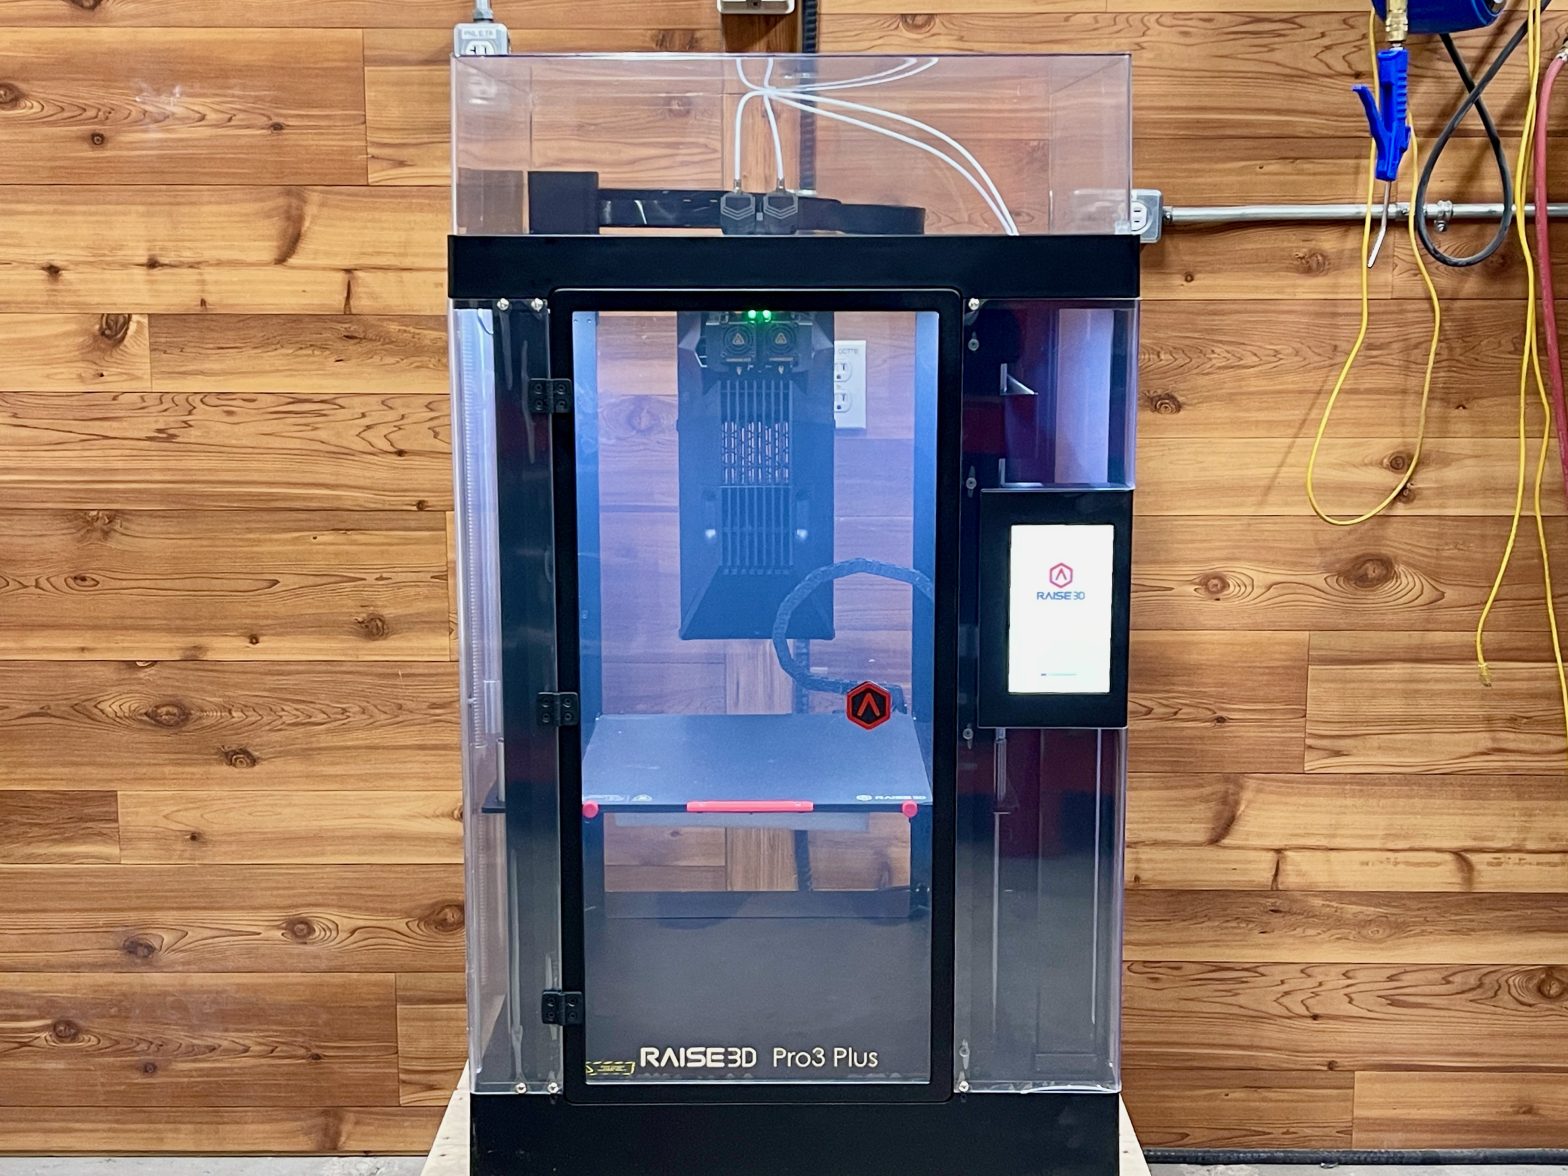
Raise3D Pro3 Final Thoughts
The Raise3D Pro3 Plus is an incredibly useful large-format professional 3D printer. It’s capable of high speed operation — on selected materials — and consistently produces parts of outstanding quality.
Setting up the Pro3 Plus is easy due to the fantastic interactive instructions that keep you on track.
This machine is ideal for those producing larger prototypes or production parts in small volumes.
RAISE3D
PRO3 PLUS HYPER SPEED 3D PRINTER
★ BEGINNER 3/10
★ ENTHUSIAST 9/10
★ PRODUCTION 9/10
BEST FEATURES
✔︎ Build volume
✔︎ Print quality
✔︎ Print speeds
QUESTIONS
✖︎ PTFE tube
✖︎ HS material choice
✖︎ Easy profiles
This is part three of a three part series, please read parts one and two.
Via Raise3D