
Have you ever wanted to somehow recover a 3D print job that failed in mid-print? Someone tried to do this.
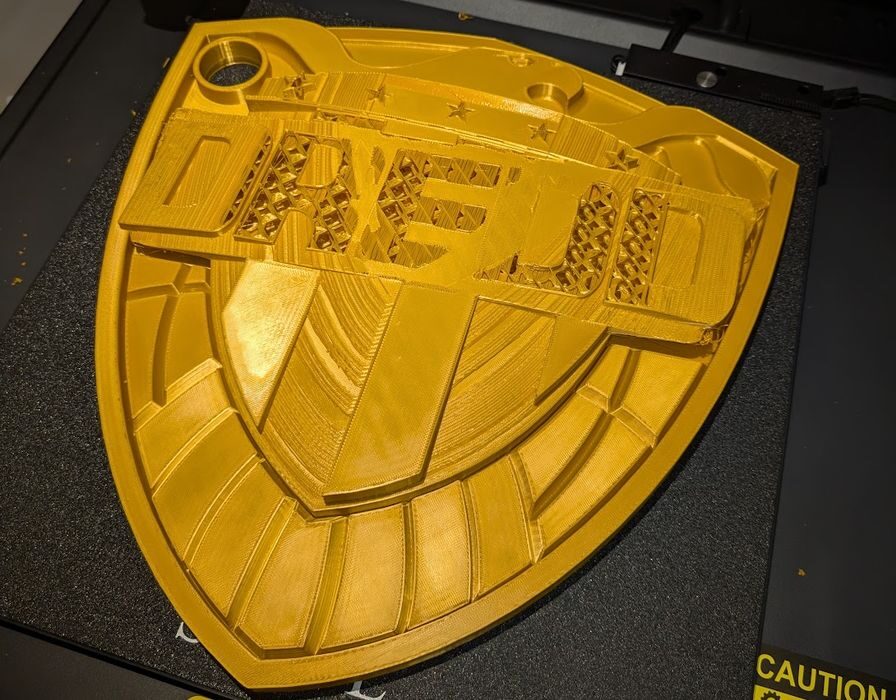
Ontario-based Marc Lepage encountered a common problem: his overnight 3D print failed, leaving a partial print on the plate. He writes:
“It was past 2 am and the print still had a few hours to go.
I couldn’t leave it unattended due to the spool getting tangled every now and then, so I tried to pause the print until the next day, but instead it cancelled.
So I attempted to resume the print in place, by manually editing the gcode and using the console.”
Whoa! That’s an astounding task, and something I’ve always wondered about when I encountered print failures. Could you resume print ON TOP OF A FAILED PRINT?
In theory the machine should be able to do this. It’s just printing where it was going to print anyway, after all. The problem is how to instruct the machine to do so.
Lepage posted a long thread describing his adventure in attempting this near-impossible feat. His strategy:
- Remove gcode from the start
- Remove gcode from each layer that was already (fully or partially) printed
- Make new start gcode that assumes the nozzle is already homed in X and Y, at the proper height in Z, heated to printing temperature, etc.
- Use the console to manually put the 3D printer into that state
- Then start the resume print using the new gcode file”
This makes sense; it’s simply setting up the machine to proceed exactly where it stopped.
But there are so many questions, like “exactly where did it stop?”
Lepage ran into all kinds of issues in this project. The first was that the print had detached from the plate overnight, likely due to the plate cooling. This was fixed manually using tape and careful positioning.
Lepage identified the stop point by very carefully observing the slicing preview in OrcaSlicer. That worked for his model that had curved surfaces, but I imagine it would be quite challenging depending on the model’s geometry.
Once the already-printed GCODE was removed, he had to set up a new initialization step, using “a few basics”.
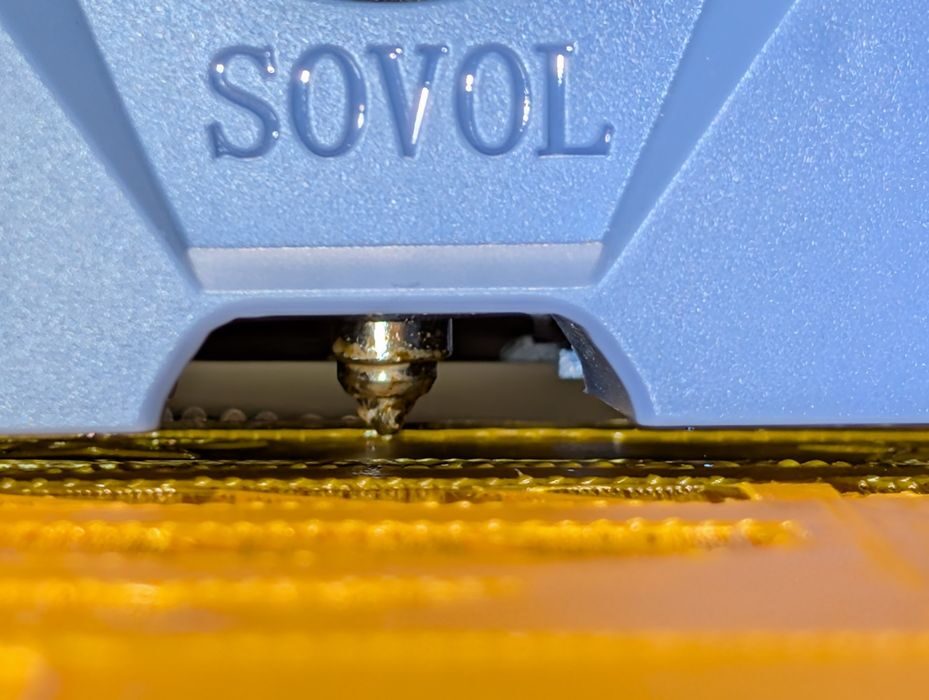
The printer’s toolhead was then manually moved to the precise location in 3D space to resume the print. Lepage fooled the machine by setting that to the Z-level, and then warmed up the nozzle.
Printing resumed — and it was actually printing where it was supposed to print.
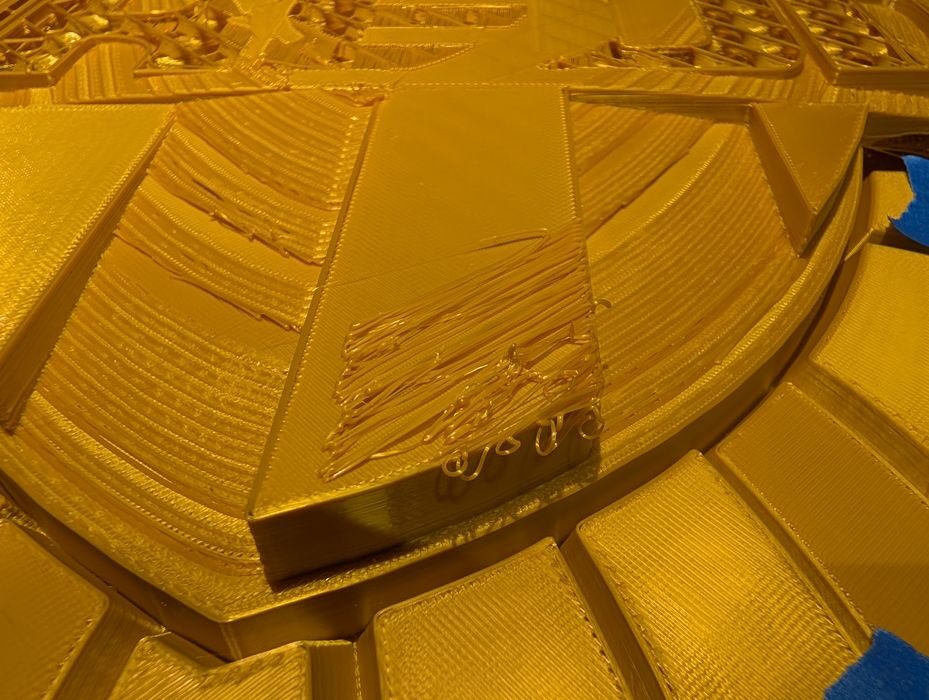
But then there was a problem:
“I’m not sure why, but it was clear as it progressed 3D printing, that it wasn’t adhering well to the previously printed layers.
Maybe the Z height had to be a little higher or lower, or the print was bumped slightly, or needed to be warmer.
I cancelled the print after it was clear the results were not satisfactory, because my backup plan is to clean it up, print the remaining layers separately, and then glue them together.”
In the end, the attempt failed, but there was a big achievement: this proves, in principle, that this type of recovery might be possible.
I’m now thinking that this could actually be a feature in future desktop 3D printers. With today’s AI vision systems and access to the running GCODE, it should be possible for machines to automatically detect these situations and identify the stop point. From there it would be a simple matter to adjust the GCODE as Lepage did — and resume the print.
Via Mastodon