
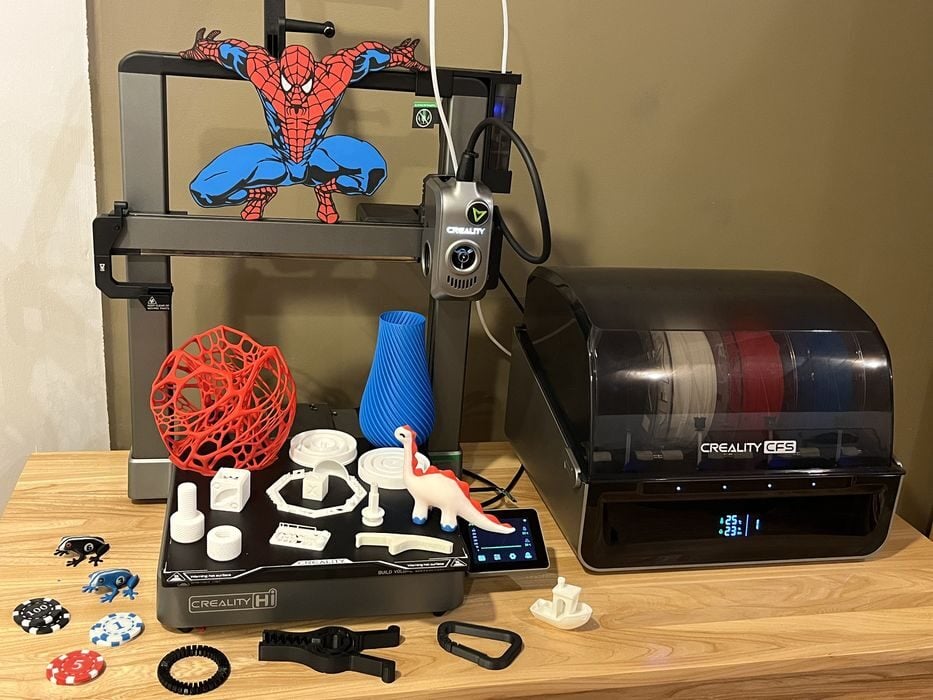
Our test of the new Creality Hi Combo multicolor 3D printer concludes with final thoughts.
This is part four of a four-part series, please read parts one, two and three.
Creality Hi Combo Final Thoughts
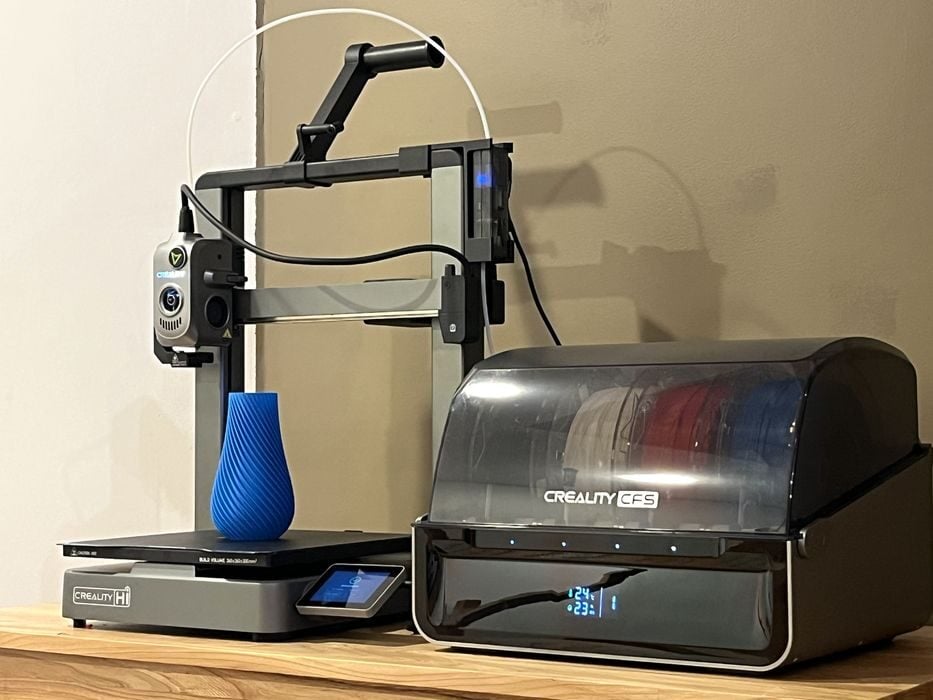
The Creality Hi Combo was packaged very well for shipping, and the QR code on an inner box flap was a nice touch and connected us with digital versions of the user guides, but missed the opportunity of taking us directly into an unboxing guide that would walk a novice through unboxing and set up.
That said, the assembly of the Hi was one of the easiest bedslinger builds we’ve ever done, with everything well thought out and fitting together perfectly.
Calibration of the printer was also very simple, as the various routines were automated and part of the initial setup of the Creality Hi Combo, and also available as a menu choice to rerun when needed.
The method of loading filament via the spool holder was typical, with the exception of the need to update the materials menu on the touchscreen – done manually on the touchscreen or automatically if your filament was from Creality and chipped.
When in operation, the Hi was very quiet, zipped around confidently, and rapidly produced great prints.
Everything stuck like glue to the build plate, and we didn’t have a single failure from a print detaching in mid-job.
The meticulous startup sequence for each print had a lot to do with that, as the Creality Hi Combo did a dance of diagnostics followed by purging and pooping out enough filament to guarantee it was extruding properly.
When we got around to multicolor printing, we found the build quality of the CFS unit was very good and that the mid-print filament changes worked flawlessly for us for the entire review.
The inserting of filaments was easy and reliable, and the RFID function worked perfectly, saving us the effort of entering filament spool information by hand.
There was even a handy Automatic Refill option that could be enabled if we wanted the Creality Hi Combo to switch over to another roll of identical filament when it ran out. The CFS wasn’t terribly loud either.
The only problem we really had was that weird filament buffer failure incident that occurred before we really started to use the CFS for printing.
The design of the Creality Hi Combo is such that an operator chooses between printing from the spool holder or the CFS; however, only one PTFE tube at a time can be attached to the extruder. So if the PTFE tube is connected to the spool holder, then it isn’t present on the top of the filament buffer.
The problem with that is without the PTFE tube present, the filament may not exit the top of the buffer properly while loading, and a modest length of filament will be aggressively forced into the confined space INSIDE THE BUFFER and could break the delicate electronics at the top of the unit.
Turning the printer Off / On has the potential to cause this issue, as default settings on the printer will cause the AMS to cycle during startup, detect any loaded rolls, and pass them through the buffer.
We suspected this had occurred to us when we weren’t paying attention and were actually able to recreate the issue at the end of the review using the old broken buffer as a test platform.
The issue can be mitigated by either making sure to always have a piece of PTFE tube installed in the top of the buffer, or by turning off “Startup Detection” in the CFS settings on the printer’s LCD.
The instructions for the CFS clearly stated, “To avoid filament spool getting stuck, do not use cardboard spool with untreated edges or cardboard spool that are deformed as a whole”. This is not unusual as cardboard spools are a fairly common issue with all the automated filament systems out there, but was not a problem for us as Creality had supplied us their branded Hyper PLA on RFID-enabled PLASTIC spools.
The instructions also mentioned that TPU was a no-no for the CFS, but the Wiki had a guide that offered an option to print TPU from the spool holder (sort of) if you were brave and properly followed some important steps.
There are a few choices available for slicing files for the Hi Combo. The Creality Cloud app was handy to monitor the Creality Hi Combo, but there are a few bugs to iron out with the “new” or “old” slicer configurations, as we initially ran into a problem of not being able to add the printer properly and weren’t able to slice prints.
Creality Print, on the other hand, was a much better experience for us and was very straightforward to set up and use and had common options like Spiral Contour that were not available in Creality Cloud.
Preparing and slicing multicolor prints in Creality Print was simple and good filament usage information was generated showing amounts estimated for model, prime tower, and flushing.
These numbers came in really handy when we started testing Flush Multiplier values as we tried to lower our filament waste. The Cute Dino print turned out great, but the model-to-poop ratio was atrocious even with a lowered 0.8 flush multiplier – 26.94g for the model, 43.43g for the prime tower, and a whopping 281.04g for poop!
Our last print with a 0.5 flush multiplier went in the other direction and saved us some filament, but the Poker Chips didn’t have perfect whites anymore.
You really have to play around with the settings to get things perfect.
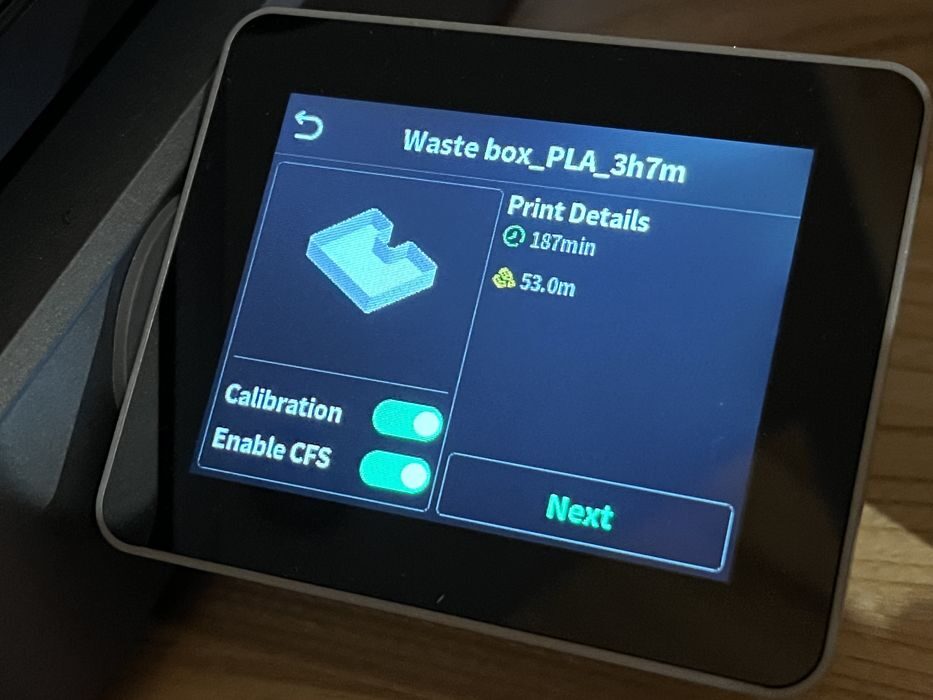
And speaking of poop, the Hi didn’t appear to ship with or mention anything on how to contain the mess. Then at the end of our testing, we noticed there is a pre-sliced GCODE file in the printer’s onboard storage named “Waste Box” that would have taken 3 hours to print. Perhaps Creality could have mentioned this in their instructions?
In our case, we just tore the lid off a cardboard filament package and instantly had our own Shenzhen Creality 3D Technology branded waste box!
One thing that is generally overlooked with the marketing of enclosed multicolor systems, even the passive dry boxes like the CFS, is that you don’t necessarily have to use them to print multicolor parts and waste a bunch of filament in the process.
Just using the CFS to hold your most commonly used spools of material and keep them dry (no TPU though!) makes for a better printing experience, as there isn’t the need to constantly swap out spools and then dry them after use. You just occasionally swap out a few packs of desiccant.
Overall, we really enjoyed using the Creality Hi Combo. Buffer issue aside, it was a very solid machine during the course of our testing. It produced great prints, and our only failures were self-inflicted. We look forward to using it much more in the future!
CREALITY
HI COMBO
★ BEGINNER 7.5/10
★ ENTHUSIAST 9/10
★ PRODUCTION 7/10
BEST FEATURES
✔︎ Quiet, reliable
✔︎ Detailed job info
✔︎ RFID spool identification
QUESTIONS
✖︎ Buffer breakage risk
✖︎ Wasted filament
✖︎ Cloud configurations
This is part four of a four-part series, please read parts one, two and three.
Via Creality