
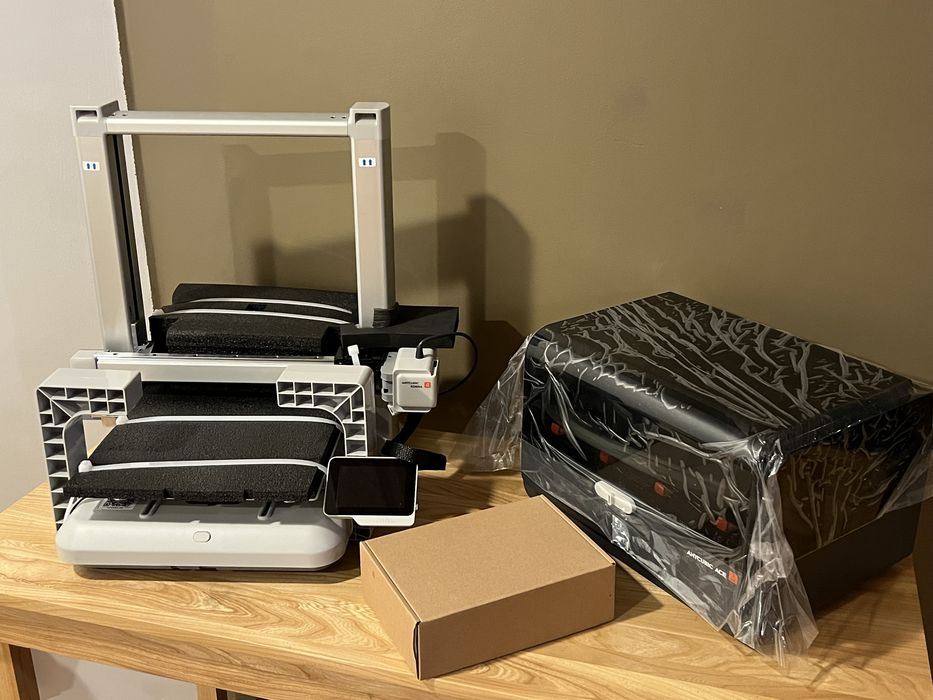
We’re testing the Anycubic Kobra 4 desktop FFF 3D printer this week.
This is part one of a three-part series. Please read parts two and three.
Kobra 4 Combo Background
Founded back in 2015, Anycubic has developed and manufactured various models of filament and resin-based 3D printers. We have had the pleasure of testing many of the different models over the years.
This time we are looking at the Kobra 4 Combo – a high-speed Cartesian FFF system paired with Anycubic’s ACE2 Pro multi-material system that supports four spools of filament and features a built-in dryer with active drying temps of up to 65°C.
Kobra 4 Combo Specifications and Features
The Kobra 4 Combo ships in a 530 x 530 x 530 mm box with a total weight of 17.5kg, it’s not particularly heavy. But it’s a much larger shipping box than we typically associate with bed slinger printers. The reasons being that the printer ships in an almost completely assembled state and is bundled with an ACE2 Pro filament system. Typical bedslingers are broken into two parts: base and gantry, but not here.
Anycubic suggests on their website that a new operator might be up and running in as little as 15 minutes, so the assembly work should be minimal.
The Kobra 4 is an open gantry-based system with a motion system consisting of X-axis linear rail, Y-axis dual-linear rods, and a single motor Z-axis with twin guide rods.
It offers a build volume of 260 x 260 x 260 mm and default print speeds of 300mm/s, with 600mm/s max print speed and 20000mm/s/s maximum acceleration, which is typical for this type of device. All the while, the machine is quite stealthy with a noise level of ≤48dB in standard mode and ≤45dB in “silent” print mode.
The hot end has a maximum temperature of 300°C and is equipped with a hardened Steel 0.4mm nozzle.
However, Anycubic is quick to point out that you do have the option of purchasing and swapping out to a 0.25mm, 0.6mm, or 0.8mm, if you so choose, by using the easy Quick-Release Flip Switch mechanism for changing nozzles.
The heated print bed has some improved overall thermal uniformity: it is capable of reaching a maximum temp of 100°C, and features a removable double-sided PEI-coated spring steel build plate. A 49-point (7 x 7) LeviQ3.0 auto-leveling and adjustable Z-offset ensures a print always has excellent first layer adhesion to the build plate. Long gone are the days of fiddling with first layers.
Print quality is further enhanced via Flow Dynamic Calibration, which dynamically coordinates speed and extrusion force in real-time andautomatically adjusts the flow factor. Vibration Compensation is also available, which employs a built-in accelerometer toautomatically detect resonant frequenciesand eliminateghosting on prints.
A 720p on-board camera allows for AI-powered Foreign Object Detection to keep the hardware safe, as well as Spaghetti Detection to avoid wasting filament on a failed print. The camera can also take some fun timelapse videos if you are into that.
A 3.5-inch capacitive touchscreen gives access to all the functions on the Kobra 4 Combo.
A dual-band WiFi (2.4G/5G) connects the printer to your network, with a special LAN Connectivity Mode available that gives an operator the ability to bypass the Anycubic cloud and send print jobs directly to the printer.
The Anycubic App allows remote access to the printer as well, where you can monitor printing progress in real time and even launch a print. A USB port is also available for those who prefer the old-fashioned way of transferring a print.
Some additional features include Auto-Resume & Power Loss Recovery. Object Skipping is also supported, in the event you want to salvage a multiple-part print where one item is failing, if the others are okay.
Just like the Kobra X, the Kobra 4 is capable of four-colour printing. However, the Kobra 4 doesn’t have an integrated ACE unit mounted directly onto the carriage assembly. Instead, the Kobra 4 achieves its multi-colour ability via a small 4-port filament hub on the carriage assembly that is paired with a larger standalone ACE2 Pro. In fact, this method can be boosted up to 8-colour, if the optional 8-port filament hub and a second ACE2 Pro unit are put in place. But that is an extra US$219.
Anycubic’s website advertises the printer as being compatible with the following filaments – PLA, PETG, TPU (95A). Although they make note that TPU95A is not compatible with the ACE 2 Pro. So a spool holder of some sort would be necessary when using that filament.
Which brings us to the “Combo” part of the Kobra 4. Anycubic has paired the printer with the ACE2 Pro – their intelligent, multi-colour filament feeding & drying system. It features four independent brushless motors and a next-generation buffering mechanism, allowing for filament changing speeds increased by 100%, saving 10 minutes per 100 filament changes. This is while operating at under a 48dB noise level.
The ACE2 Pro can heat up to 65C for filament drying and is even capable of doing so while printing. With built-in temperature and humidity sensors, an electromagnetic valve that removes moisture, and a silicone sealing ring for long-term anti-moisture protection.
In addition, the ACE 2 Pro can identify any Anycubic branded RFID’d filament spool and estimate remaining filament. And then there’s the handy option of Auto-filament refill, where it automatically switches over to another spool of identical filament when it runs out. That is a great way to use up partial spools!
Kobra 4 Combo Unboxing and Assembly
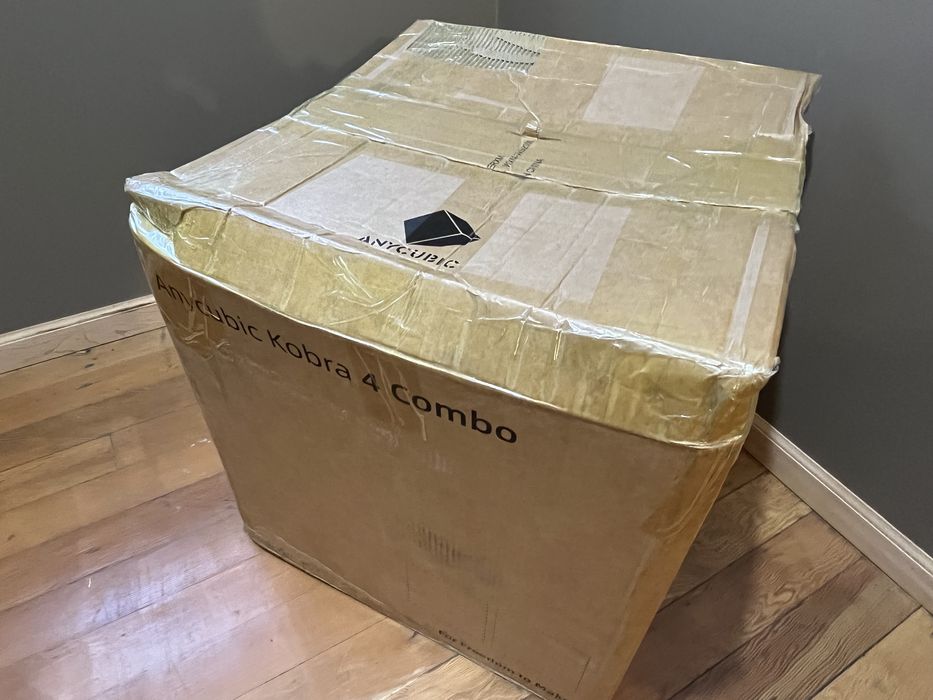
The boxed Kobra 4 Combo arrived at the lab looking slightly squished on top. Upon opening the box, we discovered that it was oversized by a few inches, indicating some sort of production issue for manufacturing the box to the correct size, or not enough packing was included to fill the void on top.
The inside flap of the box contained a few illustrated instructions on how to remove some screws to prep the printer prior to attempting any printing. Important instructions like these are repeated in several instances, as is often the case. Failure to remove some shipping hardware could damage the printer if powered on.
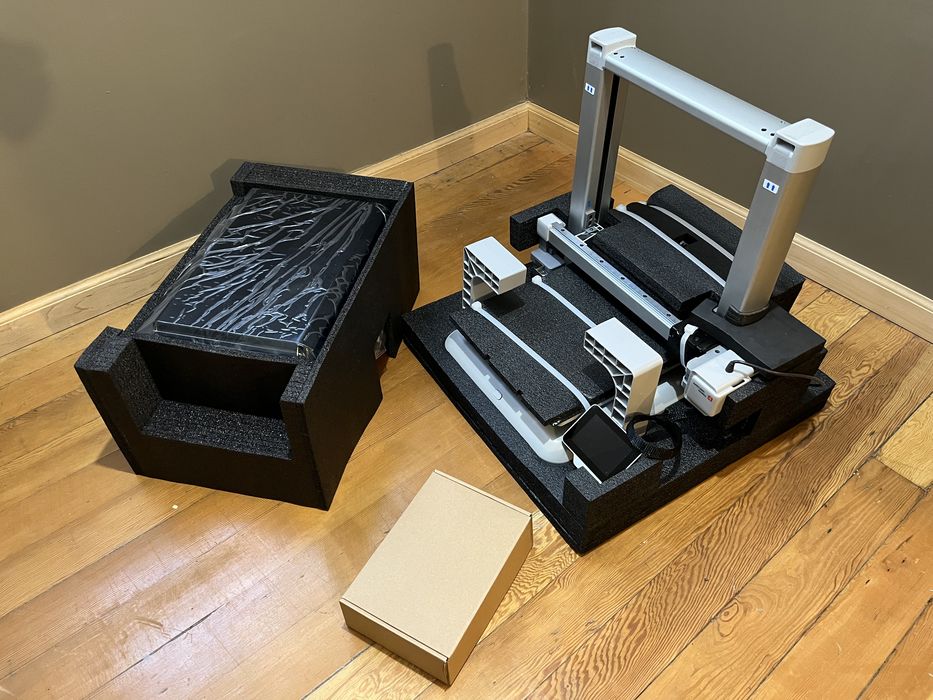
We put the shipping box on its side, pulled out the bagged printer, removed various levels of foam packaging, a box of goodies, exposed the ACE2 Pro, and found what appeared to be a fully assembled Kobra 4 printer that was tie-wrapped well for shipping. Curiously absent was a printed user manual that would typically walk us through unboxing, assembly, and setup.
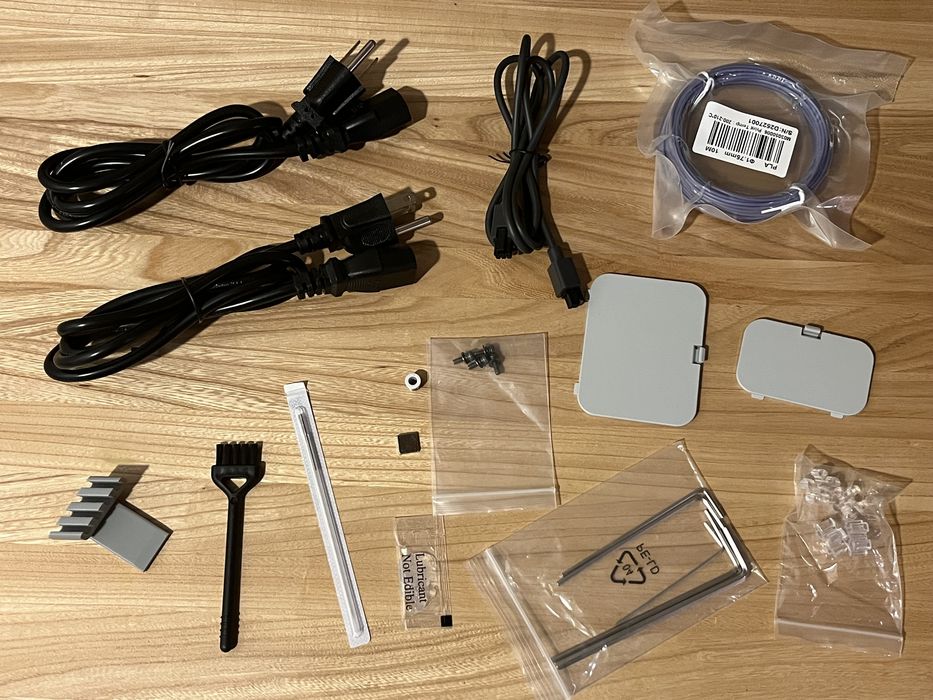
We spread the contents of the goodie box out on our workbench to get a better look. We saw two power cords, one communication cable, a small magnet, PTFE fitting, a four-pronged plastic bracket of some sort, a small brush, a lubricant pack, several small screws, hex wrenches, a needle for clearing nozzle jams, two plastic covers, several PTFE clips, and a small sample coil of filament. Strangely missing were a pair of cutters, a spatula, or a USB drive that typically are included. (USB drives usually contain a handy digital version of a user manual.)
We jumped onto Anycubic’s WIKI and found what we needed in the form of a Quickstart guide, a link to a downloadable Kobra 4 User Manual, an unboxing video, and several other guides. It seems that Anycubic is going paperless?
We watched the unboxing video to get the gist of what was needed, then went ahead with removing a few plastic supports, cutting off some zip ties (with our own cutters), and freeing various bits of trapped foam.
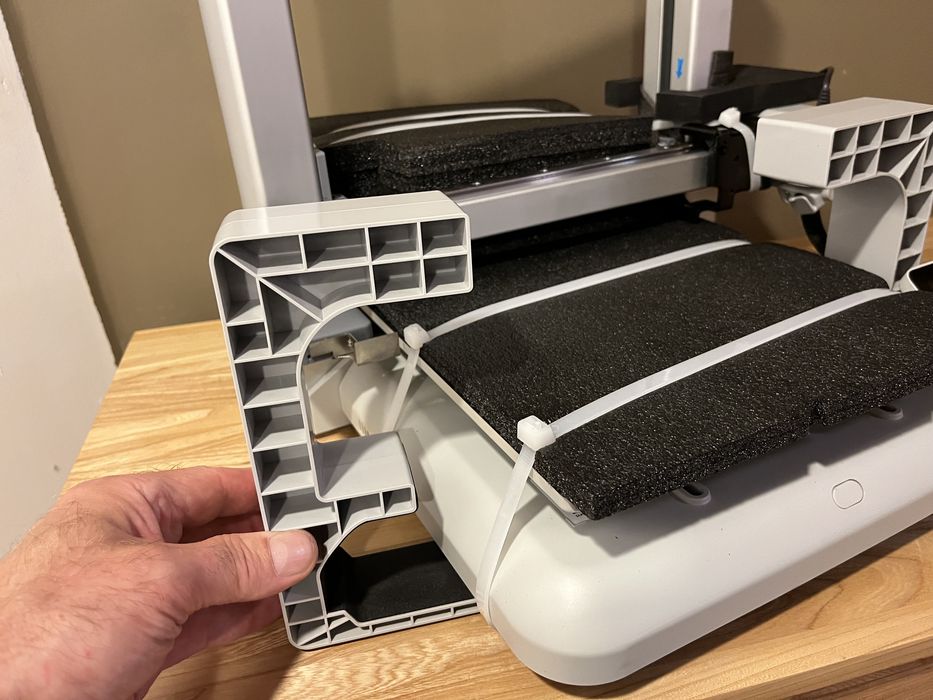
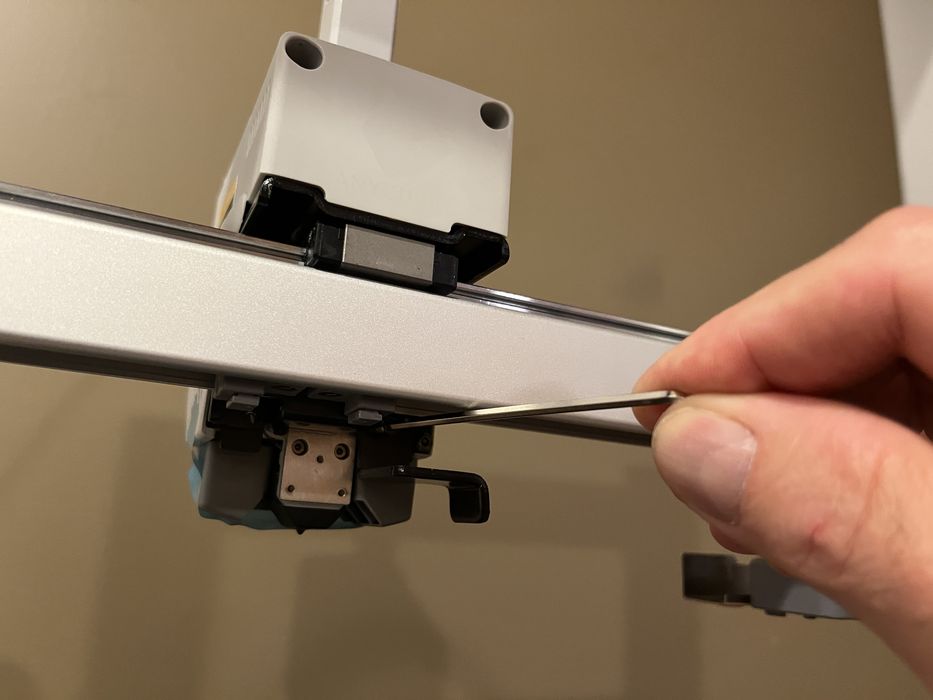
We removed a few brackets securing the Z-axis gantry for shipping and then, as per instructions, grabbed the top of the horizontal axis and gently lifted it to an approximate three-quarter height to provide enough clearance for the installation of the printhead, which we secured in place with several screws.
We removed the front and rear brackets that held the heat bed in place for shipping – these were the brackets that had been described on the flap of the shipping box.
While removing them, we noted a decal on the rear of the printer that described the exact same procedure. An obviously very important task that was best not left to chance. A few of the screws were awkward to remove using the supplied hex wrench, as the end of the wrench repeatedly collided with the frame of the Kobra 4 Combo.
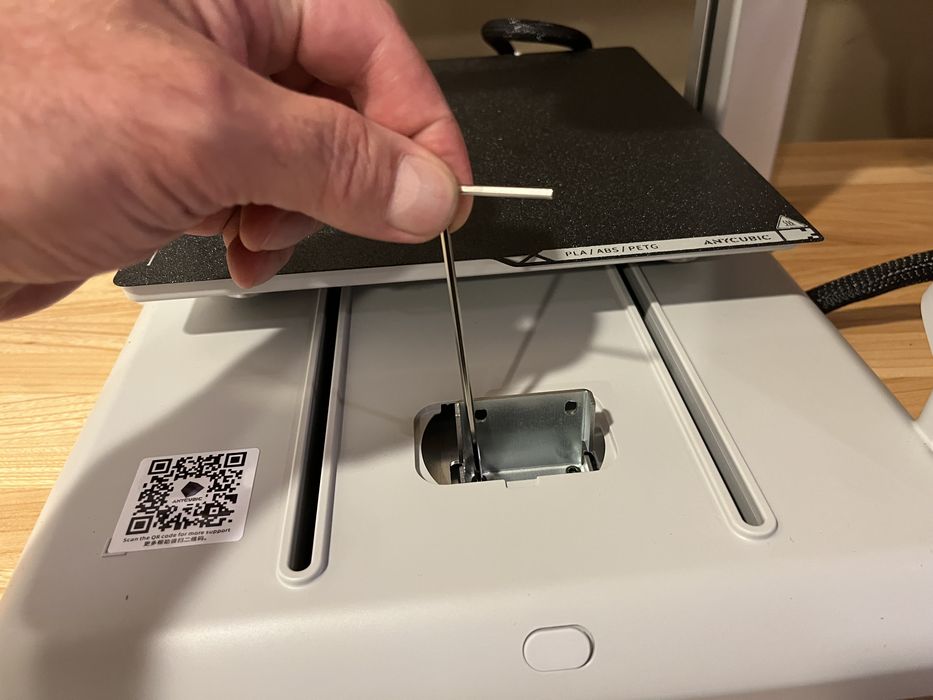
To speed things up, we switched over to using a better screwdriver we had at the lab. Once the brackets were removed, we installed the two decorative covers from the goodies box to cover the holes.
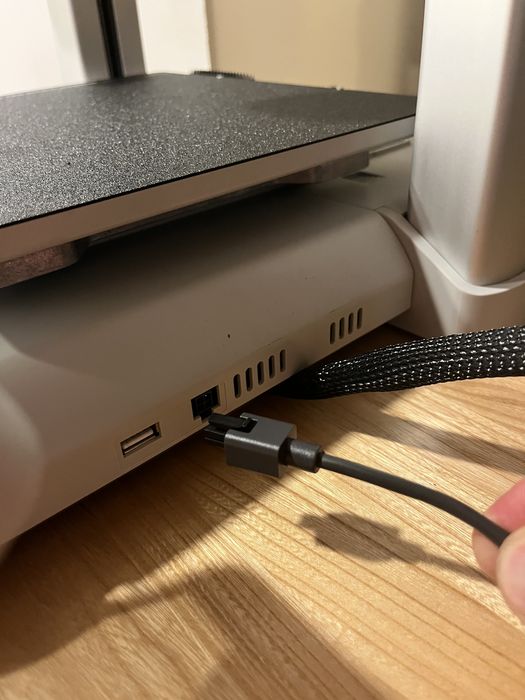
We switched over to setting up the Ace2 Pro by placing the unit to the right of the printer and interconnecting the supplied communication cable and then four PTFE tubes that were found inside the ACE enclosure.
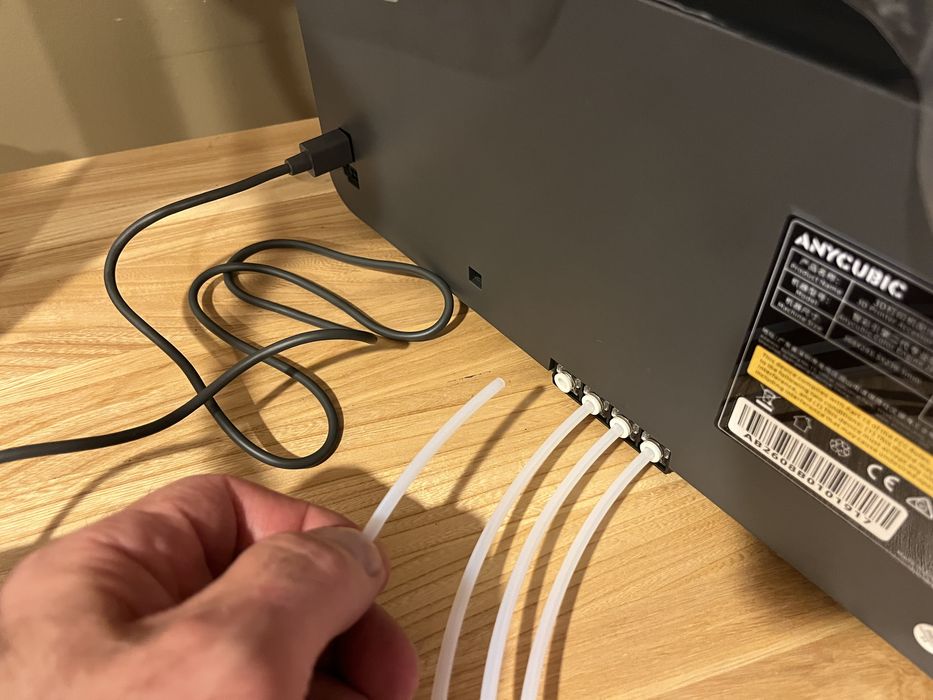
The mysterious four-prong plastic bracket from the goodies box now clipped into place on the RHS of the x-axis, and the four PTFE tubes from the ACE were passed through its slots.
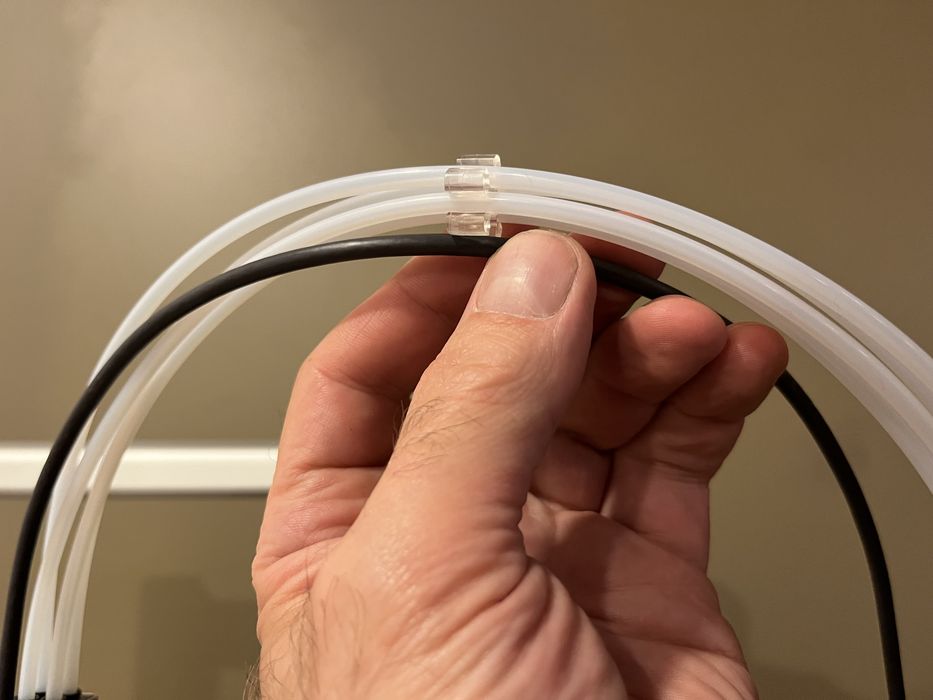
An additional small clip was installed partly down the length of the PTFE tubes to group the tubes and printhead cable together to move as a single unit.
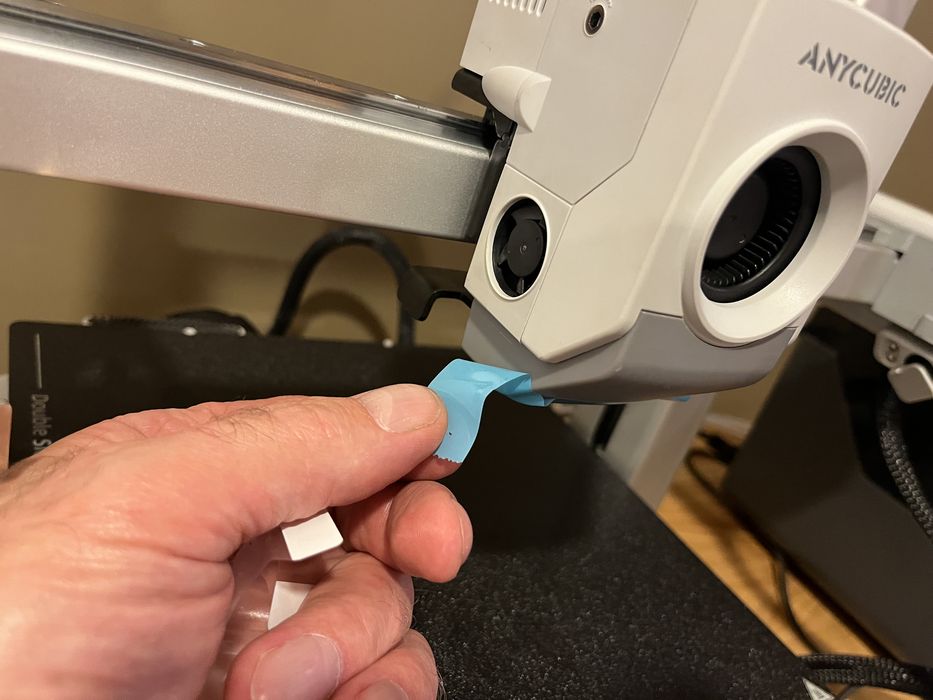
To wrap things up, we removed all protective films or shipping tapes, and then plugged the power cords into the Kobra 4 and then the Ace2 Pro.
This is part one of a three-part series. Please read parts two and three.
Via Anycubic