

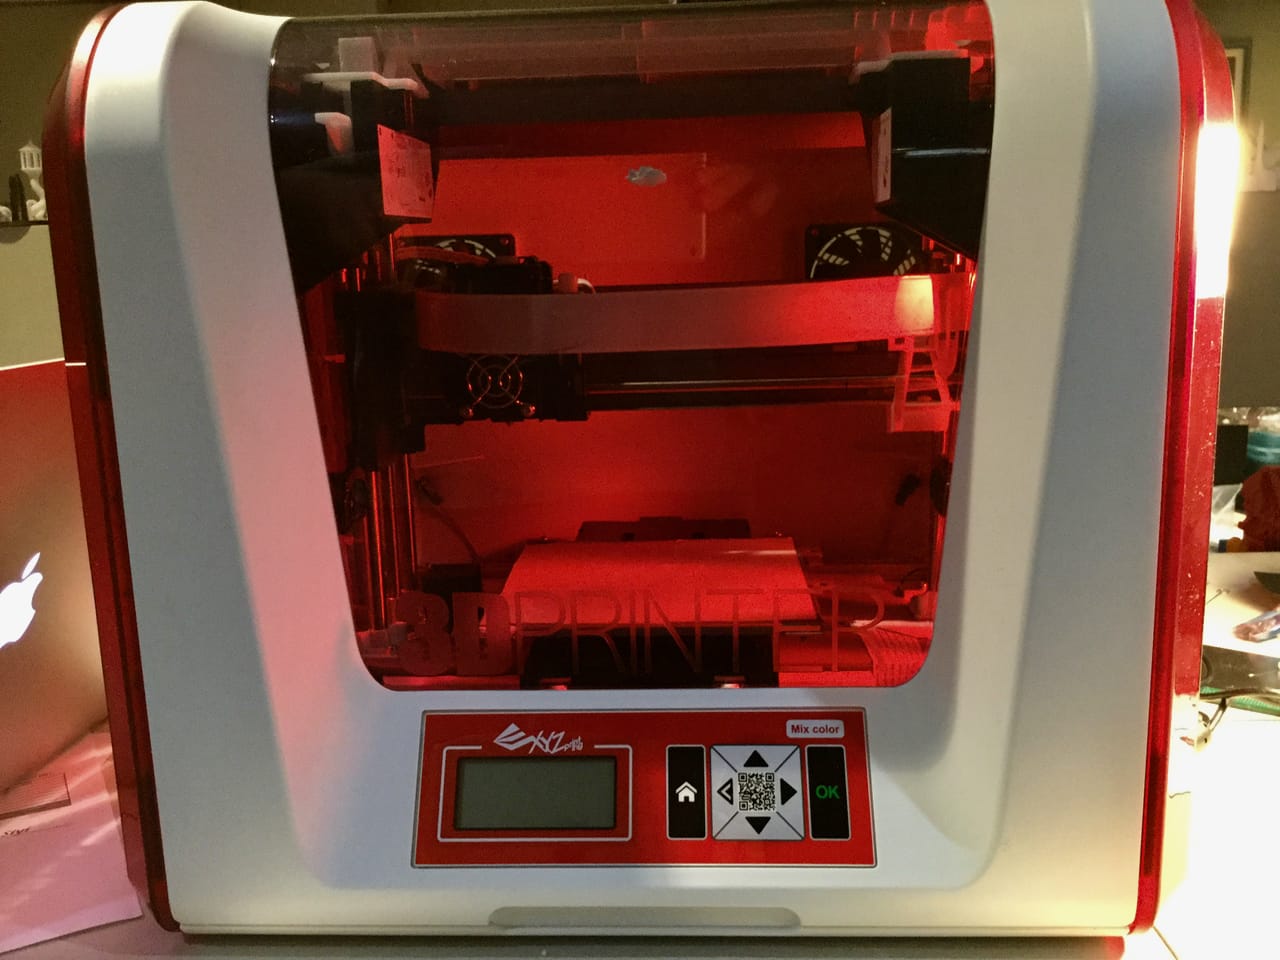
We obtained a da Vinci Jr. 2.0 Mix desktop 3D printer from XYZprinting and put it through some tests.
The Jr. Mix is an unusual desktop 3D printer because it combines two qualities not found in other models: an inexpensive price and the ability to mix two different filaments during 3D printing operations.
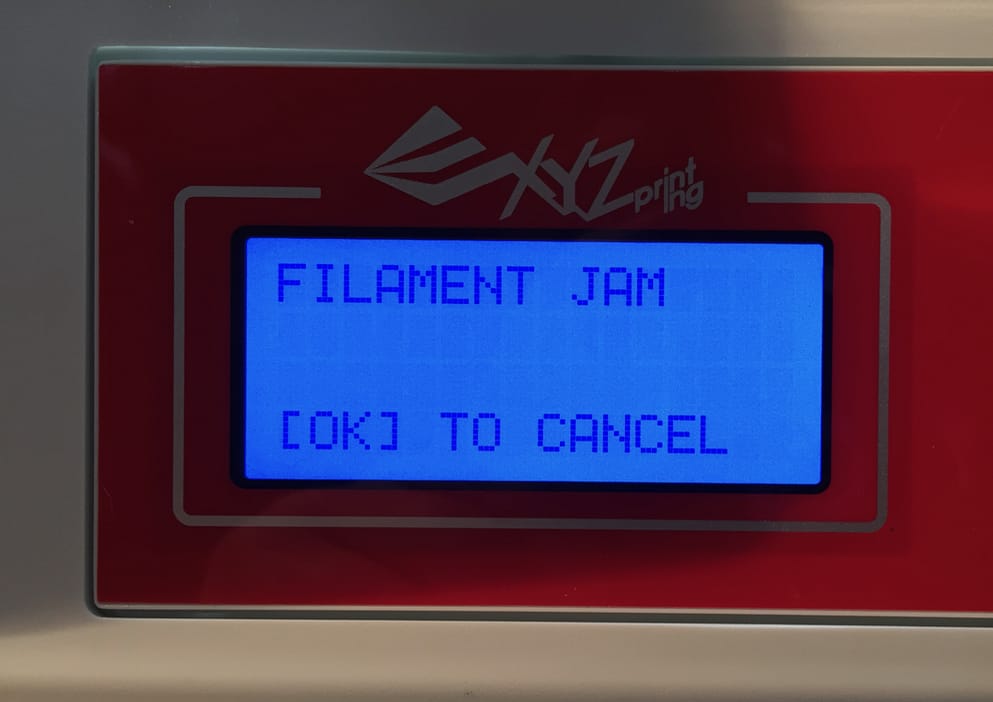
I did encounter a problem when first attempting this multicolor print: a filament jam!
This is something that all filament-based 3D printers encounter from time to time. While it took a few attempts to clear this one, I did manage to do so.
But then I had another problem: a dislodged 3D print. The Jr. Mix’s print bed is not heated, making adhesion a bit more challenging. They advise using painter’s tape to help stick the PLA plastic down on the bed, which usually works. But if you have a pathological 3D model, it’s possible for the model to come loose during printing and be bumped around the build chamber by the moving nozzle.
That’s what happened to me, but it got worse. The stray plastic got stuck on the nozzle, which continued to extrude, creating a giant blob on the nozzle, which continued up around the hot end.
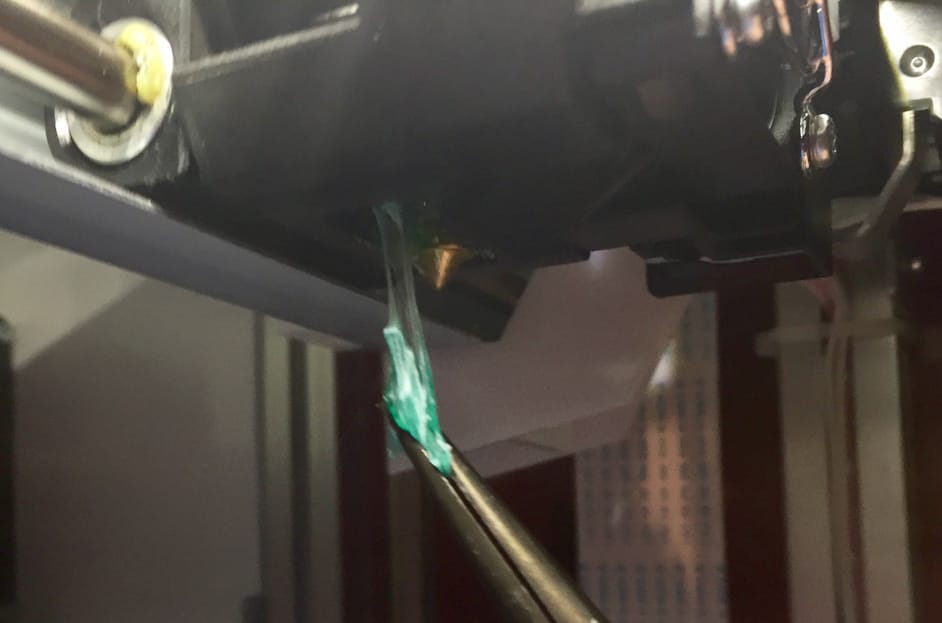
This was quite challenging to fix, as the hot end is covered by a plastic case that I didn’t want to remove.

Fortunately, the entire hot end assembly pops off easily for examination.
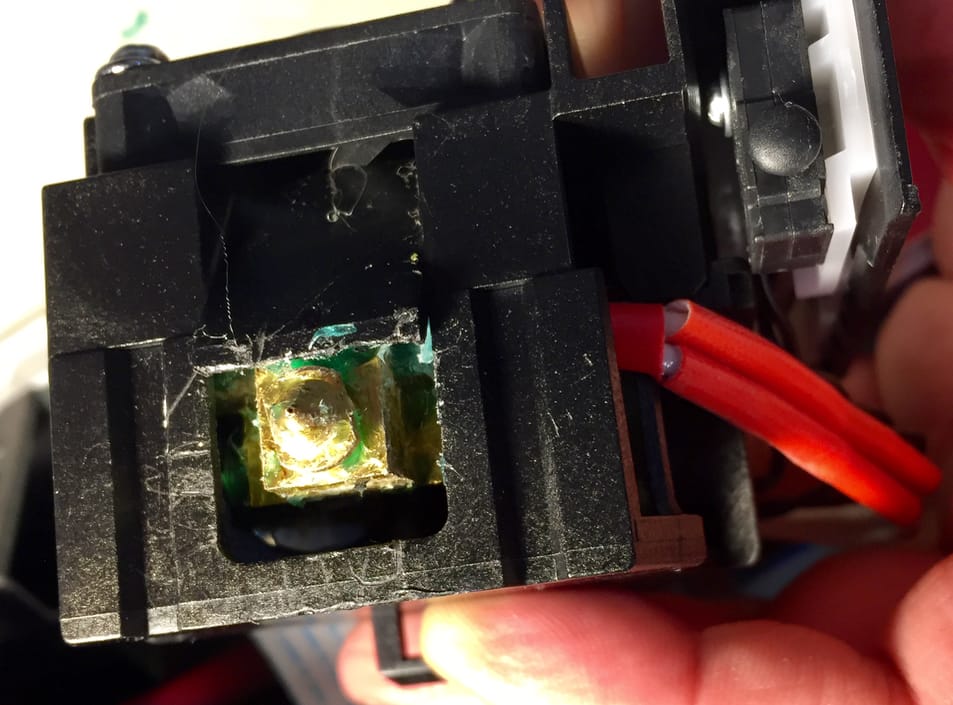
I did manage to clean out a sufficient amount of the stray plastic and was able to resume 3D printing. However, it might be possible to damage the machine if things had gone differently. This is a risk faced by every filament-based 3D printer, so there’s not much XYZprinting can do about it.
Filament swaps are very interesting on this machine, as they use chipped spools to ensure the Jr. Mix knows you are using official XYZprinting filament.
But first you must unload the existing spools, which is easily triggered from the control panel. However, the unload process is quite lengthy as the hot end must get to operating temperature before the filament is very, very slowly pulled all the way back through the bowden tubes.
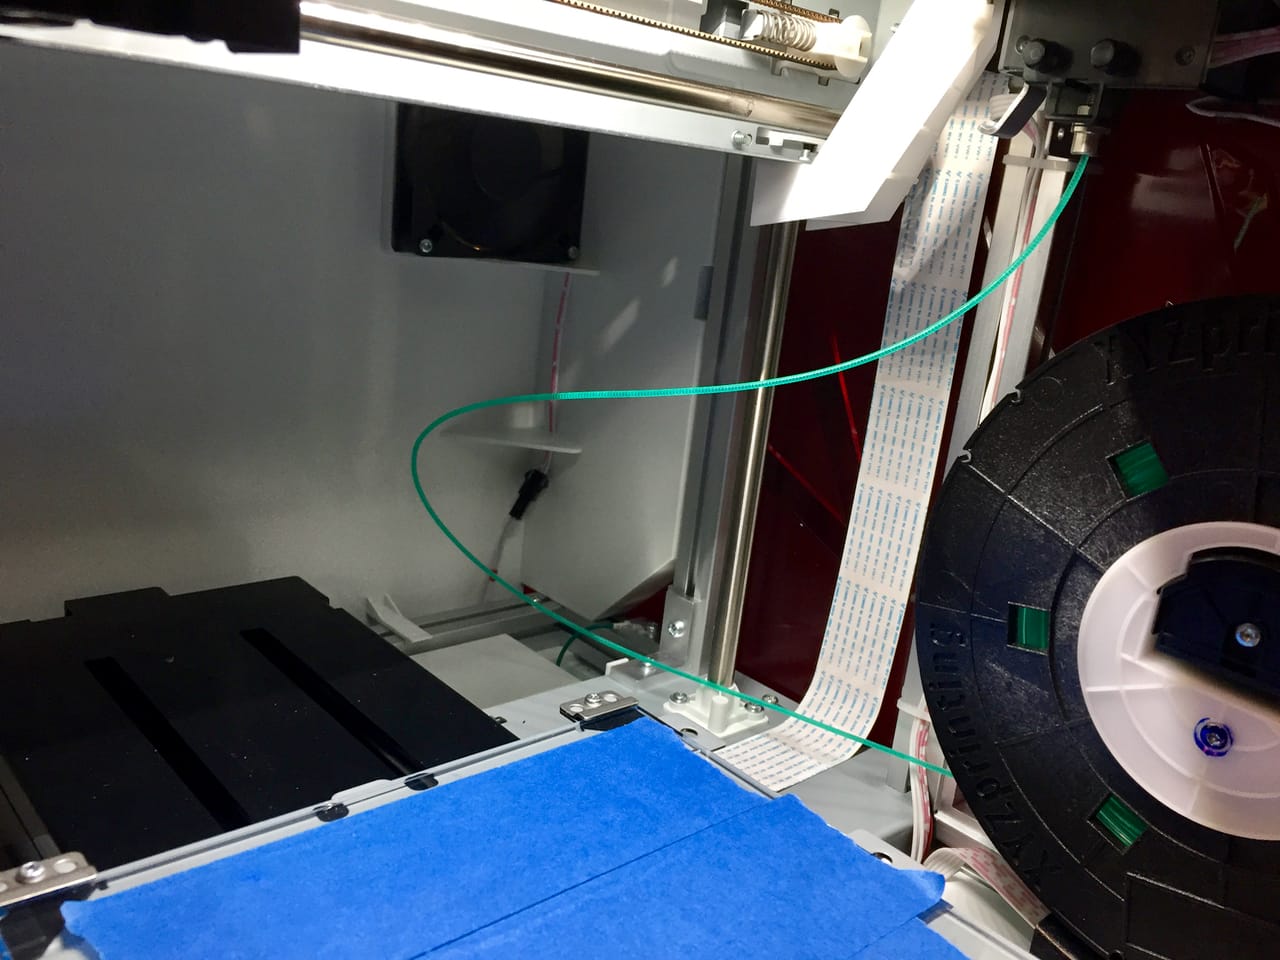
Strangely, there is no take up mechanism for the backed up filament: it just piles up inside the build chamber as shown here.
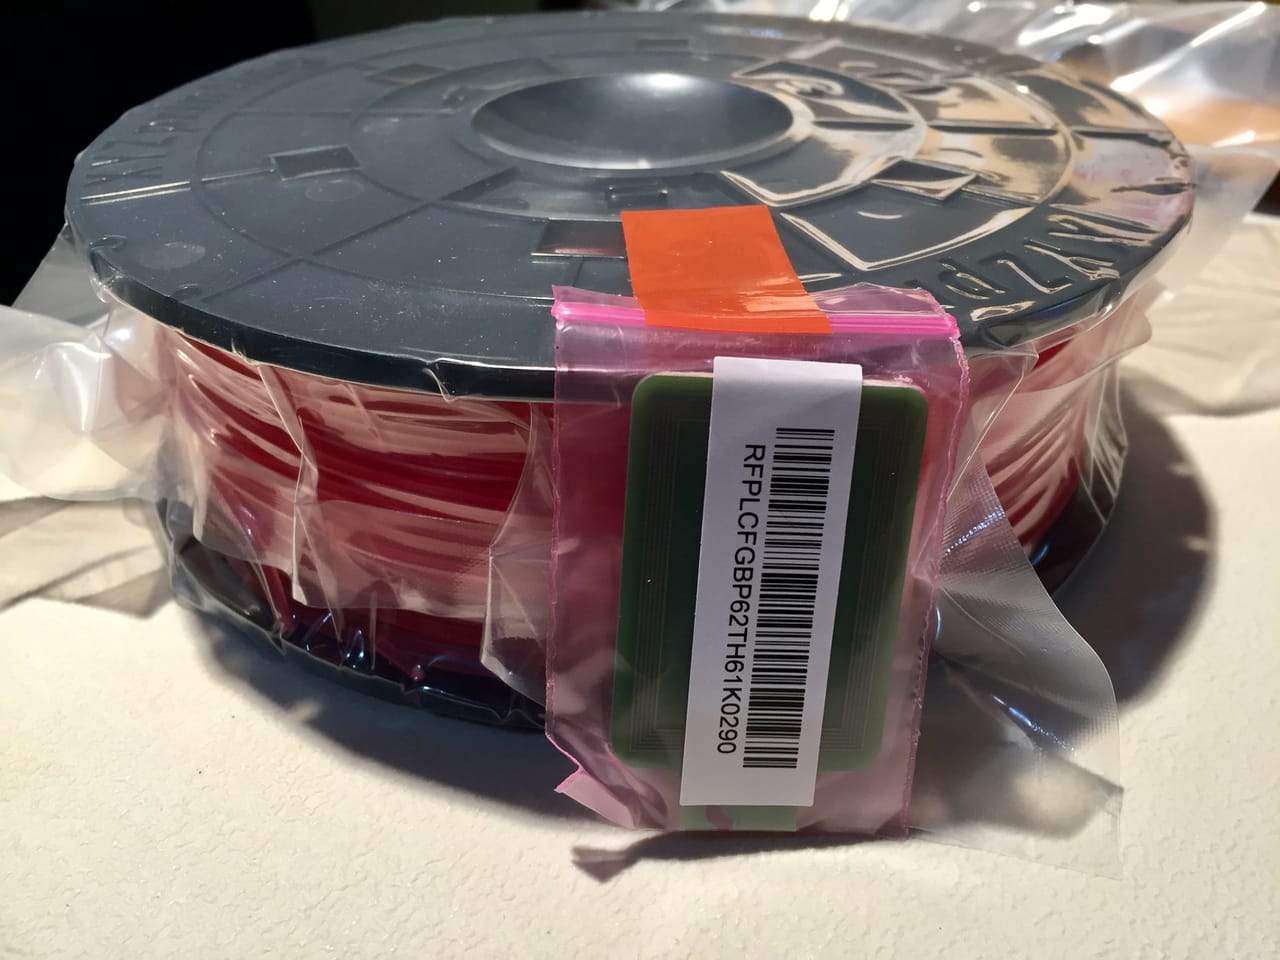
The replacement spools are shipped like normal spools, but have a chip attached.

You must place the spool on a special mount that contains a small chamber where the chip is placed, as shown here. It’s not too hard to do, but I am wondering how this activity is compatible with XYZprinting’s target market of consumers, who expect things to be seamlessly easy to use.
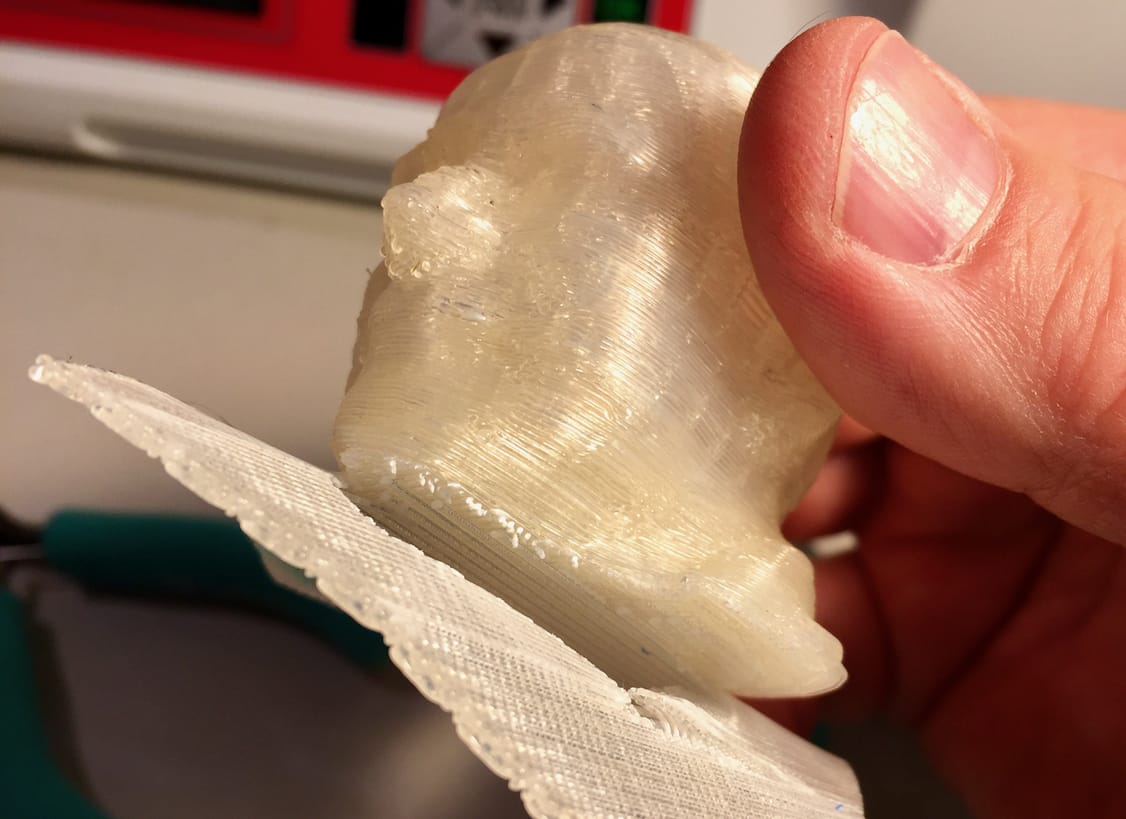
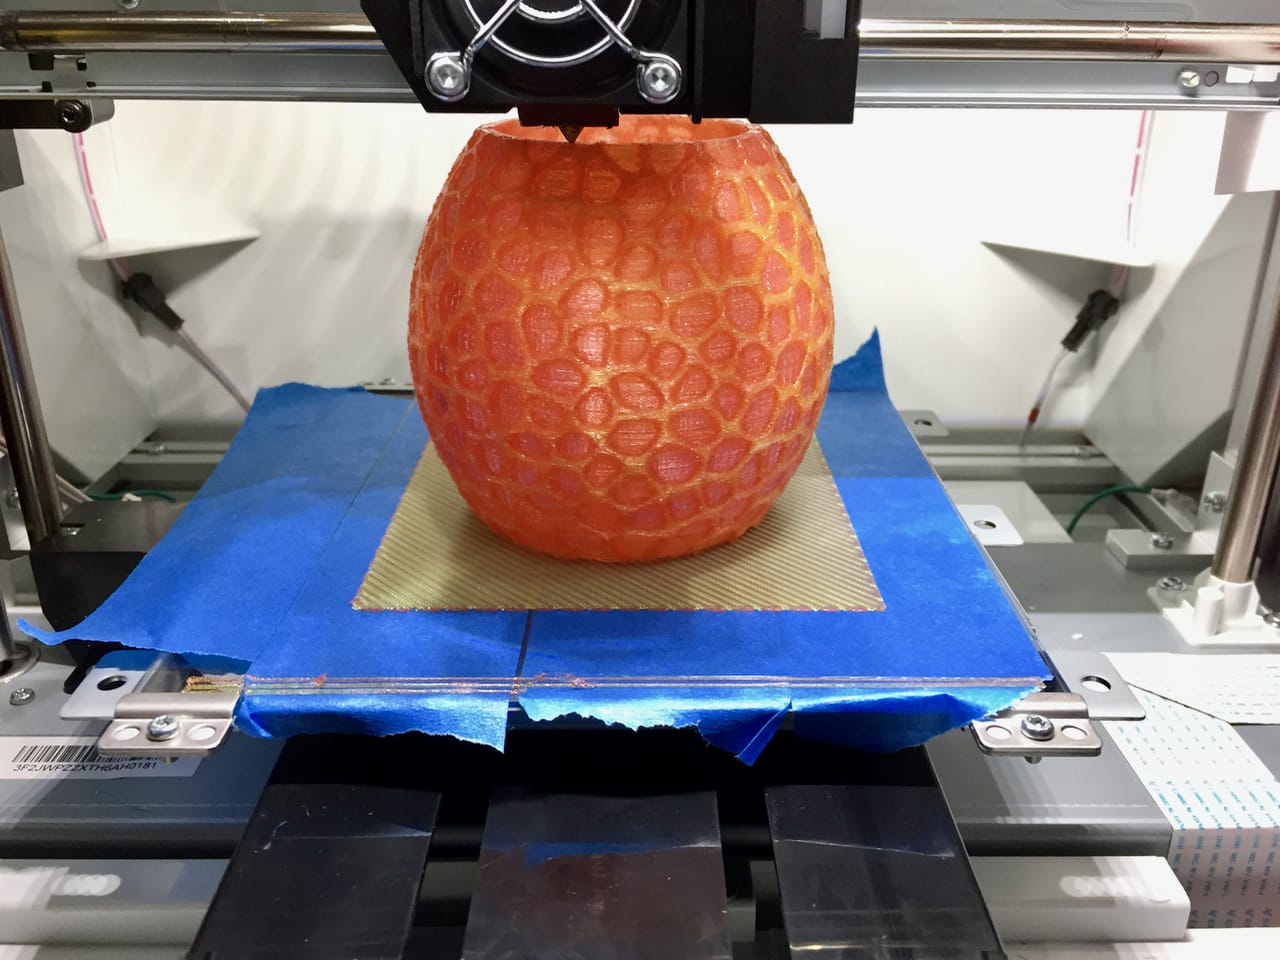
I strongly recommend using a raft on every 3D print on this device, as the relatively poor adhesion can cause issues. Here we see a completed 3D print with no warping on the raft. Fresh painter’s tape helps a lot, and it’s inexpensive.
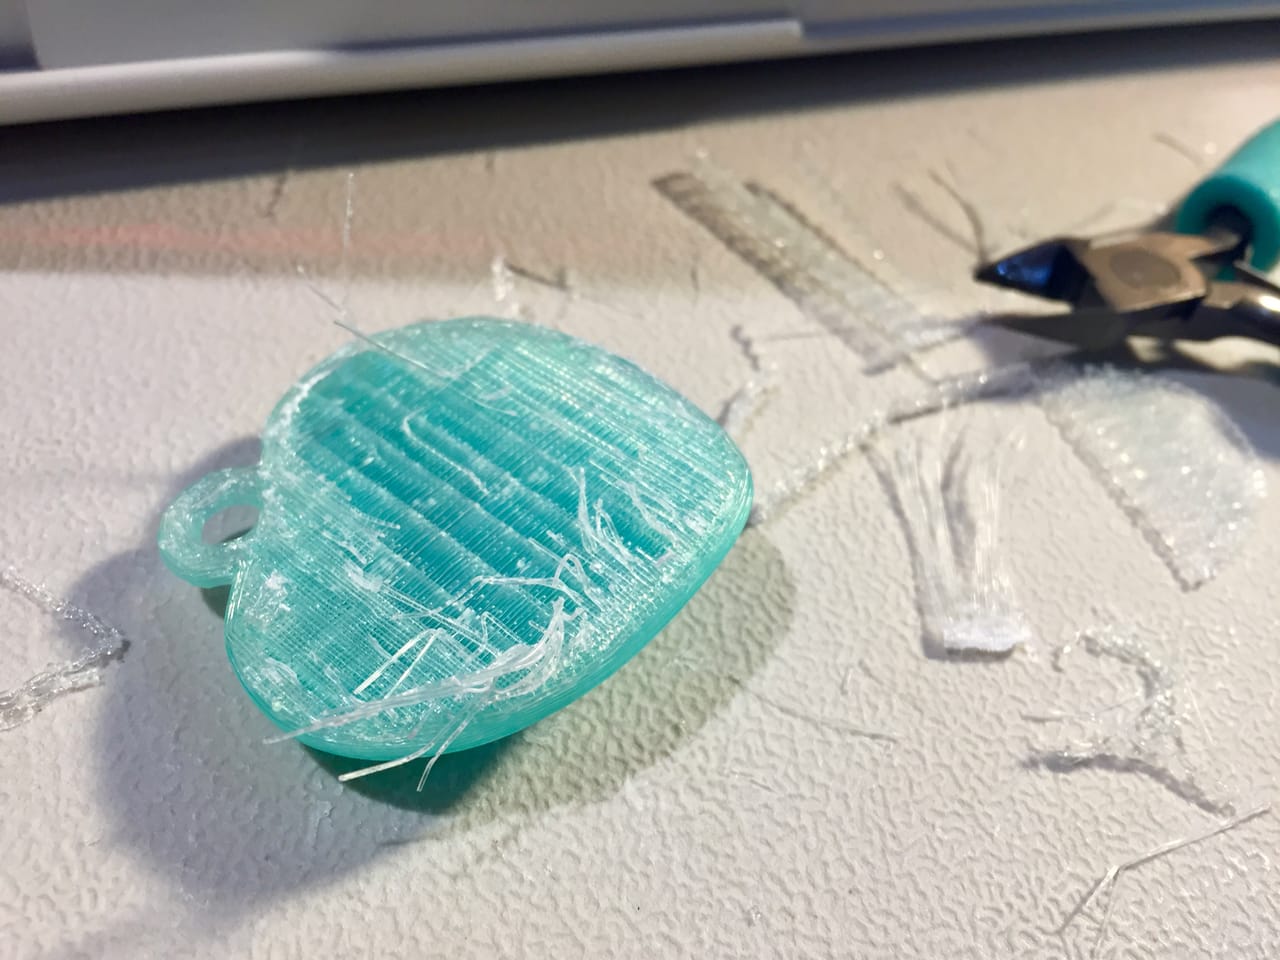
Raft removal is sometimes problematic. While some prints would simply peel off nicely, others would stick resulting in surgery to remove stray bits off the bottom of the print.
Color gradients are also possible, as I mentioned earlier. I found them to be possible with the equipment, but frustrating to set up in the software.
In XYZware you must specify a top and bottom height and the start and end colors through which a gradient is formed. It’s challenging because when you are setting up the gradient height you have no reference point on the 3D model – you are simply guessing where to start and where to end.
I thought this would be easy with a simple 10 x 20 x 20mm cube, which is of obvious height. I specified a 10mm tall gradient, from solid green to solid white.
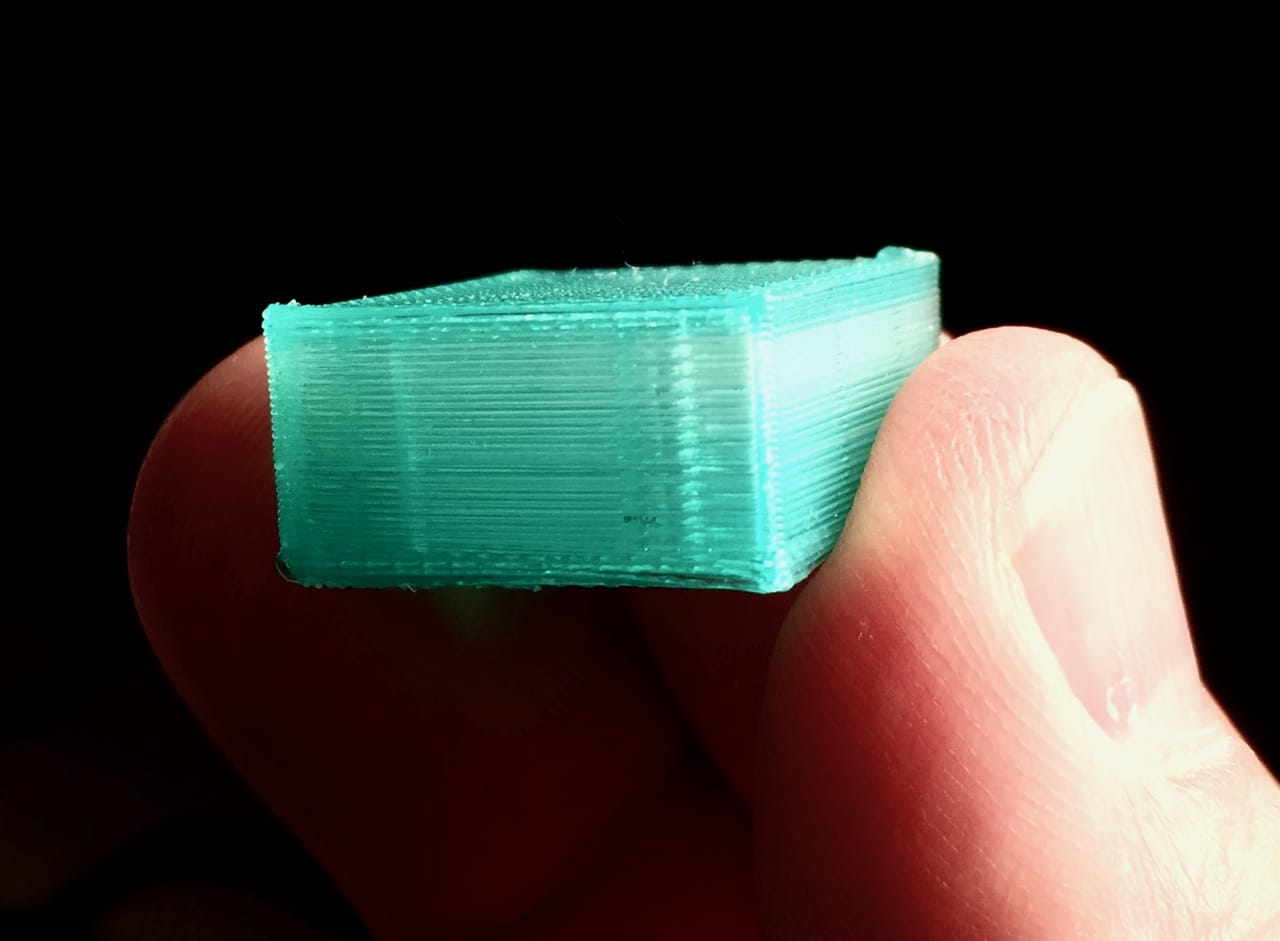
Here’s what I got. Note the solid green layer on the top. This is because the height of the raft is included in the gradient calculation! My 10mm tall model was actually 10mm+ something for the raft. I don’t know how much I should have accounted for the raft height because they don’t tell you how tall it is.
Using the gradient function in XYZware was not obvious and challenging. I could not figure out, for example, how to reverse the colors so that I could produce a white to green gradient, instead of a green to white gradient. I ended up physically swapping the filament spools to accomplish this, although XYZware still insisted it was green to white on my computer screen.
I hope XYZprinting revisits how they organize the software control of the multi-color 3D printing. It absolutely works on the hardware, but the software quirks are likely beyond the capabilities of many in their target market.
There are many oddities in the XYZware that I encountered while preparing prints. Things didn’t always work as expected.

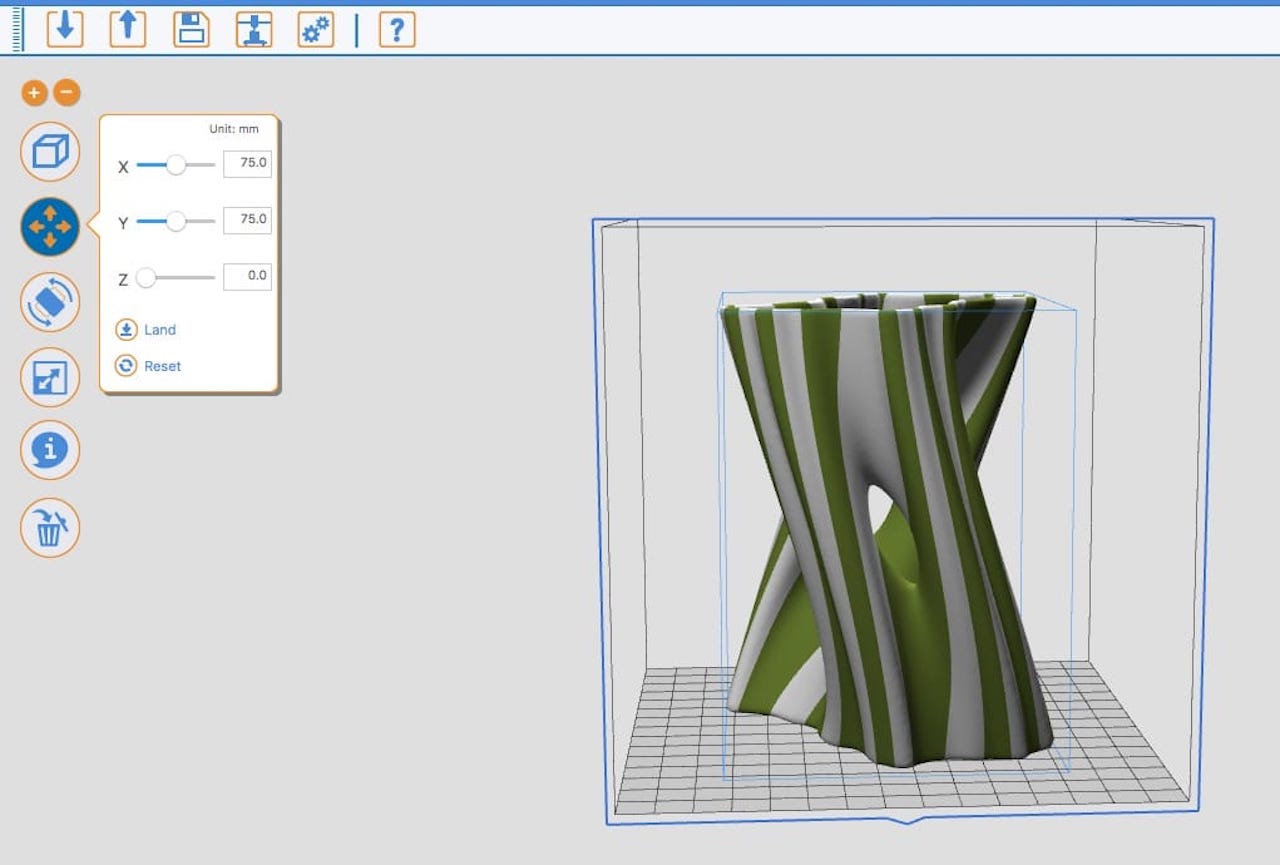
Here, for example, I had hit the “preview” icon, and found that the 3D model was suddenly moved below the print bed for no apparent reason. I could not recover from this and had to restart XYZware and start over.
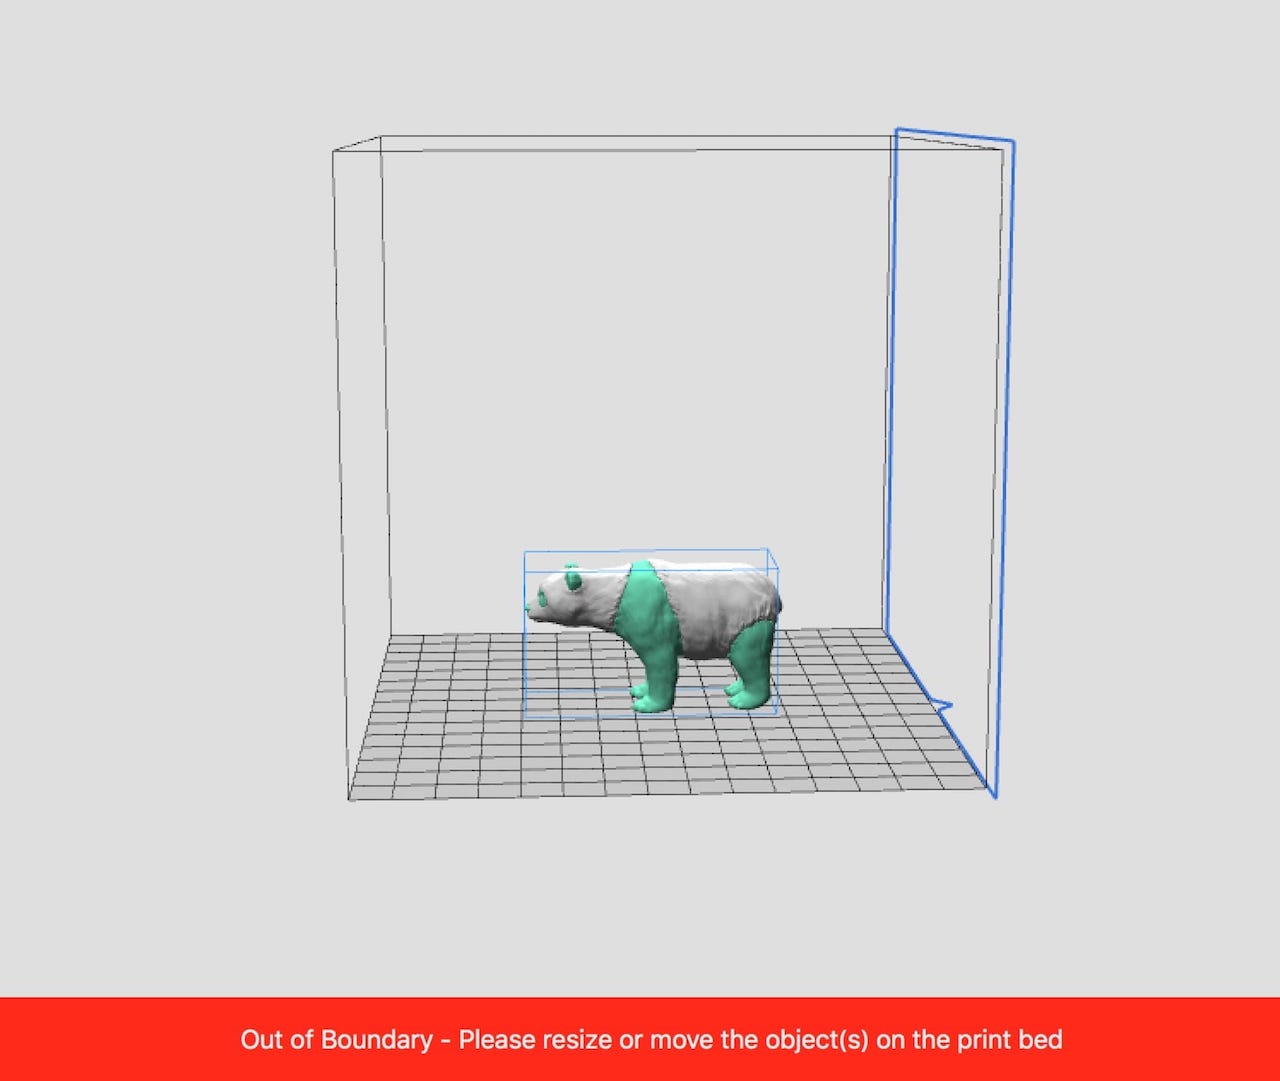
Here’s another oddity: occasionally when moving 3D models around the bed, they would be labelled as “out of boundary”. However, as you can see, it is clearly within the print volume, as its bounding box is visible.
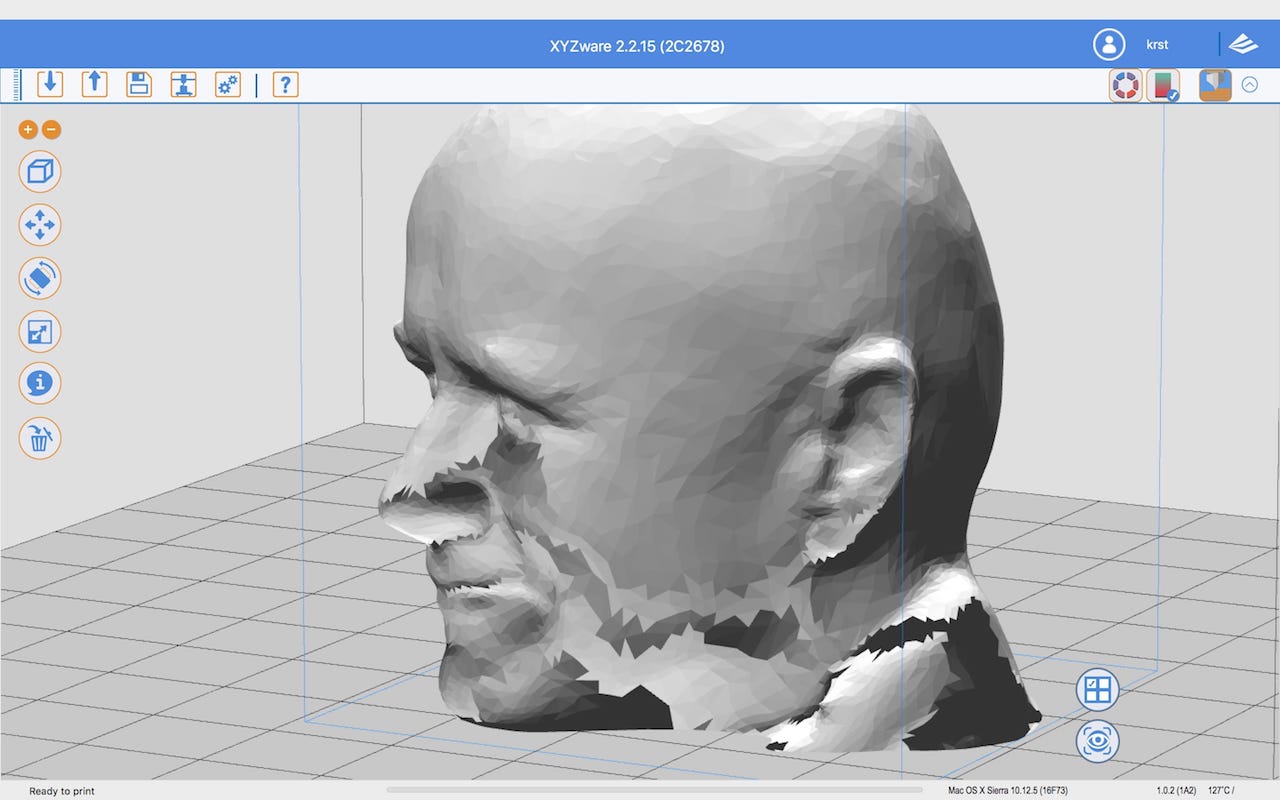
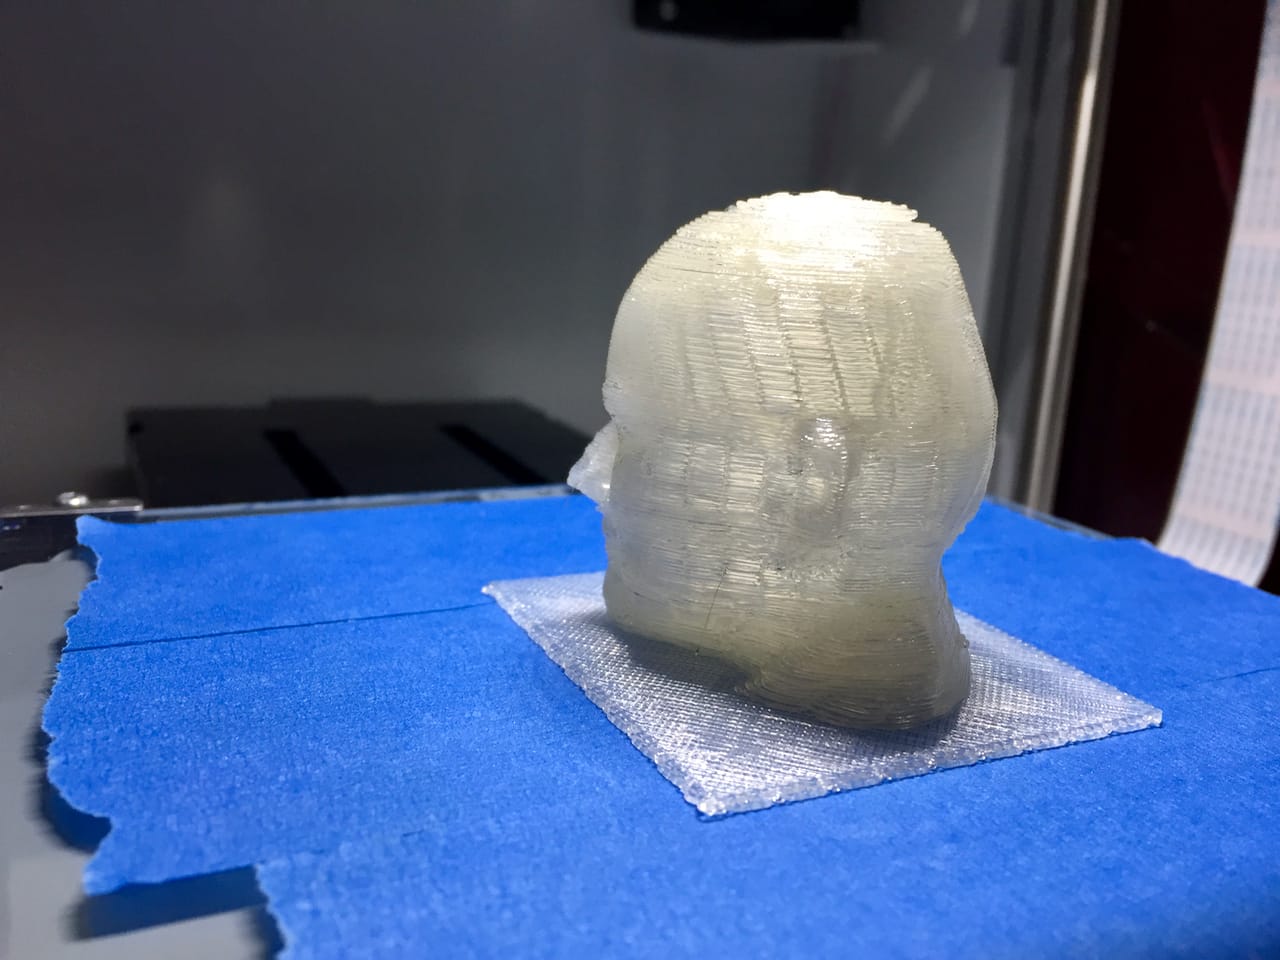
XYZware often finds incoming 3D models to be defective and offers to repair them. This is useful, but sometimes the results are not good, as seen here in my “repaired” Robert head, which now has a vast opening on the left side of his face. I recommend using external tools to repair your 3D models before using XYZware.
However, I managed to figure my way through those issues and attempted some larger multi-color 3D prints.
This is a large lamp shade with a very complex pattern, requiring many color changes through out its 26 hour print time. As you can see, the Jr. Mix handled it very well.
For some reason XYZprinting provided only “transparent” filaments, which sometimes made the dual color effect hard to see, as the light blended adjacent sections together. I suspect the machine would do very well when printing fully opaque filaments.
Here is another multi-color 3D model I attempted, which first must have its two segments assigned separate colors. The print completed very well after many hours. There is no doubt that the Jr. Mix’s hardware can produce a very good print.
If I were XYZprinting, there are a couple of things that could make this machine much more usable:
- Speed up filament changes by quickening the filament push, like other borden-style machines use
- Add a replaceable adhesion surface to the glass bed that would enable easy print removal and more reliable 3D printing
- Rework XYZware to be far easier to use, as the multicolor mode appears to have been added to the existing software without sufficient thought on how users actually can use it
- Fix outstanding bugs in XYZware’s dual material support
The Jr. Mix is priced low, at only USD$459 per unit – a price lower than some single material machines! It is the least expensive single-nozzle, multi-material machine you can get, and it actually works reasonably well for the price.
This is part 2 of a 2-part series. Part 1 is here.
Via XYZprinting