

![The OctoPrint Monitor [Source: David Payne]](https://fabbaloo.com/wp-content/uploads/2020/05/image-asset_img_5eb0a3f5e1f4e.jpg)
This week’s selection is the highly useful OctoPrint Monitor by David Payne.
OctoPrint is an amazing add-on for “dumber” desktop 3D printers, as it can transform the device into a network connected, webcam-equipped, power 3D printer. It works by attaching a smart set top box to the printer’s USB port and controlling its operations through fancy web interfaces.
OctoPrint is also a platform: it includes a plug-in feature that many developers have used to create new functionality that’s easily added to most OctoPrint systems. We’ve covered some of these in the past.
One of the main gains from OctoPrint is relief from the usually horrible tiny control panels on less expensive desktop 3D printers. In an effort to save on costs, some 3D printer manufacturers seem to specifically select the tiniest LCD screens imaginable to display critical operational information. I think the worst I encountered was on the now-defunct BFB-3000. You can see it here:
![The ancient BFB-3000 desktop 3D printer [Source: Fabbaloo]](https://fabbaloo.com/wp-content/uploads/2020/05/image-asset_img_5eb0a3f6616f3.jpg)
Can’t see the LCD panel? Take a closer look:
![An ancient BFB-3000 desktop 3D printer with control panel highlighted [Source: Fabbaloo]](https://fabbaloo.com/wp-content/uploads/2020/05/image-asset_img_5eb0a3f6b01f9.jpg)
Yes, inside that tiny red oval is the microscopic LCD panel. It was essentially invisible, unless you got very, very close to it, and even then it was hard to read. You simply could not know the state of the machine unless you were almost IN the machine.
That state of affairs is slightly better with typical LCD panels on today’s machines, such as this Prusa i3 MK2S:
![Detail of the LCD panel on the Prusa MK2KS desktop 3D printer [Source: Fabbaloo]](https://fabbaloo.com/wp-content/uploads/2020/05/image-asset_img_5eb0a3f7088a1.jpg)
Or this Creality CR-10S:
![Detail of the LCD panel on the Creality CR-10S desktop 3D printer [Source: Fabbaloo]](https://fabbaloo.com/wp-content/uploads/2020/05/image-asset_img_5eb0a3f75ae80.jpg)
But there’s still a problem: the size of the screen fonts and the very poor contrast make it very challenging to see from any distance. And seeing the state of a machine from a distance is advantageous, as you can get a feeling of confidence that things are going correctly, given the sometimes less-than-reliable machinery involved.
OctoPrint attempts to solve this by providing web interfaces that display the relevant information. However, you still need to call up the right page, which sometimes must be freshly loaded. This takes some time to do and is not as convenient as simply looking at the machine if it is anywhere nearby.
Now there is a solution to this dilemma: the OctoPrint Monitor.
This is a hardware project that constructs a small display box that you can place adjacent to your desktop 3D printer. It uses OctoPrint data obtained through the system’s extensive APIs to reformat and display the data in large fonts with high contrast.
Using the OctoPrint monitor you can instantly see the state of the machine’s operation with a quick glance.
This is not a product you can buy; you must build the monitor on your own. It takes some 3D printing to prepare the parts for the case, and there is an embedded Arduino processor with software to interface with OctoPrint.
Creator Payne lists the features of the monitor:
-
Displays the print status from OctoPrint Server
-
Estimated time remaining
-
Time Printing
-
Percentage complete
-
Progress bar
-
Screen turns off when printer is turned off or disconnected
-
Screen turns on when printer is Operational or connected
-
Sample rate is every 60 seconds when not printing
-
Sample rate is every 10 seconds when printing
-
Fully configurable from the web interface (not required to update Settings.h)
-
Supports OTA (loading firmware over WiFi connection on same LAN)
-
Basic Athentication to protect your settings
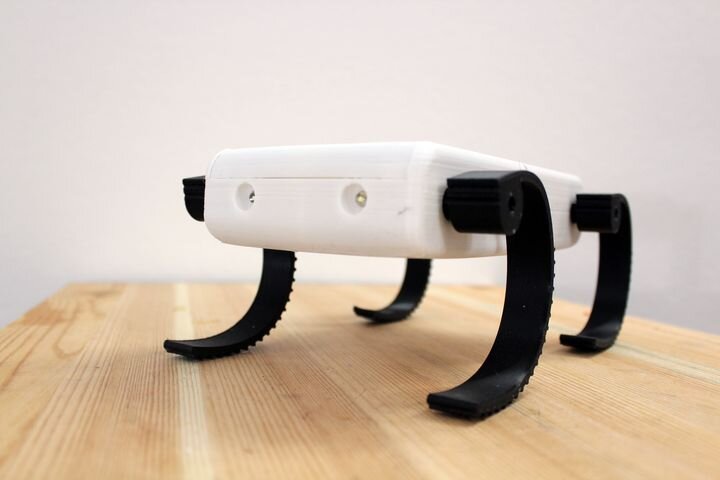
One variation possible is to mount the Arduino into a different case that matches your design tastes. One maker, Michael McRoberts, (coincidentally author of “Beginning Arduino”), used this attractive case design:
![Alternate case for the OctoPrint monitor [Source: Michael McRoberts]](https://fabbaloo.com/wp-content/uploads/2020/05/image-asset_img_5eb0a3f7a2f32.jpg)
This appears to be a relatively simple project to complete, even for less technical folks. It’s not quite a free project, however, as you will have to purchase a few parts to make it work. There are complete instructions below.
Via Hackster.io


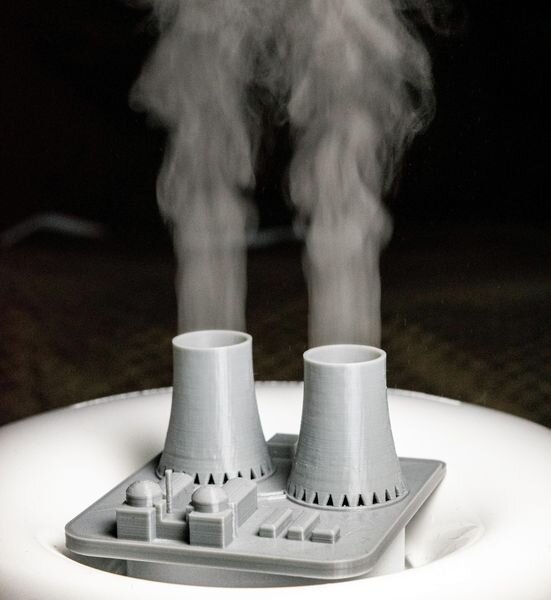

This week’s selection is a 3D printed Coronavirus!