
An ANET N4 showed up in our lab, so we thought we’d run it through some tests.
This is part two of a two-part story on the ANET N4 3D printer. Part one is here.
Touchscreen Issues
I did encounter challenges with the otherwise nicely appearing touchscreen. The idea is that you simply touch options with your finger, and that’s what I tried to do.
However, very frequently the button selected was not the one I had touched, as if the screen was mapping the location of the finger impact to the wrong location. It’s not so much of an issue with the bigger buttons, but the smaller the area to touch — like a filename — the more difficult it was to get to work.
Very often when selecting a print from the file menu the N4 would pick a file other than the one I had touched. This was quite frustrating, and especially so when I would attempt to cancel the selection, only to find it had confirmed the print and started the process! I had to frantically cancel the print and start over.
I reported the issue to ANET and they immediately sent a replacement unit. I found the touchscreen worked perfectly on the new unit. It seems that the screen must have been faulty or installed incorrectly on the first unit. In any case, ANET very quickly corrected the issue for us.
ANET N4 Post-Processing
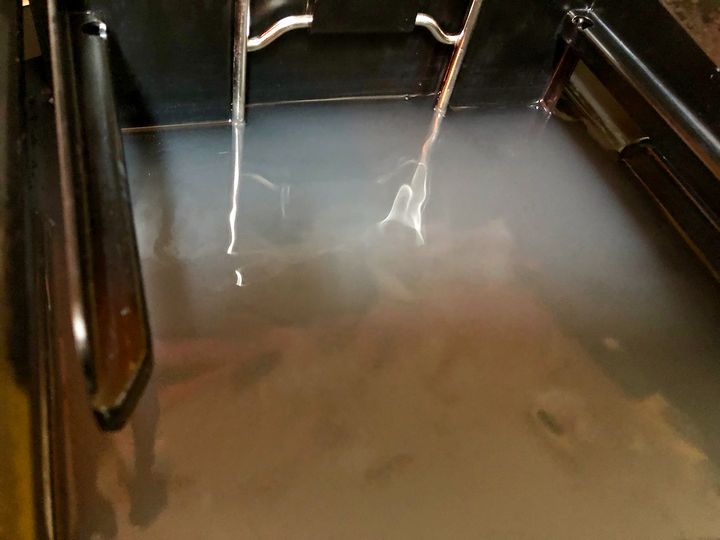
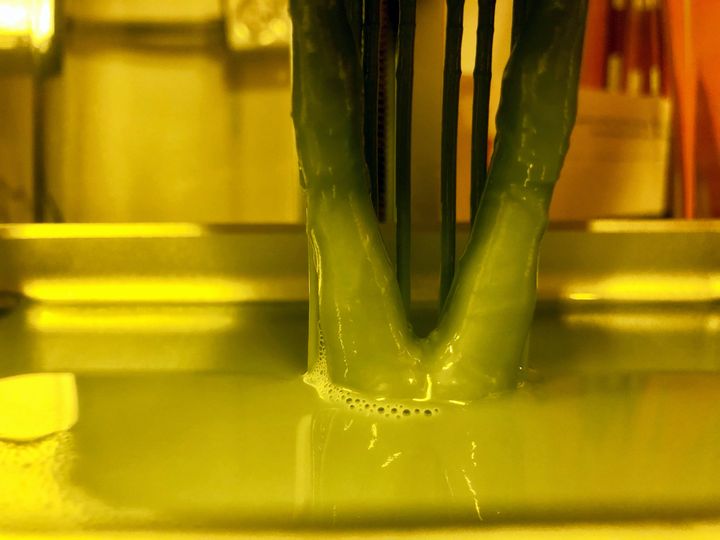
Once the print is complete, it remains hanging upside down in the print chamber. Next, you’ll have to do potentially messy post-processing tasks to finish the object.
The first thing to do is to remove the print plate, with the print attached. This is quite easy to do by loosening the round bolt at the top and sliding the whole mechanism off.
Note: this is the point where you will make a mess.
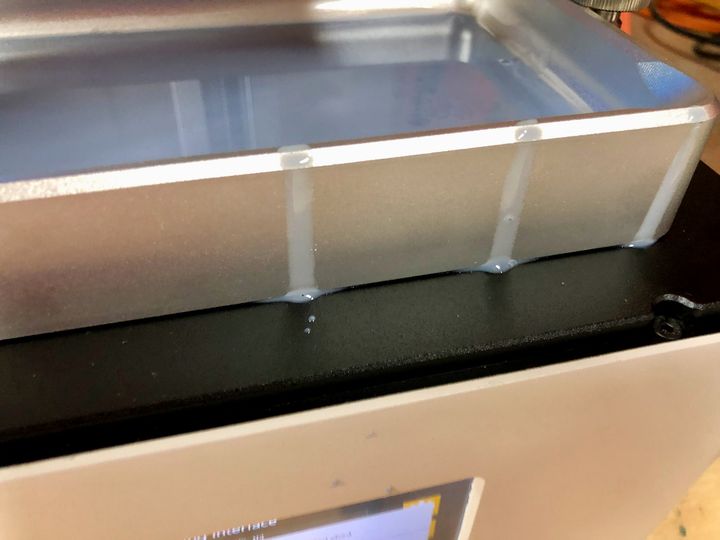
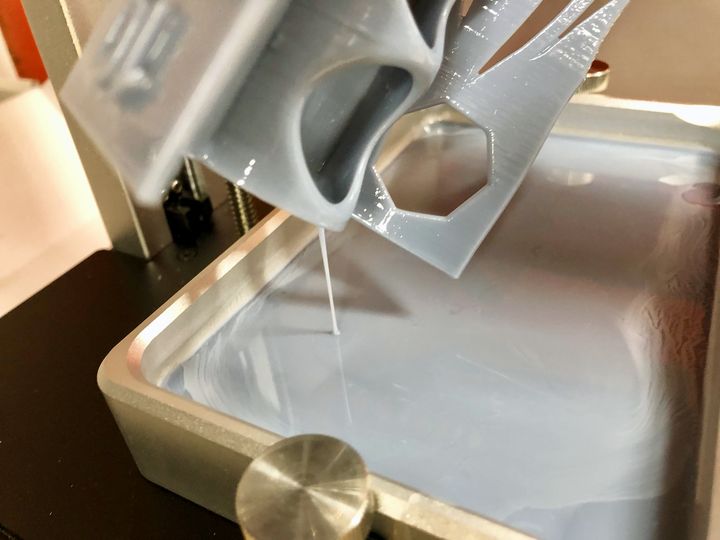
The freshly completed print will have its surface coated with liquid resin, simply because it was pulled from a vat of liquid. This resin drips off after printing, except where niches capture it due to the geometry of the model. But when you loosen the plate and inevitably tip it, prepare for a surprise, as you will certainly drip some resin.
A best practice is to always hold the freshly completed print over the resin tank. That way any stray drips will fall into the vat when you tip the print. This also allows the drips to be re-used in a subsequent print.
This is the point where I tell you that you MUST be wearing disposable rubber gloves for the remainder of the processing. This is to ensure you are safe. Safety glasses are also a good idea, just in case there is a splash of either resin or the cleaning solvent.
Photopolymer resins are typically toxic, and you don’t want to get any on your skin or any surface where someone could touch it. Thus, you should be extremely careful when removing the plate. I would attempt to keep the print always over the resin tank until it stops dripping. Tipping the print different ways will extract more drips.
You want the resin to drip back into the tank, not only for toxicity reasons, but also because it’s quite expensive. The more drips you keep, the more prints you can do.
Once the dripping has completed, you then move to a post-processing station. This should be a surface with a removable and disposable surface to catch any more stray drips.
There will be more drips.
Place the plate on its side and then use the metal scraper to gently pry up one side of the print as it attaches to the build plate. Once you’re “under”, give it a push and the rest should pop loose. Note that the print will definitely fall off, so be prepared to have it land somewhere secure. Remember, it is still coated with toxic liquid resin. You may want to have some “walls” ready to catch the print if it skitters off towards the edge of your post-processing table upon sudden release.
You want to clean off the resin not only for safety reasons, but also because this liquid material will solidify if exposed to UV light (e.g., sunlight or other curing approaches). If that happens, you could suddenly find your print has unexpected bumps where leftover droplets had solidified.
For this reason you absolutely should never have your post-processing station located where sunlight could intrude. No windows allowed!
Cleaning resin is typically done using a bath of IPA, but this is not supplied by ANET in the N4 package. You’ll have to arrange for a tub of IPA on your own.
For my testing, I happened to have a wonderful set of Formlabs Form Wash and Form Cure post-processing devices handy. The Form Wash not only provides a bath of IPA, but also circulates the liquid around the print in different directions. There is no resin on it after a 10 minute wash.
After washing it’s a good idea to finish the UV curing, as the LCD light from the N4 is sufficient to hold the object together, but not make it completely strong for permanent use. For this you could simply put the print on a windowsill and wait for the sun to get at it (rotating the object periodically), but I used the Form Cure, which provides a rotational platform and intense UV light.
Once this is all done, I washed the prints in soap and water to get them perfectly clean and they were done.
N4 Print Results
The N4 produces pretty high-quality output, although I have seen better resin prints from other machines. The catch, though, is that the N4 is a very inexpensive machine and the others I’ve seen are multiple times as expensive.
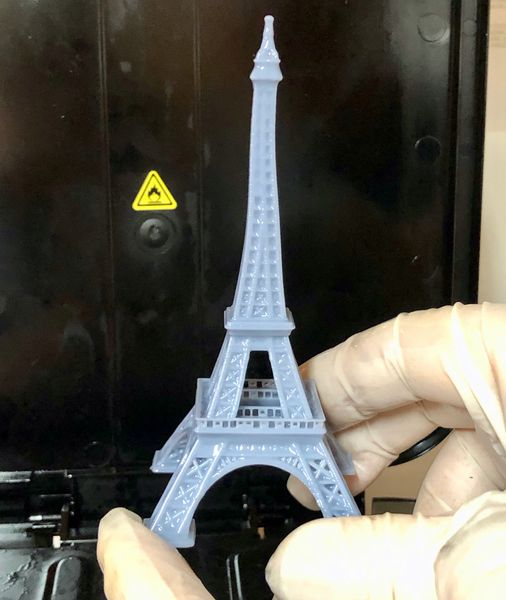
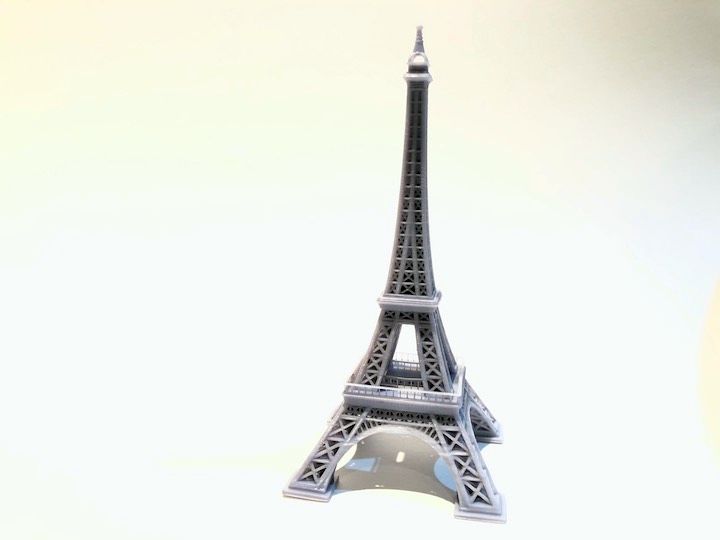
One issue I observed in the prints was a slight wobble in the vertical axis. Here you can see a print of the Eiffel Tower (a 3D model all resin 3D printer owners should print).
Notice there is a slight wobble in the height of the tower. I wasn’t sure how this happened. I thought perhaps the print was a bit soft after printing and somehow bent during washing as it was laying on its side.
So I 3D printed another copy of the same tower on the N4 and instead washed it by hand, carefully keeping it vertical the entire time to avoid any slumping.
However, the result was literally identical to the first version. It seems there is a slight wobble in the Z-axis of this particular N4.
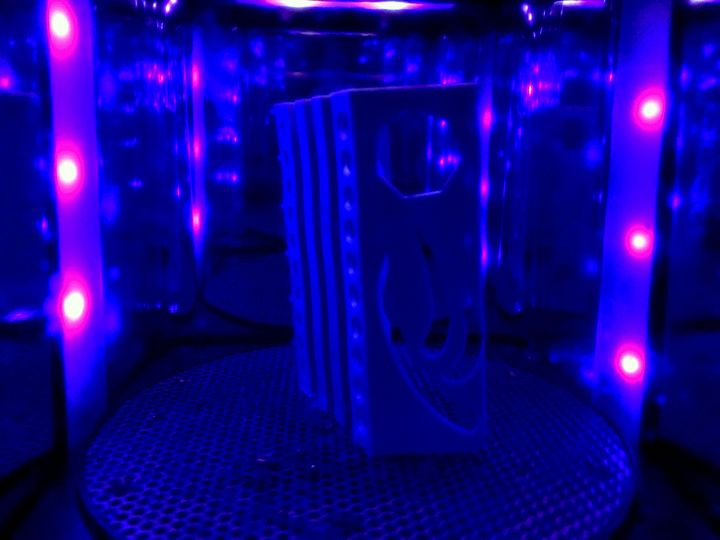
Another test print also exhibited this wobbly phenomenon:
This effect was only apparent in very regular 3D models that had straight edges or very smooth curves. Organic shapes, such as a figurine, did not appear to exhibit any such issues:
However, the replacement N4 provided by ANET did not have this issue at all and tall prints were quite straight. It may be that ANET is continually tuning their design and assembly process at the manufacturing plant, and more recent machines are even better.
N4 Software
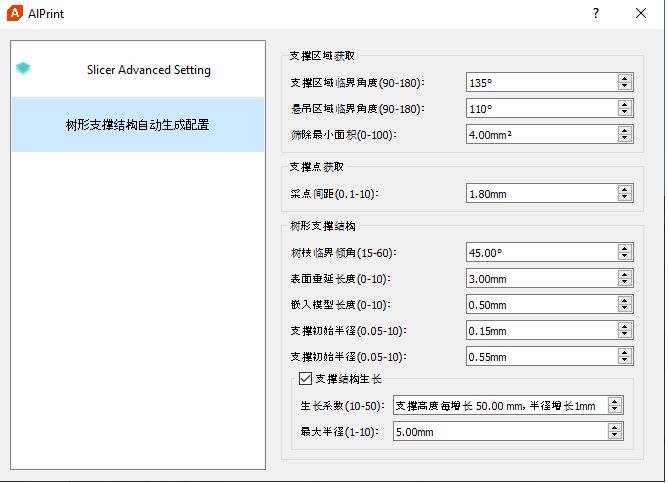
After printing the pre-sliced models, I was eager to print my own. For this, you must use ANET’s slicing software, AIPrint.
This is where I started encountering challenges, as this software seems to need a bit of help.
One was the language, which by default is set to Mandarin on some pages:
The software is used to import 3D models into a build plate layout and prepare them for printing. The major things to do are:
- Place items on the build plate and arrange them to avoid overlap
- Select a layer thickness, and you can go down to 0.03mm
- Select the number of “first layers”, which I mentioned previously
- Select the exposure duration for the first and subsequent layers
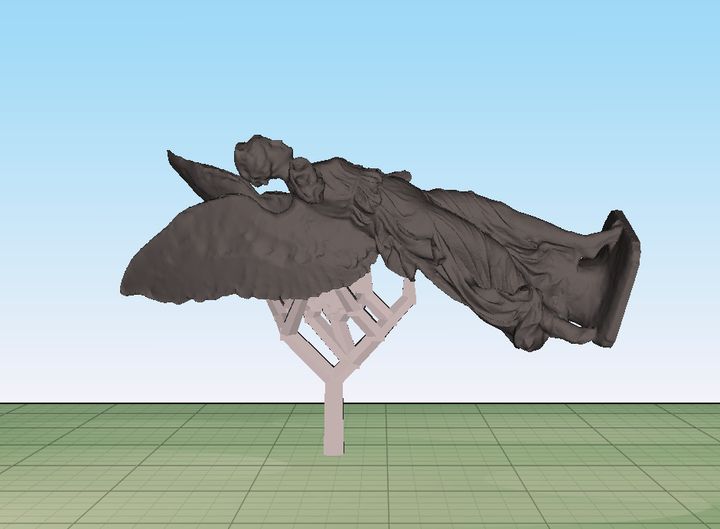
And finally, you must prepare any required support structures. These are a bit different from filament-based machines simply because the print is upside down.
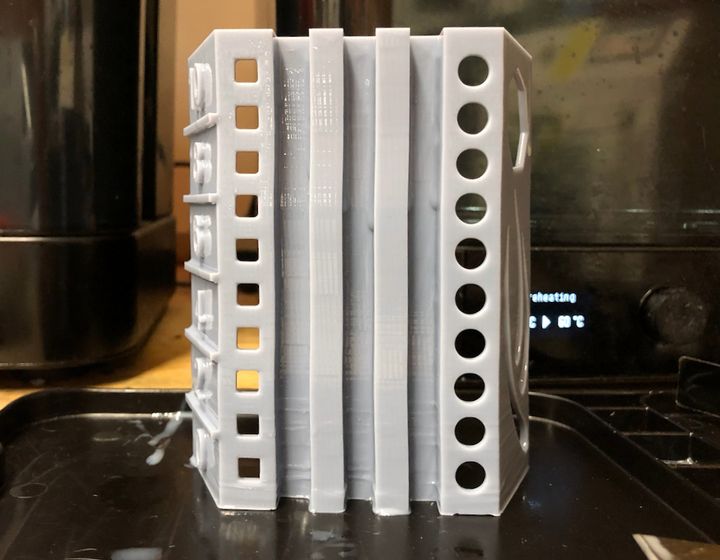
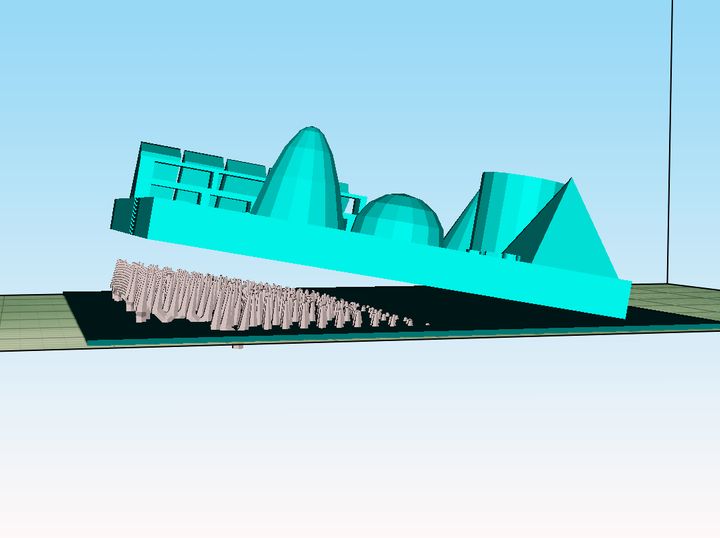
At first I attempted to use ANET’s automatic support structures, but I found many problems with the automatically generated supports feature. For example, insufficient support was generated:
Or support was generated underneath the print plate:
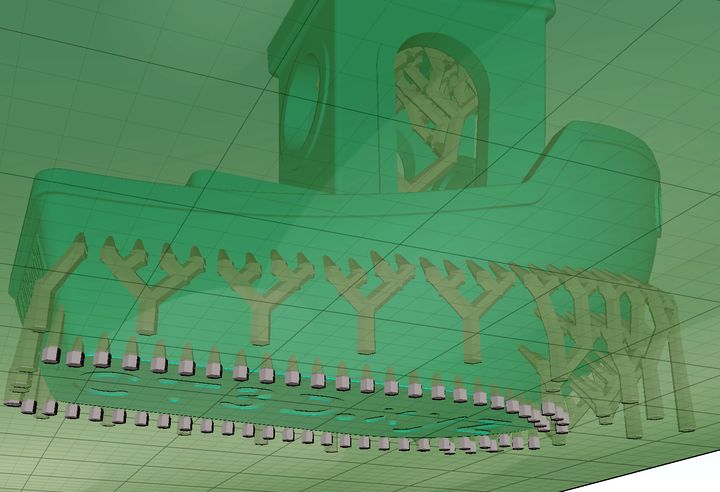
Or supports that didn’t touch the object:
Other things happened. When I contacted ANET about this, they suggested I simply use the manual support process instead, which actually worked pretty well.
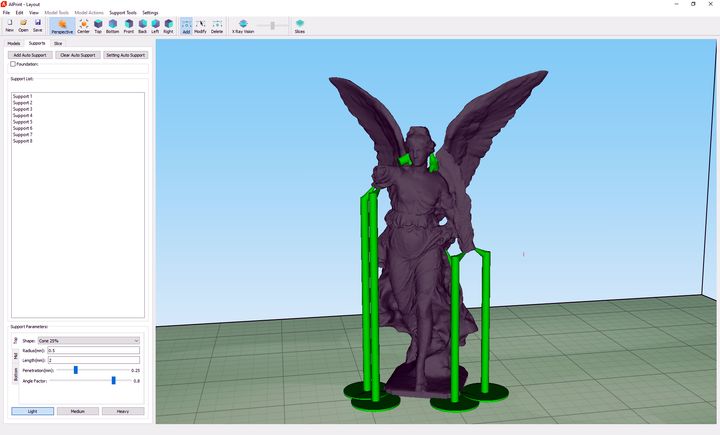
The catch is that you must, by eye, identify any portion of the model that might require supports, and then add them with a click. From my long experience with 3D printing this is pretty straightforward, but I suspect for a novice user this could be challenging.
That said, software is always a moving target and I am quite certain ANET will (or maybe has already) addressed these automatic support issues with new software releases.
These supports must then be clipped off after curing the completed 3D print.
N4 Print Quality
I found the prints to be decent from the N4, particularly for a machine at its price point. The lines were typically quite crisp. For free form objects, like figurines you likely would not notice them at all.

There is a limit to the N4’s resolution, however, as you can see at the top of the Eiffel Tower model. The cross-pieces there essentially merged together as they overwhelmed the resolution of the device, but that effect also happens on most other resin printers. A very good print nevertheless.
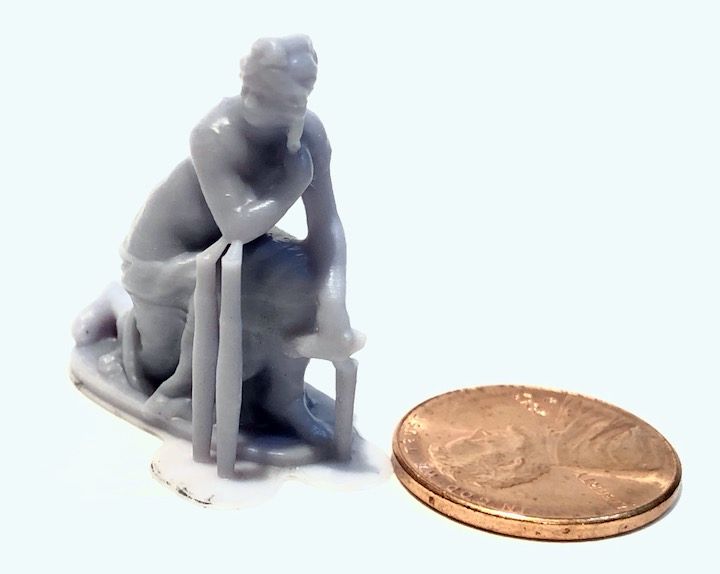
The resolution is vastly better than you’d see on any filament-based 3D printer, even ones that cost far more than the N4. This tiny figurine shows virtually no layer lines at all. I really like the prints that come off this device!
ANET N4 Availability
The ANET N4 LCD 3D printer is available for purchase worldwide through several vendors, and tends to have a price near US$300, which is a pretty good price for a unit with these capabilities.
This is part two of a two-part story on the ANET N4 3D printer. Part one is here.
Via ANET