
Our look at the Artillery Sidewinder X3 Pro 3D printer concludes with results and final thoughts.
This is part three of a three part series, please read parts one and two.
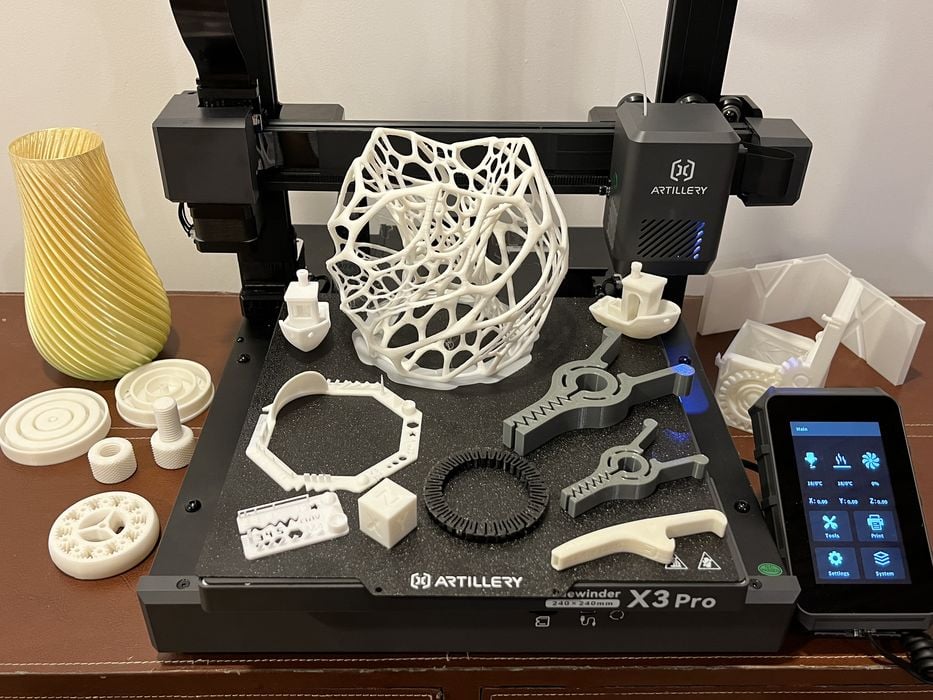
Sidewinder X3 Pro Results

Our review process involved a series of standard test prints to evaluate the X3 Pro’s performance. We were immediately impressed by the rapid heating of the hotend, a testament to Artillery’s robust power supply. Hardware-wise, the printer was reliable, with the only minor issue being a faint warbling sound from the hot end’s cooling fan, which wasn’t significant enough to affect our testing.
The ease of filament changes was notable, thanks to the firmware’s user-friendly interface and presets for temperature, extrusion length, and speed. We did encounter first layer adhesion issues with our 3D_test_V3_0.4mm print, but this turned out to be a filament quality problem rather than a flaw of the X3 Pro. Switching to a higher quality filament like Polymaker’s excellent PolySonic PLA Pro resolved the issue and improved print quality, reinforcing the adage that cheap filament yields cheap results.
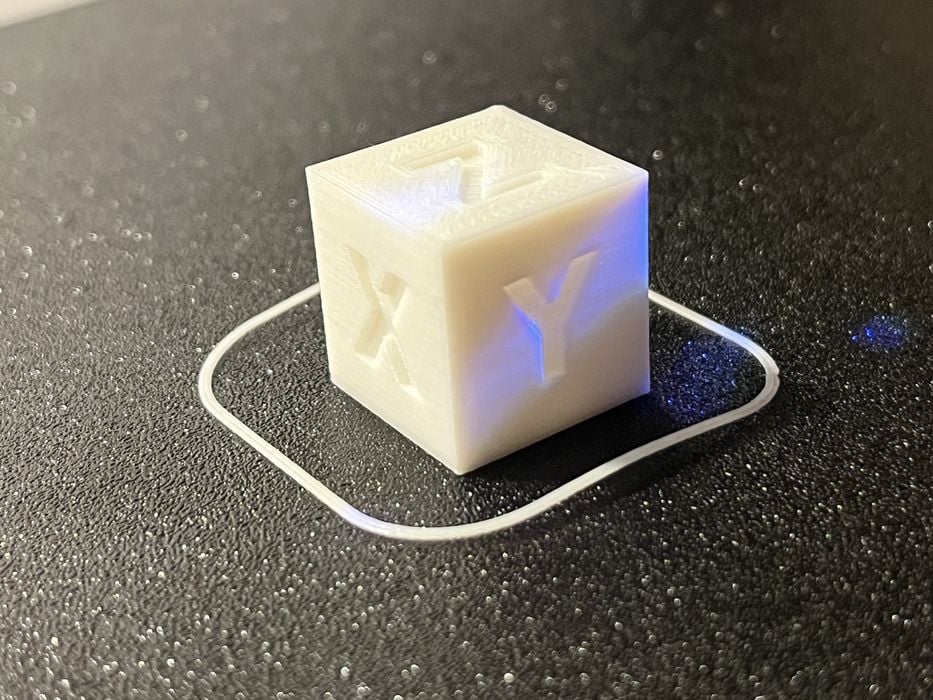
Our XYZ calibration cube printed flawlessly, showing no ghosting or ringing, likely due to the effective input shaping. The knurled nut & bolt and the cylindricity test pieces printed excellently and fit together seamlessly.
Regarding print time estimates, we found that UltiMaker Cura’s predictions were consistently twice as fast as the actual print times, whereas PrusaSlicer’s estimates were much more accurate.
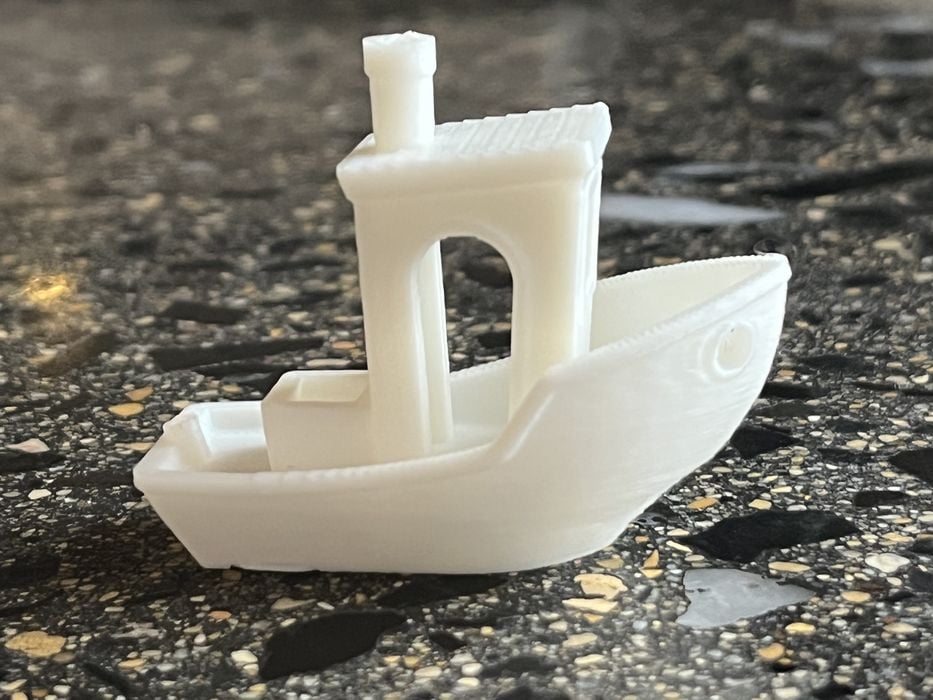
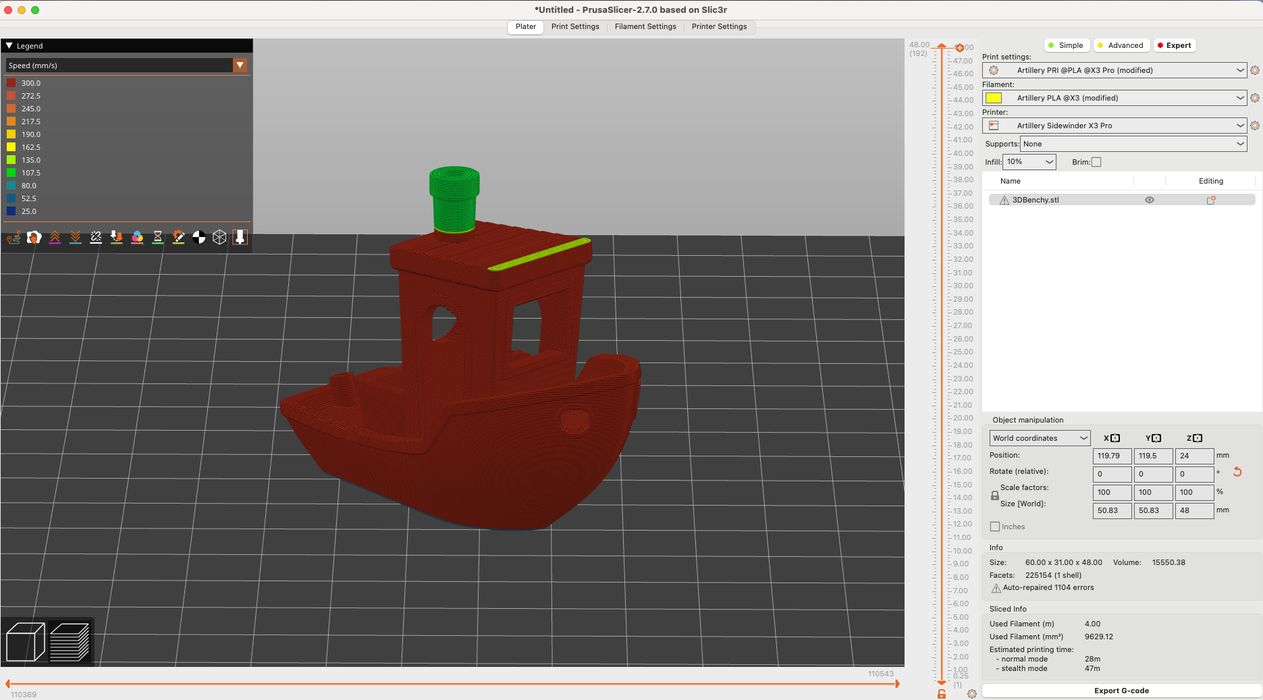
We began our review with a manually created Cura profile at 150mm/s, and later modified settings to explore faster speeds up to the advertised 300mm/s. This resulted in a 31-minute #3DBenchy, significantly faster than our initial 53-minute print, albeit with some minor ringing. This suggests a potential need to readjust the input shaping for higher speeds to eliminate these artifacts.
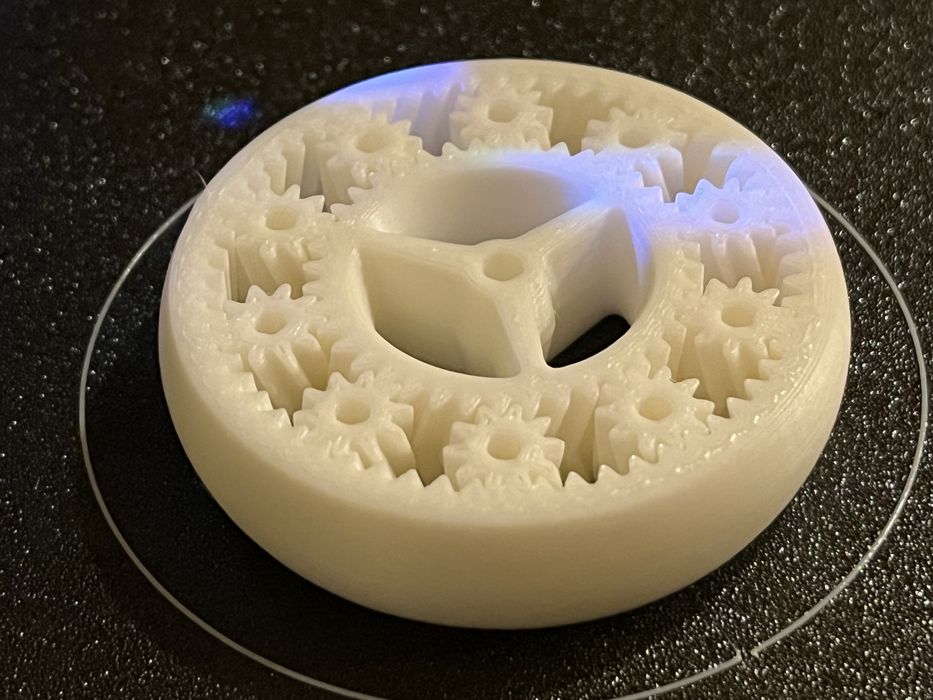
Our review included a variety of print-in-place models to test the X3 Pro’s capabilities with PLA. The spring-loaded box, planetary gears, and carabiner all printed successfully, although they initially required extra effort to move. The rainbow PLA spiral vase was a standout, showcasing excellent print quality.
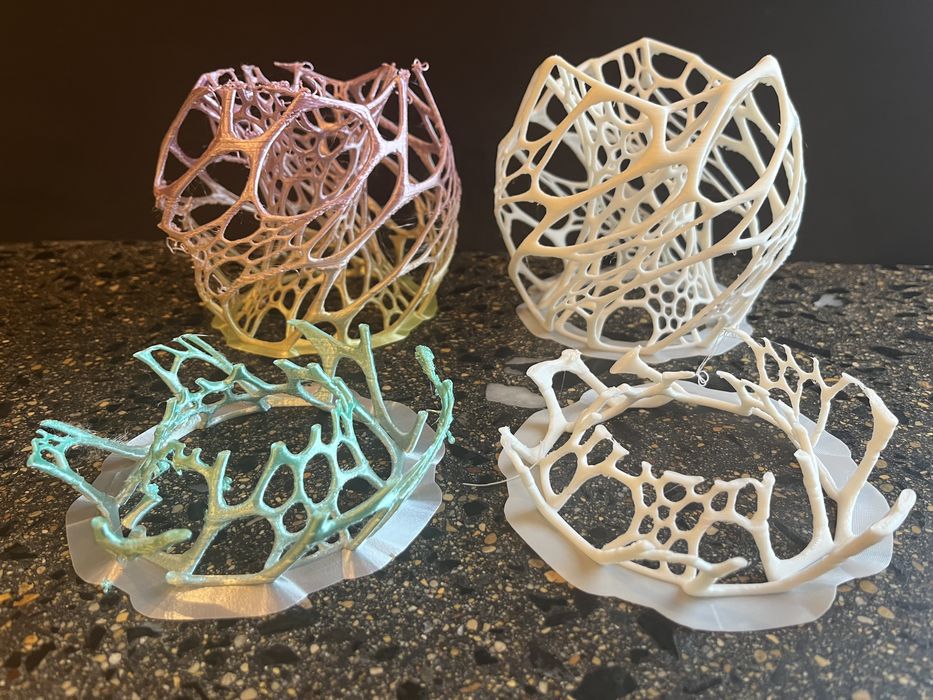
However, the nervous lamp model presented challenges, as it repeatedly detached from the build plate despite using a large brim.

Switching to PrusaSlicer with Artillery’s profiles improved the print quality significantly, but at the cost of a lengthy 13 hours and 33 minutes using the 120mm/s PLA profile, suggesting that certain complex models benefit from slower print speeds.
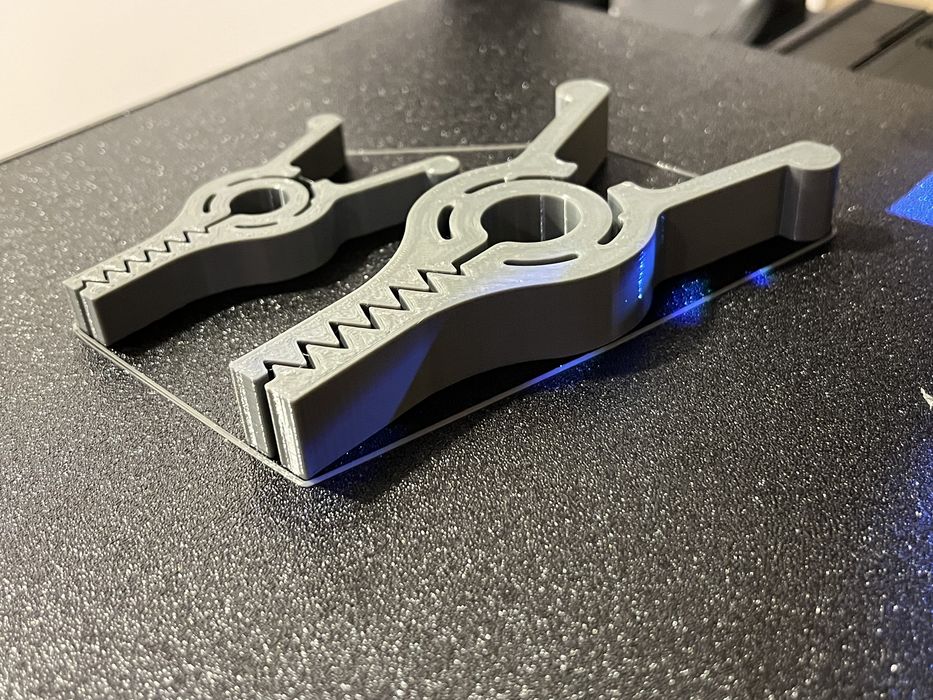
Exploring other filament types, our ABS PETG Chip_bag_clip_V7_1 printed well at similar speeds to the PLA prints.
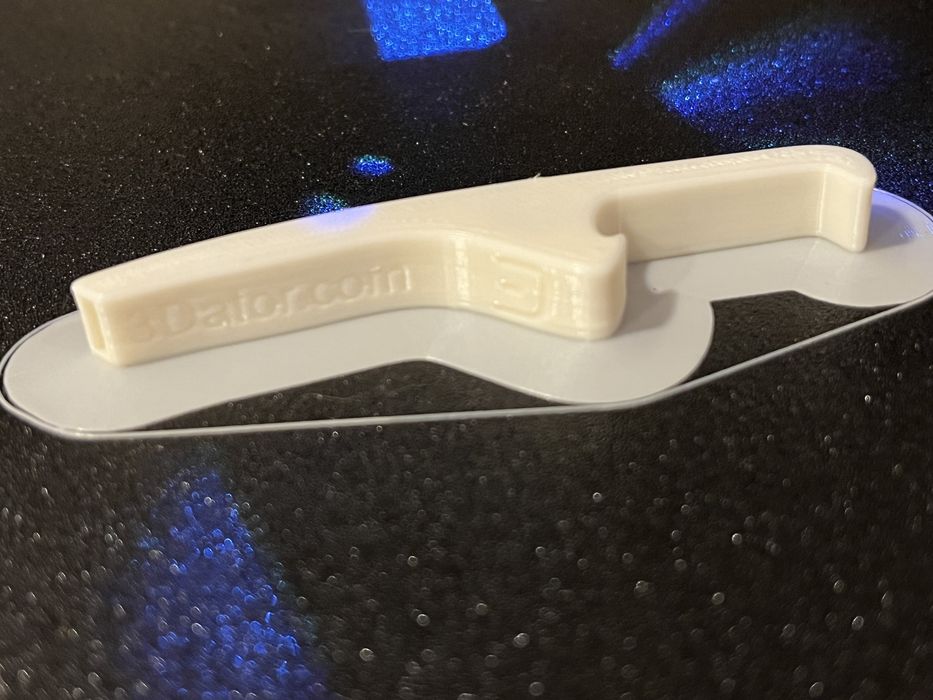
The ABS bottle opener whistle, printed at 80mm/s with a whopping 1cm brim, turned out perfectly with no warping.
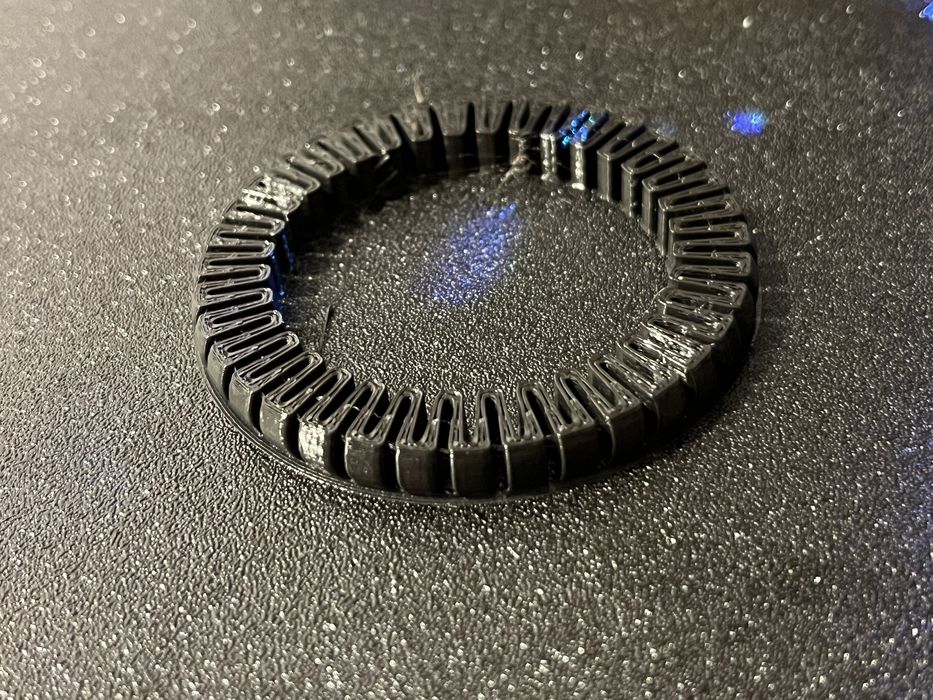
The TPU bracelet, printed at a slow 30mm/s, also yielded good results but was challenging to remove from the build plate. TPU’s adhesion to the build plate was notably strong.
Concluding our review, we modified Artillery’s PrusaSlicer PLA profile, increasing speeds to approach the advertised 300mm/s. Our speed tests and a #3DBenchy printed using speedboatrace settings completed impressively in just 29 minutes, marking our fastest Benchy yet.
Although the quality was acceptable, it wasn’t exceptional, indicating a trade-off between speed and print quality at these higher rates. This test underlined the X3 Pro’s potential for high-speed printing, albeit with some compromises in finer details.
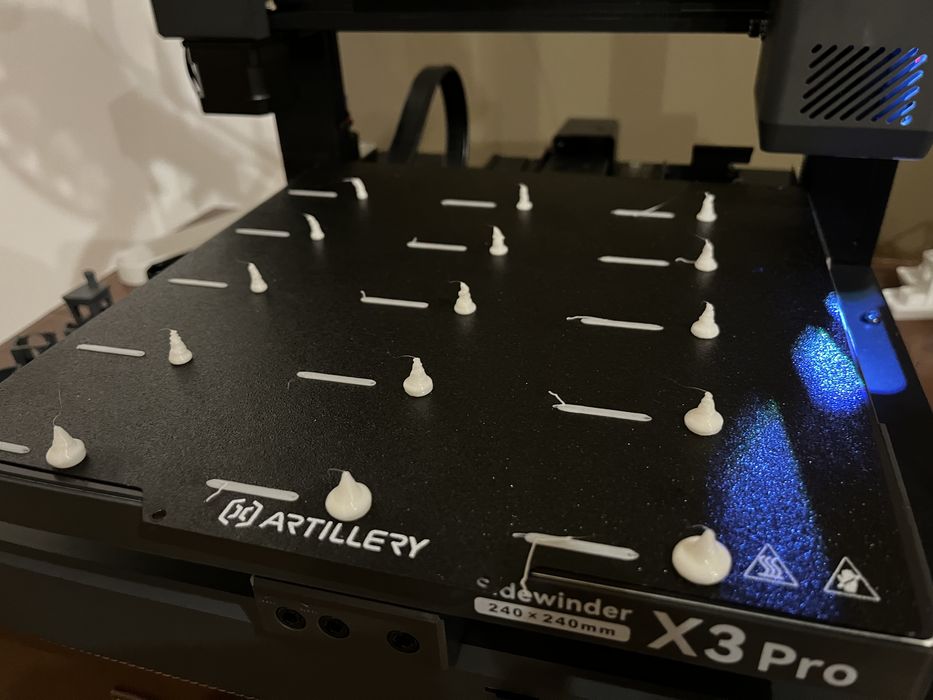
To understand a bit more about the machine’s extrusion capacity, we undertook a volumetric test. This test spurts out fixed amounts of material at different flow rates and temperatures, and it’s possible to analyze the results to see where the capacity tops out.
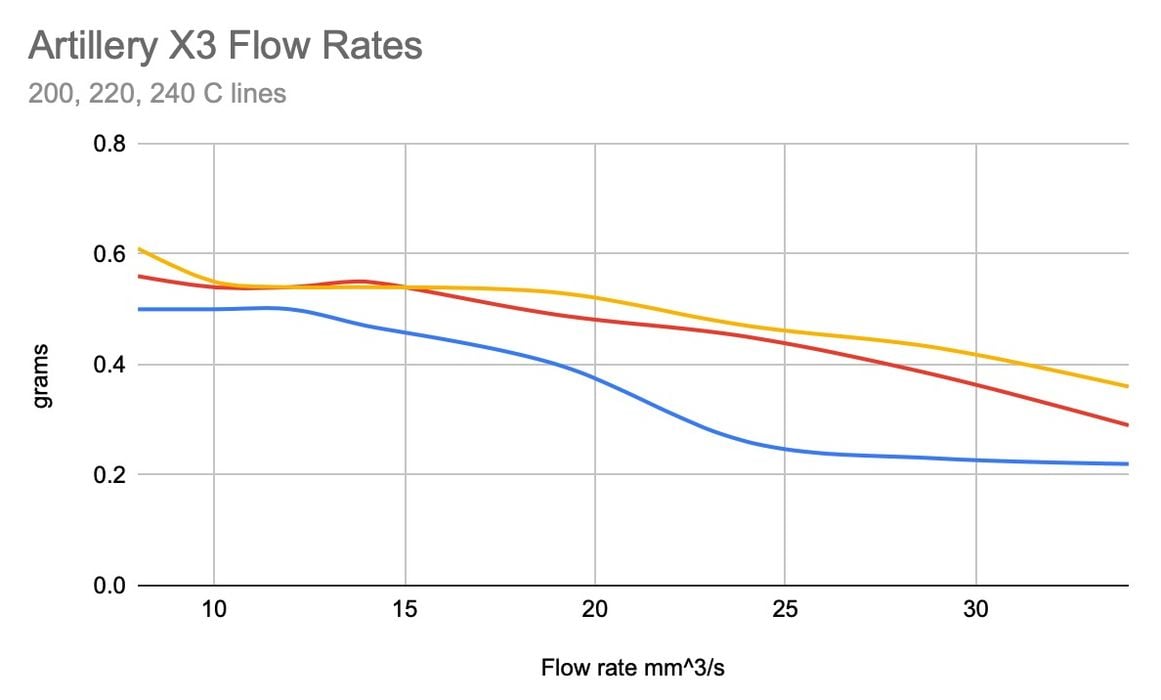
Unfortunately, our flow test results were a bit weird. It seems that the extrusion system doesn’t “fall off” like most, but instead gradually fades in capacity. This is not optimal if you’re trying to push extrusion to the maximum, but acceptable at lower print speeds.
Sidewinder X3 Pro Final Thoughts
The X3 Pro’s resilience was evident when it survived shipping impacts with minimal damage, thanks to its robust build and superior packaging. The only issues were a loose Y-axis and a cracked nozzle wipe bin, the latter proving to be a non-issue.
Our review approach typically relies on using only the resources provided by the manufacturer, ensuring a realistic out-of-the-box experience. This approach highlights how far a user might need to go to achieve advertised performance, emphasizing the importance of adequate resources. In theory you can get anything to work if you throw enough resources at it, but most operators are not able to do so.
The X3 Pro was straightforward to assemble, but the user manual had confusing instructions, potentially troublesome for a novice. The same applied to slicer setup; the necessity to manually configure a printer in UltiMaker Cura and create a PLA profile was less than ideal, indicating a need for a more automated setup process. Additionally, the manual omitted crucial calibration instructions for input shaping and linear advance. However, Artillery’s tech support compensated well by providing necessary documentation when asked.
Mid-review, we transitioned from UltiMaker Cura to PrusaSlicer. Though this initially disrupted our review workflow, the PrusaSlicer_config_bundle was a significant improvement. It instantly set up the X3 Pro in the slicer, complete with profiles for PLA, PETG, ABS, and TPU, and custom configurations. This level of automation in slicer setup exemplifies what should have been included with the printer from the beginning. We hope this becomes standard practice for future releases.
The X3 Pro’s hardware mostly impressed us, with its rapid heating nozzle and responsive LCD touchscreen standing out.
The hotend heated from 18°C to 200°C in about 38 seconds, even accounting for stabilization time. We noticed a faint whistle from the heatbreak fan, which was negligible except during extended periods beside the printer.
The prints using custom Artillery profiles were excellent, successfully completing previously failed jobs. The nozzle cleaning feature, while neat, seemed somewhat redundant for a single extruder setup, hinting at possible future developments for multi-extruder or multi-material models.
We observed a few peculiarities. The inclusion of a spare nozzle without the necessary tool for changing it seemed like an oversight. Adjusting the extruder gear tension required removing the cover to access a hidden hex bolt, raising questions about whether this was a manufacturing miss or a deliberate design choice to limit user adjustments. The X3 Pro’s motion system relies on v-slot wheels, differing from the more robust linear rails seen in other high-speed printers, which offer greater precision and smoother motion.
In conclusion, the X3 Pro is a solid printer, but its optimal performance seems to be in the 120-150mm/s speed range for standard 0.2mm layer prints. This positions it more as an entry-level device in the high-speed printing category, competent but not pushing the boundaries of printing speed.
ARTILLERY
SIDEWINDER X3 PRO 3D PRINTER
★ BEGINNER 4/10
★ ENTHUSIAST 7/10
★ PRODUCTION 5/10
BEST FEATURES
✔︎ Rapid heating
✔︎ Superior touchscreen
✔︎ Prusaslicer bundle
QUESTIONS
✖︎ Poor instructions
✖︎ High-speed profiles
✖︎ Z-gap adjustment
This is part three of a three part series, please read parts one and two.
Via Artillery