
We’ve finally completed our very long test of Bambu Lab’s amazing H2D 3D printer.
This is part one of a three part series, please read parts two and three.
Bambu Lab H2D Background
The H2D is currently Bambu Lab’s flagship product, providing powerful 3D printing capabilities for both business and prosumers.
The H2D is a more advanced – and larger – 3D printer than its predecessor, the well-regarded and highly popular X1C. The machine comes in two flavors: a standard dual-nozzle 3D printer, or one with an added laser engraving attachment. Our test involved the standard unit, as the laser feature is something only few operators would be interested in using – and lasering is not 3D printing, after all.
Bambu Lab H2D Specifications and Features
The key feature of the H2D is the “D” in the name, which stands for “Dual”. The H2D has a dual-nozzle setup, which should provide significant advantages when printing two materials. More on that later.
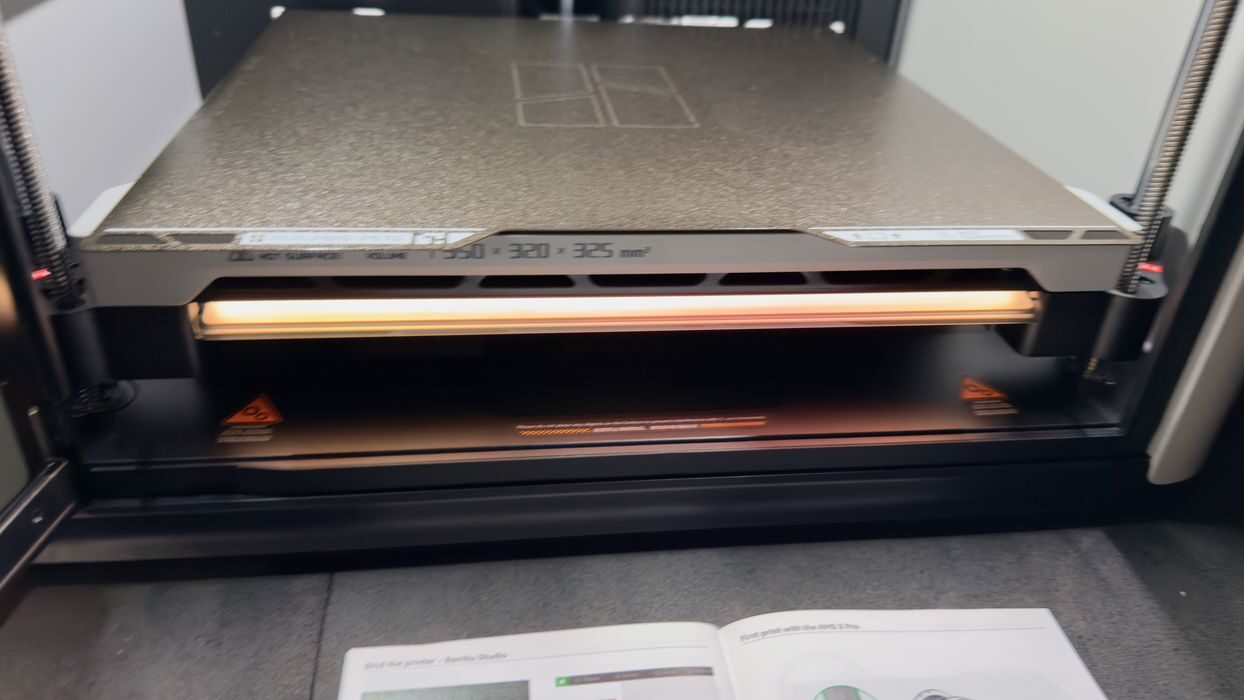
I mentioned the H2D is larger, and it does indeed have a larger build volume. However, there’s a bit of a catch: the dual nozzles affect the build volume. That’s because they are mounted together on the X-axis, and therefore the left nozzle can’t quite reach the right hand side because the right nozzle is in the way, and vice versa.
That effect occurs only in dual nozzle mode, so there are actually two build volumes:
- Single Nozzle Printing: 325 x 320 x 325 mm
- Dual Nozzle Printing: 300 x 320 x 325 mm
You can see that the Y and Z axes remain the same, but it’s on the X-axis where you lose a little bit of volume. Nevertheless, the H2D, even in dual-nozzle mode, is bigger than the X1C’s 256 x 256 x 256 mm.
In addition to the build volume, there are other changes. The hot end is able to reach a whopping 350C, one of the highest seen on widely used desktop equipment. This, and the 120C build plate temperature, allows the H2D to successfully 3D print a wide range of engineering materials.
Bambu Lab lists these materials as supported: PLA, PETG, TPU, PVA, BVOH, ABS, ASA, PC, PA, PET, Carbon/Glass Fiber Reinforced PLA, PETG, PA, PET, PC, ABS, ASA, PPA-CF/GF, PPS, PPS-CF/GF. Very likely it is able to handle basically any filament that isn’t a “high temperature” material.
To aid printing hotter materials, the H2D has active chamber heating, up to 65C. This is quite different from passive heating systems that use heat from the build plate. In the H2D, the heat is created and blown around the chamber, making the heat even throughout the build volume. This heat dramatically reduces the thermal gradient between freshly extruded hot material and cooled material lower down. In other words, far less warping.
The H2D is a “high speed” 3D printer, able to move at up to 1000mm/s, which is actually pretty common these days. What does matter, however, is the maximum flow rate for the extrusion system, as that actually determines how fast you can print. In this case the H2D’s stock flow rate is a huge 40 cubic mm/s, larger than the X1C’s 32 cubic mm/s. In other words, the H2D can print faster.
There are four computer vision cameras and 36 sensors that are used by the onboard AI to monitor print activities. The idea is that the H2D will use everything possible to dynamically tune the machine to print near-perfect 3D models.
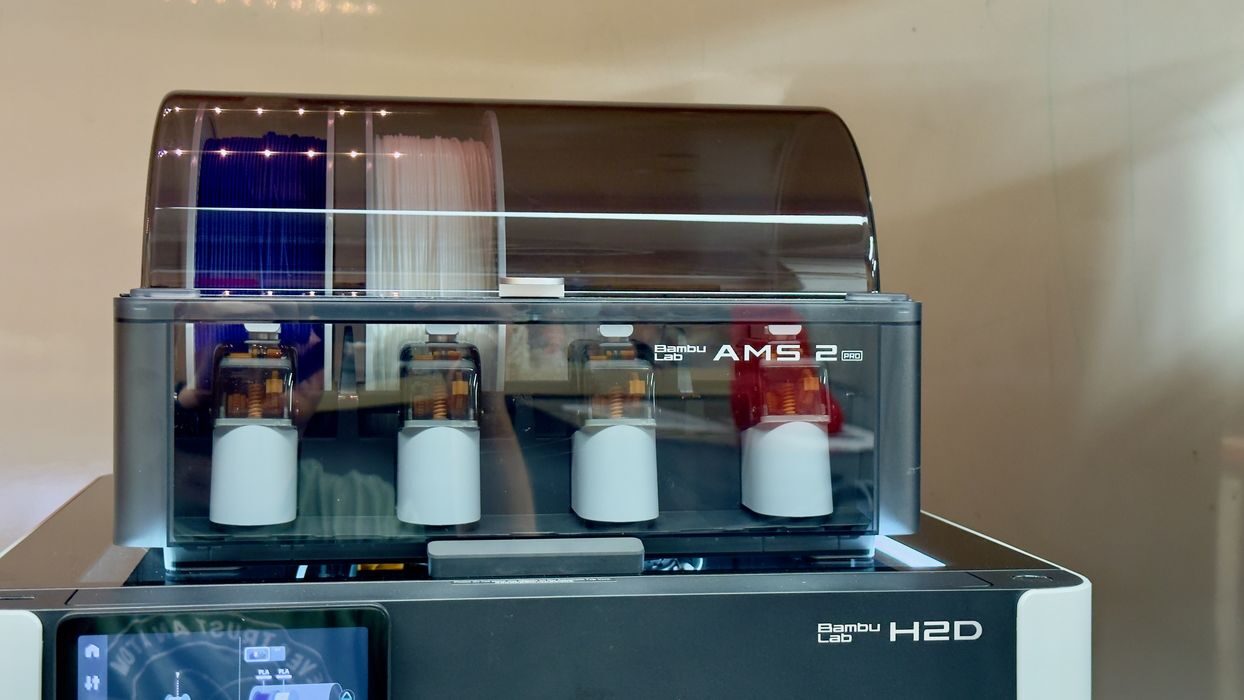
The H2D Combo version comes with a four-spool filament swapping system. The “AMS” was made popular with the X1C, but the H2D uses a more advanced version, the AMS 2 Pro. The difference with the AMS 2 Pro is that it also acts as a drying system, with heaters, vents and desiccant to ensure filament remains moisture free. It is also able to store filaments in a dry environment for lengthy periods.
Bambu Lab H2D Unboxing and Assembly
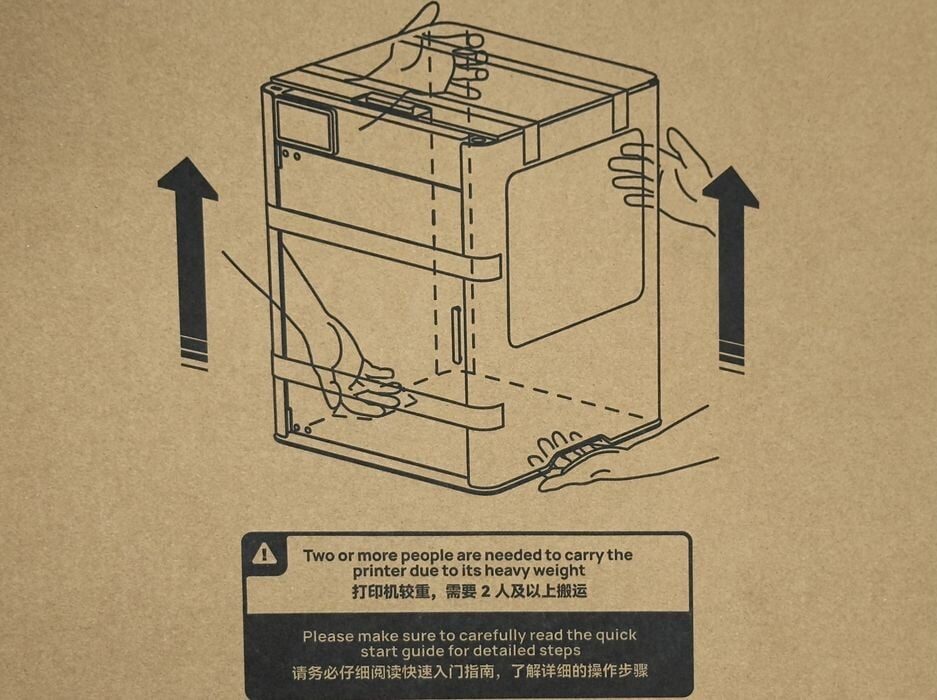
The H2D Combo comes in a rather hefty box, weighing 31kg. You will almost certainly need two people to lift the machine safely, so make note of that when you plan to set up your H2D.
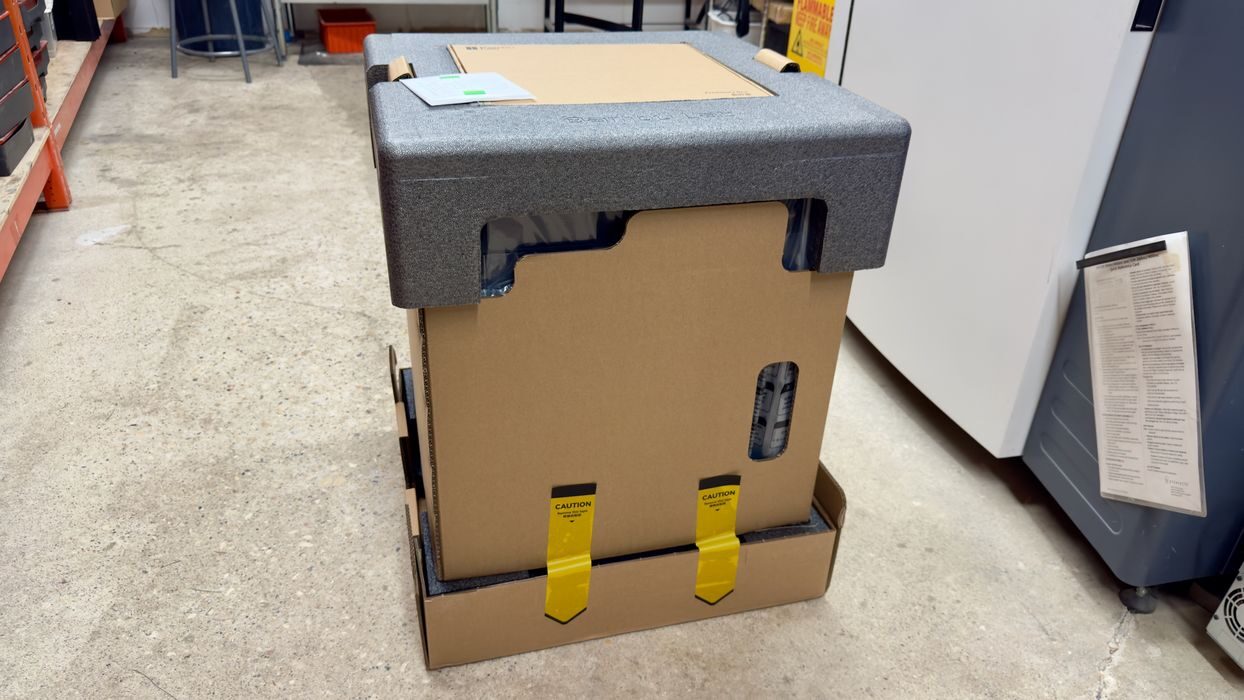
Fortunately, Bambu Lab has boxed the H2D so that you don’t have to lift it out of the box. Instead you lift away the sides of the box by releasing some tabs at the bottom. We found the H2D to be packed extremely well, and it is highly unlikely that it will be broken on delivery, unlike some other 3D printers we’ve had in the past.
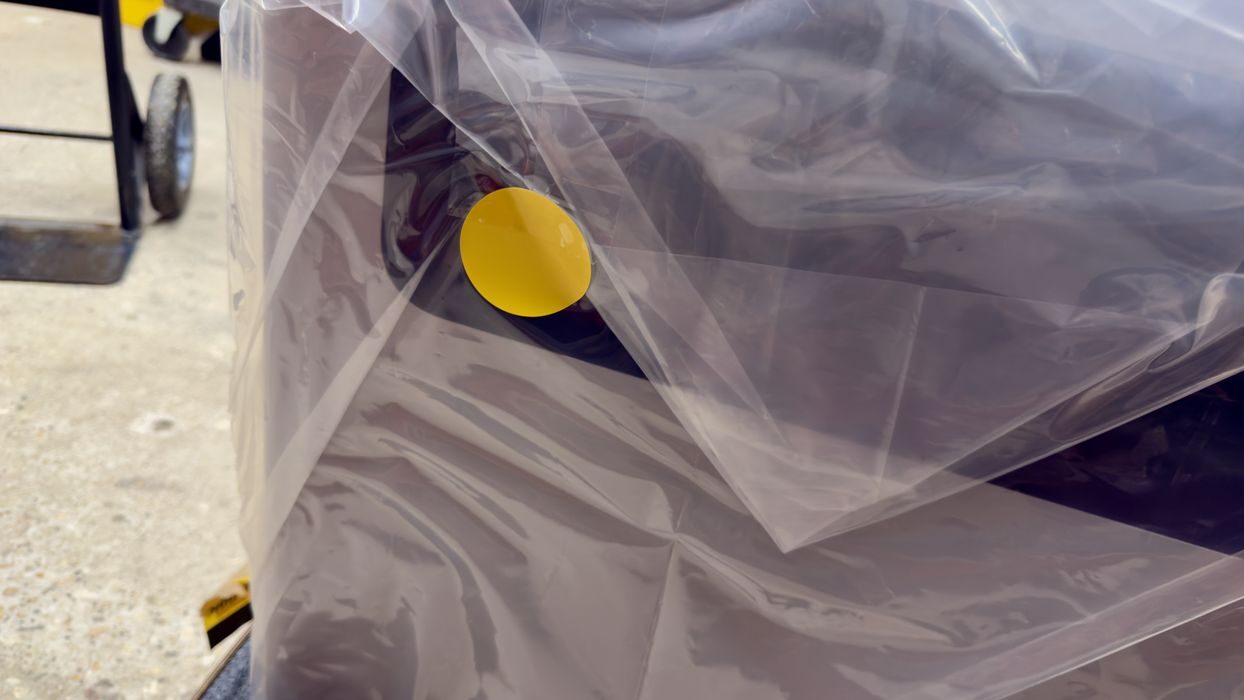
The machine is bagged but in a way that’s actually sealed. This protects the H2D from dust incursions during transit.
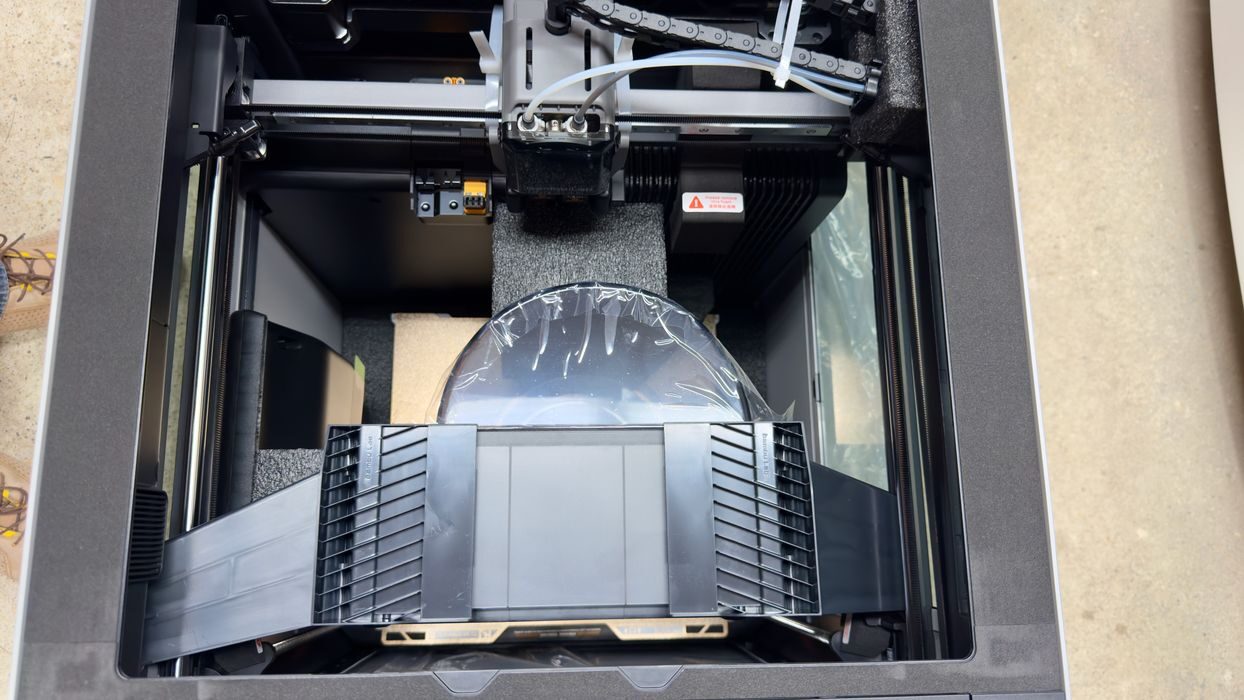
You’re probably wondering where the AMS 2 Pro is located, as there is only one box. It turns out that Bambu Lab has figured out a way to insert it into the otherwise empty build chamber during shipment. This requires some throw away brackets to hold it stable, which must be removed.
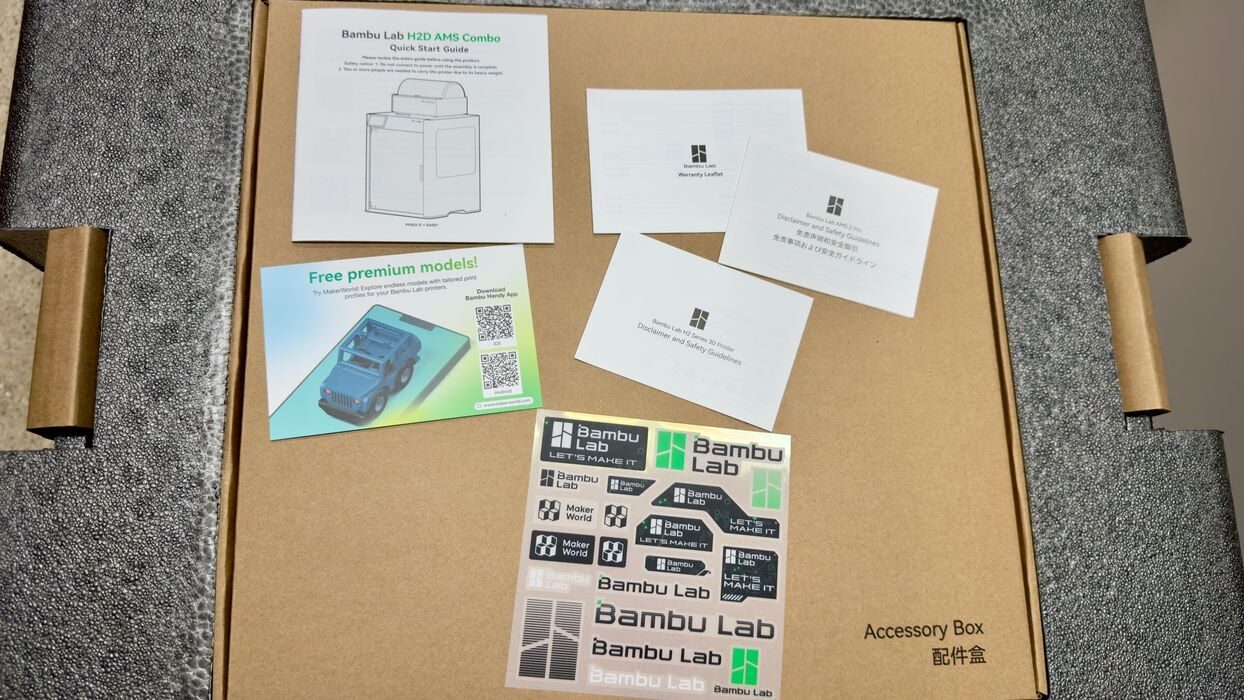
On top of the package we found the quickstart guide, literally the first thing you see. Bambu Lab has also started to include a set of stickers, much like Apple has done in the past on their products. I’m wondering if they aspire to be as big as Apple at some point in the future?
All desktop 3D printers have feet, but the H2D’s are quite different. They are large and made from a very flexible material, almost like a gel. I suspect the machine will be quite shaky when we run it? (Spoiler: Yes)
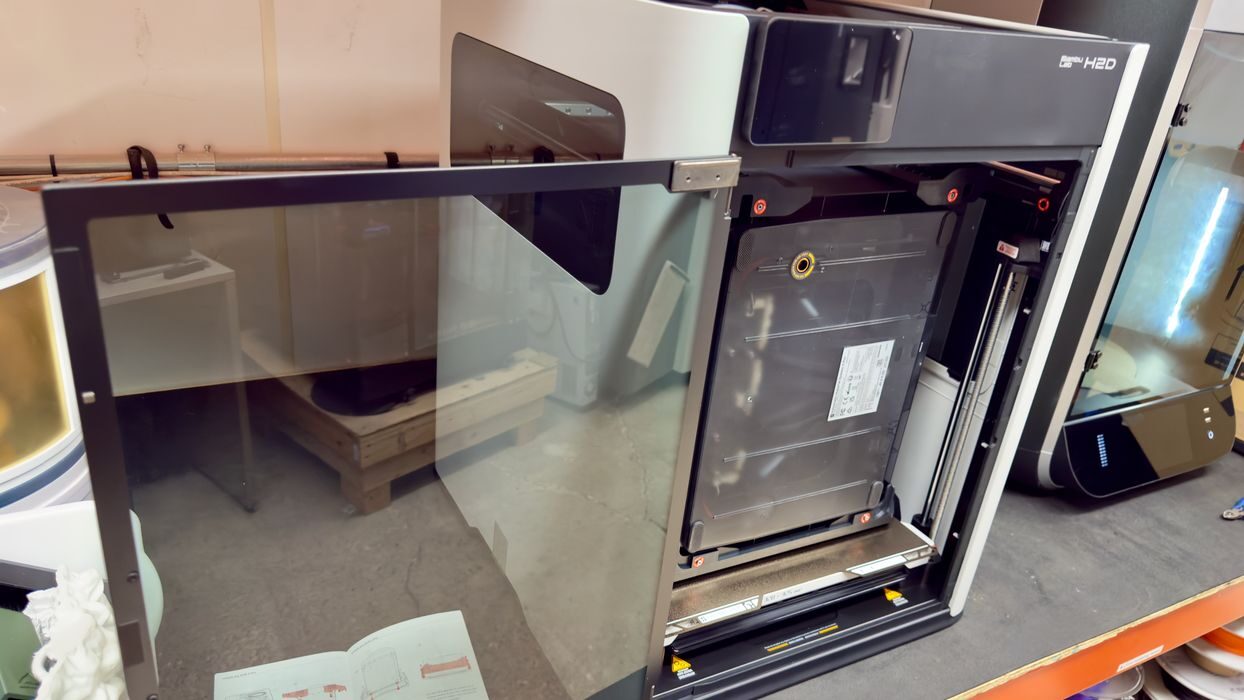
We noticed the door opens a full 180 degrees, unlike the X1C’s, which opens only part way. This is why many operators smash their glass X1C door – they try to open it too far. However, on the H2D it opens fully and there is little risk of that happening. This is one of many learnings that Bambu Lab has incorporated into the H2D.
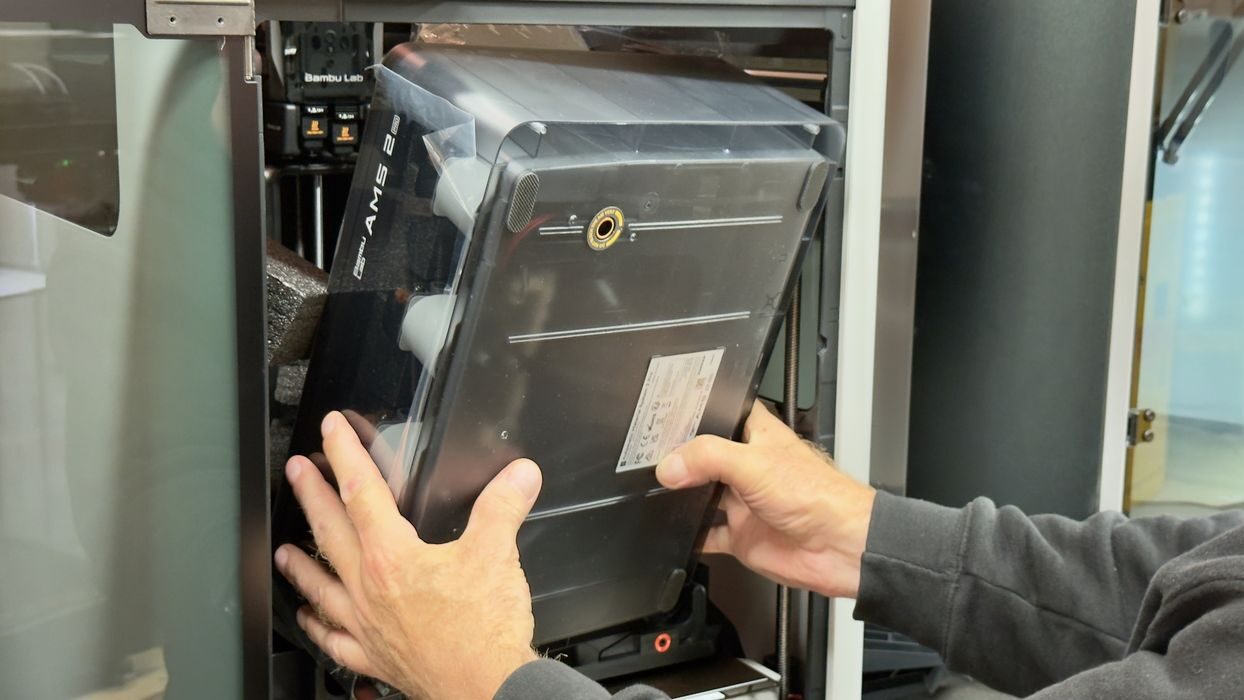
Removing the AMS was a simple task, and we set it aside for later setup.
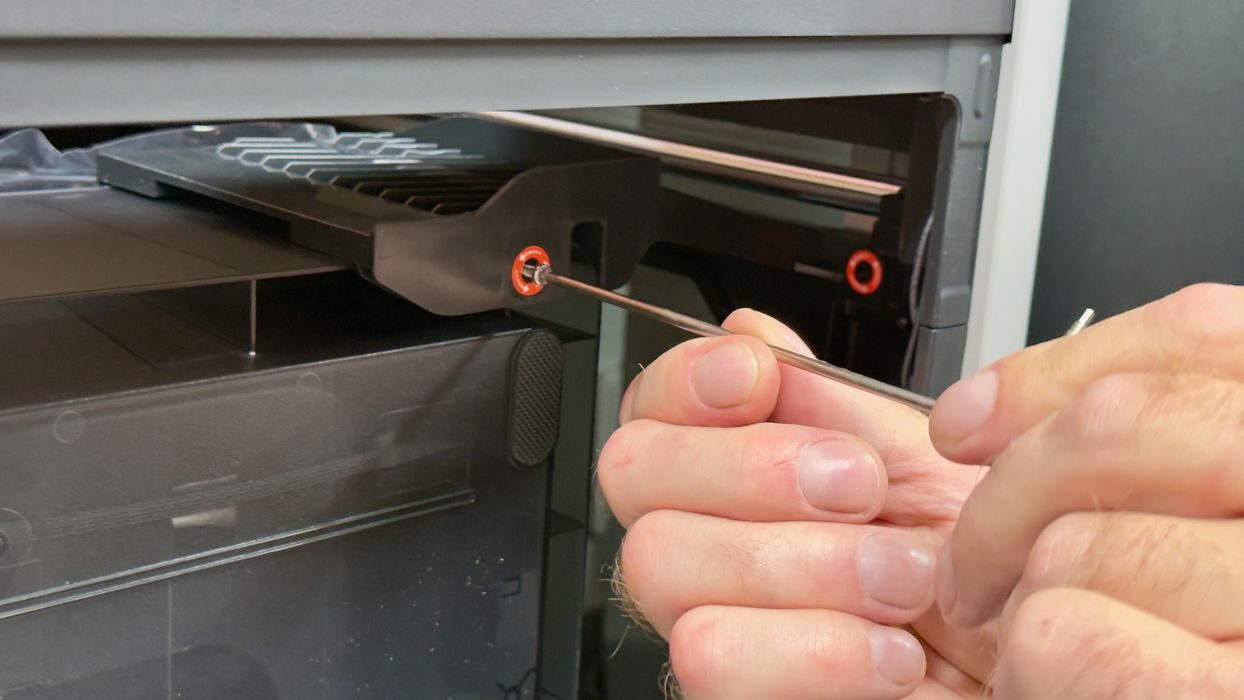
Bambu Lab continued their tradition of labeling bolts that have to be removed, and we found them easily. However, it’s easy to get some mixed up if you’re reading the instructions too fast.
There were several zip ties holding the X-axis from moving during shipment, which is typical. The instructions list four to remove, but we found only three. It seemed there was a slight mismatch between the instructions and the actual machine, so we had to pay a lot more attention as we proceeded. You should, too.
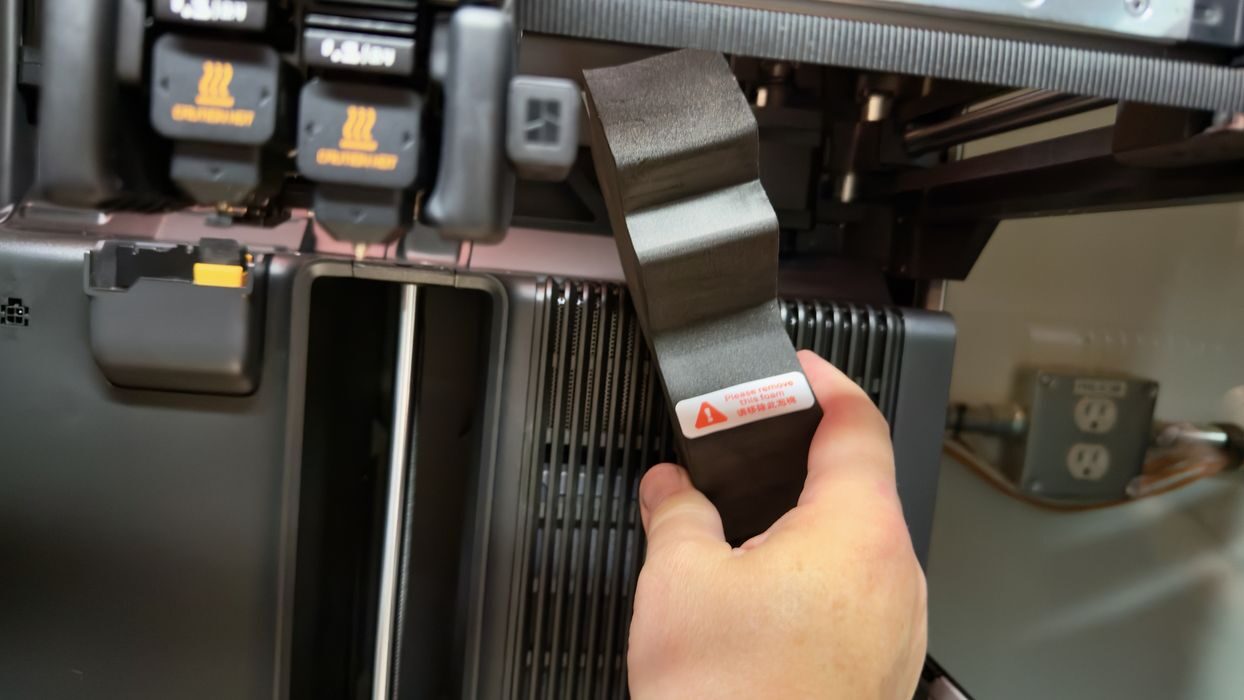
There were multiple blocks of foam for shipment that had to be removed. Some are labelled, some are not labelled. Some are obvious, and several are small and not as noticeable. The foam blocks to remove are not described in the instruction manual, so you have to find them on your own, and a few are very easy to miss.
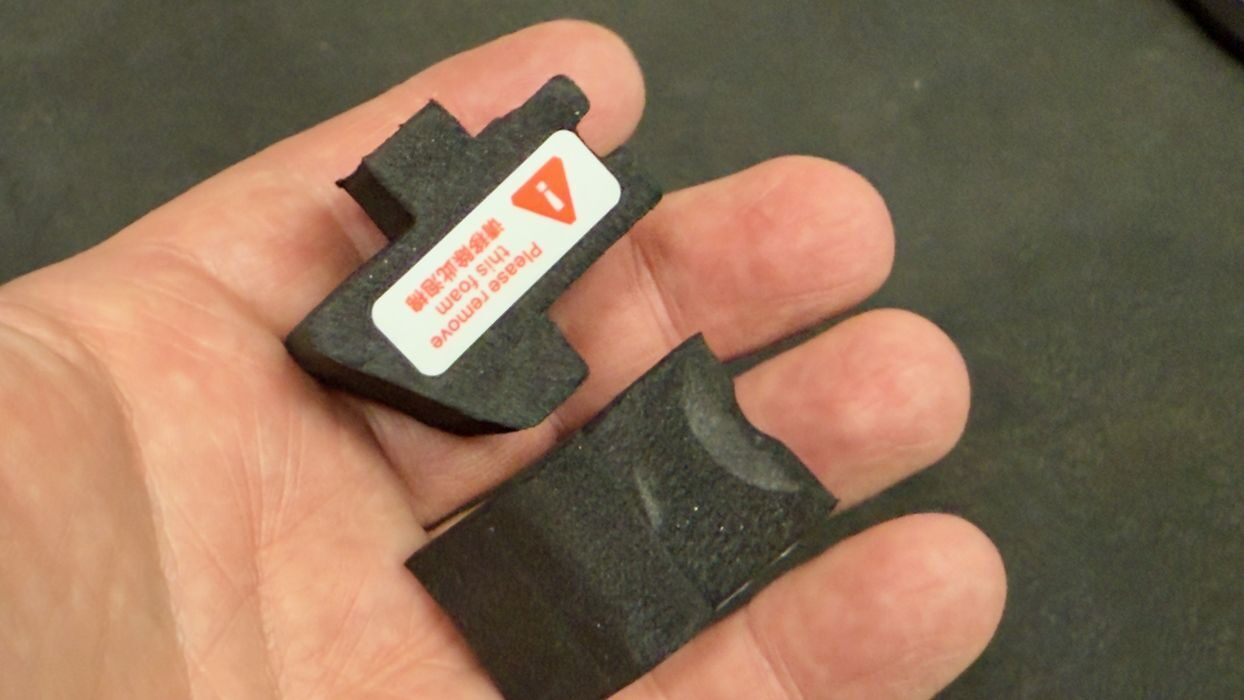
These, for example, were hidden on the corners of the motion system and we didn’t notice them until we powered on the machine. Best practice would be to very carefully look around the machine and remove everything. That, or Bambu Lab includes a proper list in the instructions.
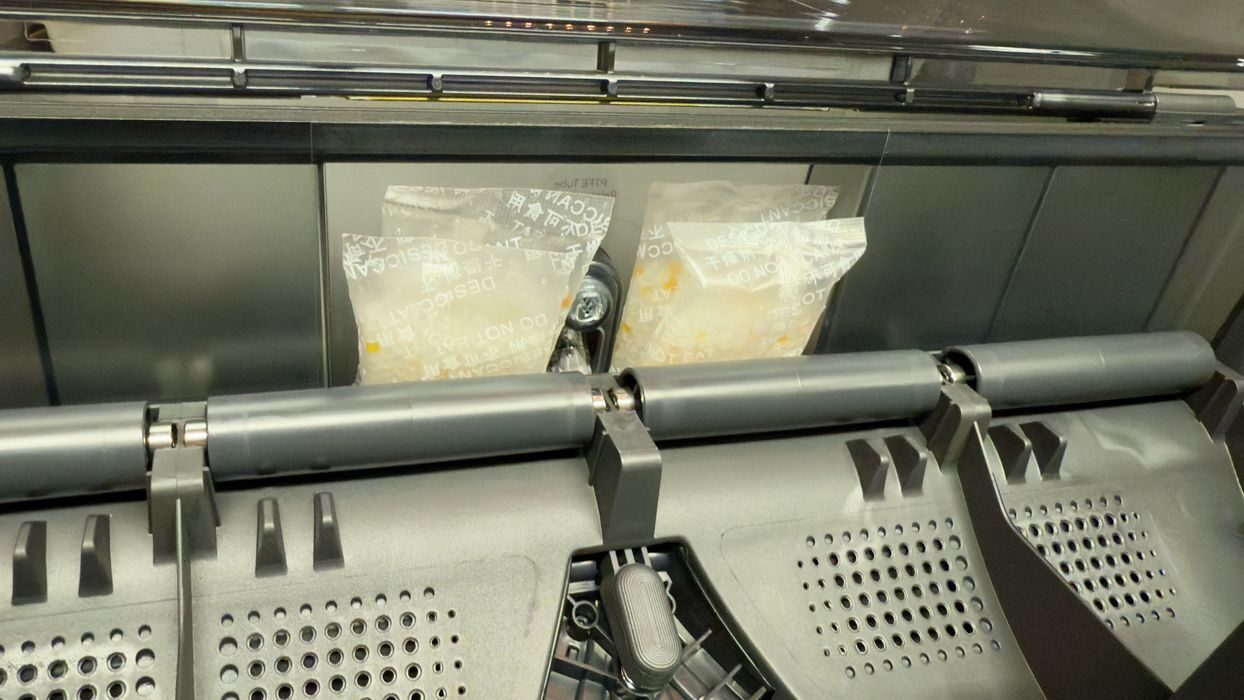
The AMS 2 Pro was next, and it’s pretty straightforward to install. Here you must unbag the desiccant packets. They are used to absorb moisture when the AMS 2 Pro heater isn’t running. I presume the AMS 2 Pro has a cycle to periodically dry them out.
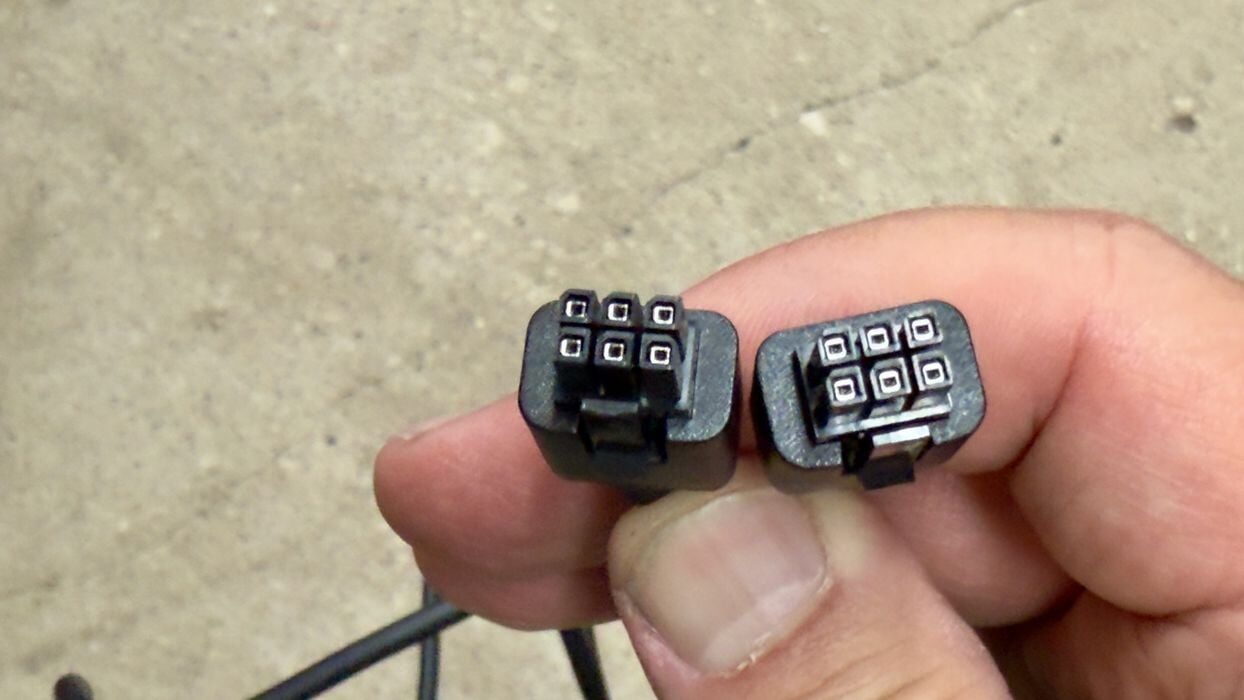
The AMS 2 Pro’s cable has identical ends, so it doesn’t matter which end you use. This is different from their other machines that have four-six connectors that must be correctly oriented.
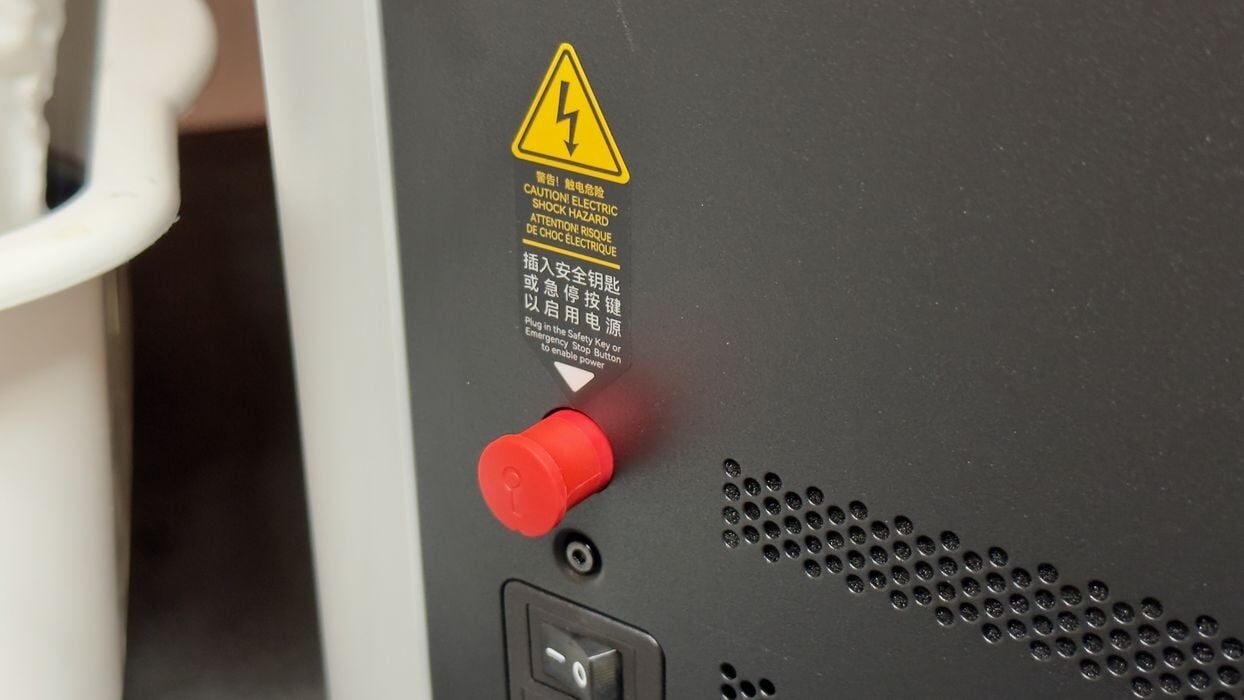
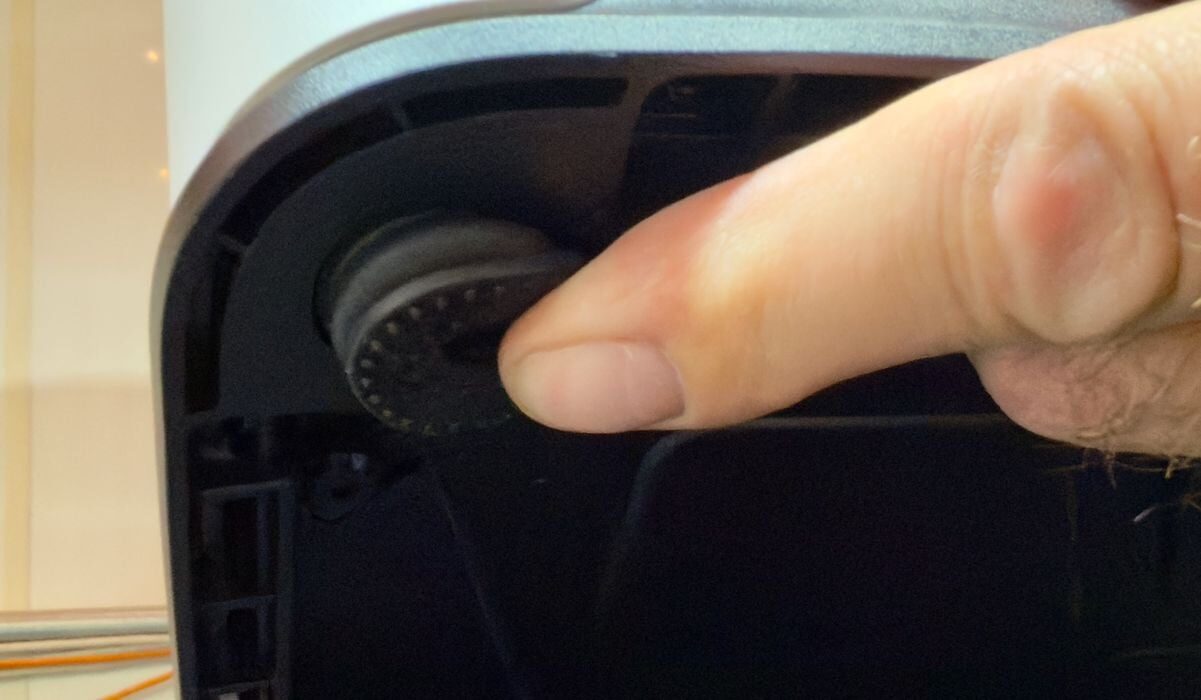
On this machine there is a “safety key” on the side of the machine. The idea here is that you can quickly pop out the key to power it down in an emergency, say if your cat somehow got into the build chamber. This is analogous to the red emergency power off (EPO) button you see on industrial equipment. However, here it is not nearly as visible, and will be harder to find in a panic. But at least there is one.
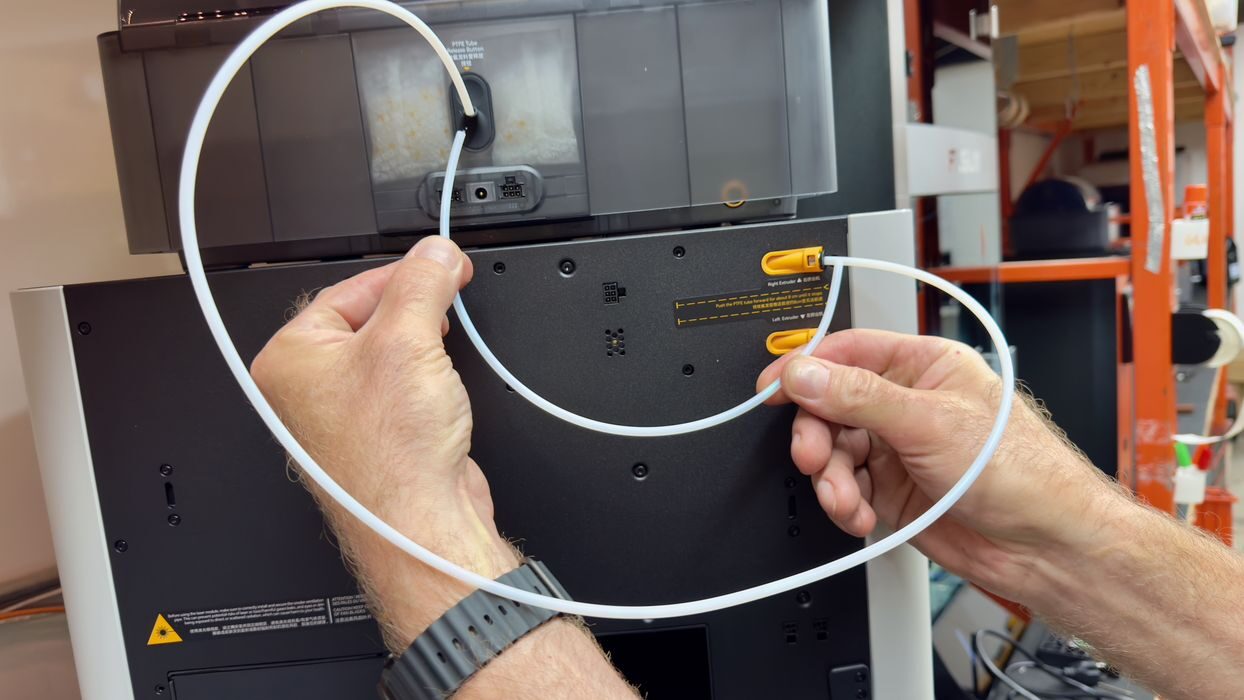
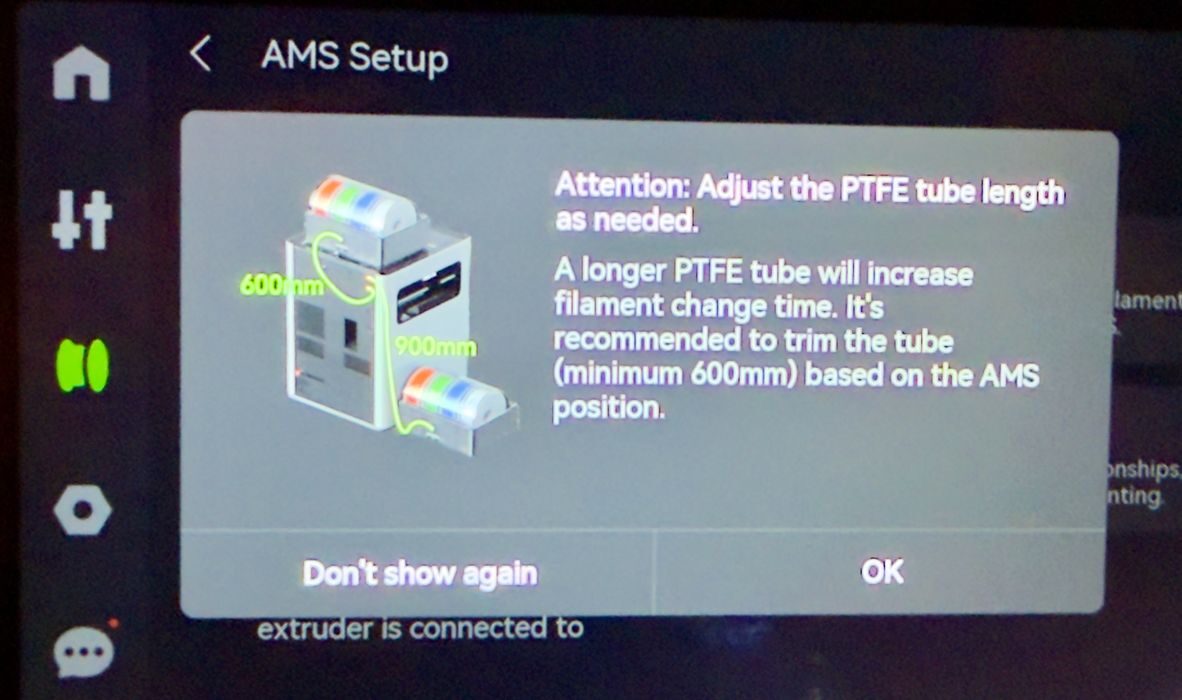
We were a bit confused by the PTFE tubes used by the AMS 2 Pro. One included seemed to be way too long, and the other way too short. It turns out the long one is used if you want to put the AMS 2 Pro on the table beside the machine, and you can trim it if you have the unit on top.
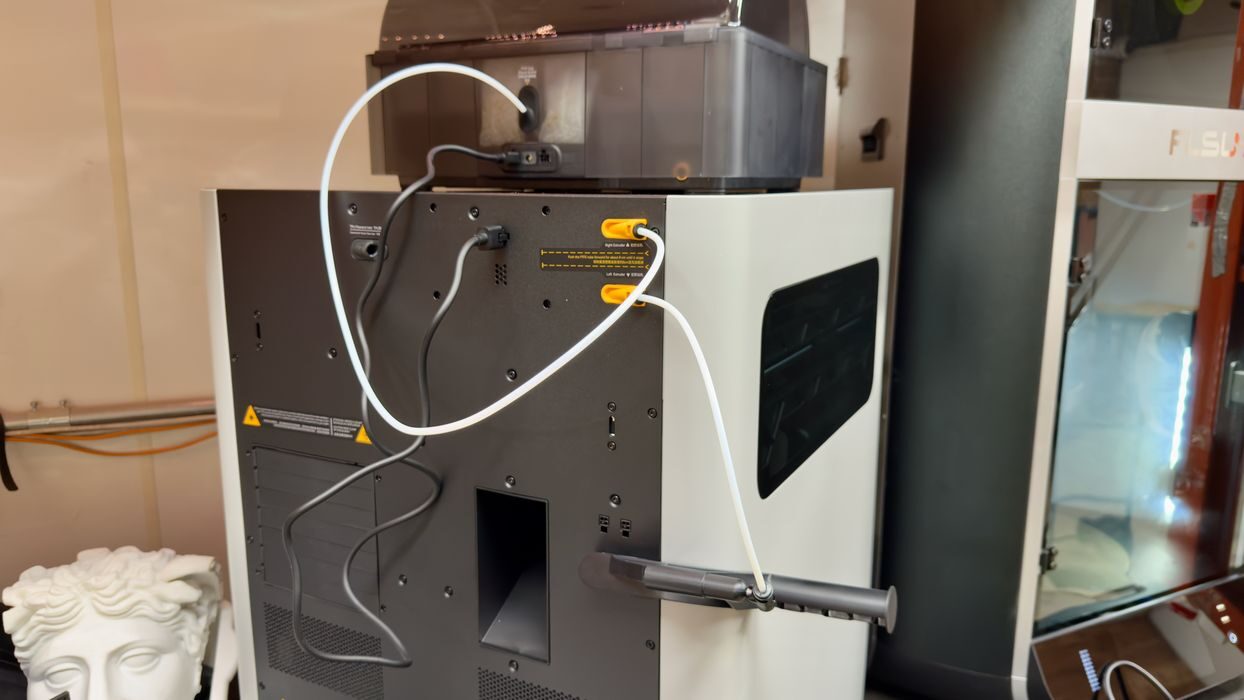
The shortie is used for the external spool, as shown here.
In all, the AMS 2 Pro was very straightforward to set up. I did notice that the structure of the AMS 2 Pro does not permit stacking. Some other AMS-like systems have a flat top, and you can stack them up if you want more than four colors. The H2D likely requires you to put secondary AMS 2 Pro units on the table beside the H2D.
I suspect you’d probably need some kind of racking solution if you want to use, say, four AMS 2 Pro units. Otherwise you’d occupy quite a bit of table space.
One interesting change with the AMS 2 Pro is the in the bottom of the machine you can easily access the PTFE tubes. In the previous AMS you’d have to do some disassembly to do maintenance on them, but not so in the new version.
We were now ready for power up the H2D.
Bambu Lab H2D Setup and Calibration
Powering up the H2D is fast, and after the initial logo appears on the touchscreen, it quickly walks you through a few more basic set up tasks, such as identifying the network and WiFi credentials, language, etc.
A key point is binding the printer to your Bambu Lab account. If you don’t have one, you’ll have to make one. Fortunately, we have an account for our existing fleet of 3D printers, so we were merely adding another printer to the set.

The H2D presents a large QR code on the touchscreen, which is scanned by the BambuHandy app, and the system then links the printer to your account. Note that you can’t really do this with the desktop BambuStudio app, so be sure to have the app on a mobile device with a camera. There is likely a way to link the machine using serial numbers or some other identifier, but it’s very convenient and fast to use the QR code method.
Once that’s all set up, the system must do its internal calibrations. This includes bed leveling, Z-gap measurement, nozzle distance calibration, high speed calibrations and more. This is all automated, but in our case the process took a whopping 31 minutes to complete. That is by far the longest calibration duration I’ve seen on any 3D printer, but I’m hoping it pays off later with high quality prints.
There’s really not much more to setting up the machine. For us the unboxing and calibrations took about an hour and a half, but for normal operators that aren’t stopping constantly to take pictures, it should be faster.
At this point we were ready to do some 3D printing on the H2D.
This is part one of a three part series, please read parts two and three.
Via Bambu Lab