
Our look at the new Centauri Carbon 2 3D printer from Elegoo continues with Setup, Calibration, and Operations.
This is part two of a three-part series, please read parts one and three.
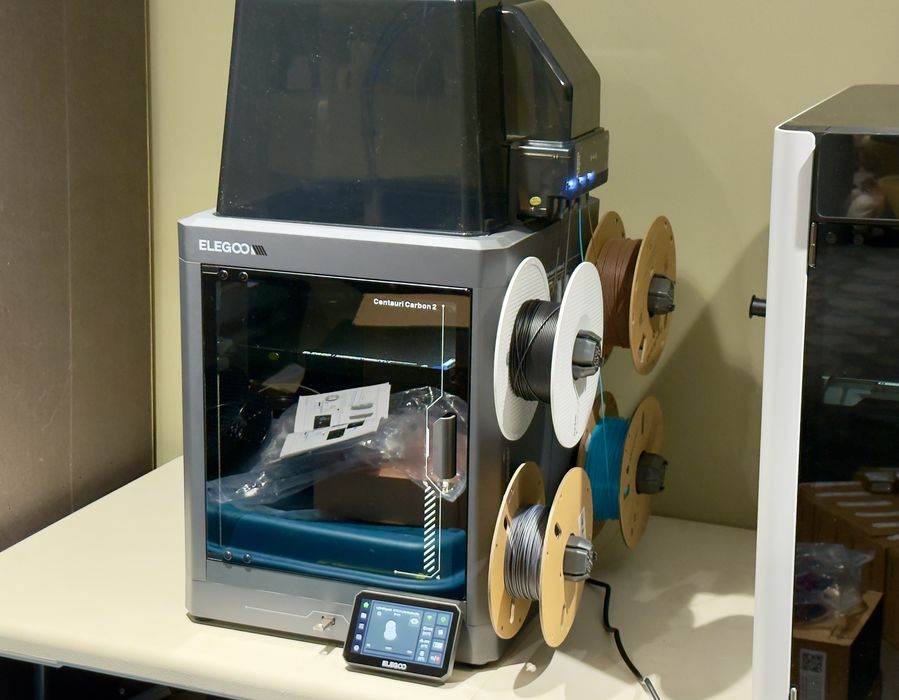
Centauri Carbon 2 Setup and Calibration
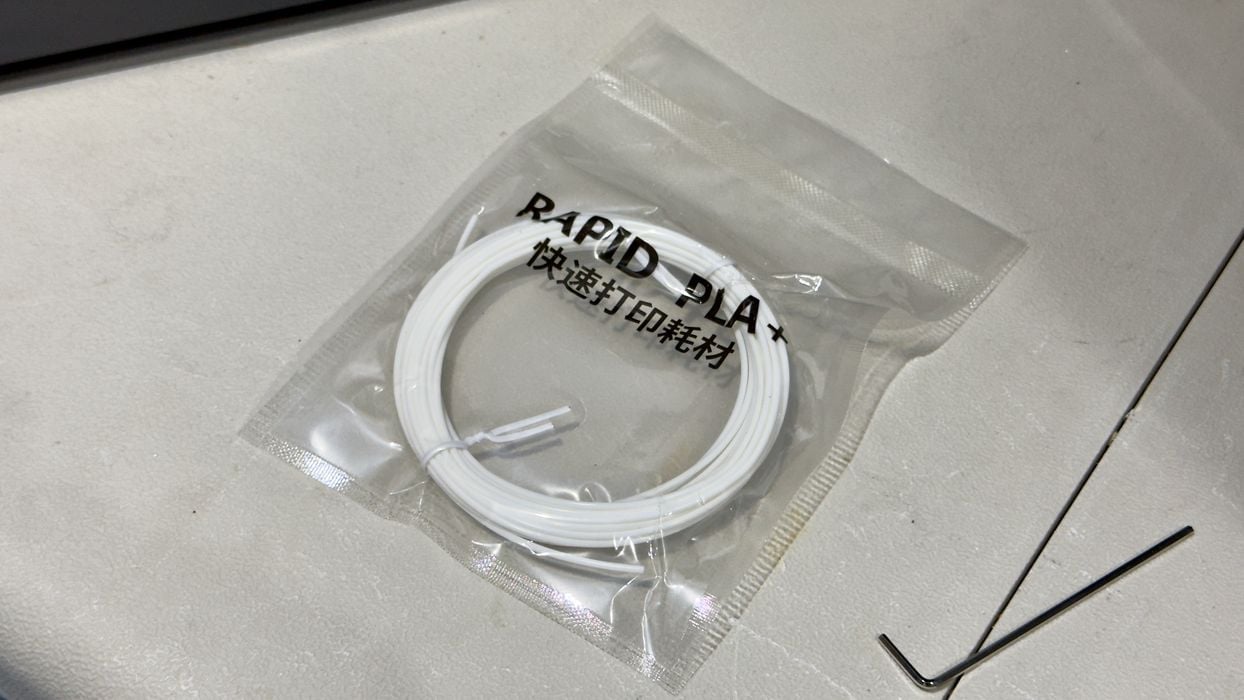
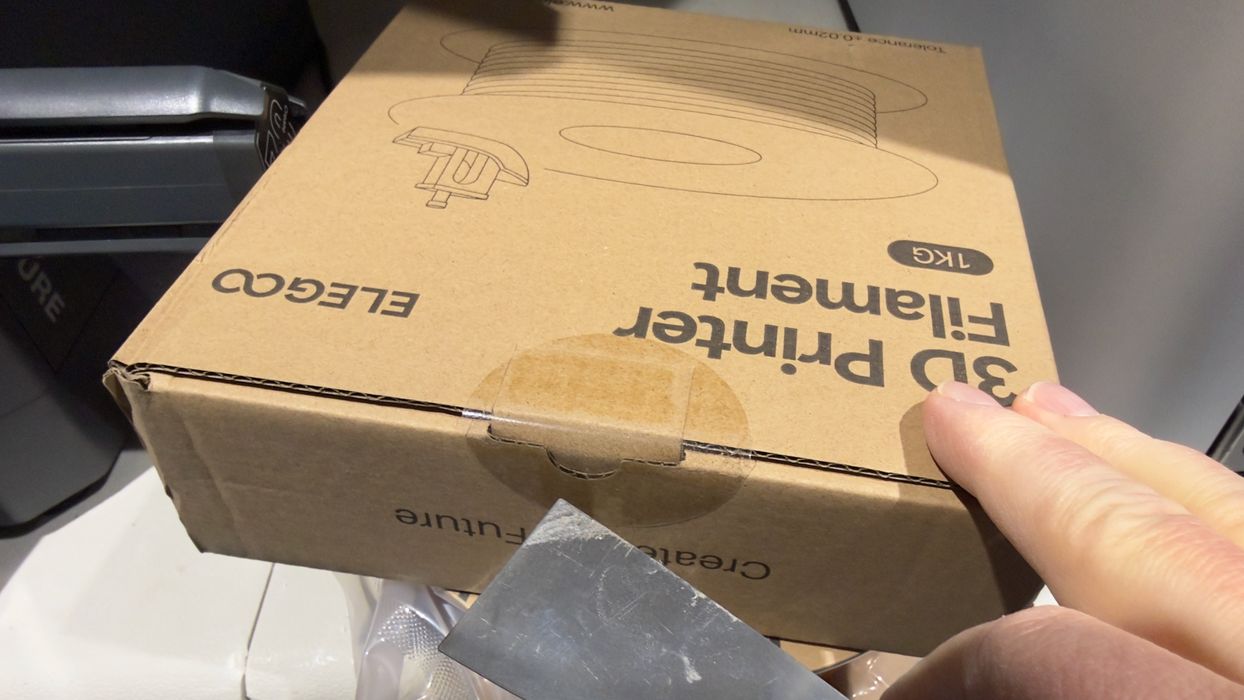
When getting organized to power up the machine, I noticed that Elegoo had included one of those tiny, useless coils of PLA that one often finds in a new desktop 3D printer. These I always toss out because they are too small to print anything. But on the Centauri Carbon 2 they are even more useless because the hubs are expecting actual spools on them. Elegoo should just drop them from the shipment entirely.
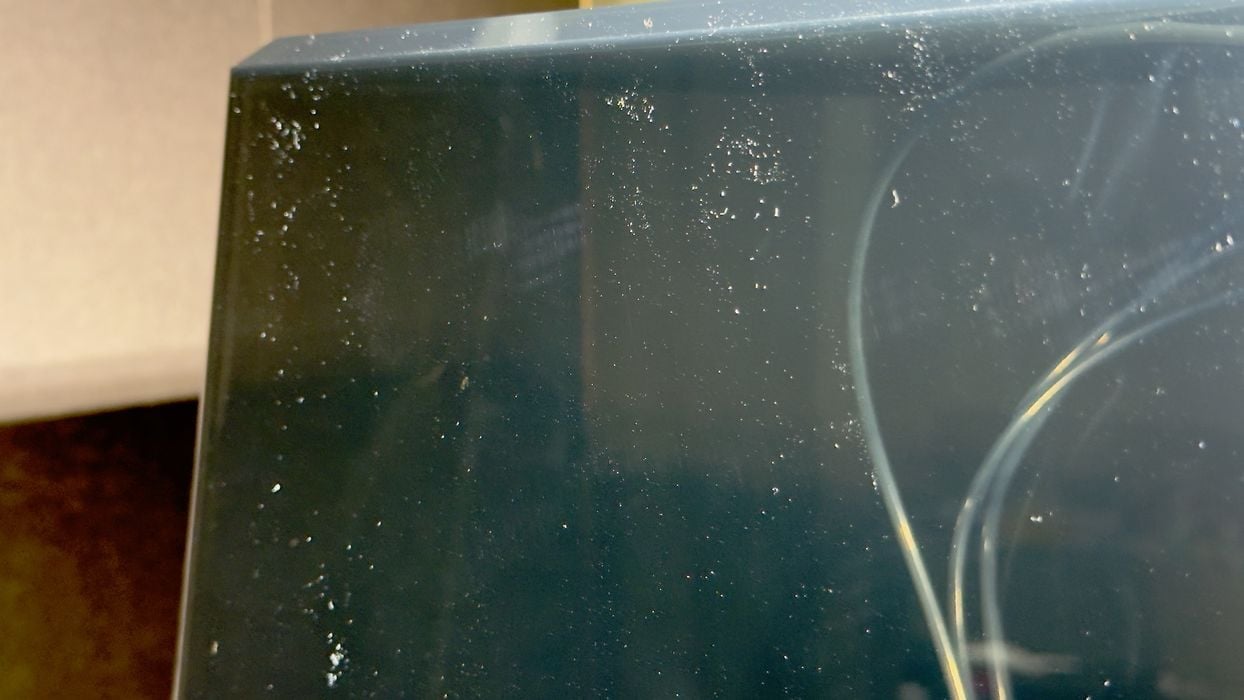
I also noticed that the large acrylic cover is an incredible dust magnet. Here you can see a lot of dust. This image was taken seconds after carefully wiping it with a microfibre cloth.
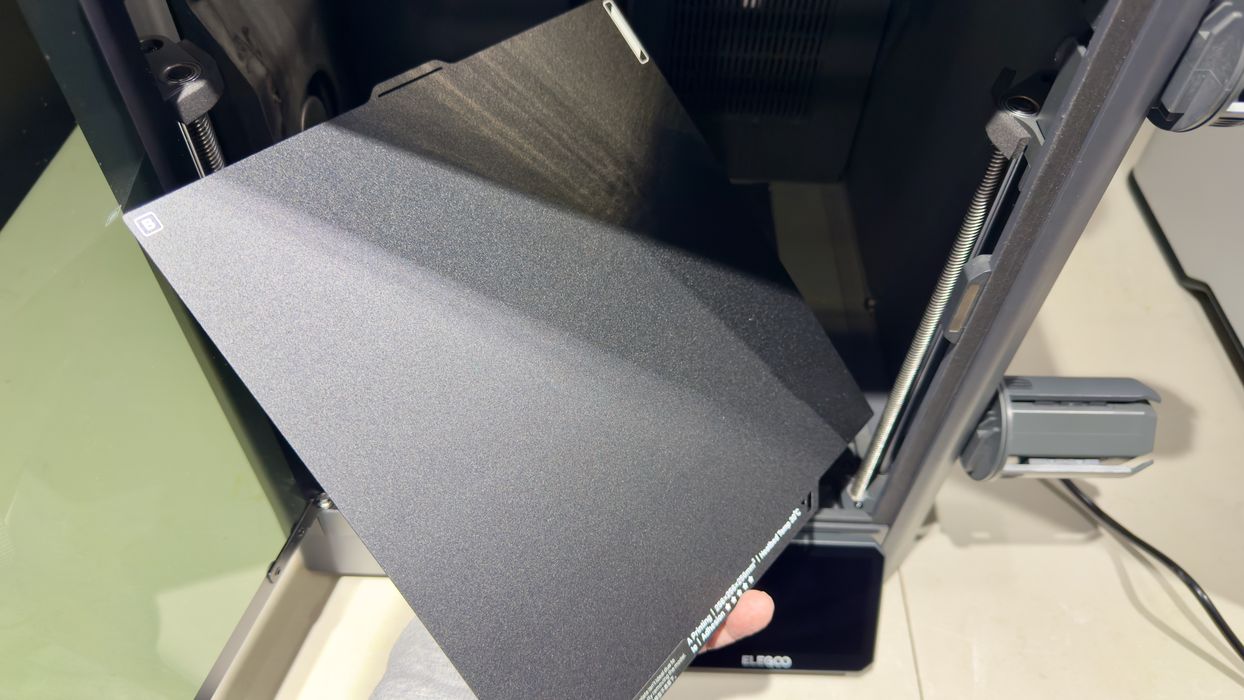
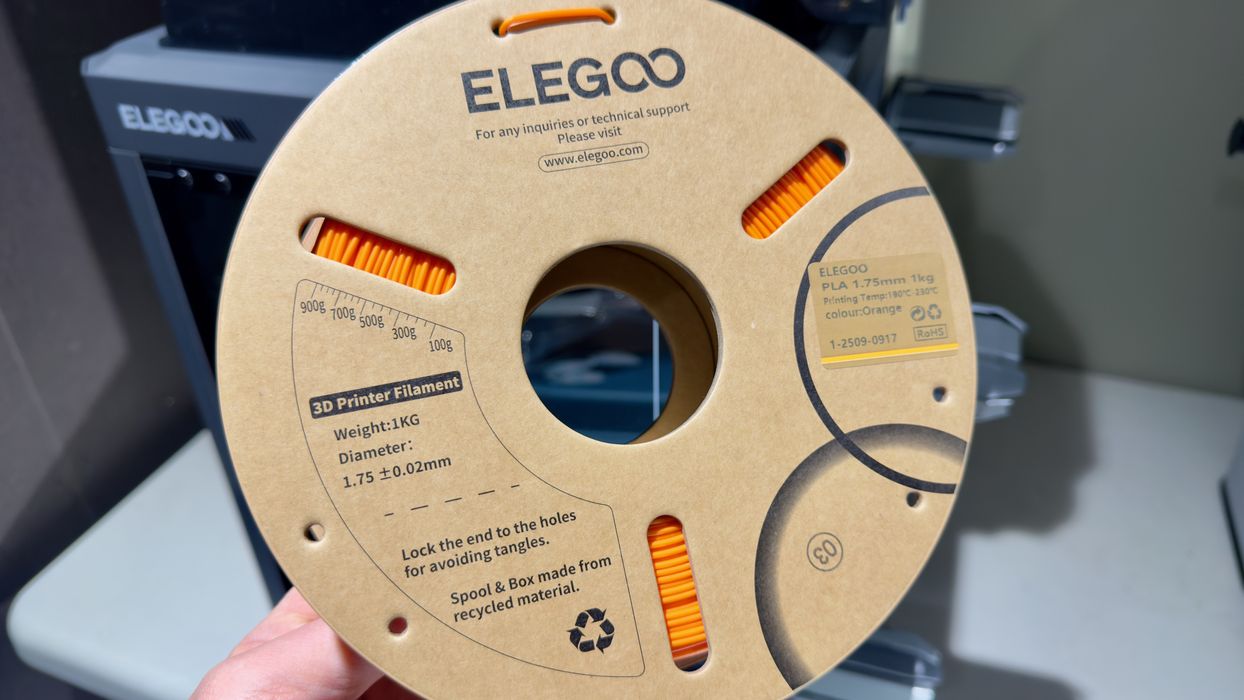
There is a single build plate shipped with the Centauri Carbon 2, and I noticed that it is double-sided. That’s not unique, but I did see that Elegoo has labeled each side: there are “A” and “B” sides. This should be useful when cleaning the plate: you will know which side is which.
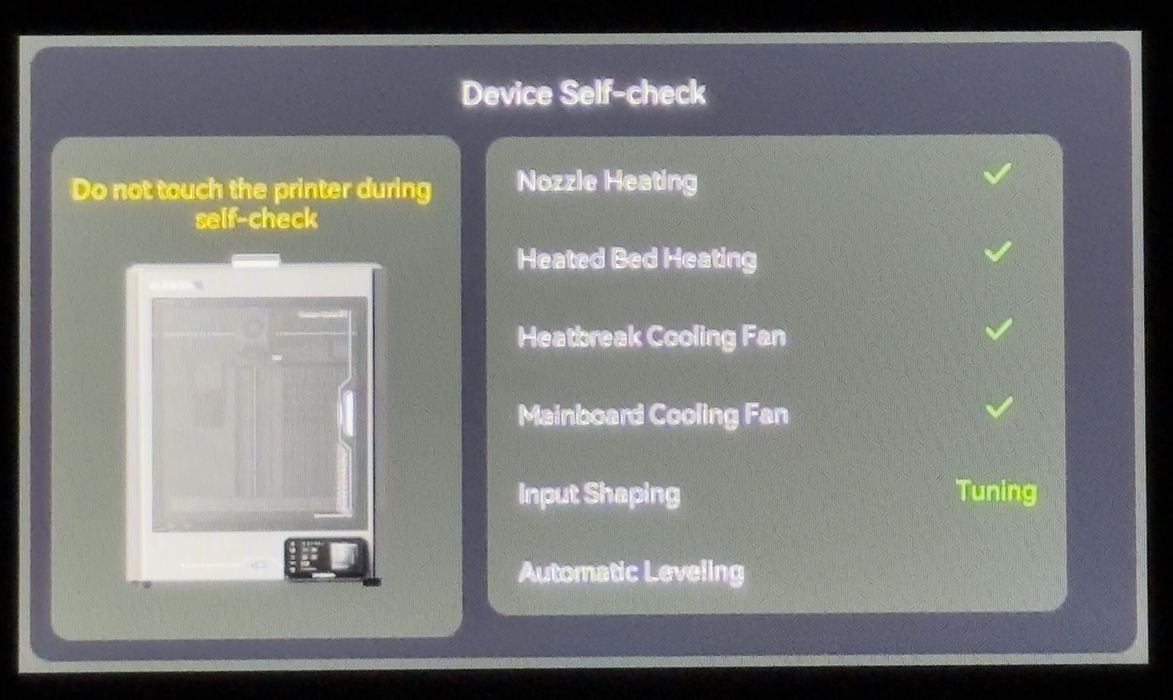
Finally, after power-on, I was presented with the usual self-check process. This sequence checks the electronics, heater, and fans to make sure they work, which takes hardly any time at all. But then it performs the not-quite-so-noisy input shaping calibration and the lengthy bed levelling process. In all, this took maybe 15 minutes to complete.

Oh no — after calibration, there is a firmware update. I had to download it, and guess what — we are recalibrating everything again. It seems that every desktop 3D printer manufacturer does this, and it wastes everyone’s time. My request: please update the firmware FIRST before doing all the lengthy calibrations.
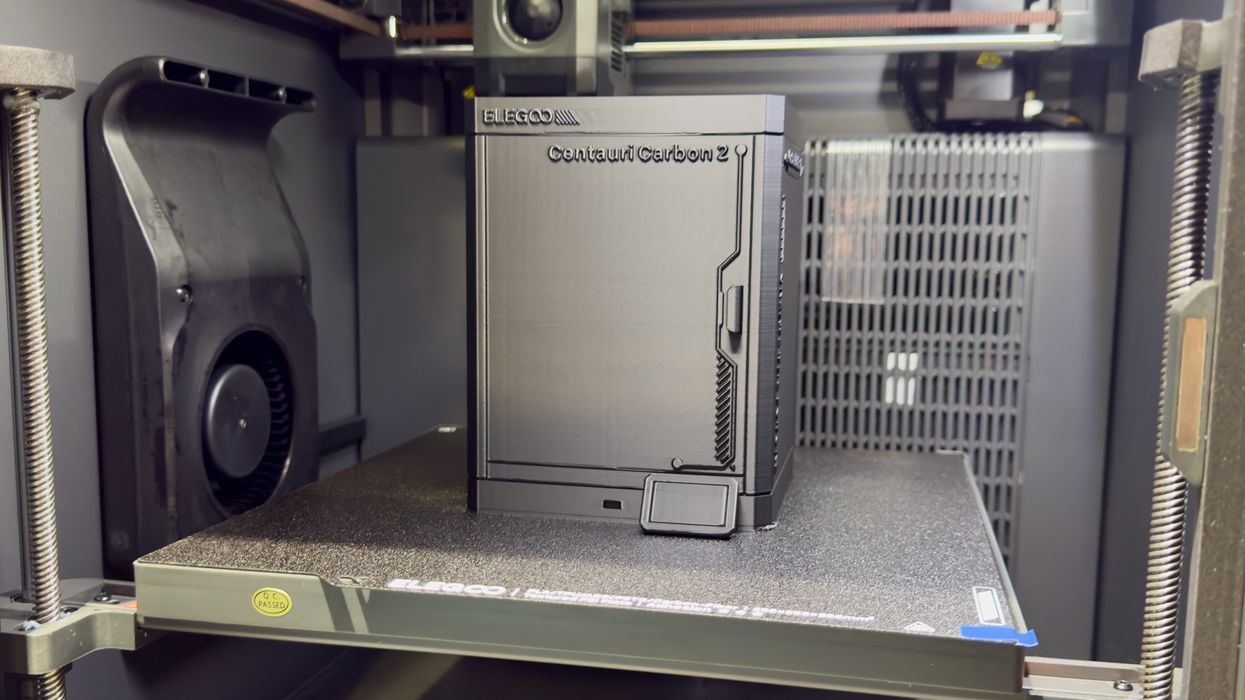
Eventually, the machine was powered up, upgraded, and fully calibrated, ready for action.
Centauri Carbon 2 Operations
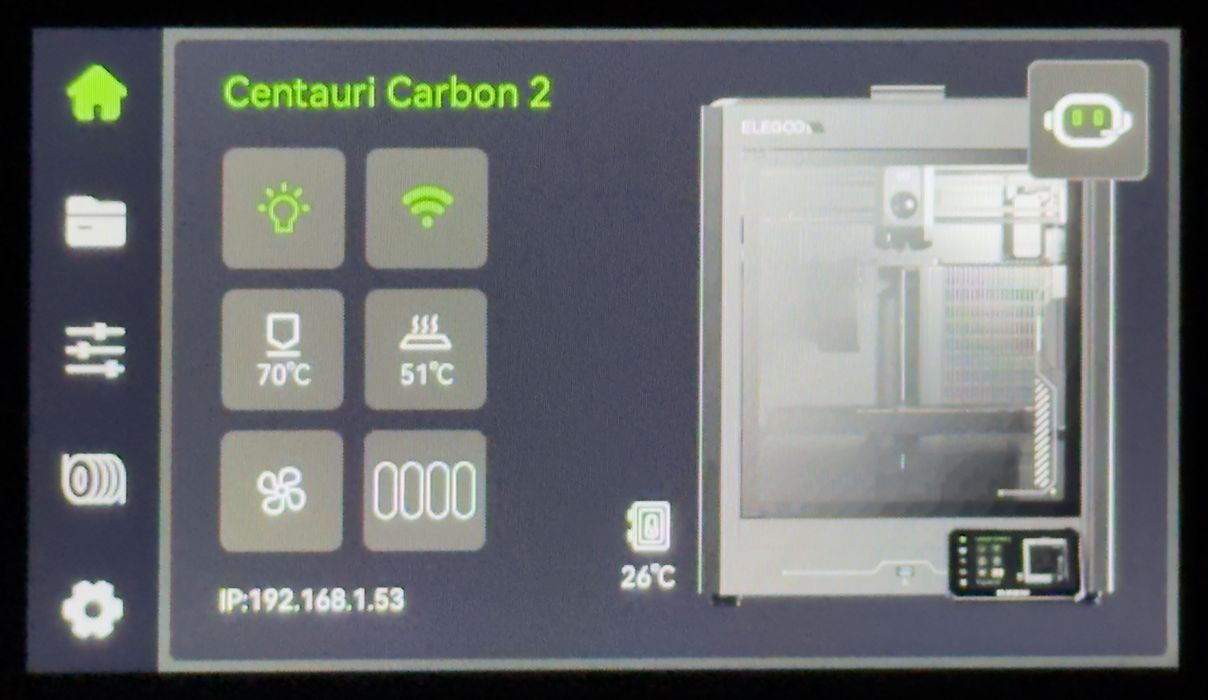
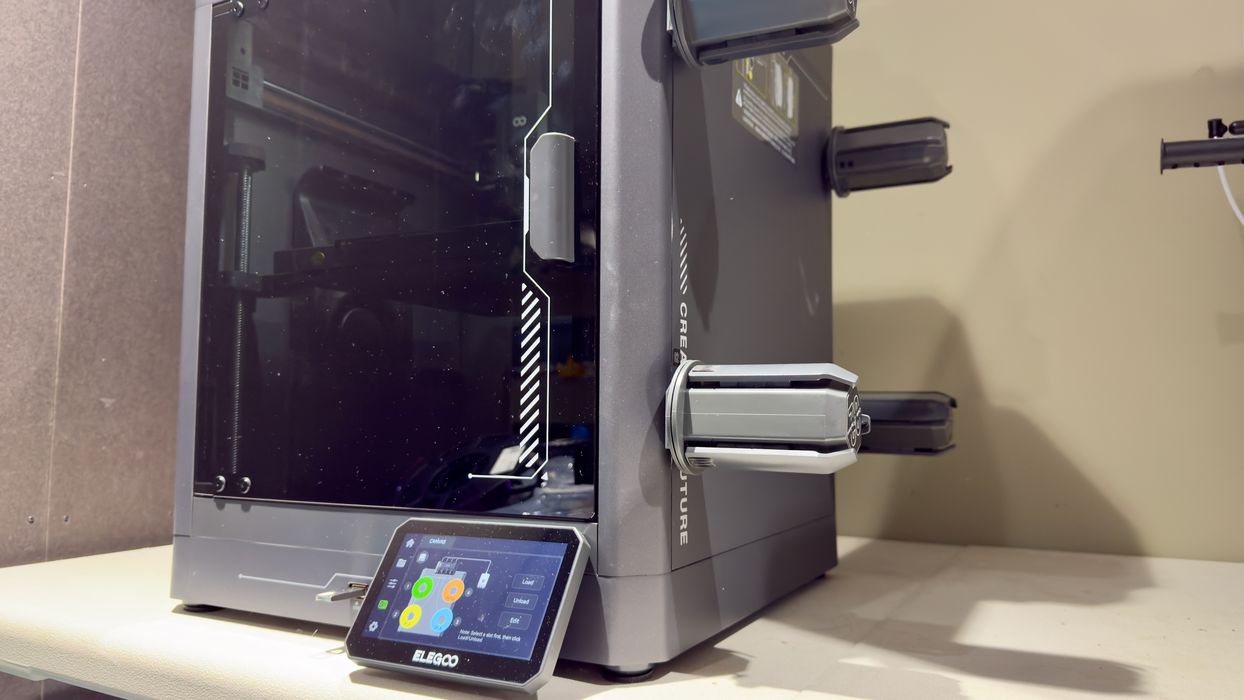
The control panel on the Centauri Carbon 2 offers the usual control sequences and screens, and should be familiar to anyone who’s used a recent 3D printer. The machine stores all print jobs, so that you can recall and reprint them, as well as some pre-made jobs right from the factory.
I didn’t have any Elegoo filament at this point in the testing, so I rummaged around and found a random spool of material to use in the first print. I chose a partial spool of Prusament.
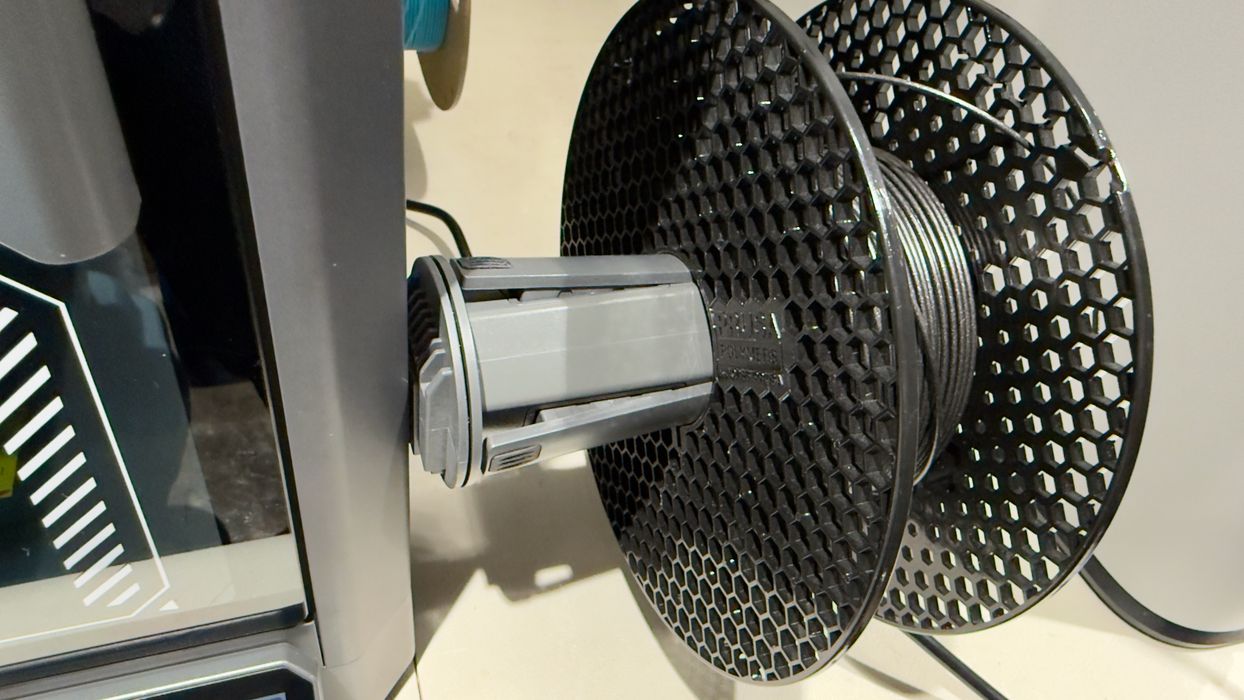
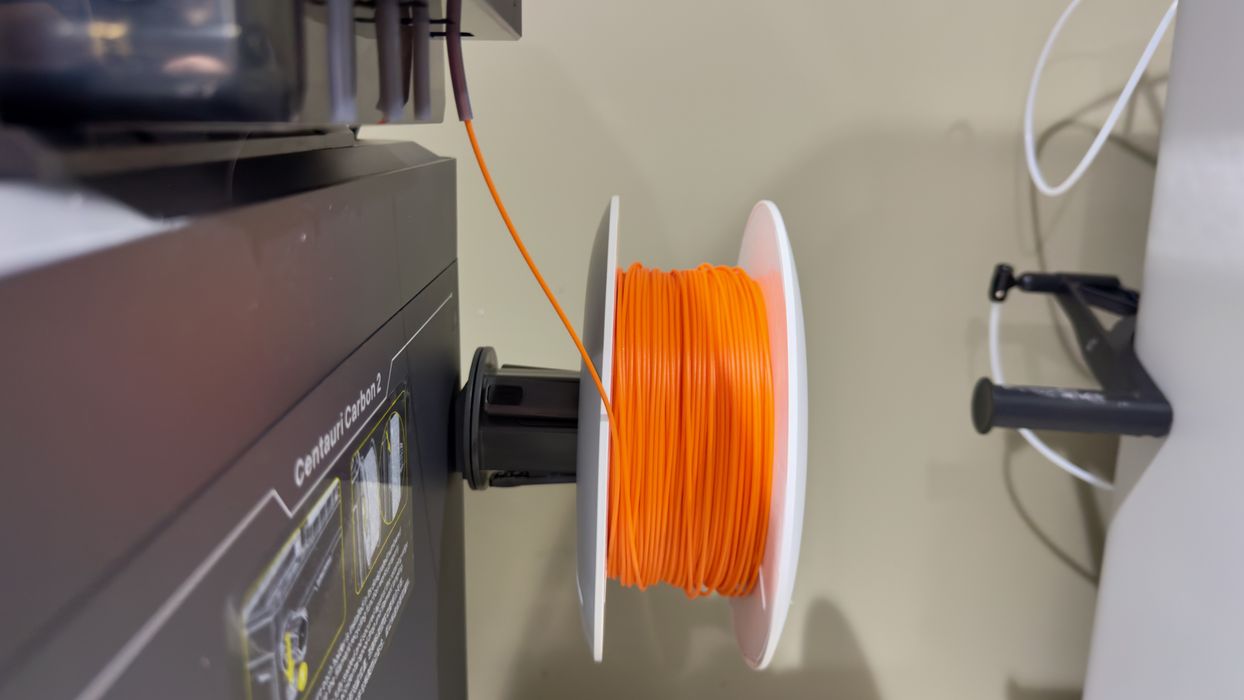
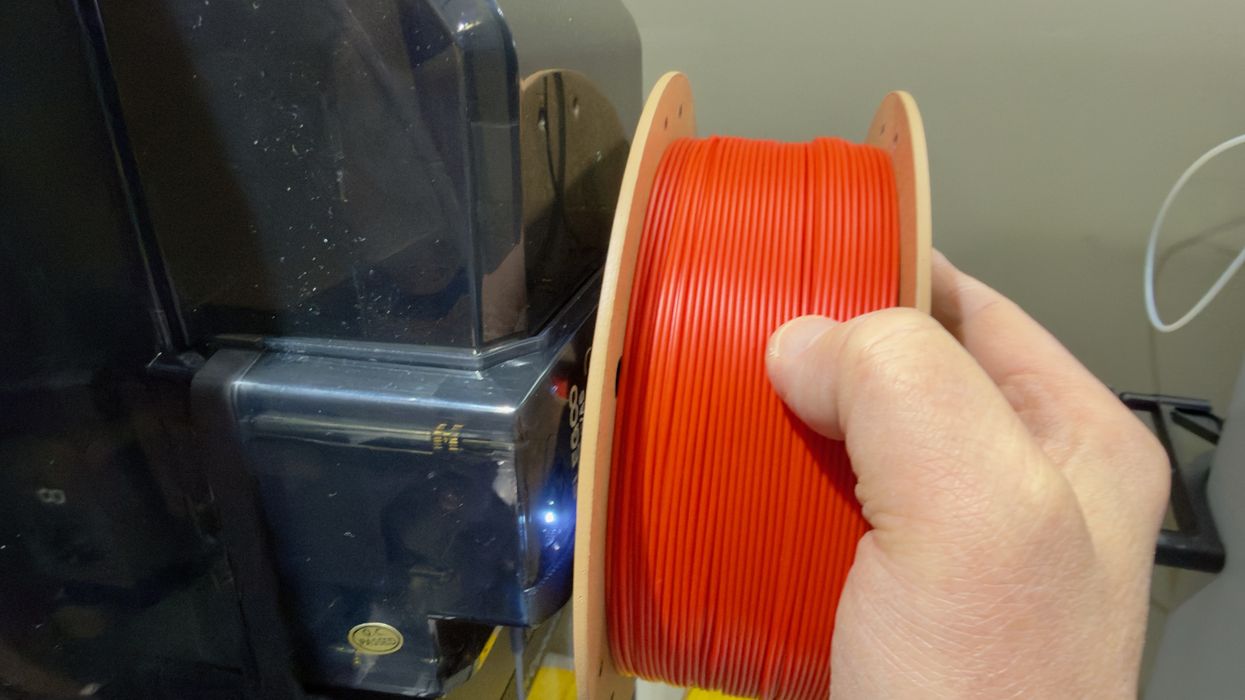
Unfortunately, it turned out that the (older) Prusament spool just did not fit on the hub, as you can see. Spools of this type do indeed work on filament swappers, which have spools sit on rollers instead of on a hub. This shows one limitation of the hub approach: some of your spools won’t work.
I should say that Prusa Research has changed their spool dimensions to work better in this situation. Nevertheless, you may have some spools that just don’t fit on the Centauri Carbon 2.
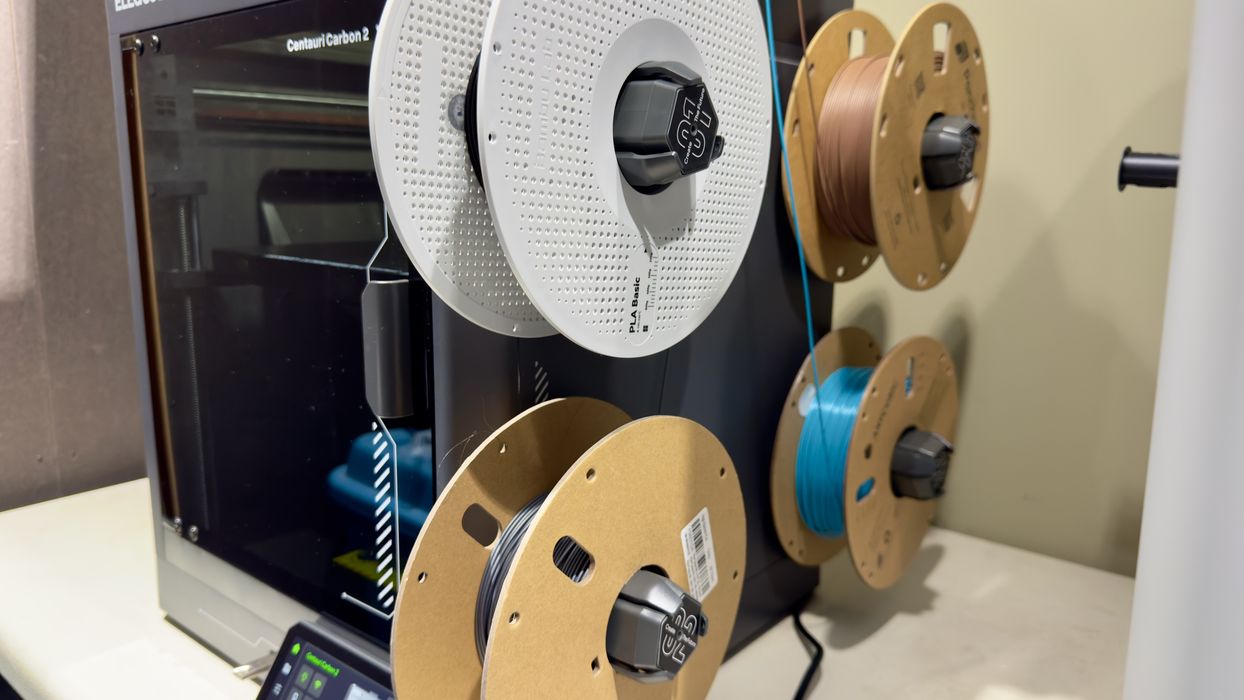
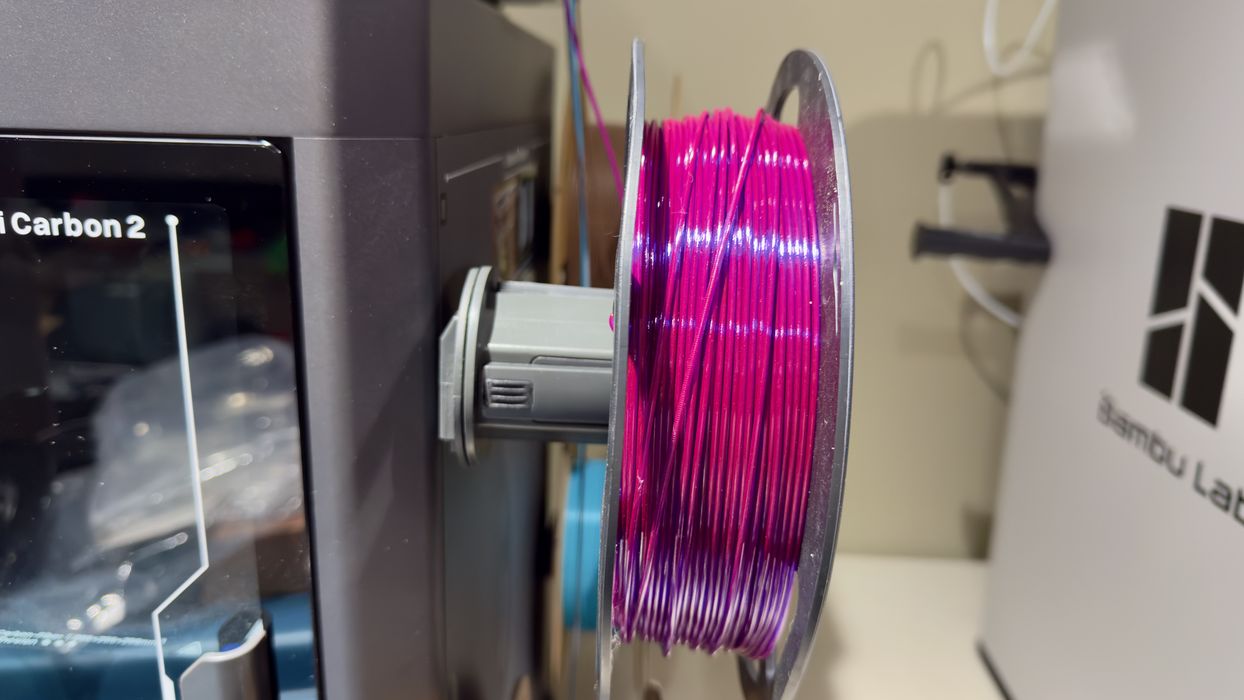
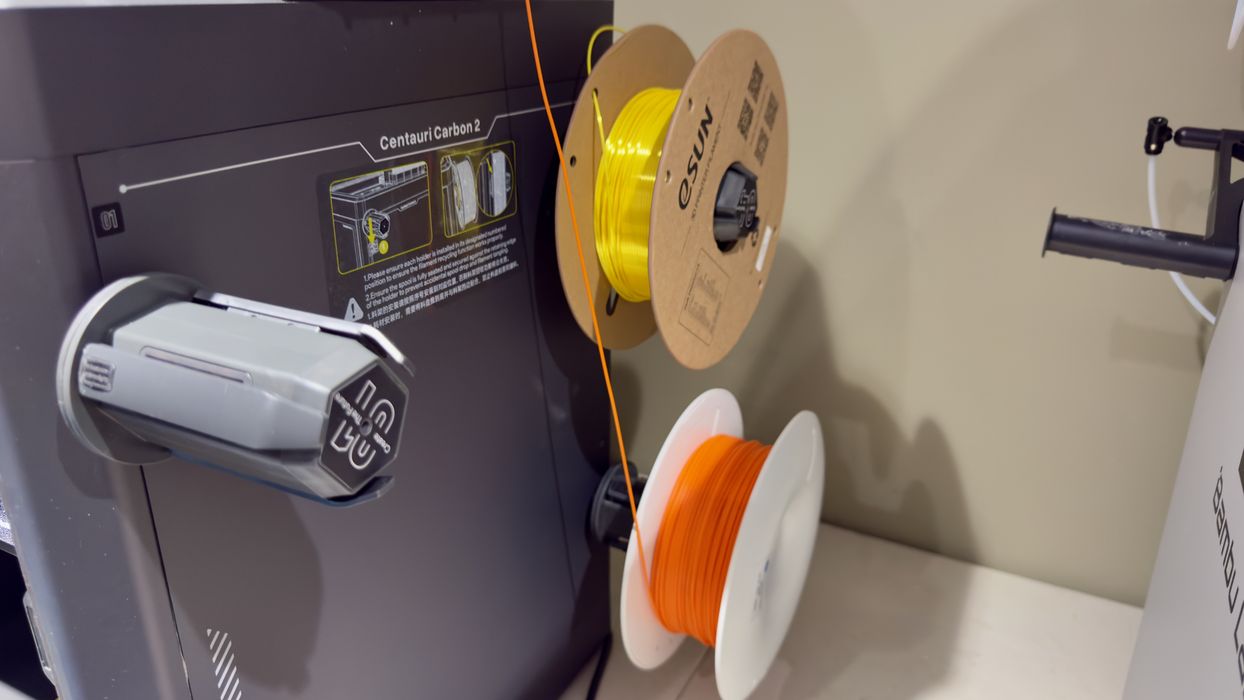
Eventually, I found four spools that did fit well on the Elegoo hubs, as you can see here. Note that these spools are from a variety of filament manufacturers, showing that it’s only a few spools that don’t work.
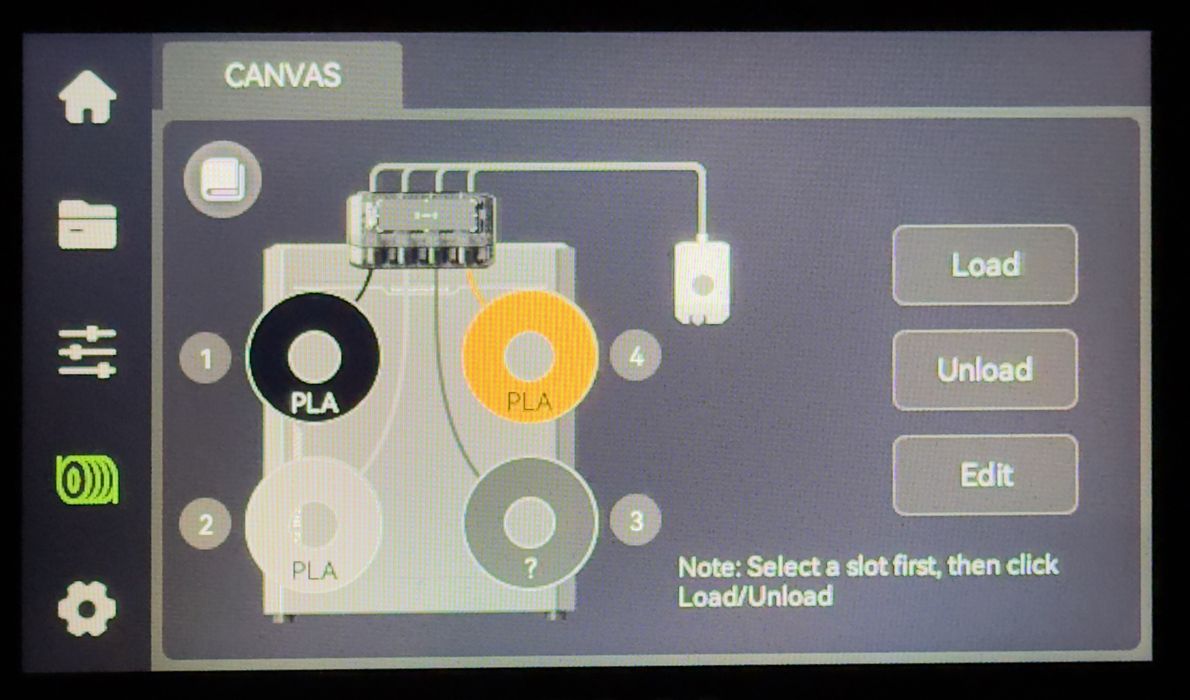
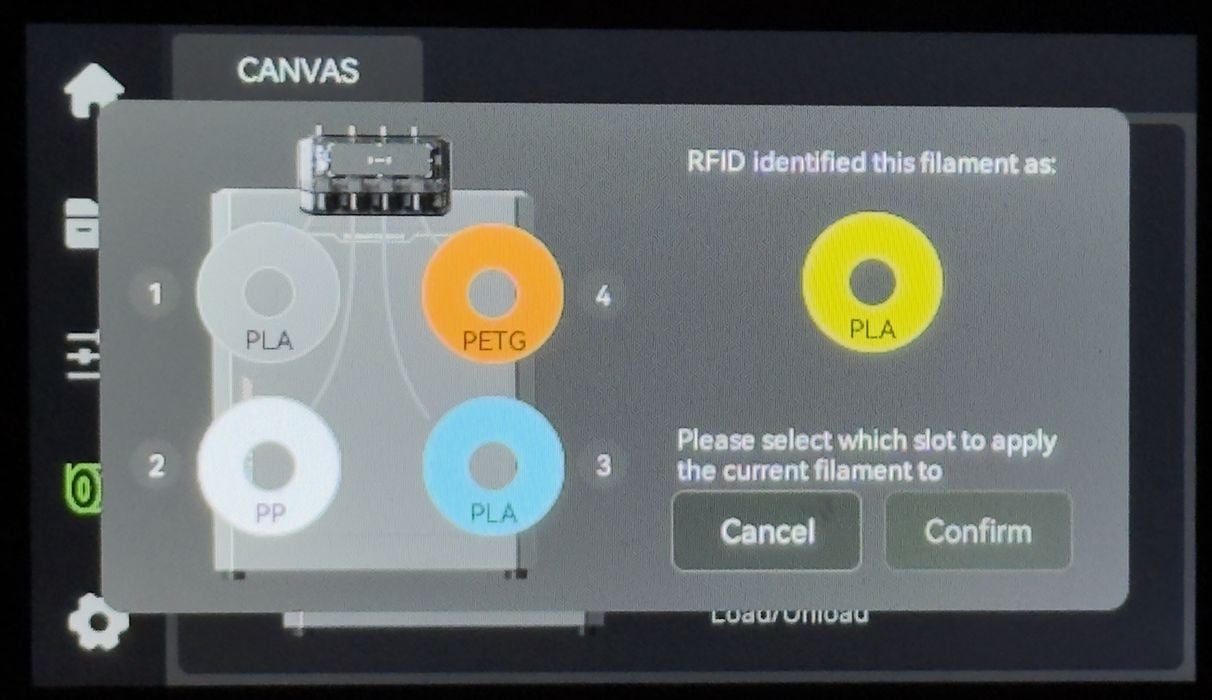
But does the Centauri Carbon 2 know what I just loaded? No, not at all. You have to tell the machine exactly what has been mounted on each hub. That is, unless you are using Elegoo RFID-cable spools, which I did not have at that point in the review.
By default, these hubs are defined as “empty” when initially powered on. To manually set up these spools, you go to the filament panel and, for each hub, select it, edit, pick a material, pick a colour, and confirm. Times four.
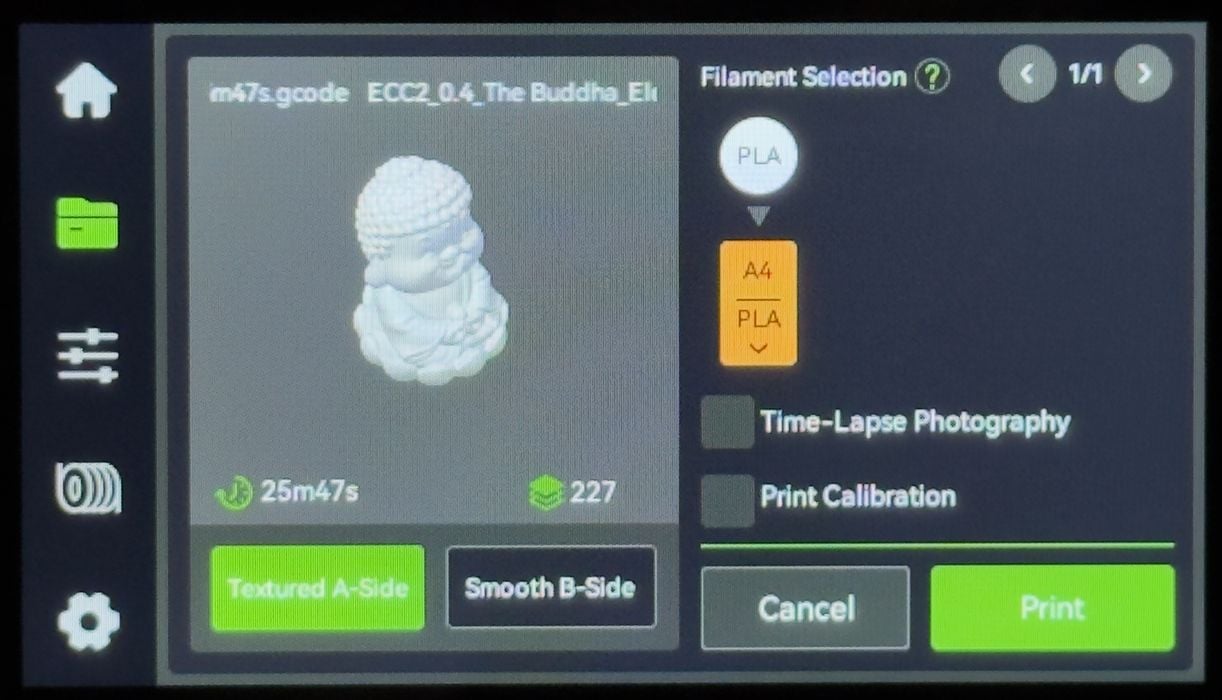
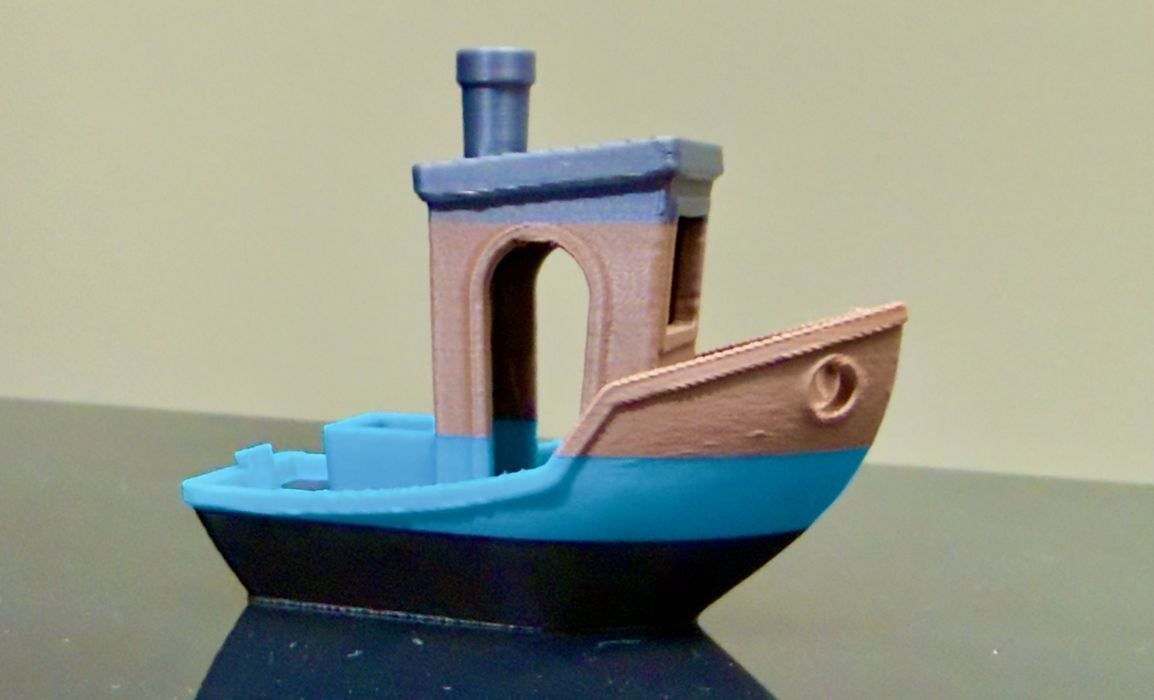
I always use a pre-made print job as the first print on a 3D printer because they are more likely to succeed, and they don’t require slicing software to prepare. I selected this Buddha model.
The Buddha finished quickly and came out with reasonable quality.
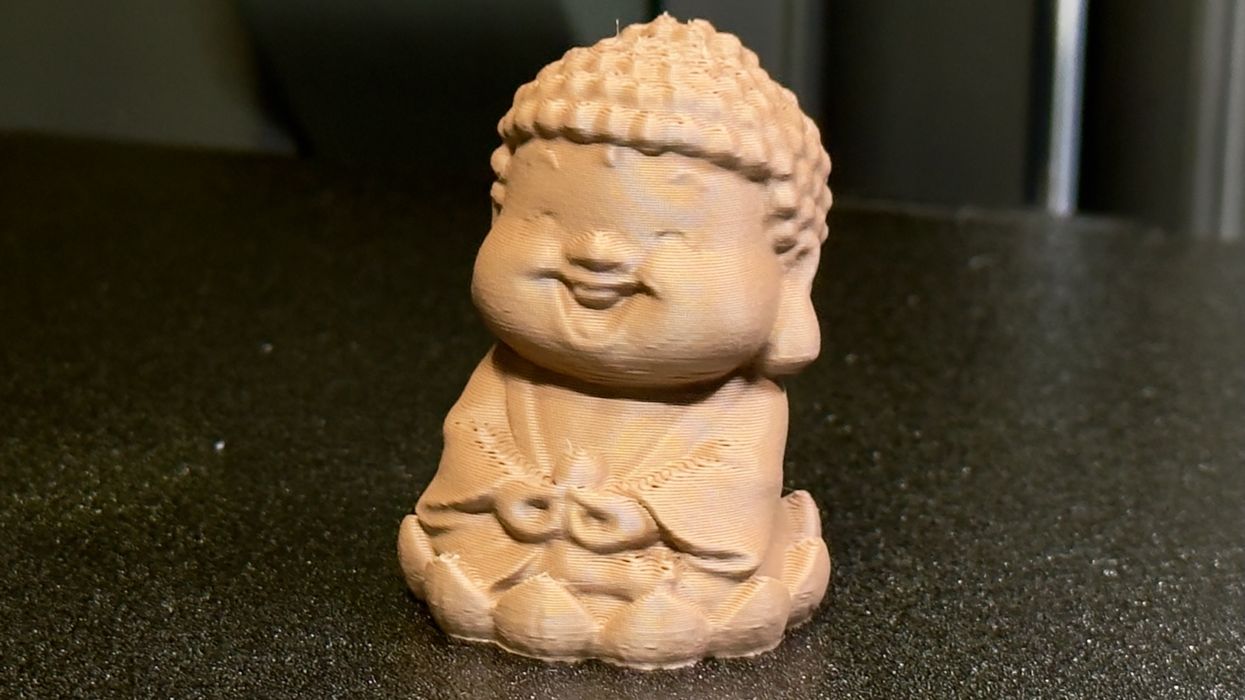
There was a bit of a droop here and there, but I put that up to the use of third-party materials, meaning some filament calibration could very likely clear up that issue. It probably would not have happened had I used some true Elegoo filament.
I then attempted a multicolor job, this time a #3DBenchy. As you can see, it also completed very well. It was by no means perfect, but good nevertheless.
Among the pre-made print jobs was this one: a waste bucket for the Centauri Carbon 2. The machine does not come with a waste bucket to catch poops, like most machines. Usually, I use a leftover cardboard spool box, but here I could use an actual, approved poop box from Elegoo.
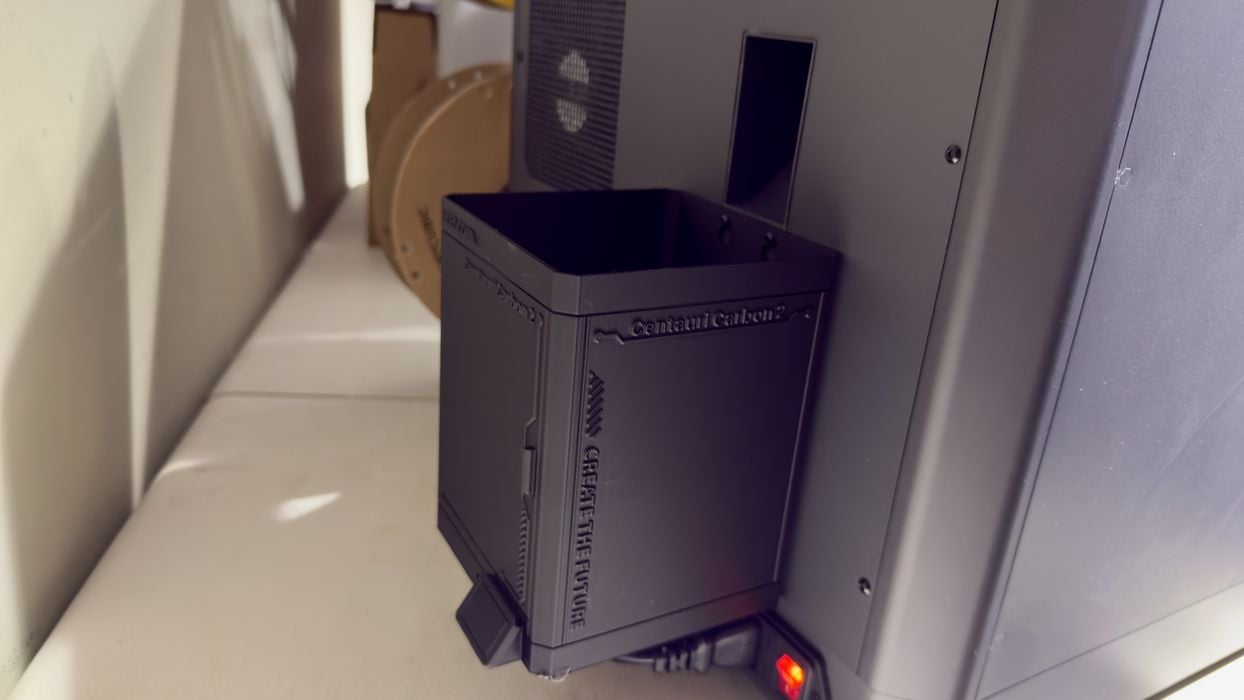
The waste bucket installed easily, as it slips overtop a pair of bolts you mount on the back of the machine. I’ll check it later to see how effective it is at catching flying poop.
Mounting one of the few spools of PETG in my inventory proved challenging. The diameter of this spool wasn’t as bad as the Prusament, and I felt it was inserted enough to proceed. We’ll look at the print results in the next section.
It was about this point I noticed something about how Elegoo manages spool identification. It turns out that while you can easily set a hub to a specific material and colour, you cannot “unset” it. In other words, once you set up a spool, that definition stays there forever until you replace it with a new one.
You cannot say “this hub is empty”, and the machine does not have a way to detect whether a spool is actually mounted or not. In the image above, you can see on the front panel that four spools are apparently loaded, yet none are on the hubs. This will become important later.
One of my favourite materials is PCTG, a more robust form of PETG. It’s still a bit rare, but easier to print and with many other advantages. I used a spool of Fiberlogy PCTG.
But the Centauri Carbon 2 does not have a definition for PCTG. They have lots of other materials to choose from, but not PCTG. I ended up pretending that it was PETG, and that did work.
The PCTG spool was again one of those spools that was “didn’t-quite-fit-but-probably-good-enough”. Initially, I mounted it on the top hub, as you can see in an image back up a bit. But when I did so, the print failed!
It turned out that the angle of the filament as it came off the not-properly-mounted spool rubbed hard against the spool edge, causing friction. This caused the print failure.
Above you can see my solution: mount this type of spool on one of the lower hubs, and the angle is far better. By doing so, I was able to print PCTG easily.
Eventually, I got hold of some Elegoo RFID-enabled spools. When opening the boxes, I noticed something odd: to cut the tape, you must also cut the cardboard tab, making the box useless. I’ve never seen this before on a spool box. Maybe Elegoo should move the tape location?
These spools have chips inside that the Centauri Carbon 2 can automatically read. Then it can set the spool hub for you.
This is how it’s done. You take the spool right up to the “RFID” icon on the CANVAS unit and wait for it to register. Sometimes the chip isn’t in the correct position, so you have to rotate the spool around until it strikes.
Now it gets tricky. The Centauri Carbon 2 now knows you have a spool of a specific material, but it doesn’t know which hub you’re mounting it on. There are no sensors in the hubs, so you have to tell the machine where you are putting it.
And you’d better actually put it in that location. I made the mistake of putting it in the wrong spot when distracted, leading to some amusing errors later.
TPU? Can we print TPU? All of the documentation provided did not indicate TPU was supported, and all filament paths go through the CANVAS unit. On competing filament swapping systems, TPU is a no-go because the bendable filament would easily get wrapped around something in the complex path.
I asked Elegoo whether I could print TPU, and was advised not to do so. However, they said they are working on a special external spool attachment, with a Y-connector, specifically to print TPU. This would presumably bypass the CANVAS unit and go directly into the extruder, much like you’d see on, say, a Bambu Lab H2D. That sounds like the correct solution, but that feature wasn’t available on my unit. Hopefully, it will appear in production units.
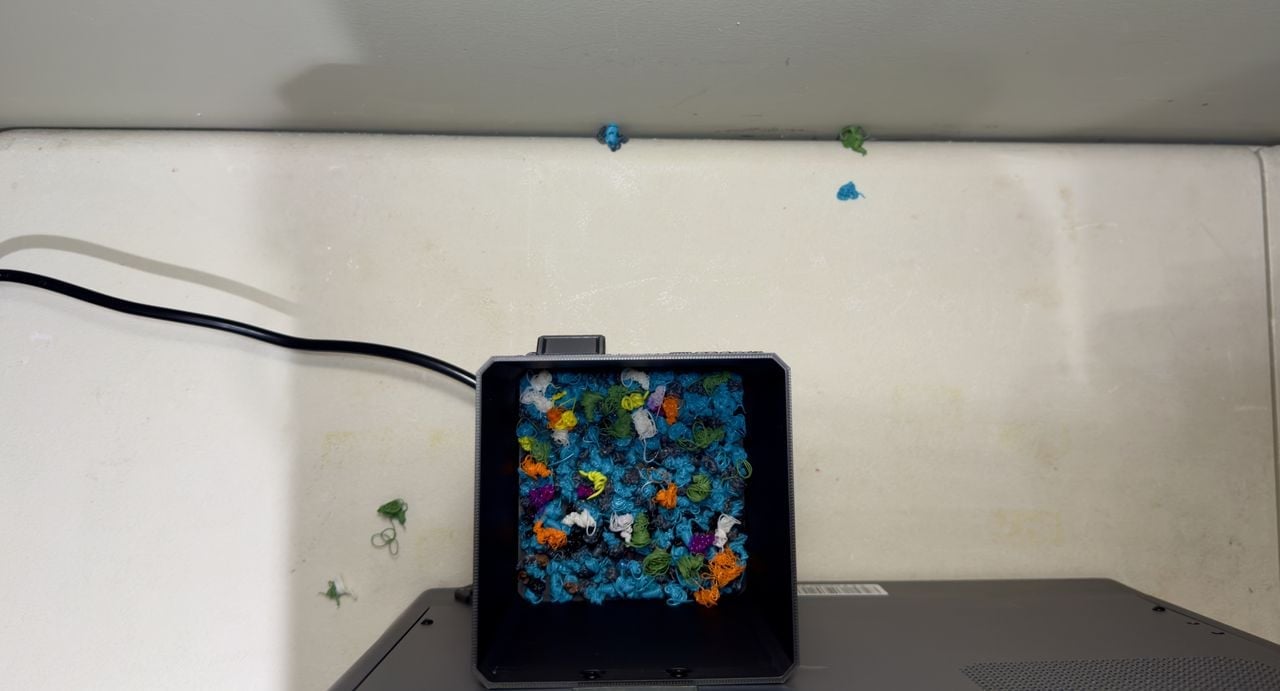
What about the waste bucket? Did it work after a number of test prints? As you can see here, it mostly did. There were a few energetic poops that somehow made their way outside the bucket, but by and large, it worked okay.
This is part two of a three-part series, please read parts one and three.
Via Elegoo