
We’ve been quietly testing the new Centauri Carbon 2 3D printer from Elegoo.
This is part one of a three-part series, please read parts two and three.
Centauri Carbon 2 Background
While Elegoo has been producing desktop 3D printers for many years, the Centauri series is relatively new. The original Centauri Carbon was first seen way back in 2024; it didn’t arrive on store shelves until much later.
When it did, it reset the price structure for low-cost desktop 3D printing with its US$199 price tag. Since then, the entire market has been upside down, with prices falling like plates in an earthquake.
The big question was whether Elegoo would provide an accessory to perform filament swaps on the Centauri system. Elegoo’s competitors had long since provided them, leaving the Centauri as a single-colour machine.
Eventually, rumors of a multicolour machine started to appear, eventually with a stray entry on Asian retail sites. After considerable time, Elegoo finally formally acknowledged they were about to release the Centauri Carbon 2, a multicolour machine.
Centauri Carbon 2 Specifications and Features
The surprise was that the Centauri Carbon 2 does not have a filament swapping accessory like most of its competitors. Instead, the filament swapping is built directly into the machine, as you will see.
This was a surprise to previous buyers of the Centauri “1”, who all expected to be buying a filament swapping accessory later on. Now it seemed that they were out of luck and instead had to buy a Centauri 2 instead.
The multicolor feature is provided by a special box mounted on the top of the Centauri Carbon 2, the “CANVAS”. It’s a four-port filament swapping multiplexer that ties directly into the hot end. The four spools are simply mounted on the side of the Centauri Carbon 2.
The 3D printing specifications for the Centauri Carbon 2 are mostly the same as the previous Centauri model, with a few exceptions — and the multicolor feature. The most notable is perhaps that the hot end can now reach 350°C, meaning it should make the machine very capable of printing a wider range of engineering materials. There’s also a new grill design to ensure build chamber airflow.
But let’s get into the Centauri Carbon 2.
Centauri Carbon 2 Unboxing and Assembly
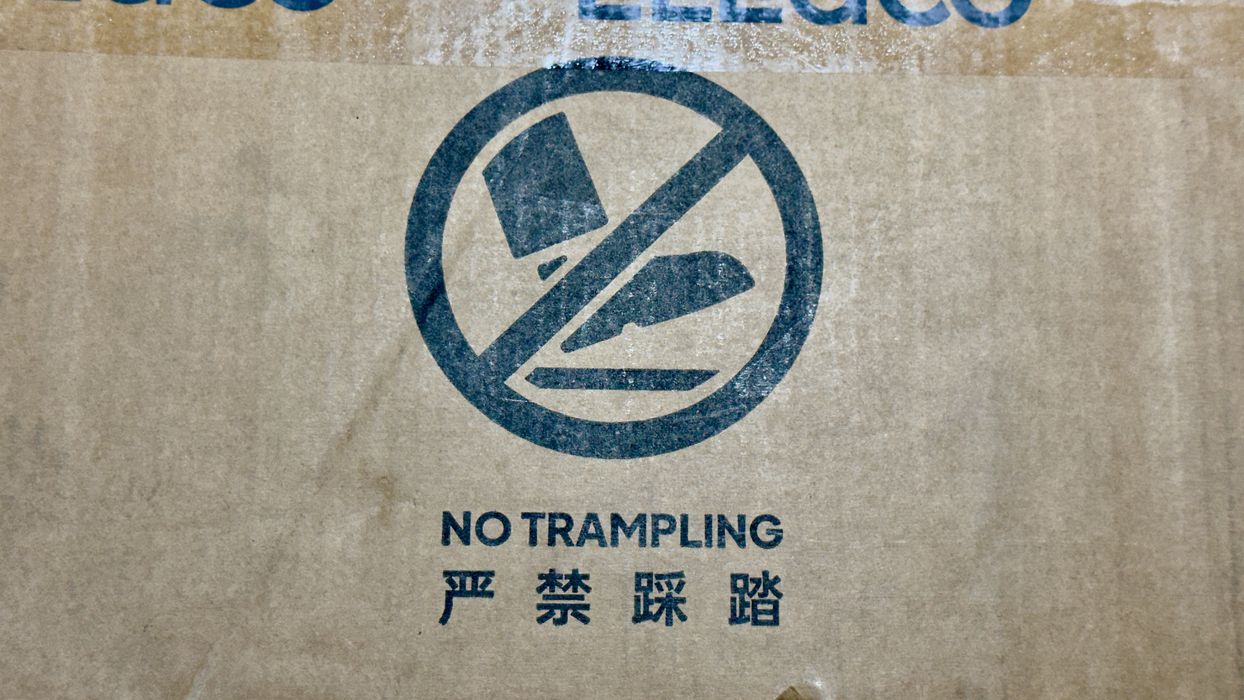
Fortunately, no one trampled our Centauri Carbon 2 during shipment. I didn’t even know this was a thing that could happen.
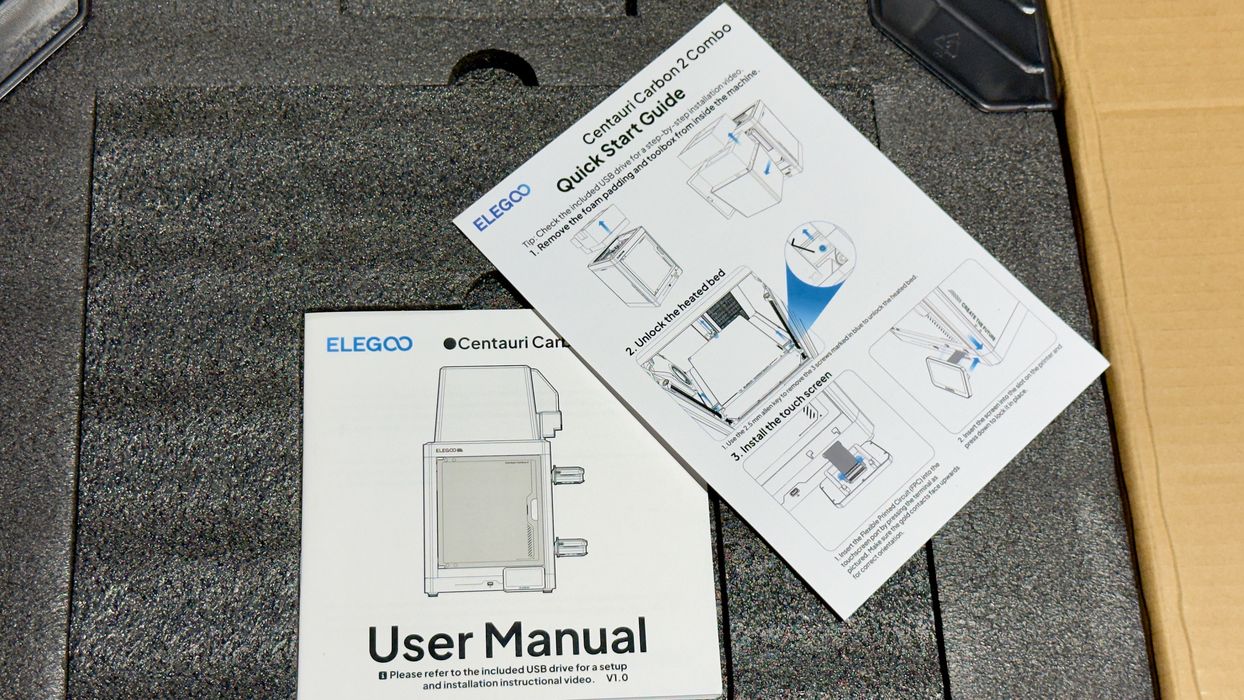
As is now customary among desktop 3D printer manufacturers, the first thing you see when you crack open the box is the quick start instructions.
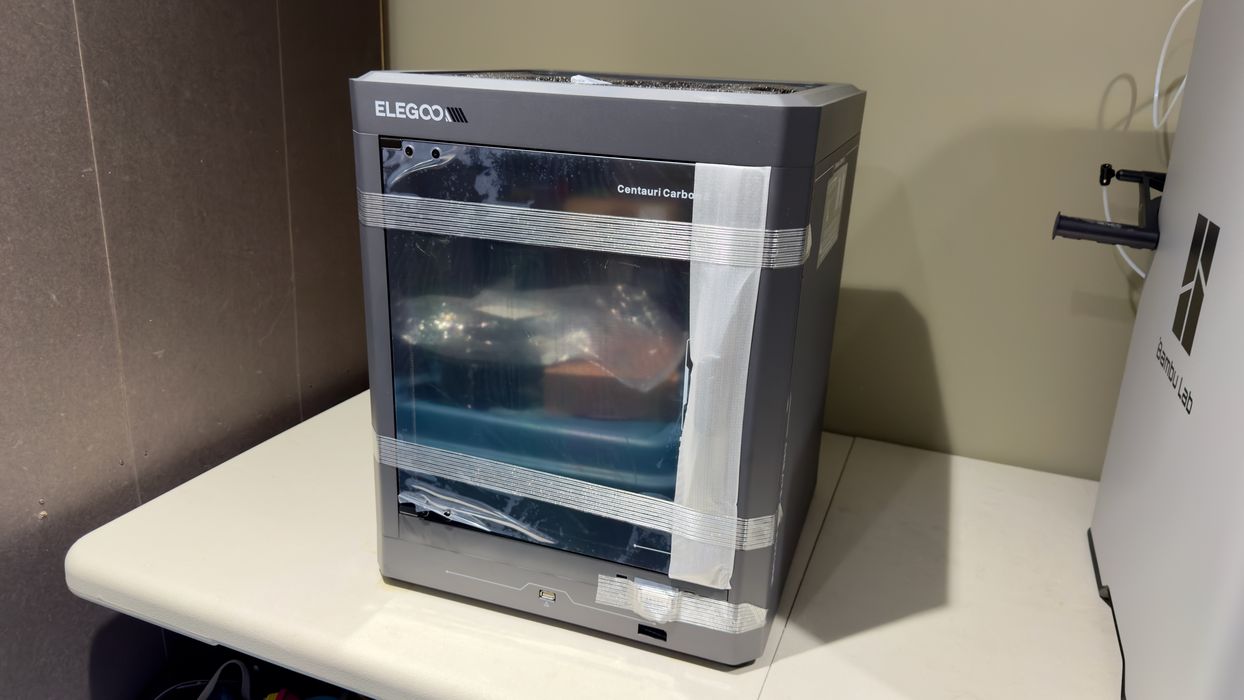
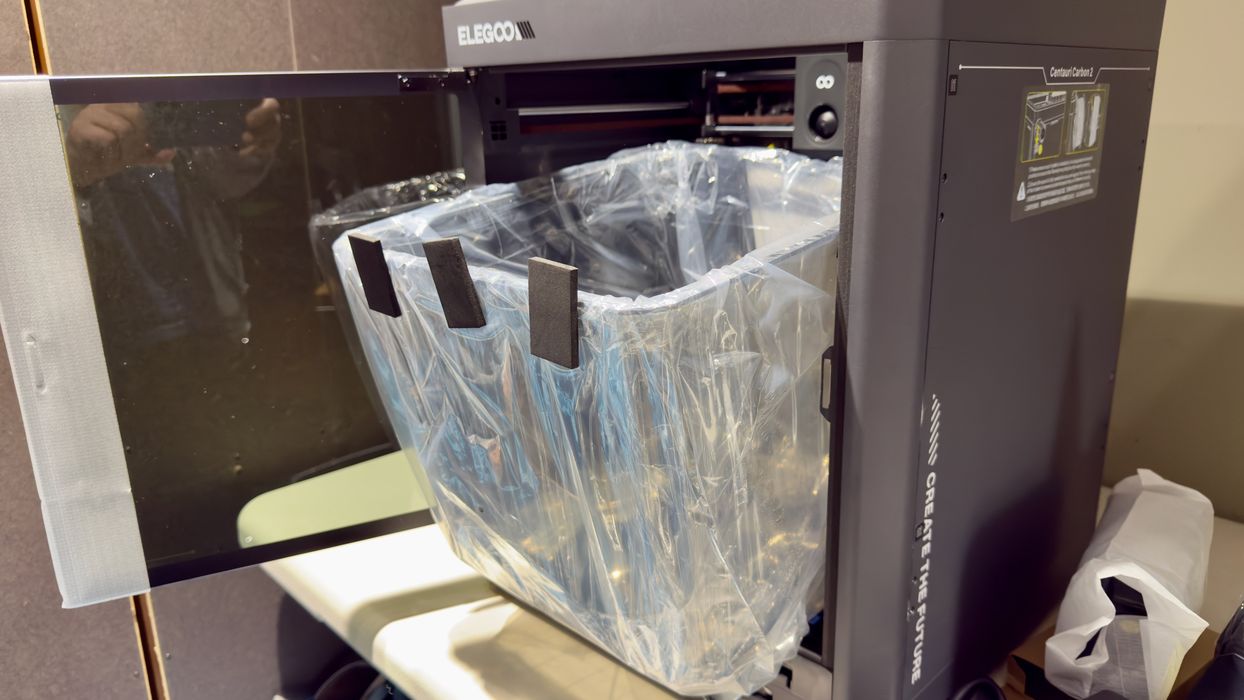
I found the Centauri Carbon 2 to be extremely well-packed, perhaps having the most foam blocks I’ve ever encountered when unboxing a desktop 3D printer. It seems that Elegoo has gone to great lengths to ensure that the machine will arrive in one piece. Foam, tape, and ties were all over the place.
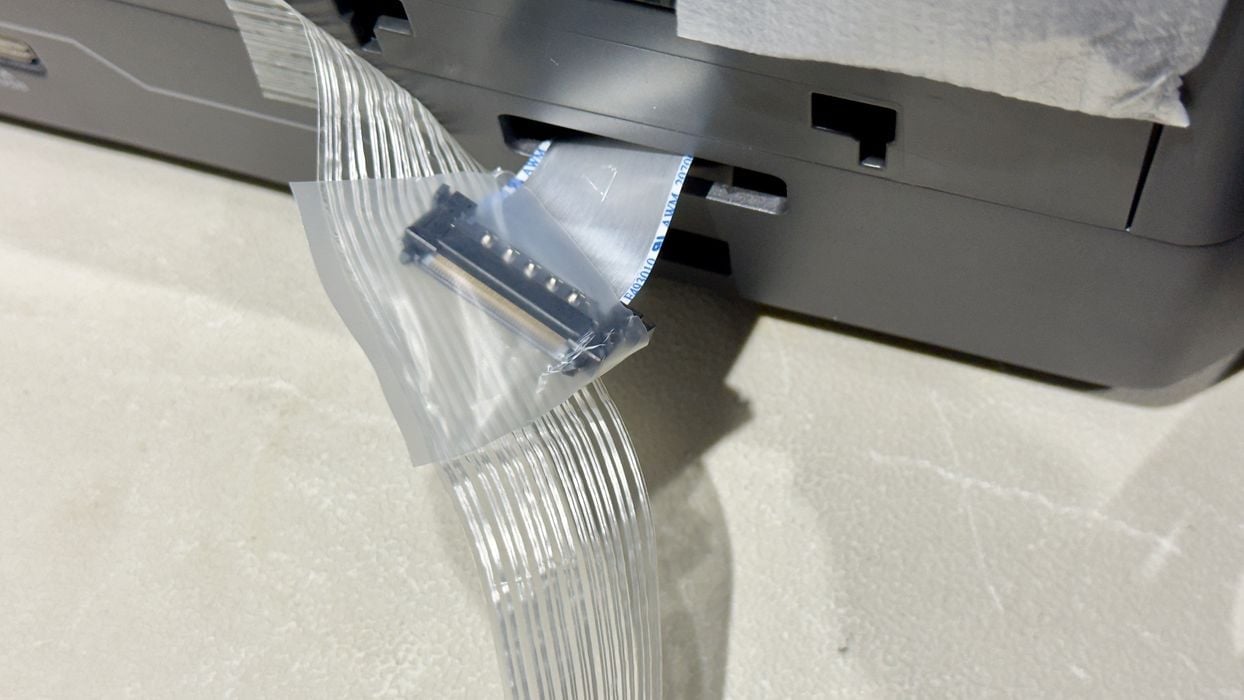
As I removed the tape from the outside of the frame, I realized that this tape ran across the ribbon cable that will eventually connect to the front panel. I stopped pulling on the tape immediately and carefully detached it from the ribbon cable. If you’re like me and have a strange enjoyment of ripping off tape at high velocity, do not do that on this machine: you may pull off the cable. Elegoo may want to reconsider where this particular tape segment is mounted.
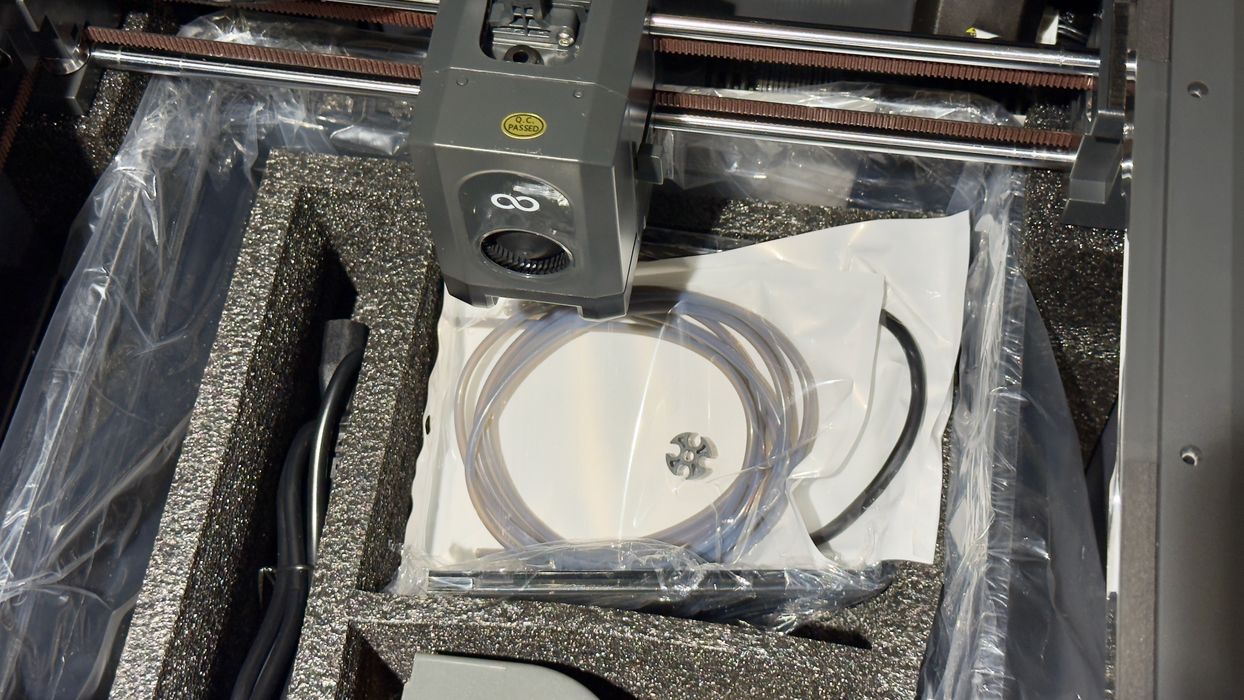
Other filament swapping 3D printers often have the accessory stored inside the build chamber during shipment. But in this case, there is no filament swapping accessory. That said, there is a tall cover that is to go on top of the system, and it’s stored inside the build chamber during shipment.
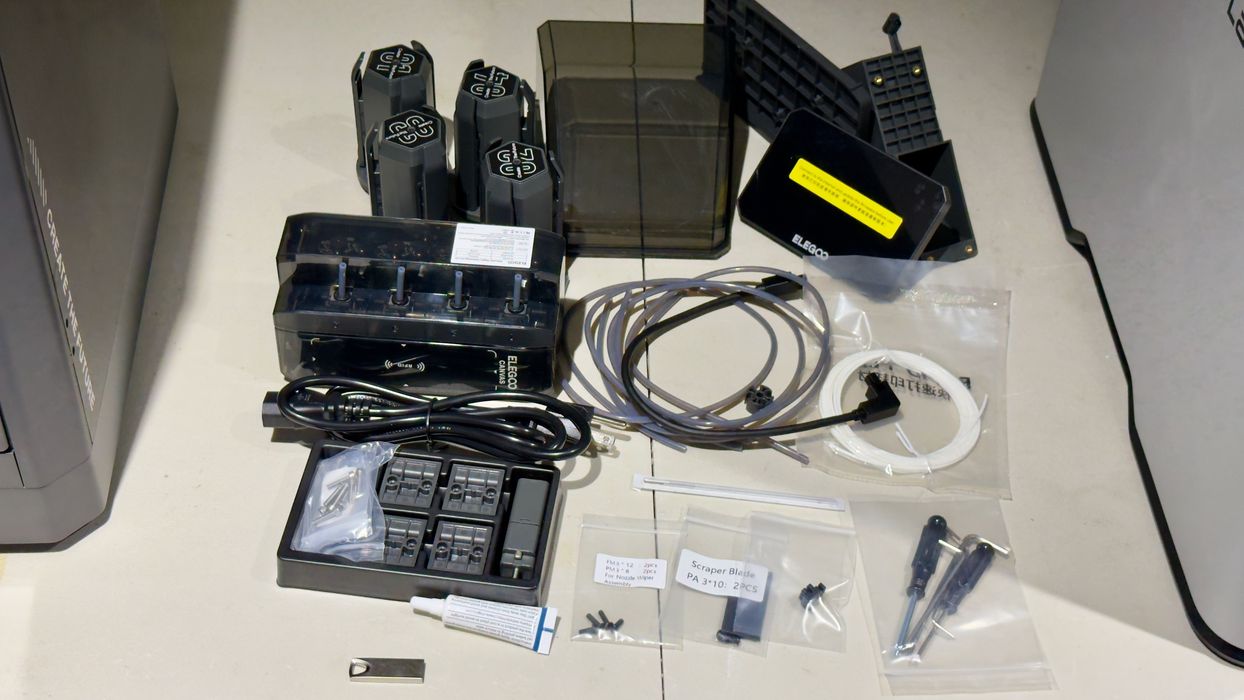
There are quite a few parts required for assembly of the Centauri Carbon 2, along with the necessary tools. While the competition’s filament swappers are fully assembled, here we have to do a bit more work to get all the parts set up.
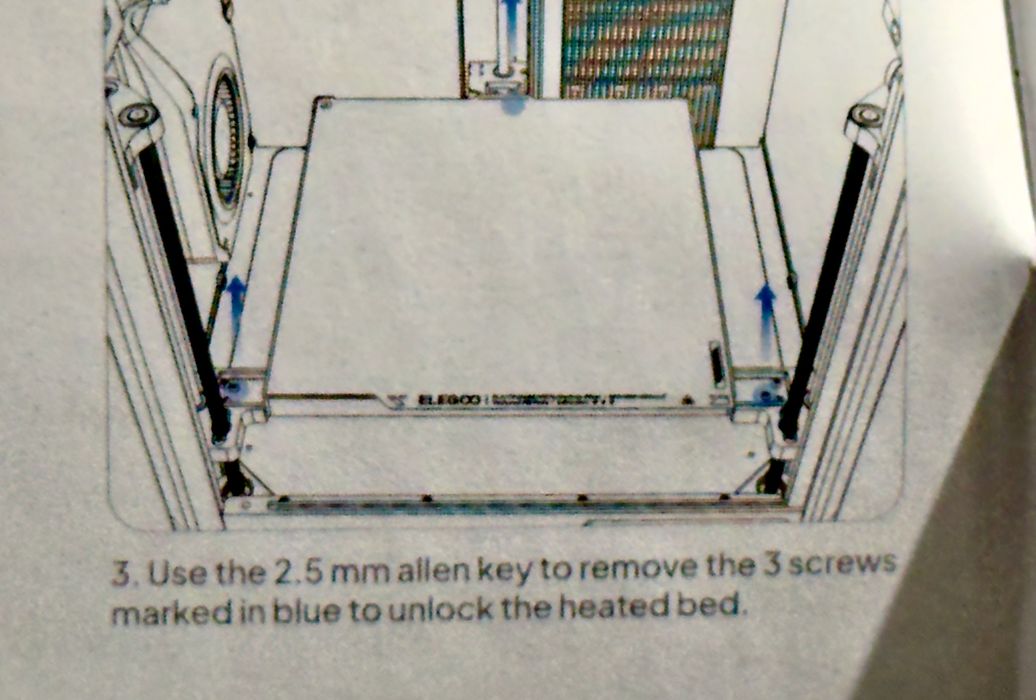
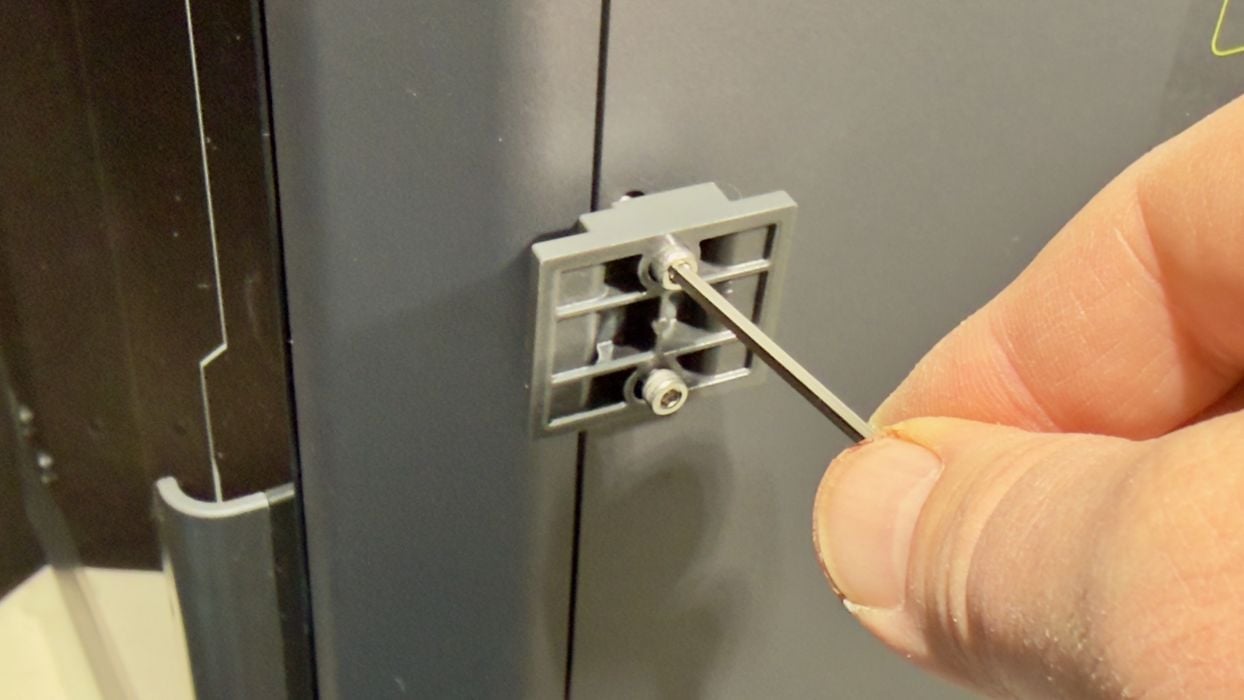
As I proceeded through the instructions, there was a step to unlock the build plate, which is bolted down during shipment. This is a common practice among desktop 3D printer manufacturers. The instructions pointed to some blue labels to indicate the location of the bolts.
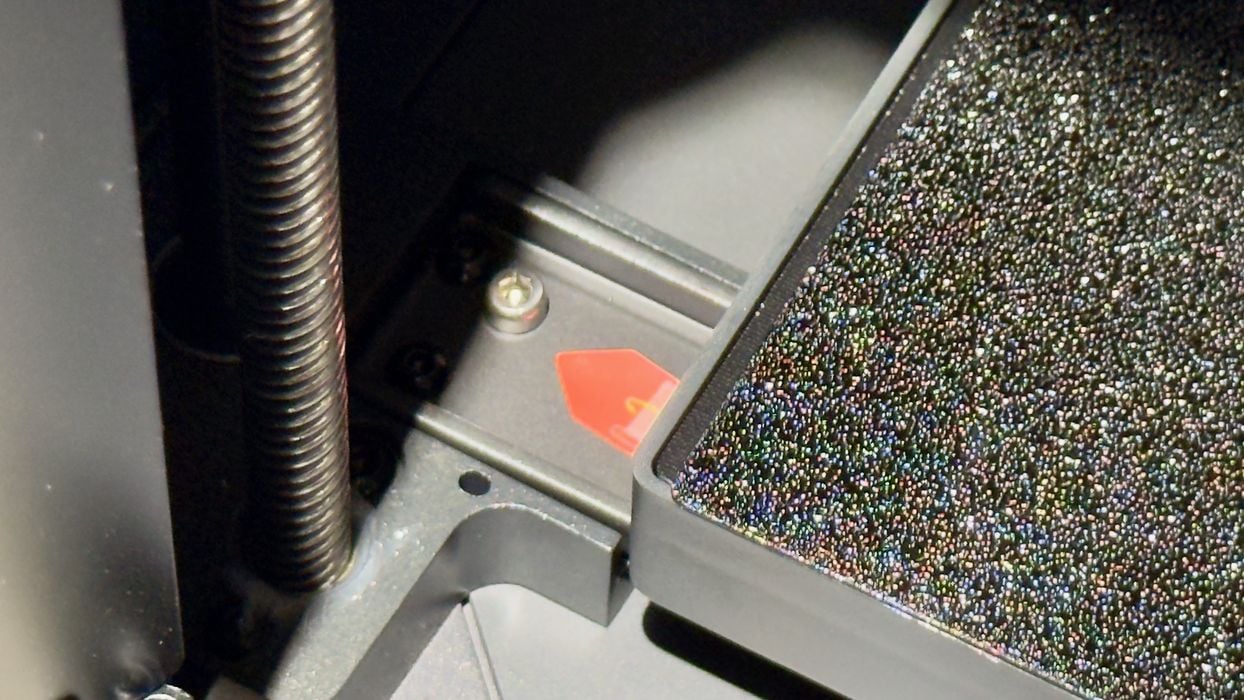
But hold on — there are no blue bolt markings. No, they are red instead. I found them easily, but Elegoo should ensure the colour in the instructions matches the physical configuration for consistency.
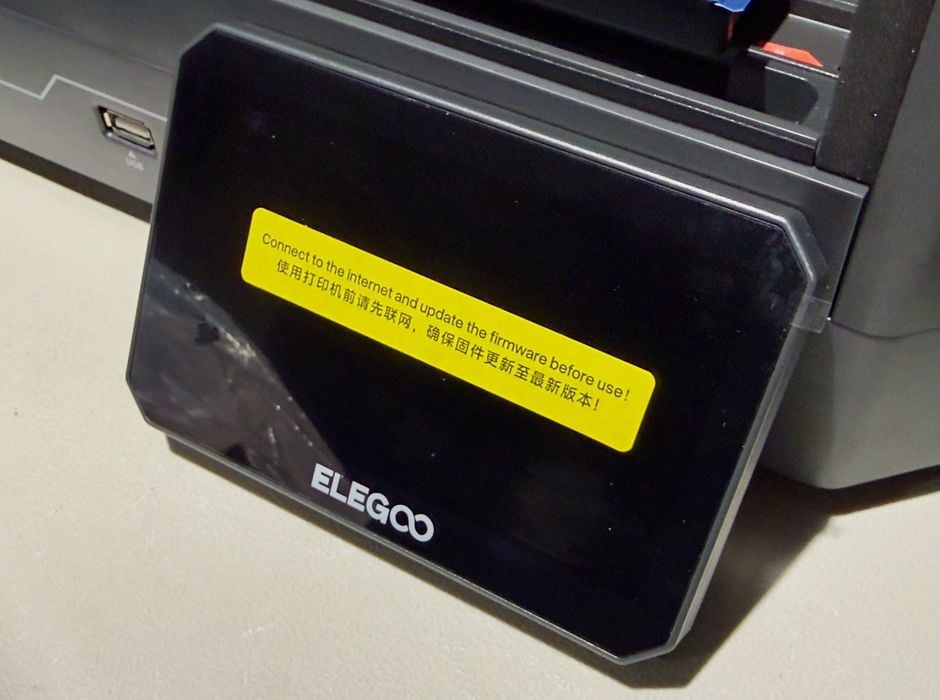
An ominous warning was pasted on the front panel, asking the operator to make sure the firmware is updated before printing. That certainly makes sense, but you’ll see an issue with this a bit later.
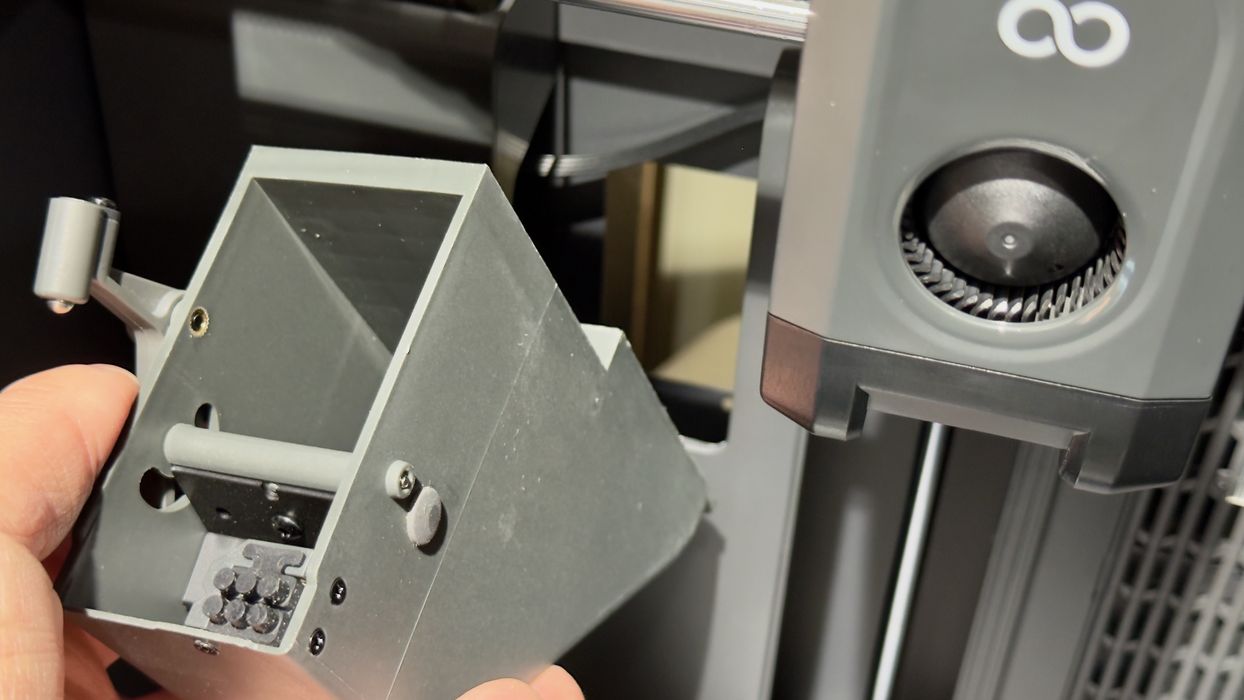
Most multicolor 3D printers must purge prior material from the nozzle on each colour change. This produces a “poop”, which in this case is ejected out the back of the machine. It turns out that you have to insert and attach the poop chute for the Centauri Carbon 2 inside the build chamber. I found this a bit odd, as this is already set up on other machines, but then I remember that the huge top cover was taking up all the space in the build chamber during shipment. This part was taken out to make room, I suppose.
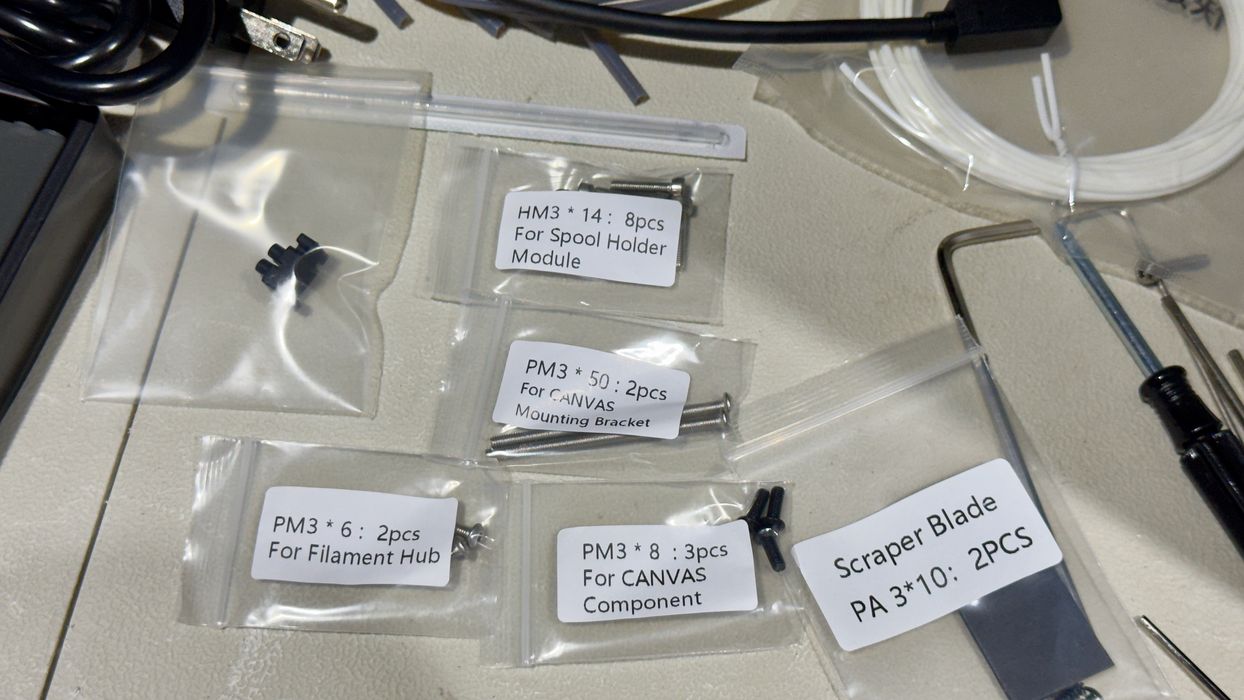
Elegoo did a very good job of clearly labelling the many parts required during assembly. This should be mandatory, as I’ve had some machines with a giant bag of bolts and you must manually identify and separate them. Not so here.
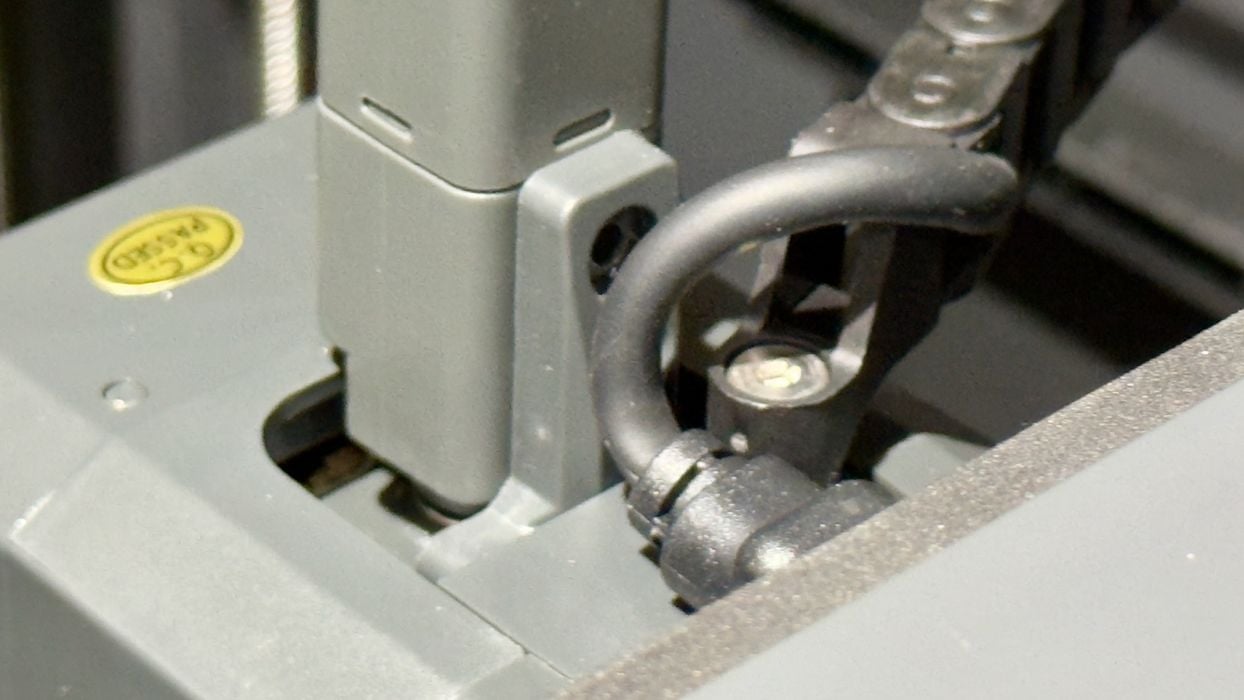
The CANVAS unit is mounted on the top right side of the machine, and it requires first a bracket to be installed. I found this a bit tricky, as it was not quite so easy to line up the holes. But it got done.
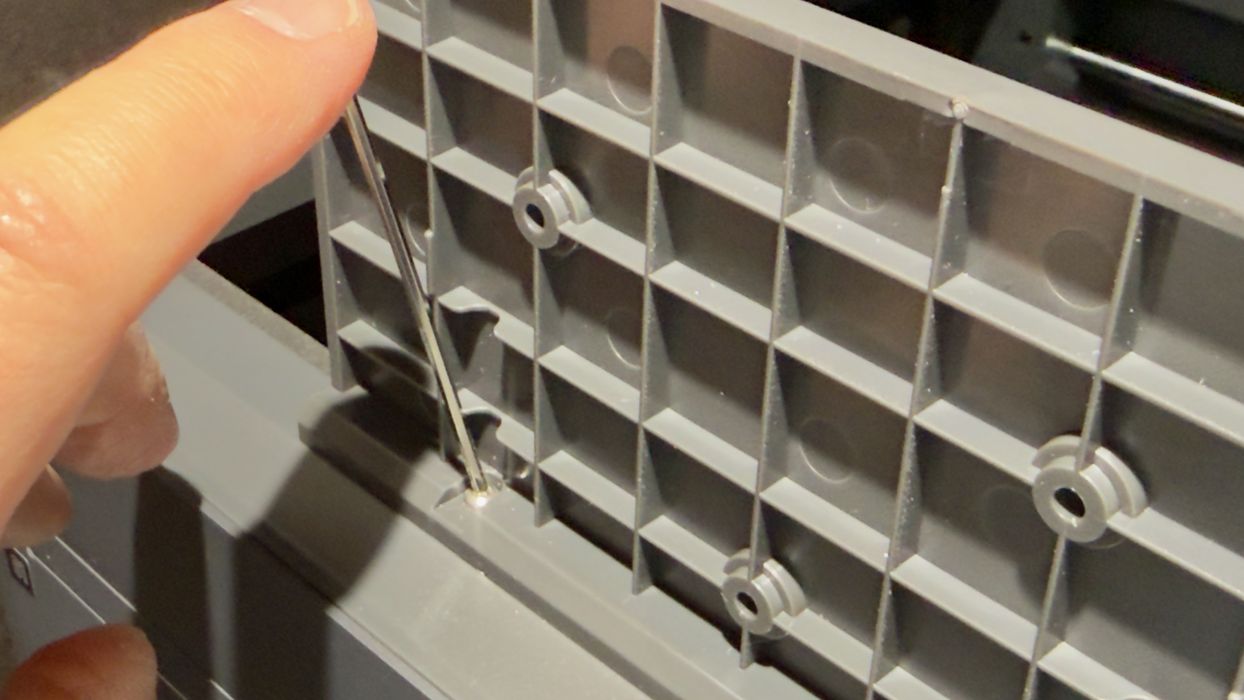
Inside the build chamber, the 4-way filament buffer must be mounted on top of the extruder. There is a cable directly in front of the bolt to tighten it down, and you must slide it away to get your tools in there.
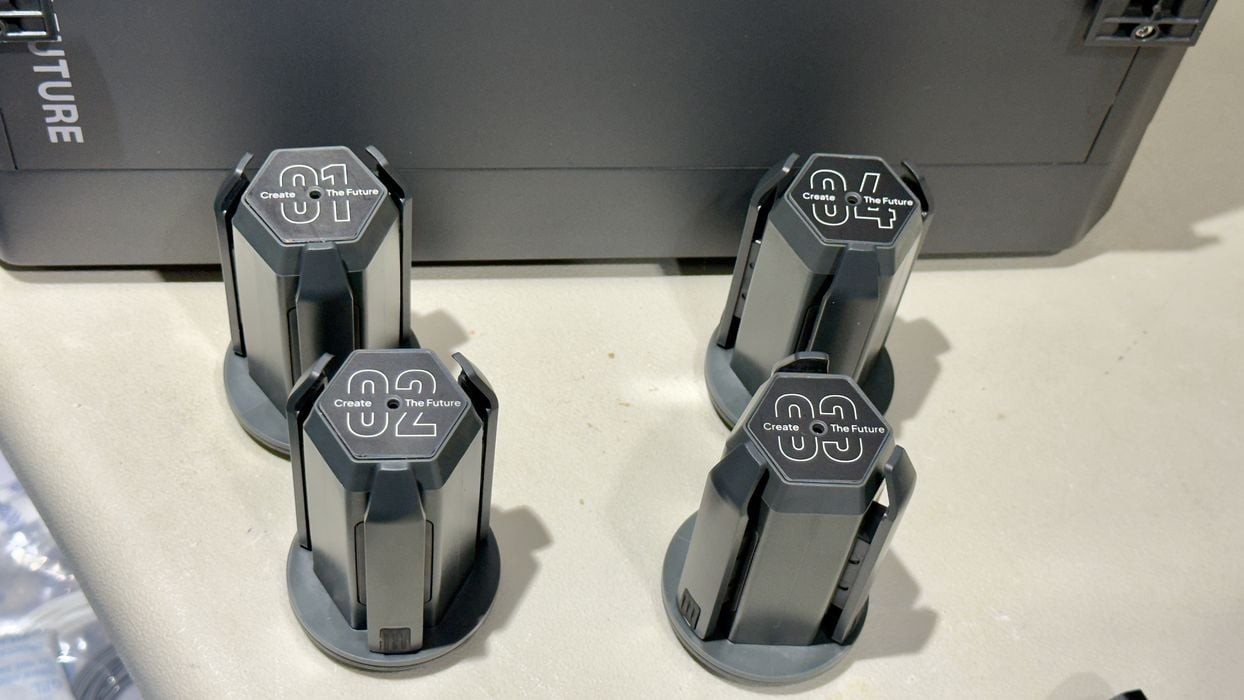
Whereas filament swappers have the spool hubs already built, the Centauri Carbon 2 requires you to mount each of them individually on the right-hand side of the frame. There are four hubs, and they have numbered labels. You should put them in the correct positions or you will be terribly confused later when operating the machine and setting up materials.
The spool hubs are placed on easy-to-install mounts that use pre-drilled holes on the side of the machine. The hubs then slide on top of them quite easily.
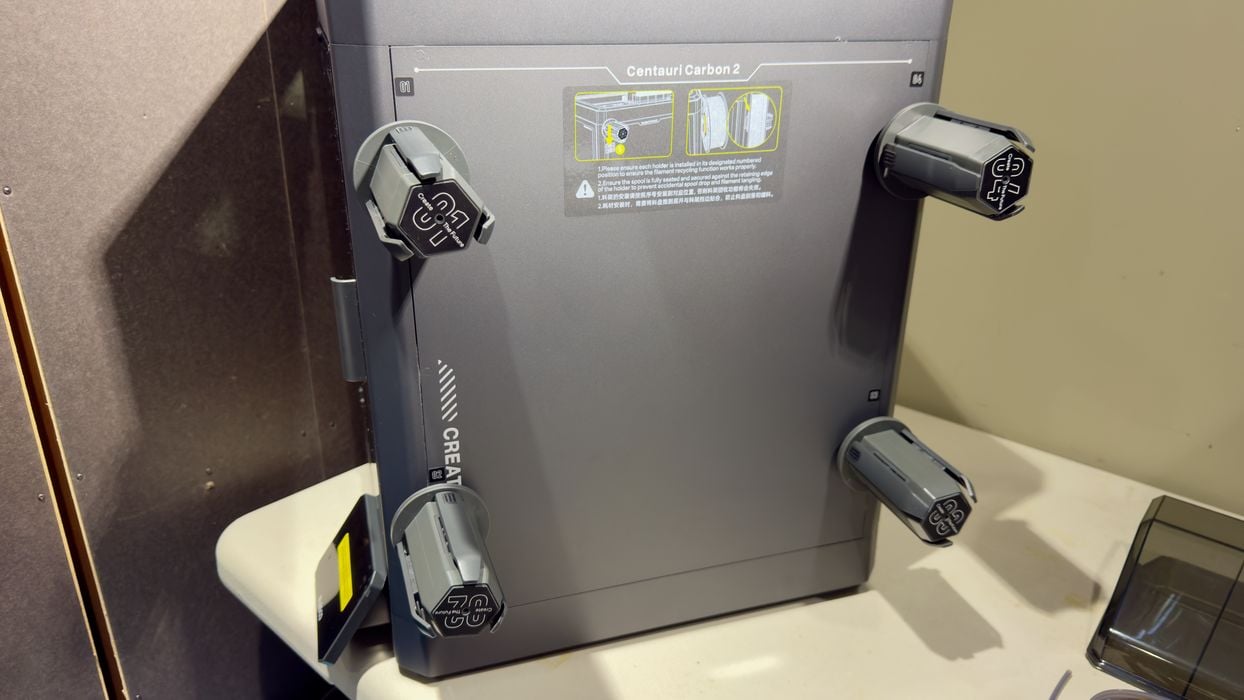
When the hubs are mounted, it should look something like this. Again, make sure the hubs are in the correct numbered positions.
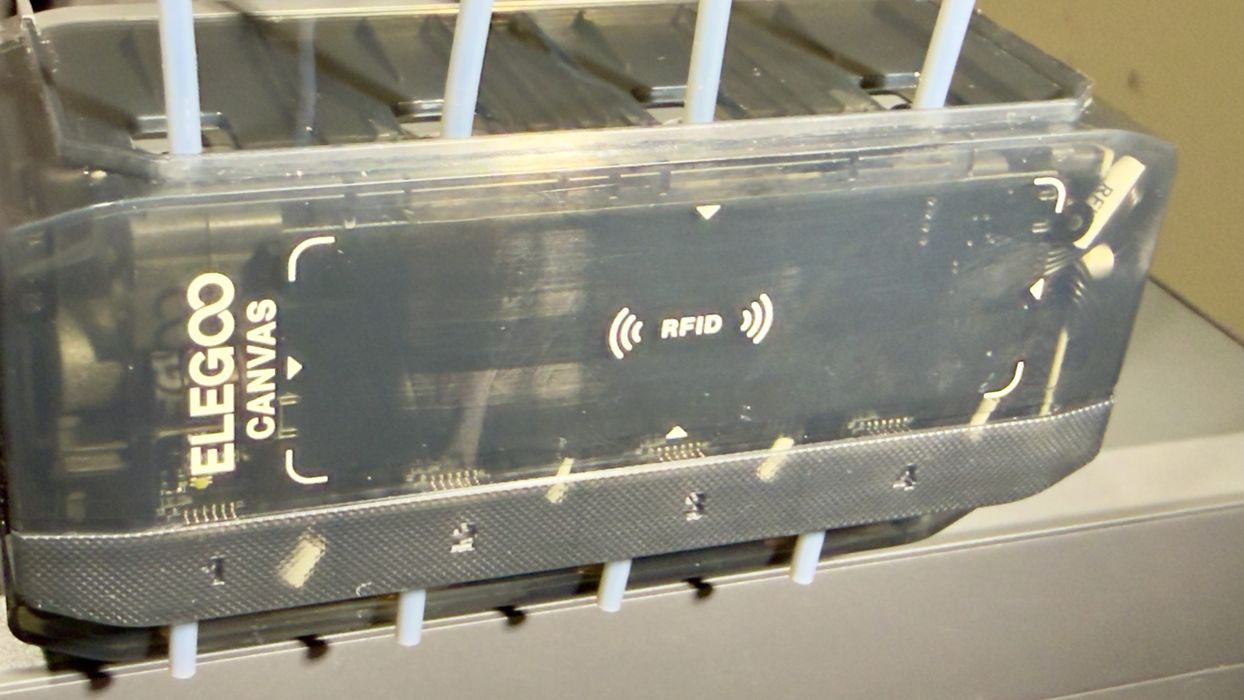
The CANVAS unit is a small box with motors to push and pull filament. It reminded me quite a lot of Prusa Research’s MMU, except that the CANVAS is completely enclosed — it’s a black box, literally. It mounts easily with some more bolts.
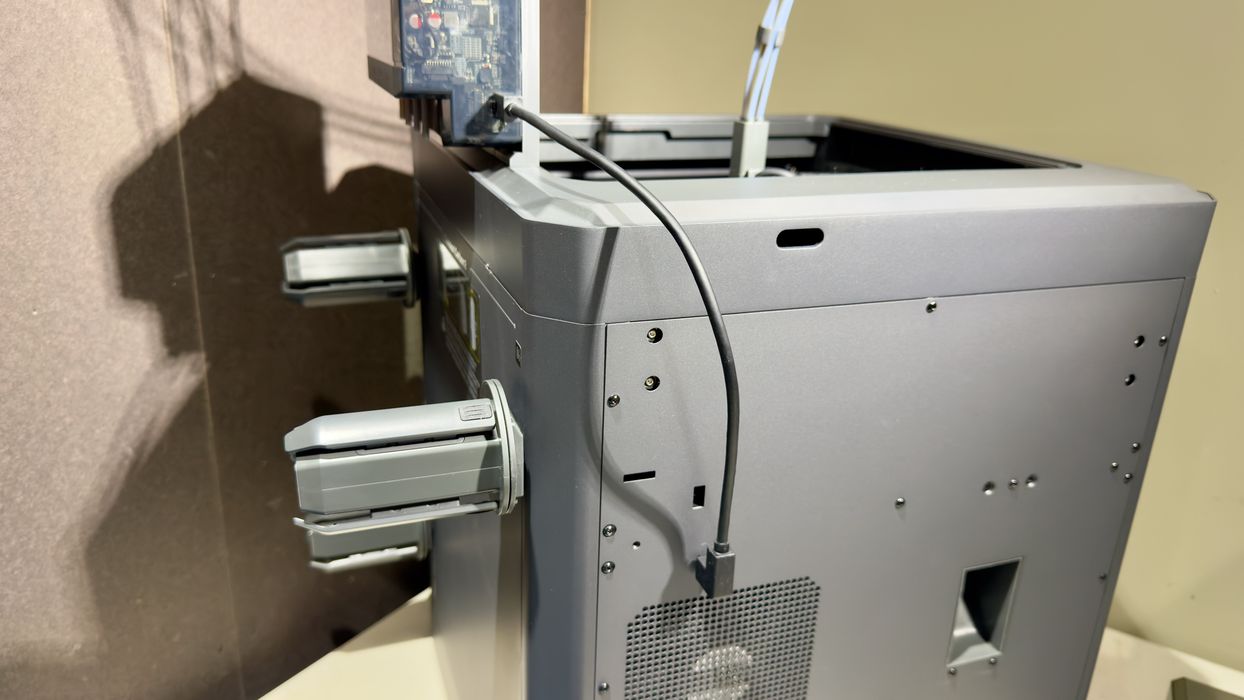
The CANVAS connects to the main unit via a bus cable that easily plugs in. This supplies power and signal to the CANVAS.
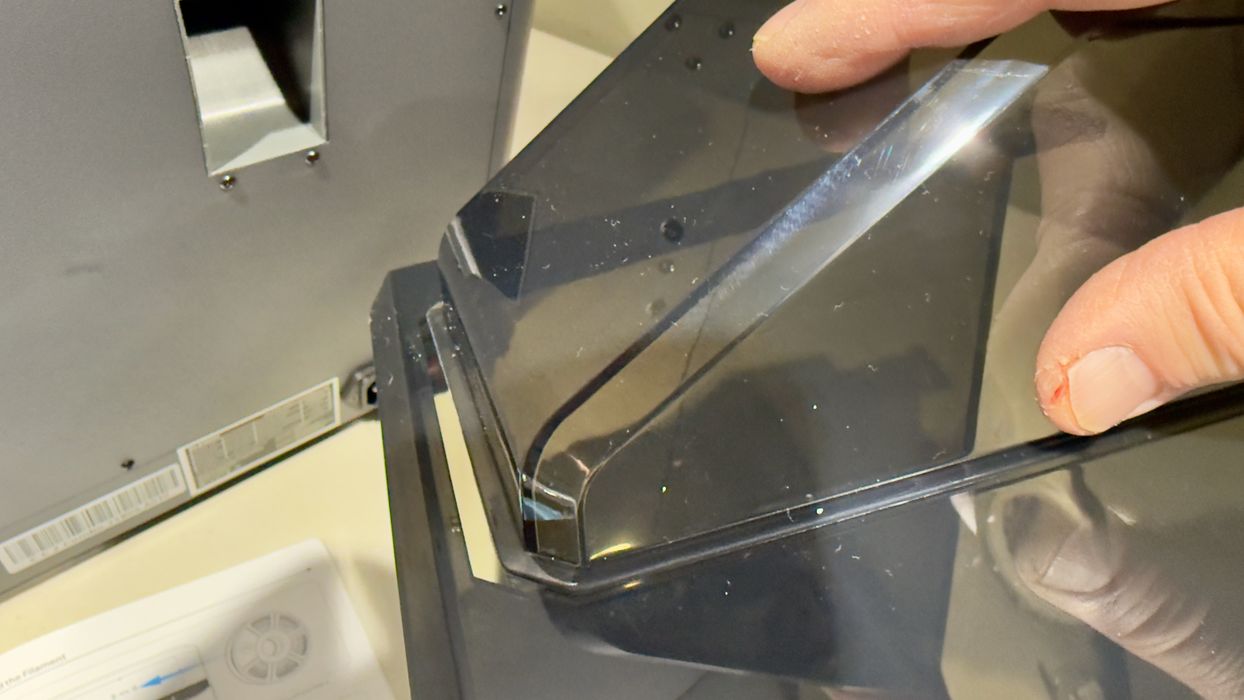
The final step was to place the cover on top, but I then discovered that it’s actually in two pieces. There is a smaller part you must slide in and lock, which I found required multiple attempts. It’s a bit tricky to line up all the edges properly so that it slides in smoothly.
Why wasn’t this already set up? I think Elegoo had to split the cover in order for it to fit inside the build chamber during shipment. It seems there were multiple compromises required to keep the shipping volume down.
Anyway, at that point we had a fully assembled Centauri Carbon 2, so I turned it on.
The machine booted up properly, but I noticed a slight electronic hum. The noise disappeared when I turned the machine off, so it was definitely coming from the device. I asked Elegoo about this, and they said they were aware of this issue and that production machines will have an upgraded mainboard that does not produce the noise. In any case, it wasn’t particularly disturbing.
[UPDATE] Elegoo sent us a replacement motherboard, as it seems the model we were testing was early in the cycle. The production motherboard apparently does not have the noise problem.
I followed the detailed instructions and video on the Elegoo Wiki to replace the motherboard, and it took only about half an hour to do. However, I should point out that taking the many cables off the old motherboard was a bit tricky. These cables have very tiny latches that must be pressed in order to pull off the cables. I had to use needlenose pliers and tiny wedges to loosen some of them.
In the end the new motherboard was installed and booted up — without any electrical hum. The upgrade worked. However, since it was a new board the Centauri Carbon 2 assumed that it was a new install and I had to go all the way through the setup process again, including the double self-check, as you will see later.
Centauri Carbon 2 buyers should not have this issue.
This is part one of a three-part series, please read parts two and three.
Via Elegoo