
This is part 3 of a 3-part series. Please read part 1 and part 2.
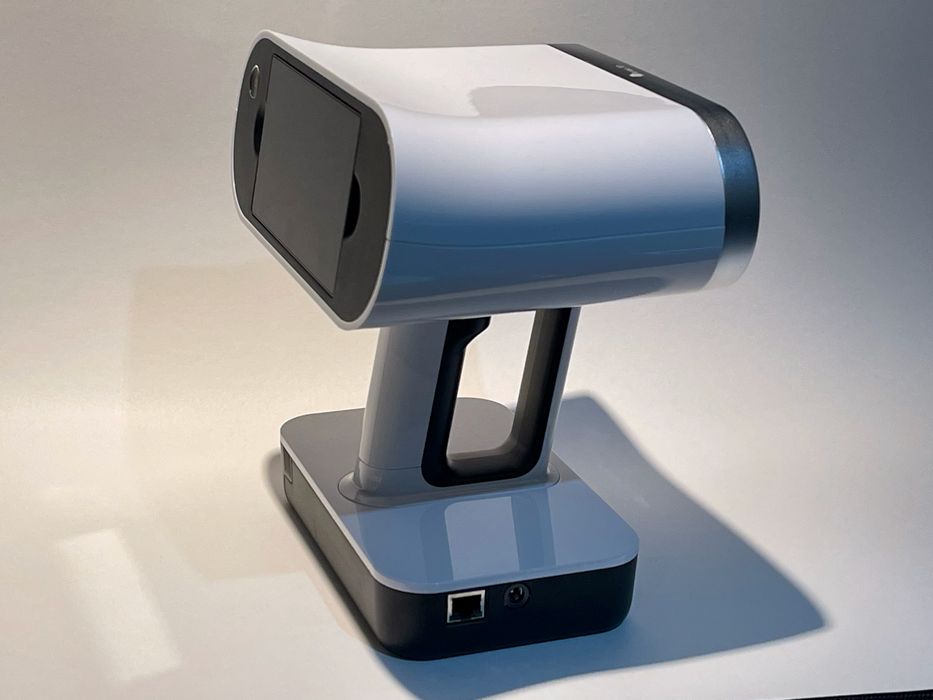
Artec 3D provided us with a Leo 3D scanner, so we put it through some tests. Here we review several sample 3D scans taken with the device.
I could go on for hours talking about the other features of Artec Studio, but let’s just say it includes every possible action you might ever contemplate when processing a 3D capture.
Artec Leo Scan Examples
I captured a number of items during my testing and I’d like to show some to you, and explain my findings on each. Note that these are images of the processed 3D scans, not the actual objects. As you can see, they are quite lifelike.
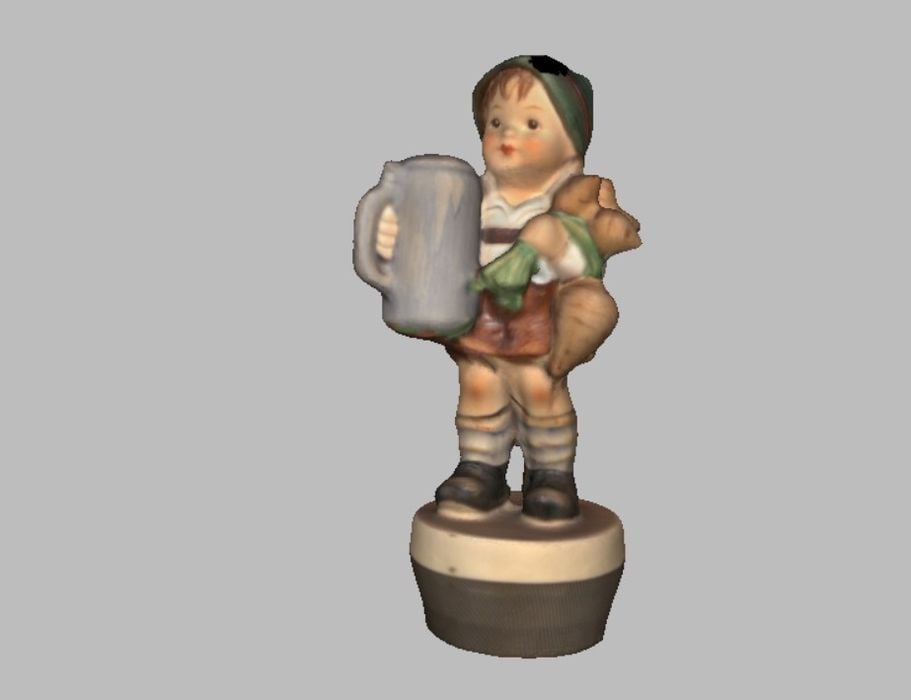
This is my standard scanning object. It’s a small ceramic figurine with a few tricky portions. As a first test, the Artec Leo did a very good job capturing this item, even though the scan session was only a couple of minutes.
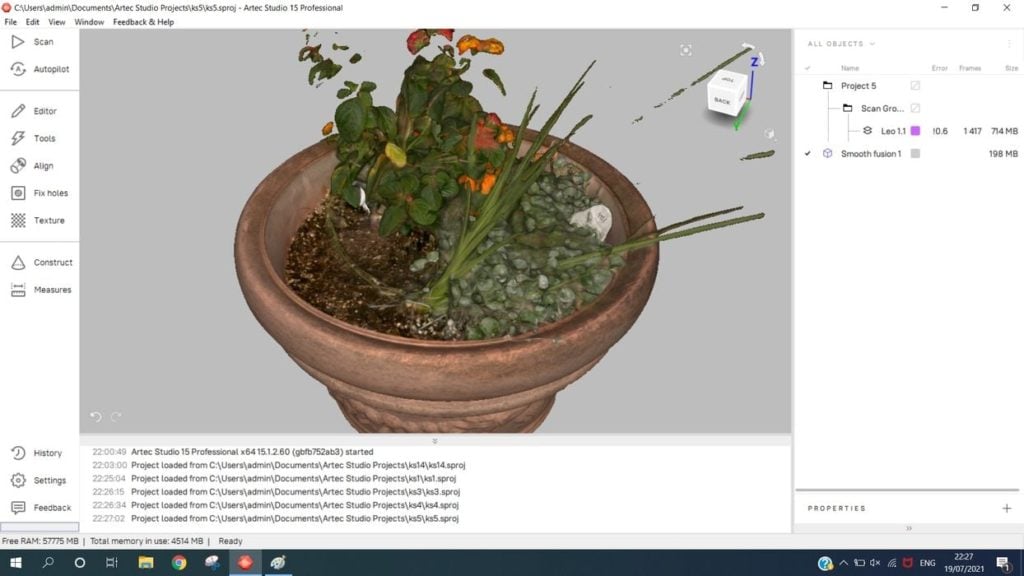
A more difficult project was this potted plant. I chose it because the foliage is complex and essentially impossible to capture due to its small size. However, the Artec Leo did a decent job of capturing some of it.
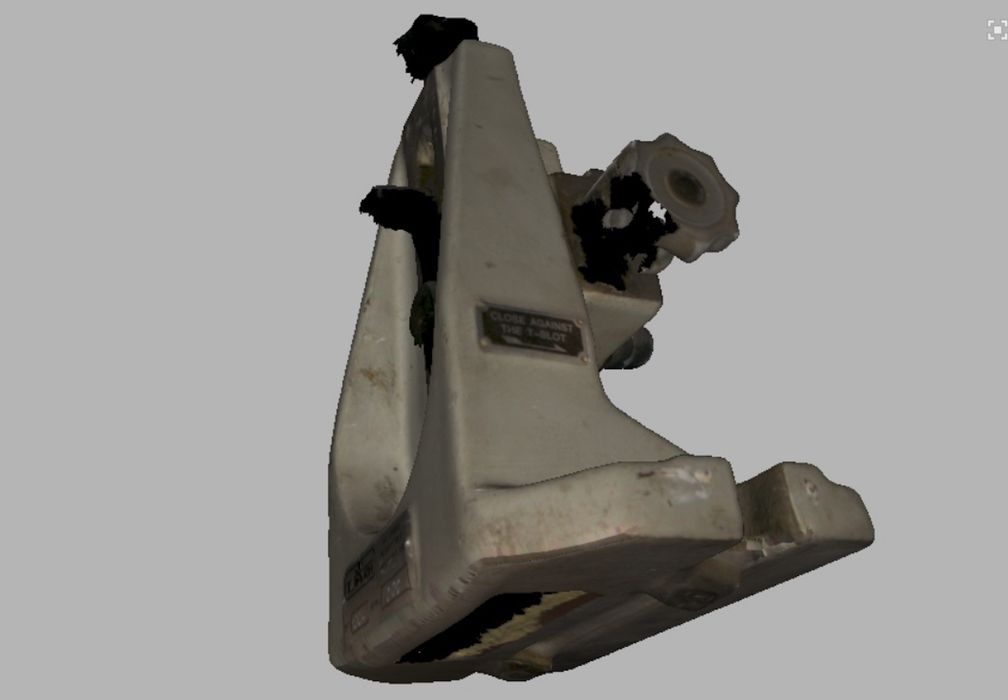
Here I’ve scanned a mechanical part, but used the Align feature to join two scans of the top and bottom of the part. There were no seams, and the resulting 3D model was excellent.
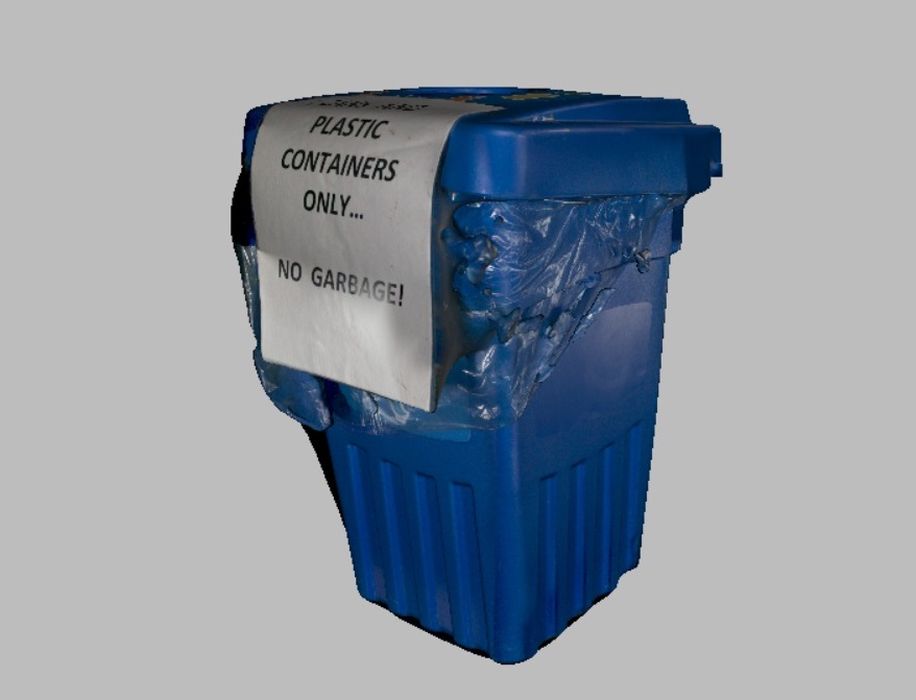
I said I like challenges, and here’s another one. This is a recycling bin that has a plastic trash bag draped over it. Would the Artec Leo capture the details of the semi-translucent bag?

It seems to have done a pretty good job.
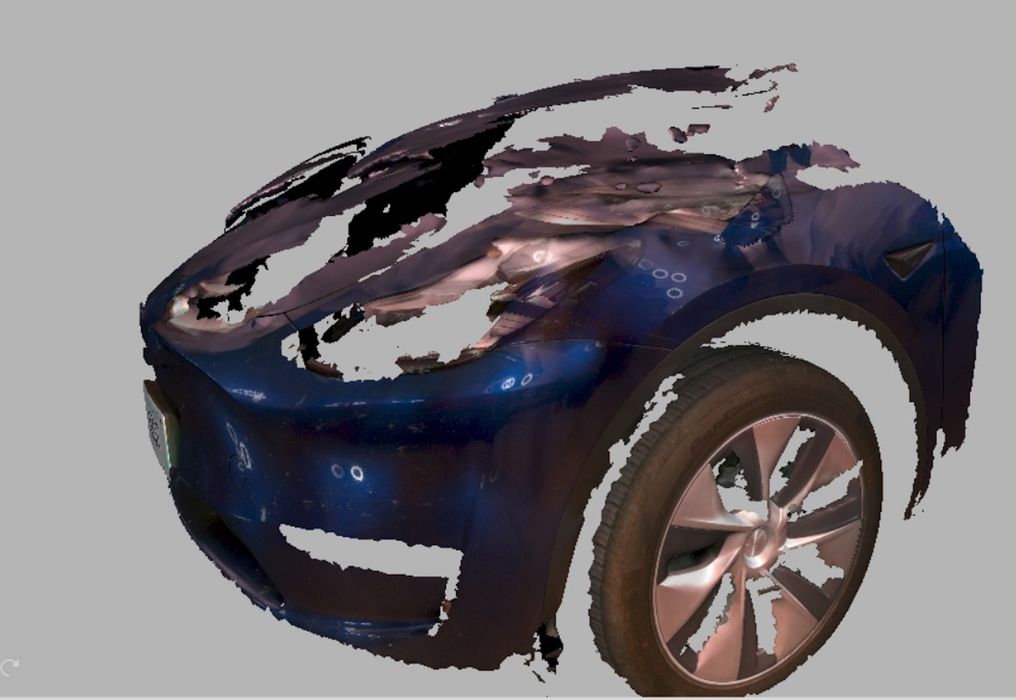
Not so good was this attempt at 3D scanning a car outdoors. Again, I chose this because of the difficulty in doing so — the car is reflective, and the sunlight has clearly messed up the scan, particularly the color texture.
One interesting aspect was that the several scans required to capture this segment were initially very poorly aligned, with multiple copies of the wheels visible. However, the Artec Studio registration tool was able to quickly sort things out correctly.
To properly scan something like this, you really need to coat the reflective surface with a material that doesn’t reflect. There are several sprays that can do this, and some that automatically evaporate over time.

No 3D scan test is complete without doing a human. Here I’ve captured a seated person, but as you can see his straggly hair was a complete fail. That’s actually expected, as no 3D scanner could possibly capture this hair: the hair segments are smaller than the resolution of the device.
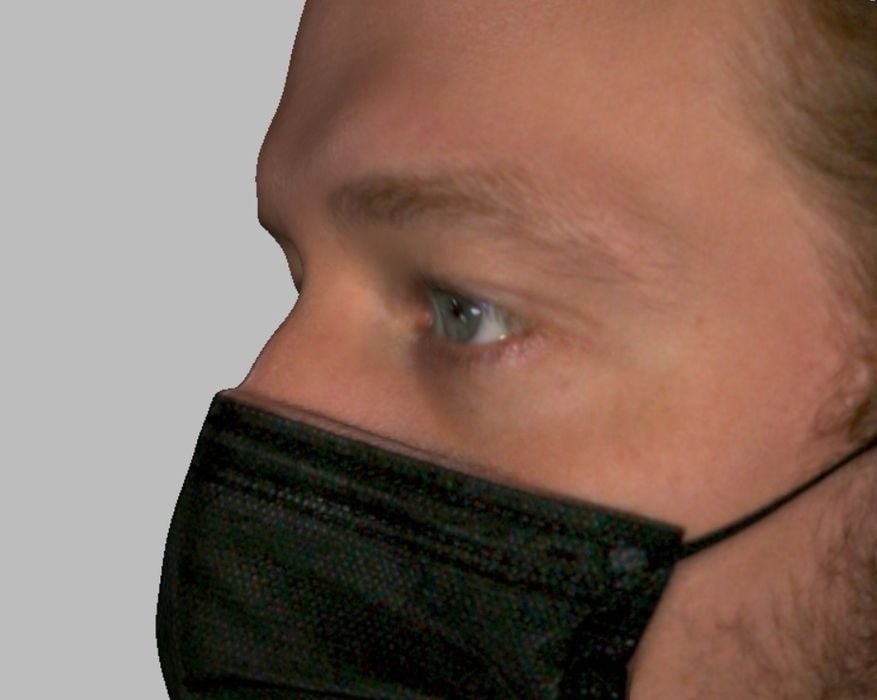
Here’s some detail of the scanned face, which has incredible accuracy. What’s most impressive is that I took only 30 seconds to do this capture, and the raw data was easily converted into a full face 3D model by Artec Studio.

This simple hat was a challenge. I asked someone in the lab if they’d like a scan, and they took off their hat and threw it on a table, saying “Scan That!” I wielded the Artec Leo and captured this hat in perhaps only 15 seconds. The hat 3D model was outstanding, even with a ridiculously short 3D scan. Very impressive.
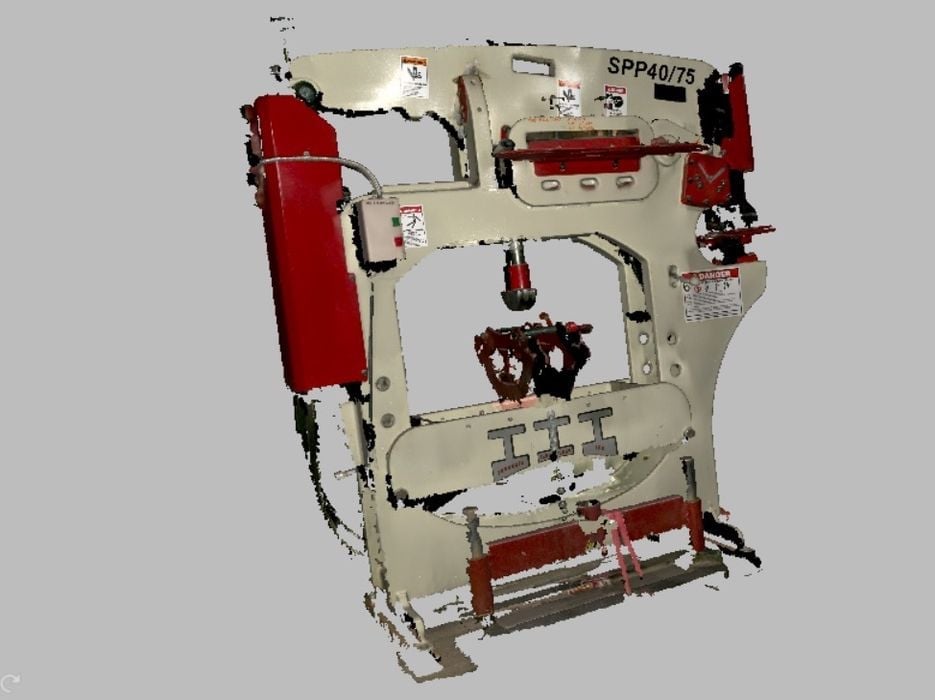
Finally, this is a scan of a large and complex machine. Made from multiple separate scans and aligned together, it came out pretty well. I could have spent a bit more time to catch the undersides, but it was clear to me that capturing even something as geometrically crazy as this device is relatively straightforward with the Artec Leo.
Conclusions
After using the Artec Leo for a few weeks, I’m quite impressed. The device, although heavier than some other handheld units, makes up for that with the ability to scan very quickly.
The associated software, Artec Studio, is quite powerful and is unstoppable when faced with seemingly unusable raw data. I was not able to get it confused. However, for HD scans you really need a very powerful laptop with graphics to obtain the highest quality scans.
I’m told the Artec Leo system is available for around US$30K, placing it a bit more expensive than some other options. On the other hand, it is a top performer.
This is part 3 of a 3-part series. Please read part 1 and part 2.
Via Artec 3D