
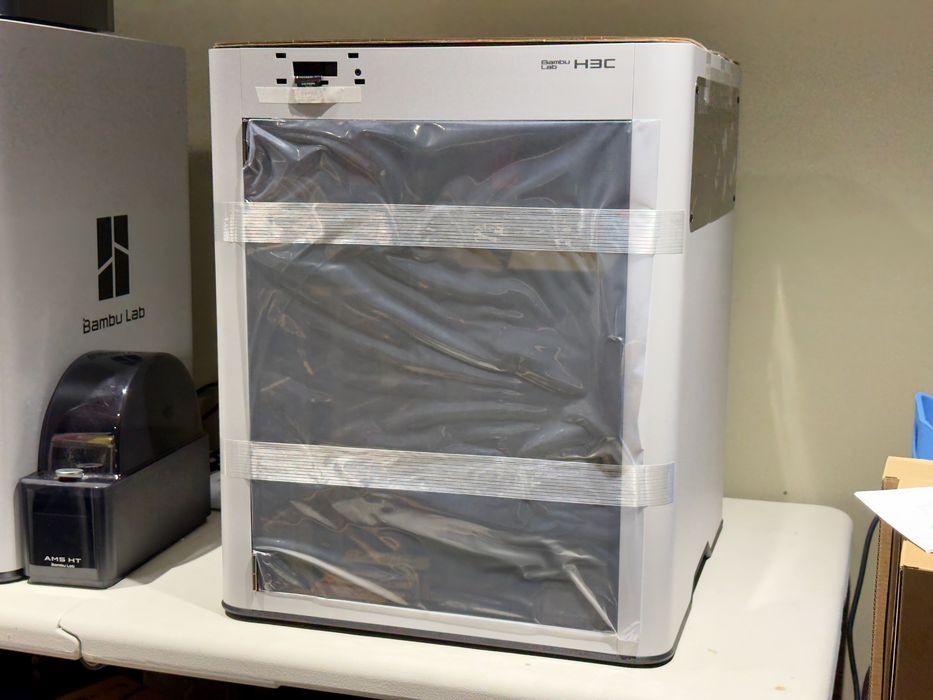
Our review of the amazing Bambu Lab H3C 3D printer continues with Unboxing, Assembly and Calibration.
This is part two of a four part series, please read parts one, three and four.
Bambu Lab H3C Unboxing and Assembly
The first thing you’ll notice about the H3C is that it is big. And heavy. You may need two people to lift it safely onto a desk.
It’s also shipped in two boxes, the first box is the printer, and the second box is the AMS 3H unit.
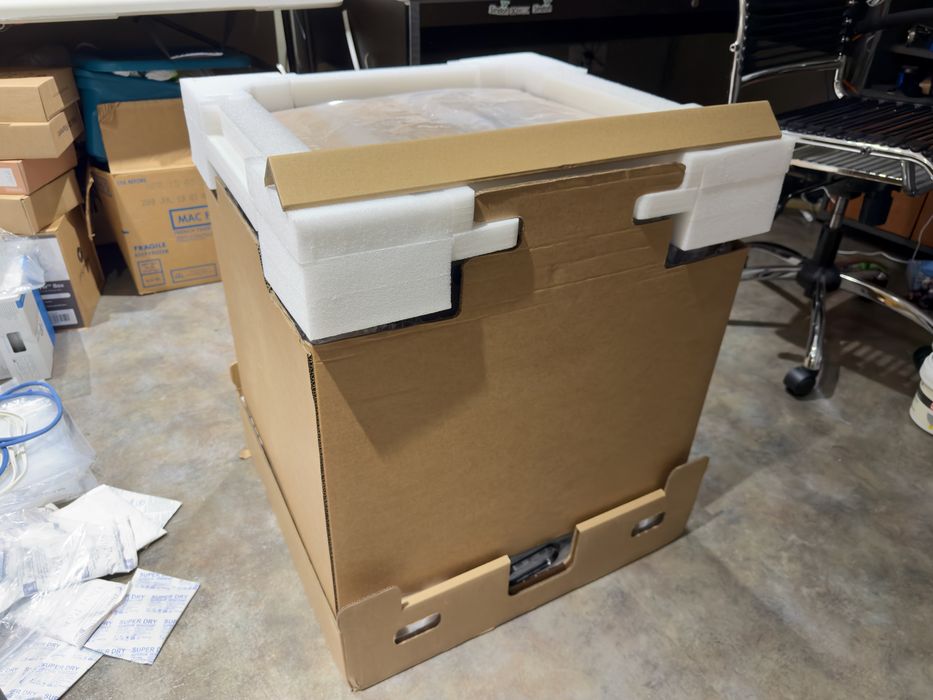
Like most heavy shipments, Bambu Lab’s packaging is a bit different: there are plugs on the box to remove, and then the whole top pulls upwards, revealing the machine. For those used to smaller open-the-top-and-pull-it-up packaging, this will definitely not work with the H3C.
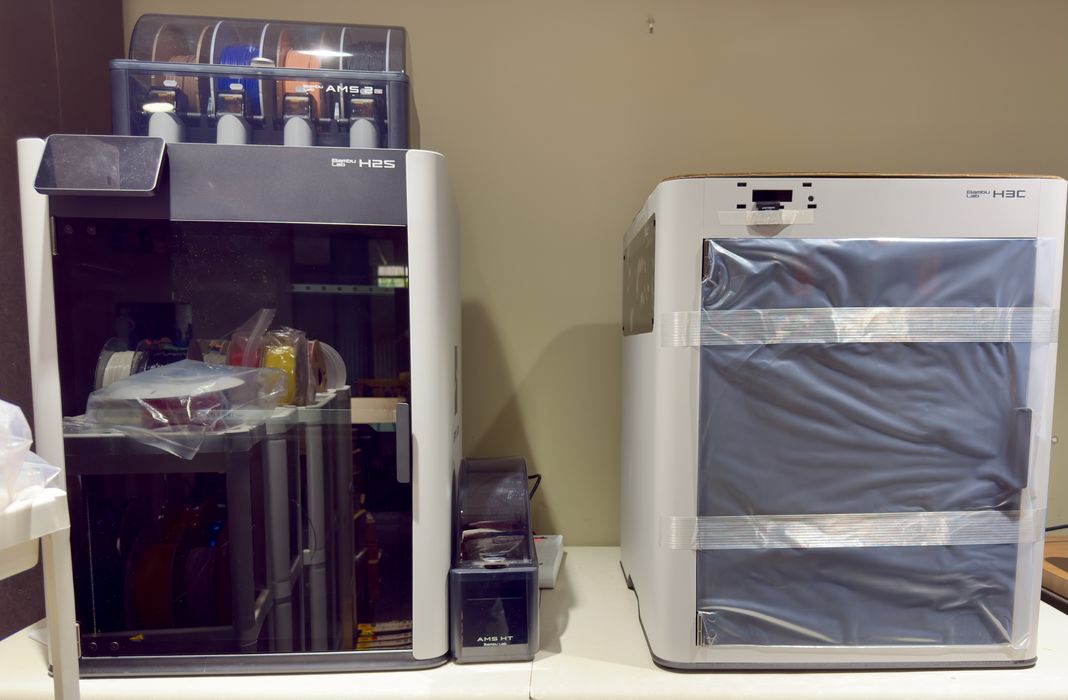
The H3C is large, but here we can see it beside an H2S. The H2S appears larger, but that’s an illusion because we have yet to install the AMS 3H.
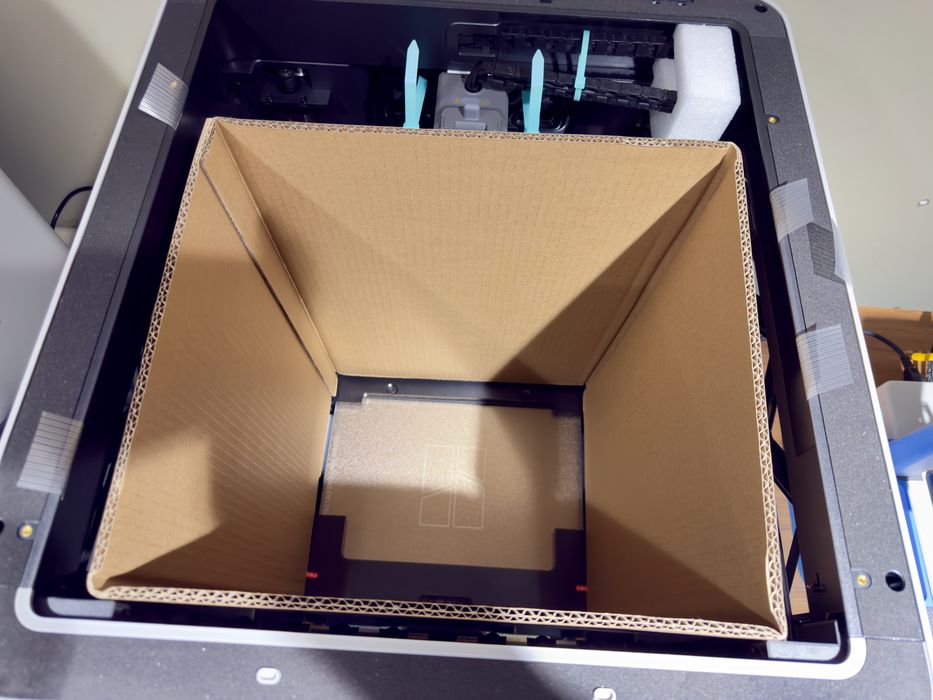
Normally Bambu Lab ships the AMS inside the machine, but they can’t do that on the H3C. That’s because the AMS 3H is literally part of the machine, as it sits on top. That means it’s the same exterior XY dimensions as the 3D printer, and so it can’t fit inside.
This is actually quite a switch: the AMS 3H is part of the H3C. I am not even sure they should have given it a separate name. The H3C does not work without the AMS 3H, and Bambu Lab will never, and cannot, sell an H3C without the AMS 3H.
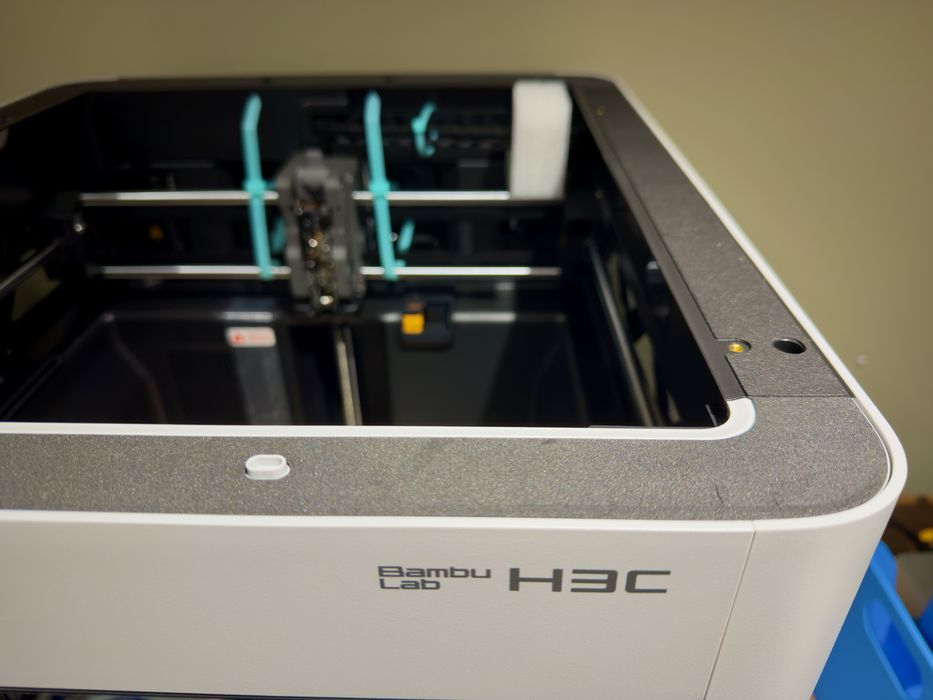
Here you can see the top of the 3D printer, which is completely flat, ready to accept the AMS 3H. This means, for example, there is no flap to open for PLA printing to keep the chamber cool.
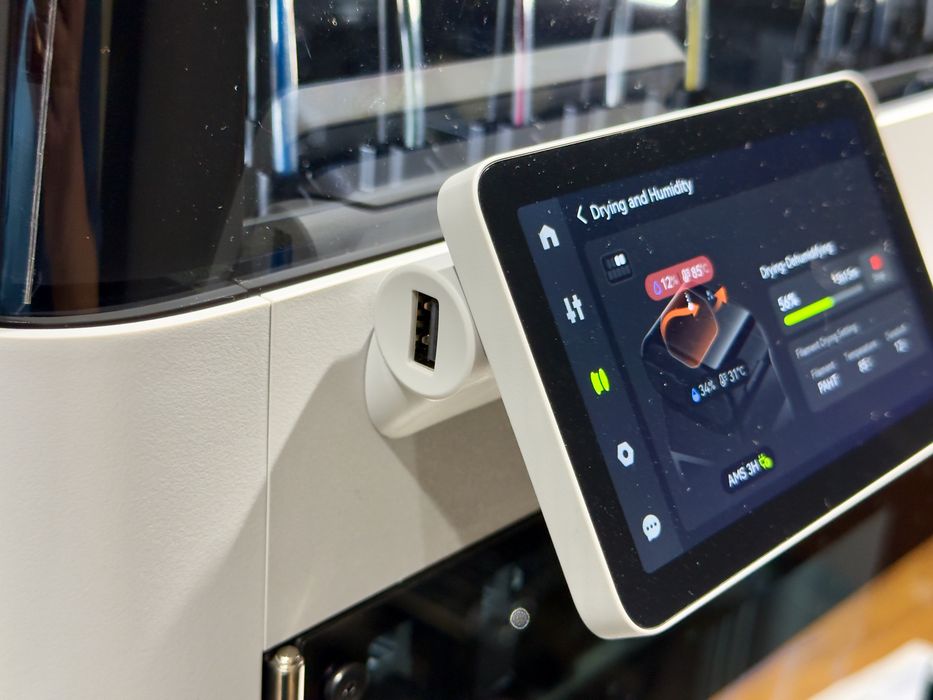
Another difference with the H2S: the USB port is now on the touchscreen, rather than being on the top, again because of the new AMS 3H.
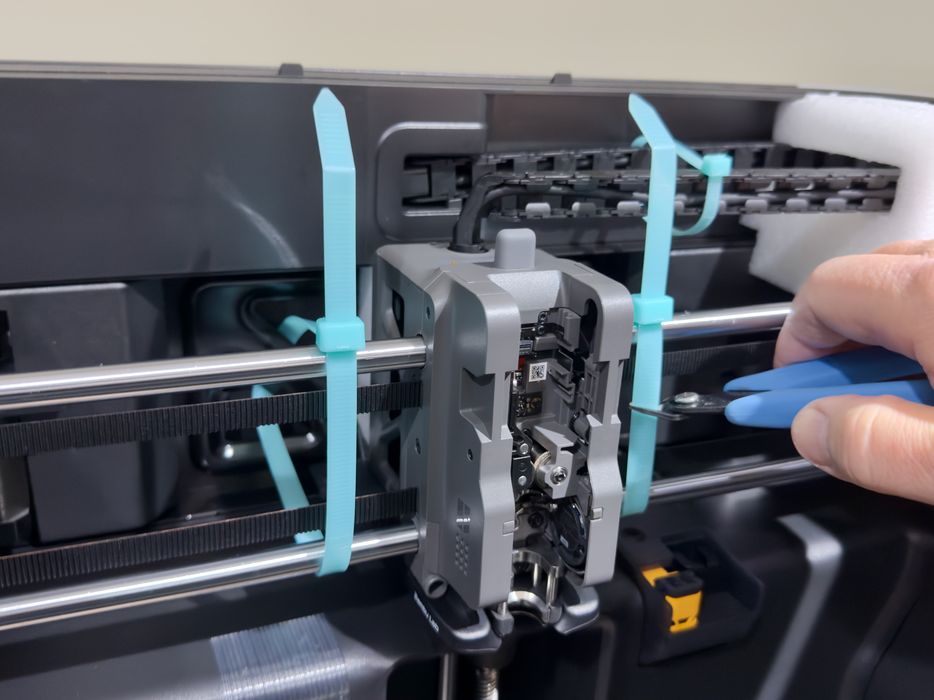
I dug into assembling the machine, and the experience is mostly similar to other Bambu Lab set ups. There is a fair amount of packaging and brackets to remove, such as cutting off these straps holding the X-axis secure during shipment.
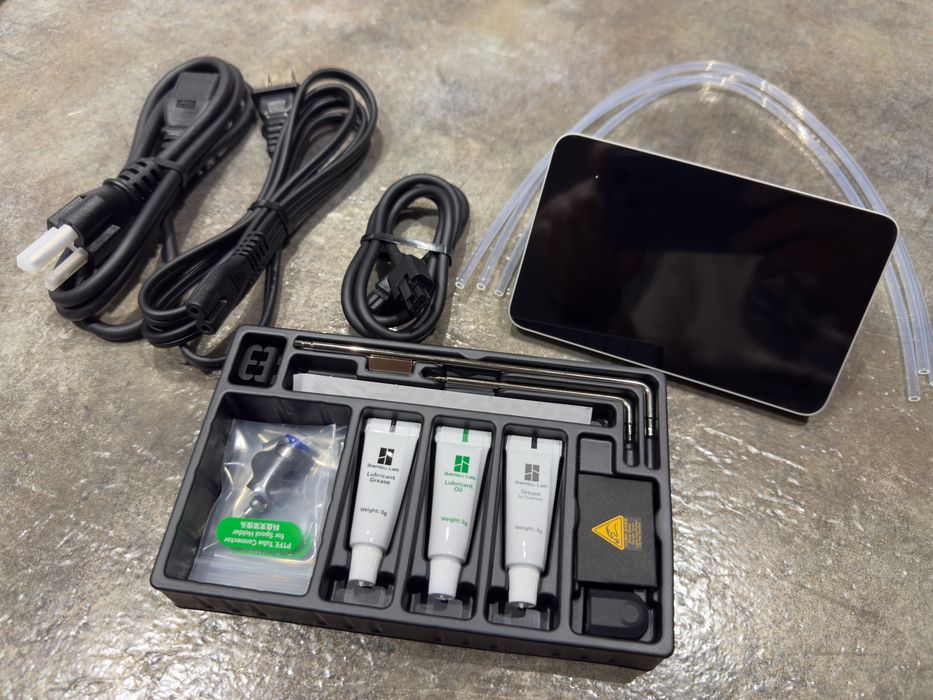
There’s not a lot of tools shipped with the H3C, aside from the usual Bambu Lab toolset, power cords, PTFE tubes and the touchscreen.
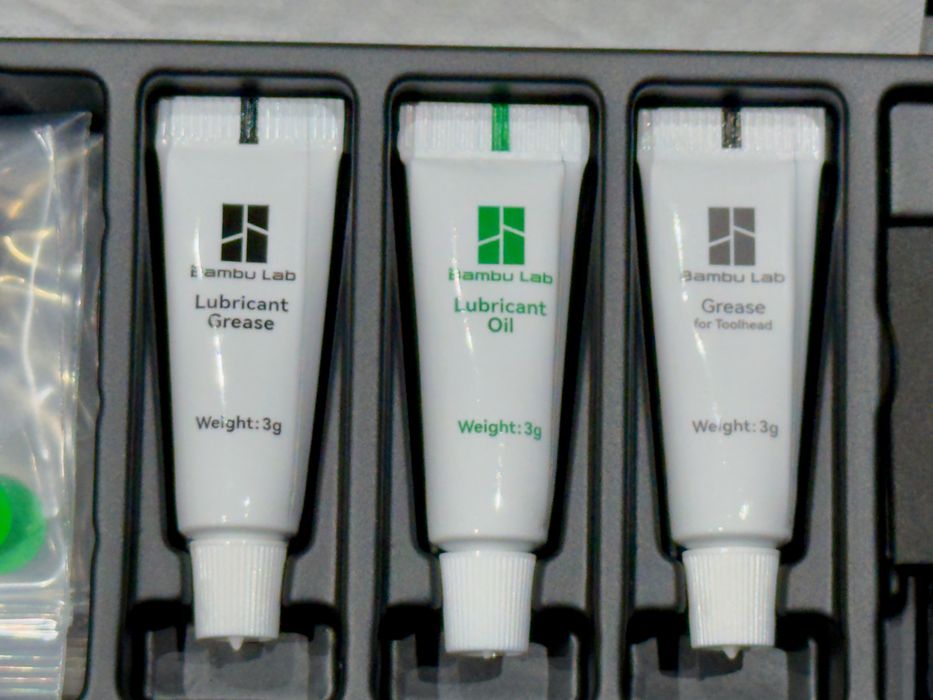
Oh, hold on, there are three tubes of lubricant here. There is lubricant grease, lubricant oil and lubricant for the toolhead. That’s up from the usual two that I’ve seen previously.
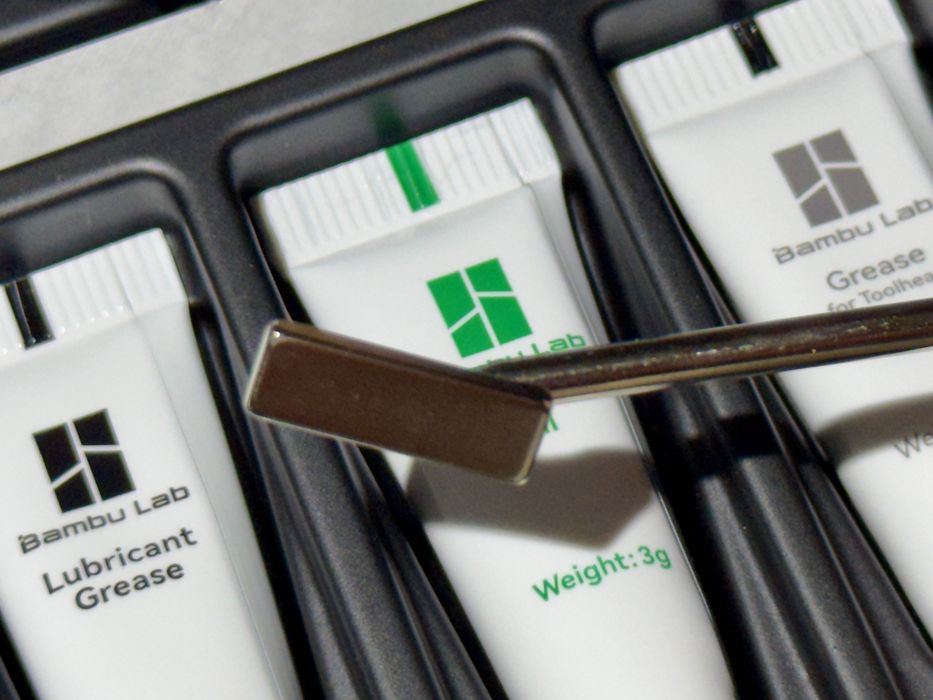
The tool kit includes a small magnet that can be used to hold or pick up bolts. As it turned out, this was surprisingly useful during my assembly.
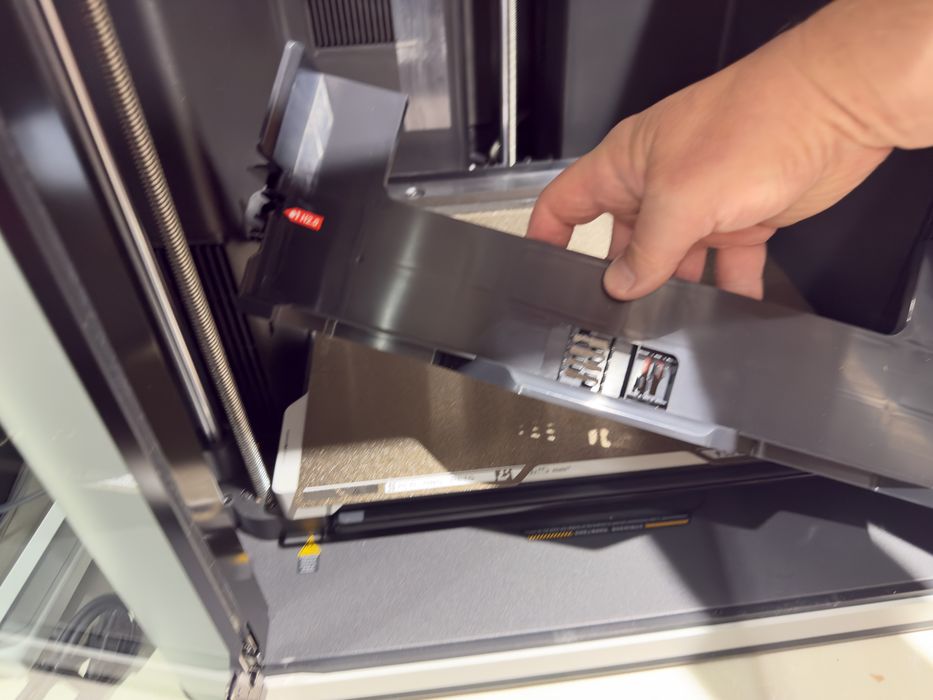
There are some large injection molded brackets holding the print plate secure, and of course these must be removed and discarded. I didn’t see a recycling symbol on them, so they cannot be easily be sent into municipal recycling. Maybe Bambu Lab should use the symbol?
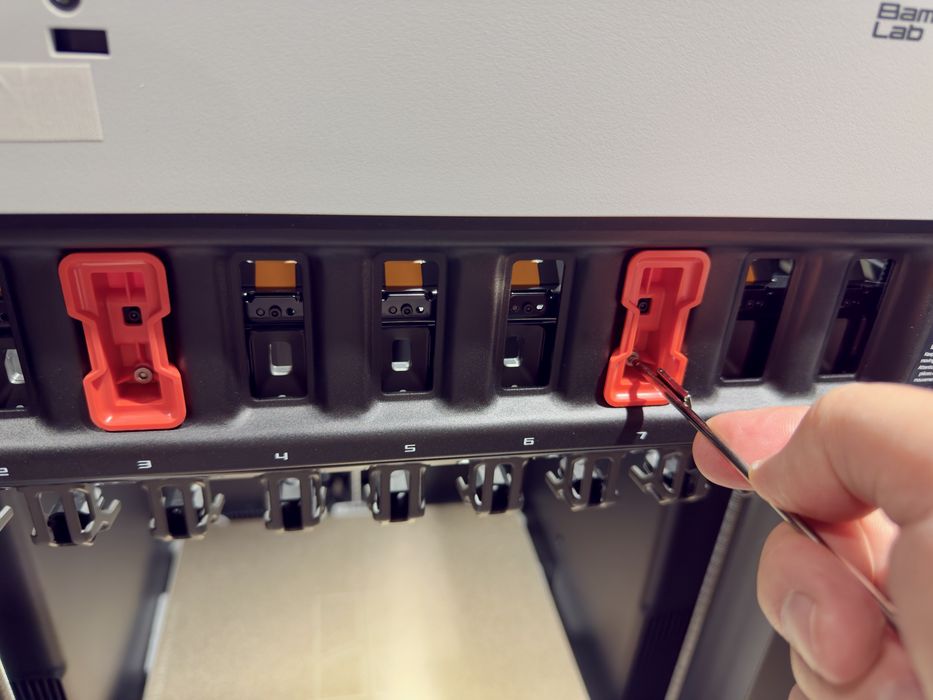
Here’s a new one: you have to remove these nine covers for the toolheads. There’s just one bolt to remove.
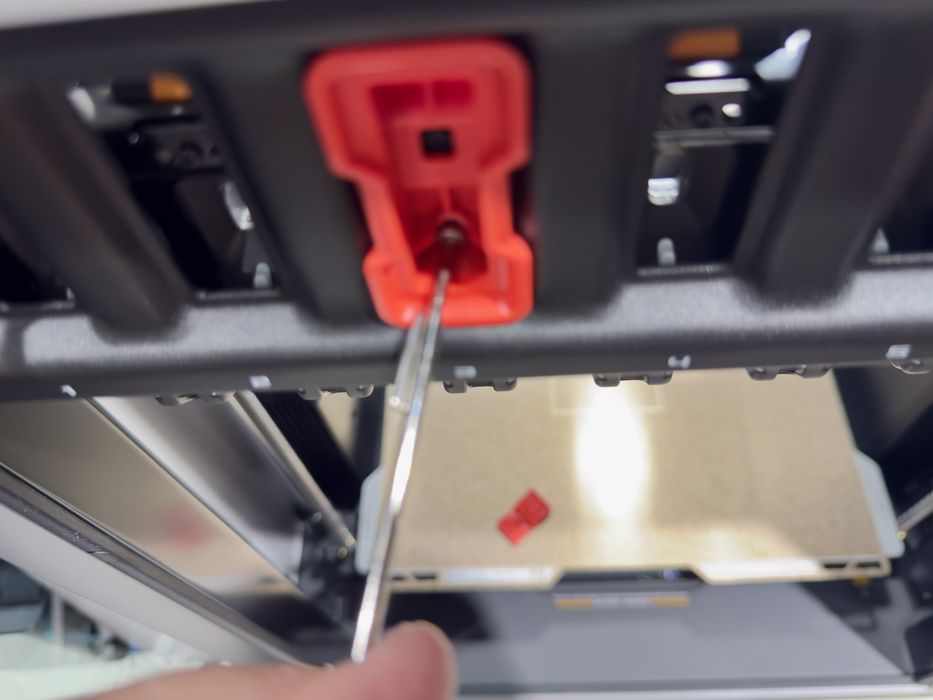
Oops! Turns out that those toolhead covers have a partner on the other side that you can’t see. You’ll hear them drop off when you unbolt the front cover.
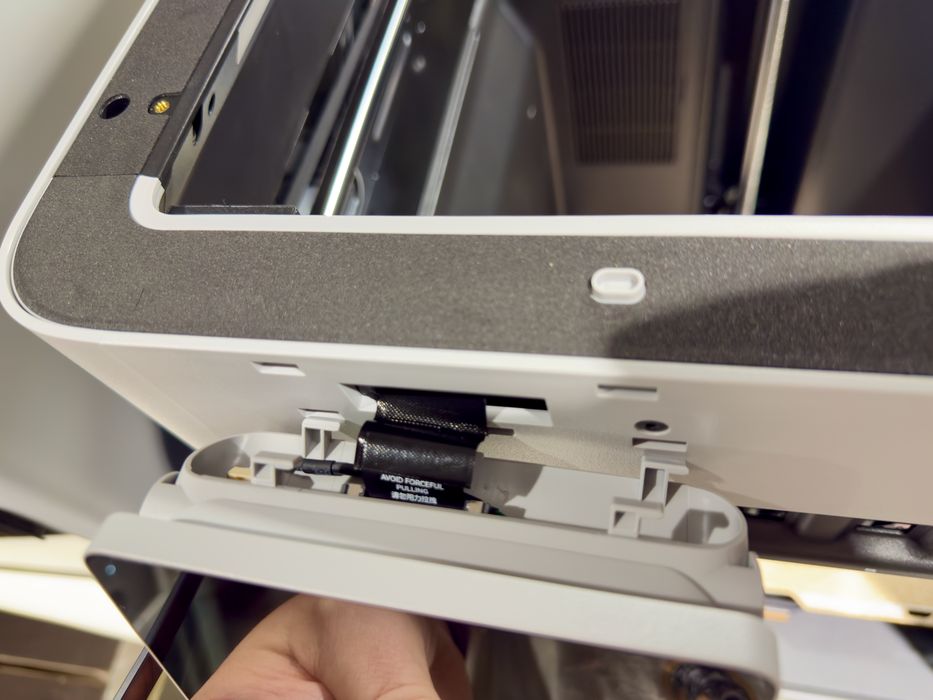
Installing the touchscreen is straightforward, but the cabling seemed a little tight for my big fingers.
That was about it for the 3D printer. There isn’t that much to do. Now it was on to the AMS 3H.
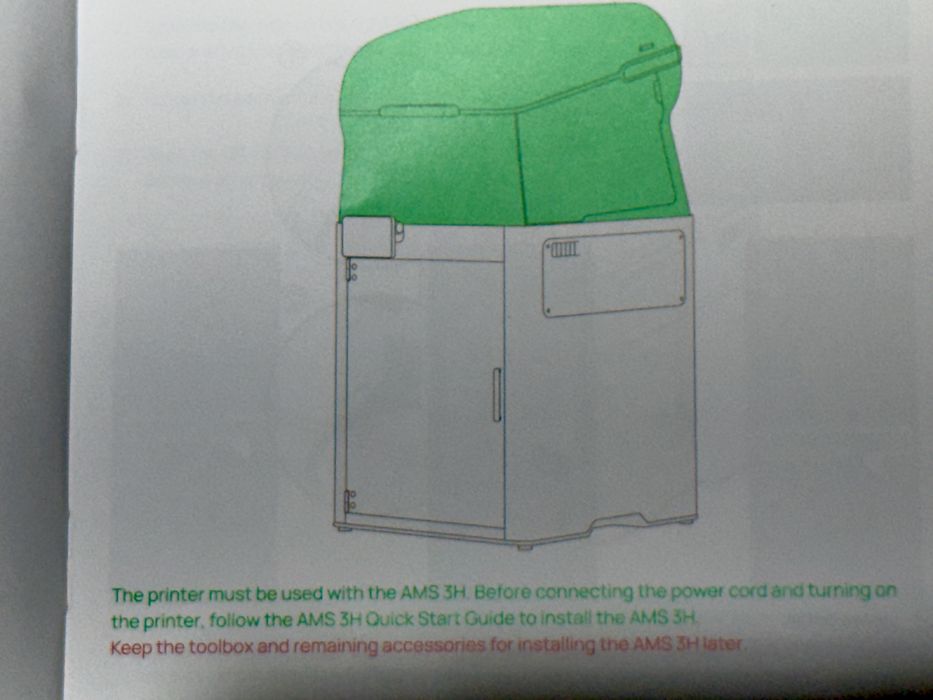
The first thing you notice about the AMS 3H is that it fits on top of the 3D printer. But not in the same way as other AMS units. Here on the H3C the AMS 3H is literally part of the machine; it fits precisely on the printer’s flat top.
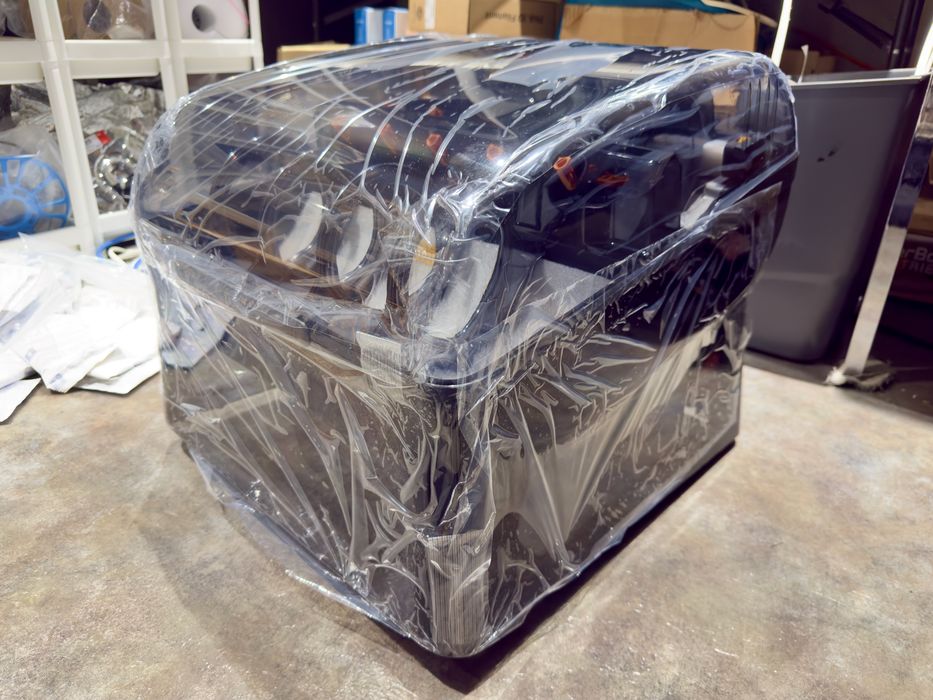
The AMS 3H is delightfully light, as compared to the rather heavy printer component, so it’s easy to move around, and lightly packaged, too.
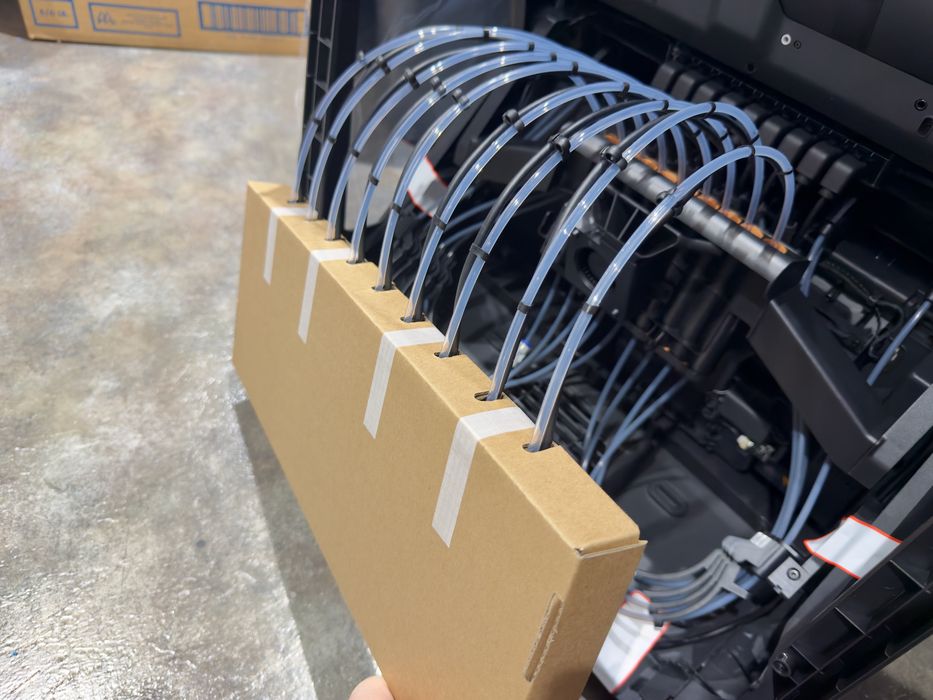
This will be your first glimpse at those SwapTek toolheads. They’re wrapped in cardboard inside the AMS 3H.
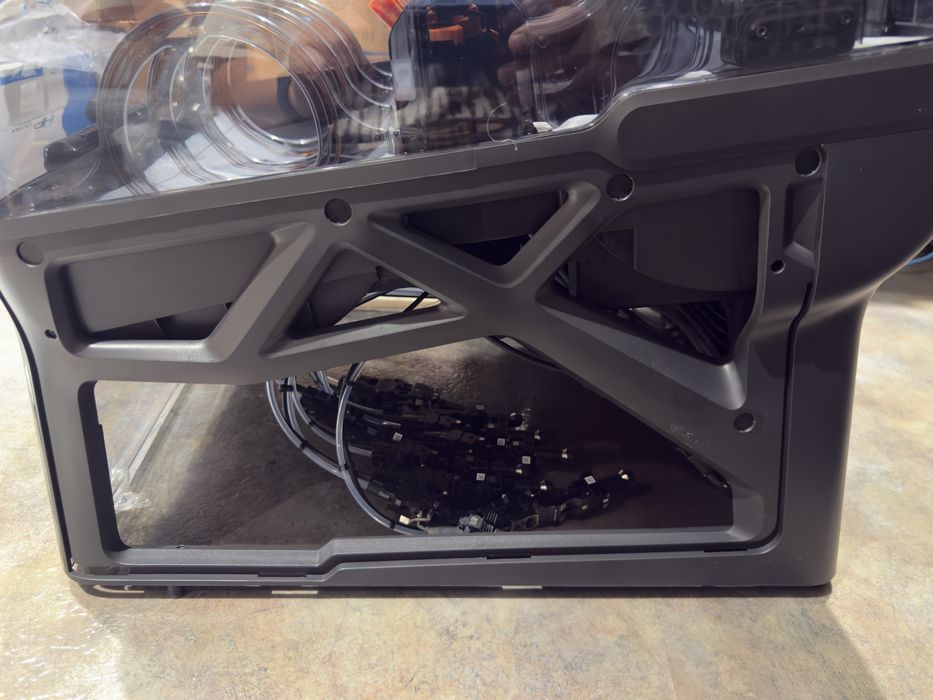
After they’re unwrapped, you’ll see them dangling underneath the AMS 3H. This is what I mean: the AMS 3H is in fact an integral part of the H3C: the H3C main unit does not have ANY toolheads at all, because they are part of the AMS 3H.
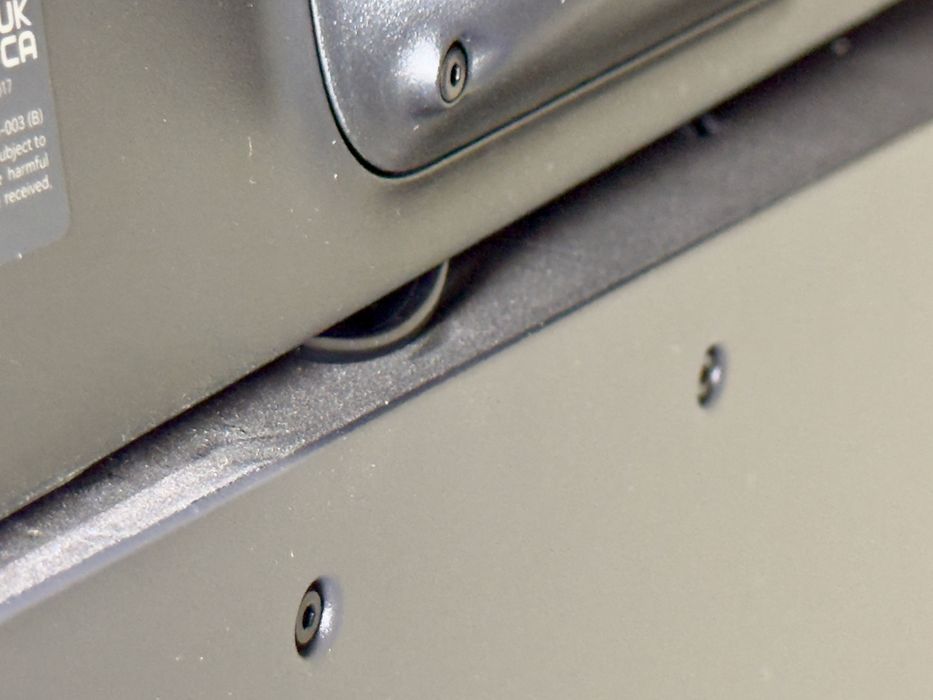
When placing the AMS 3H on top of the main unit, be sure not to pinch the two cables at the rear. They are dangling and can easily get caught underneath.
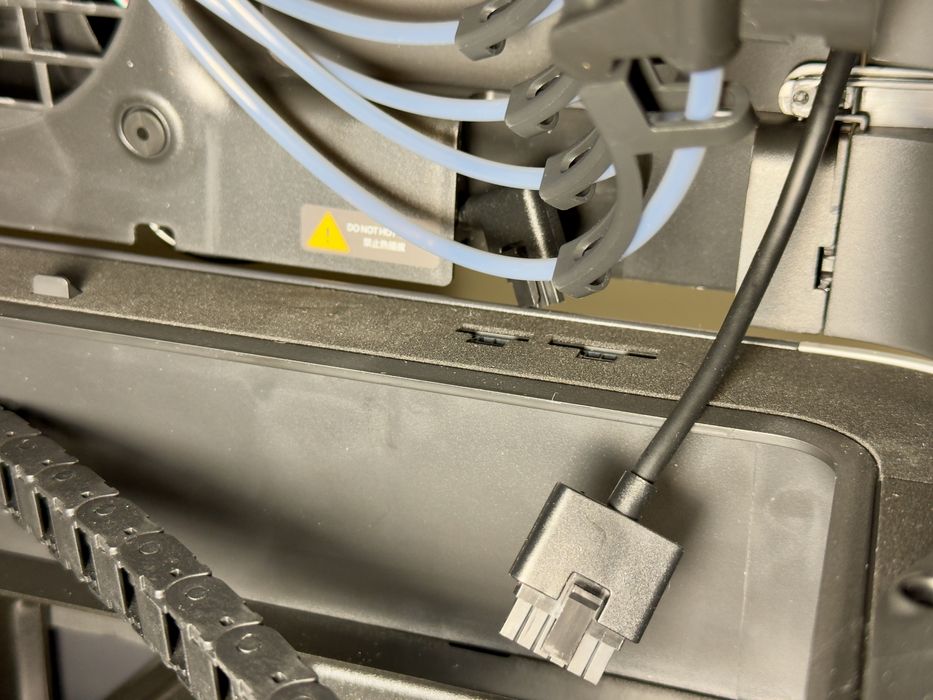
There are two cables to plug in at the rear of the AMS 3H. This is where I first noticed a problem with the H3C: it’s hard to reach inside to work on anything.
This is because the toolhead assembly takes up space at the front, and there are only two small side panels that open to provide access. Basically you find yourself standing in the front, and reaching your hands through both sides. All this time you can only see what you’re doing by looking through the reflective window at the front.
This was a frequent issue when working on the machine. Quite often I ended up working by feel, rather than seeing what I was doing because of the challenging physical access to the H3C’s interior.
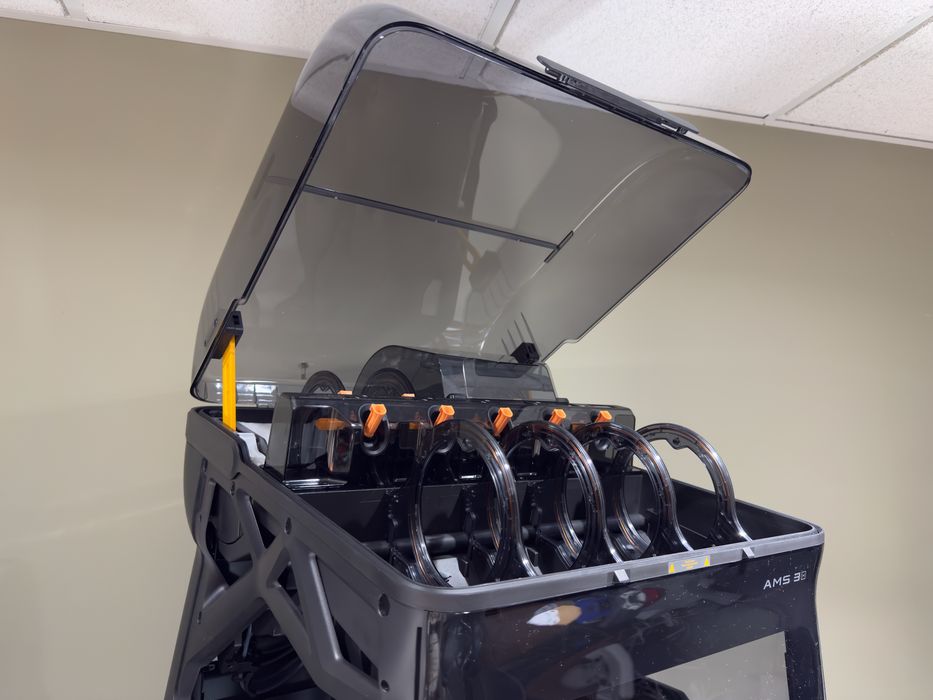
Finally, I had the AMS 3H connected and bolted in. It wasn’t that difficult, but at this point I realized exactly how tall this machine is, especially with the top open. It’s waaaay taller than the H2S.
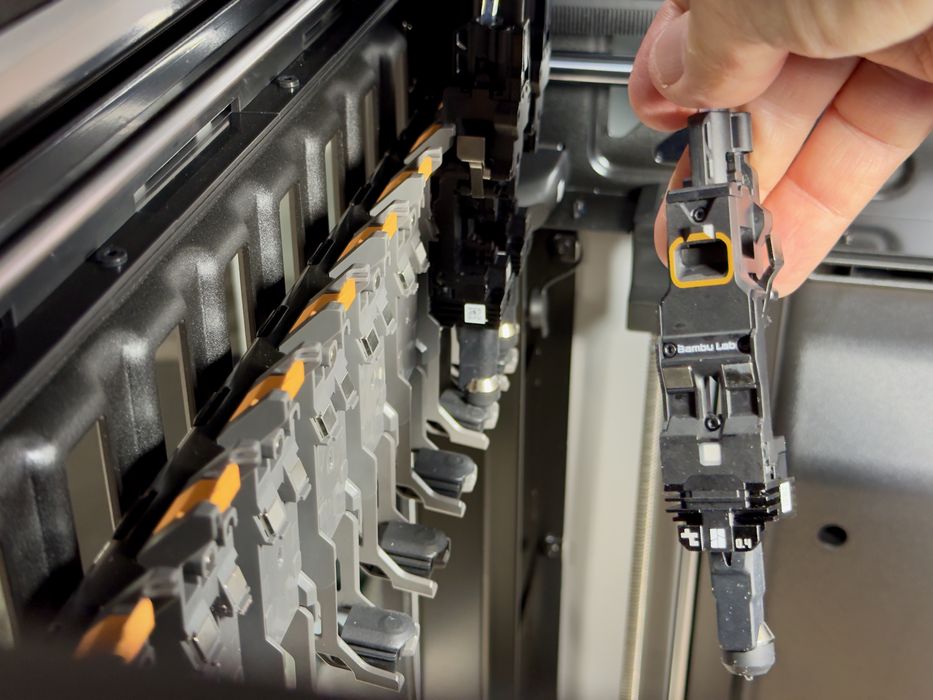
Now was a good time to take a closer look at the SwapTek toolheads. They must be mounted on their normal positions to proceed, and it’s quite easy to do so. In the image you simply have to place the toolhead’s orange circle onto the orange mounting point at left. Magnets pull them in snugly.
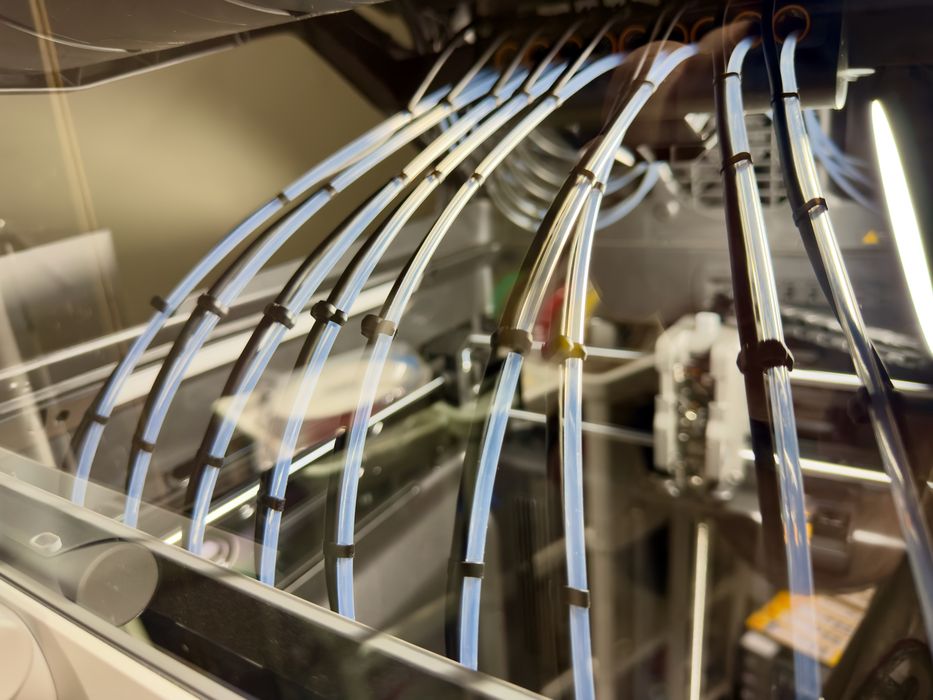
There are a lot of PTFE tubes flying around inside this machine, and you have to get the tools set in their proper positions. Here I mistakenly swapped tool 6 and 7, as you can see the tubes cross. Don’t do this, and double check everything as you assemble the machine.
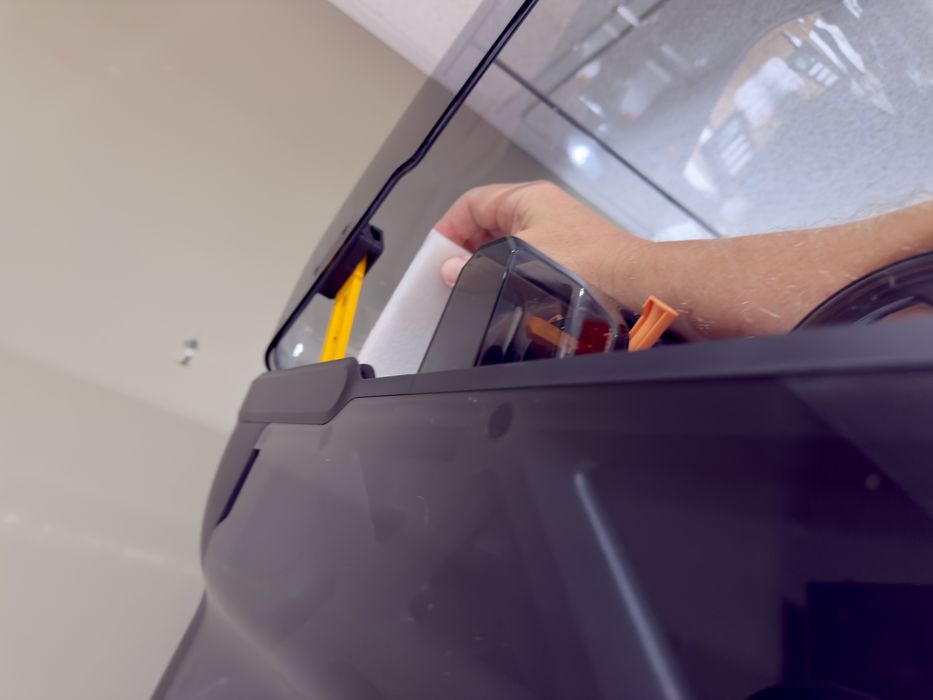
I was about to mount some filament spools, but then realized — by touch — that there was some packing material still inside the AMS 3H. I could not see this because it was so tall. I measured the top of the lid to 200cm, or about 6’6”. It’s quite tall, and you cannot see anything inside the AMS 3H without a ladder.
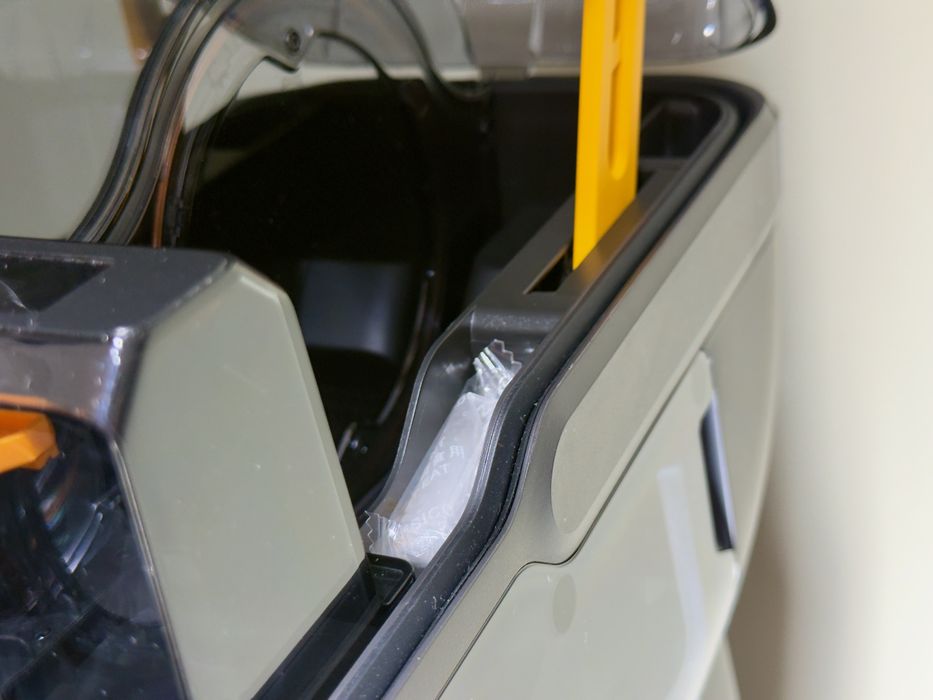
Aha, there are desiccant packets to install in the AMS 3H, because it also doubles as a dryer. These must be installed. But hold on, there are two already inside the AMS 3H, and two spares. Both sets are bagged, so unwrap only one set for the AMS 3H and keep the others for later use.
Bambu Lab H3C Setup and Calibration
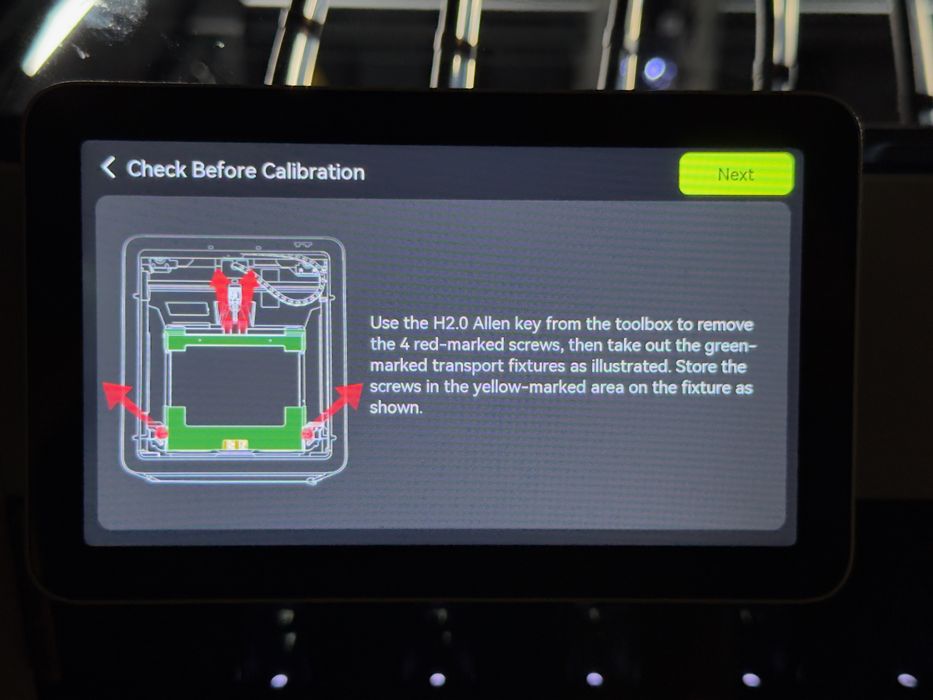
Now it was time to power up the machine, and it did so in the usual Bambu Lab fashion: uneventful. It asks in text and visual fashion for you to remove the shipping brackets, if you haven’t already. Bambu Lab is trying to make the process fool proof.
Of course, it then proceeded to the startup configuration wizard, which goes through a rather lengthy set of calibrations. Calibrations are always long, but on the H3C they are even longer, simply because there are so many toolheads to calibrate. Each one must calibrate its mounting position, z-offset, etc. You will not be printing in 20 minutes after opening the box. Instead, go for lunch.
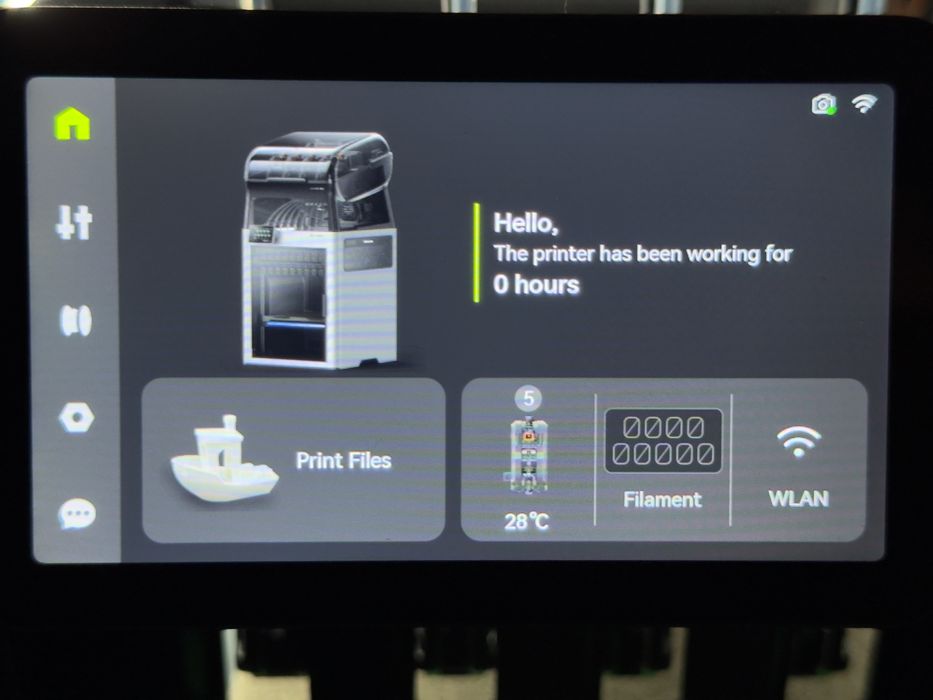
Finally I had a machine ready for action. Well, almost. I had to get some materials into it.
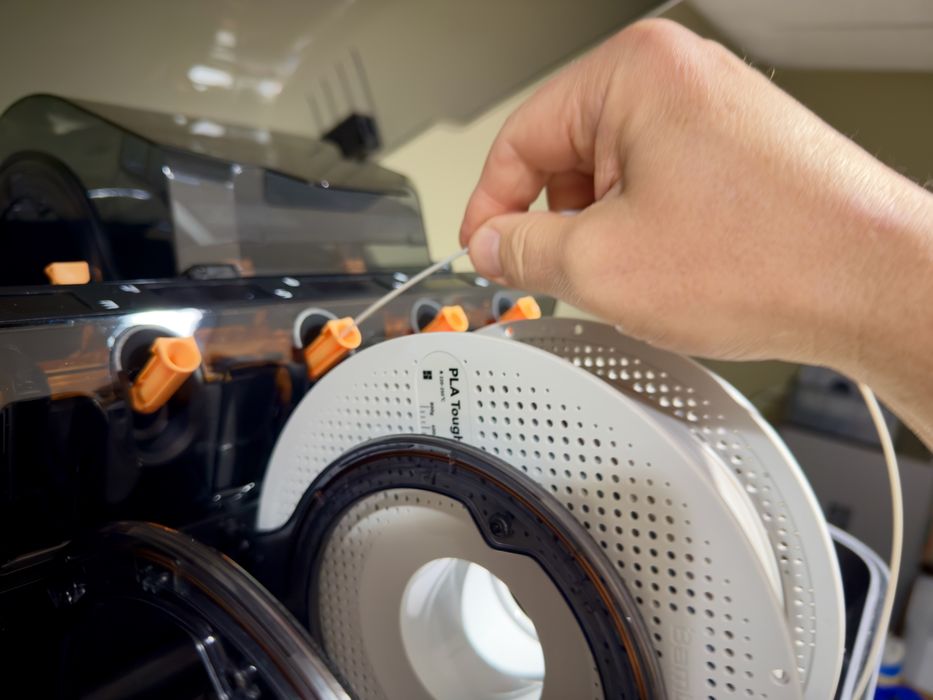
Feeding filament is actually quite easy on the H3C, easier than other Bambu Lab systems. Here you don’t have to press anything; just push the filament into the wide openings, and the AMS 3H will slurp it up.
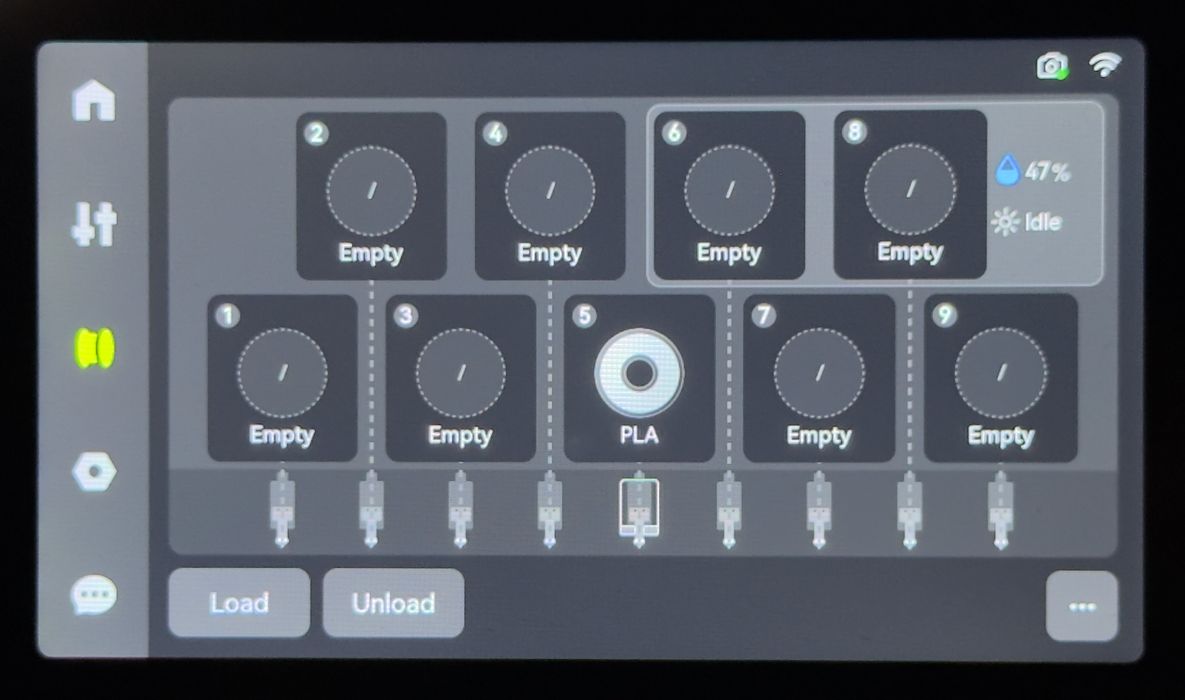
Freshly mounted spools spin and are detected via RFID, that is, if you are using Bambu Lab spools (I was). If not, then you’ll have to manually configure the spool via the touchscreen.
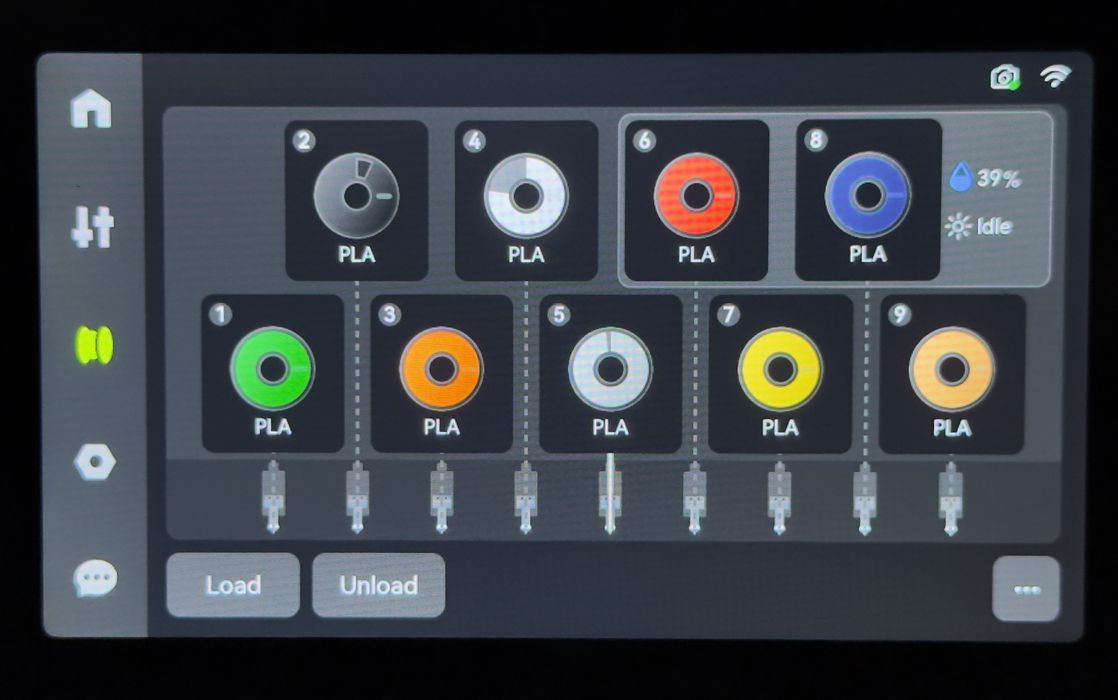
As there are nine spools, loading it all up takes longer than you might think. Here I’ve loaded up all slots, and it is very strange to see so many colors on the touchscreen.
Unmounting spools can be very tedious, as I experienced before I realized there was a button to “unload all”.
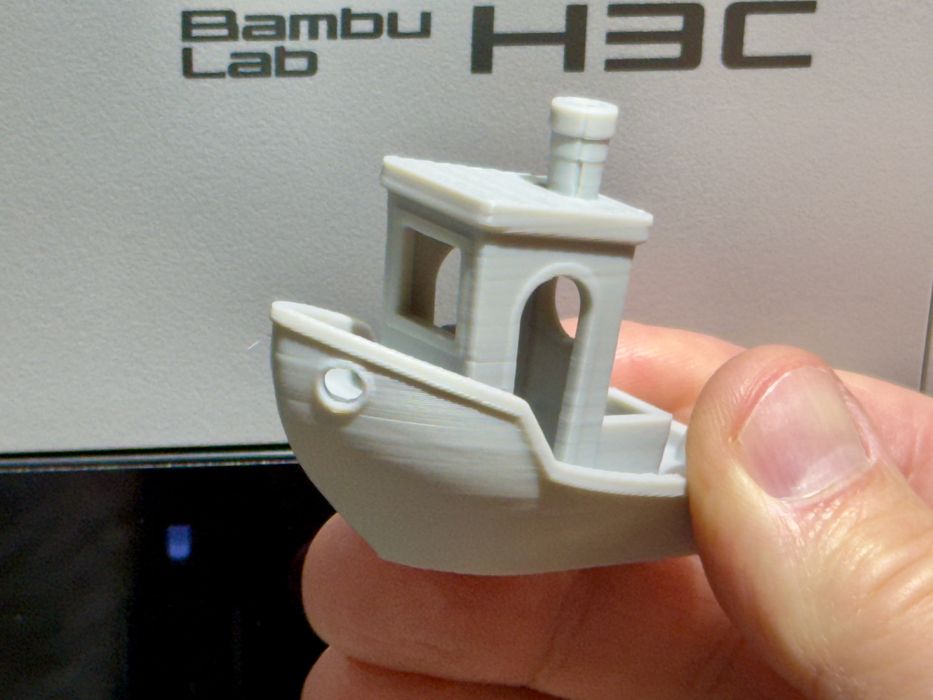
There are a small handful of pre-made print jobs stored on the H3C, and I tried printing the #3DBenchy first, as usual. It worked very well, without any issues.
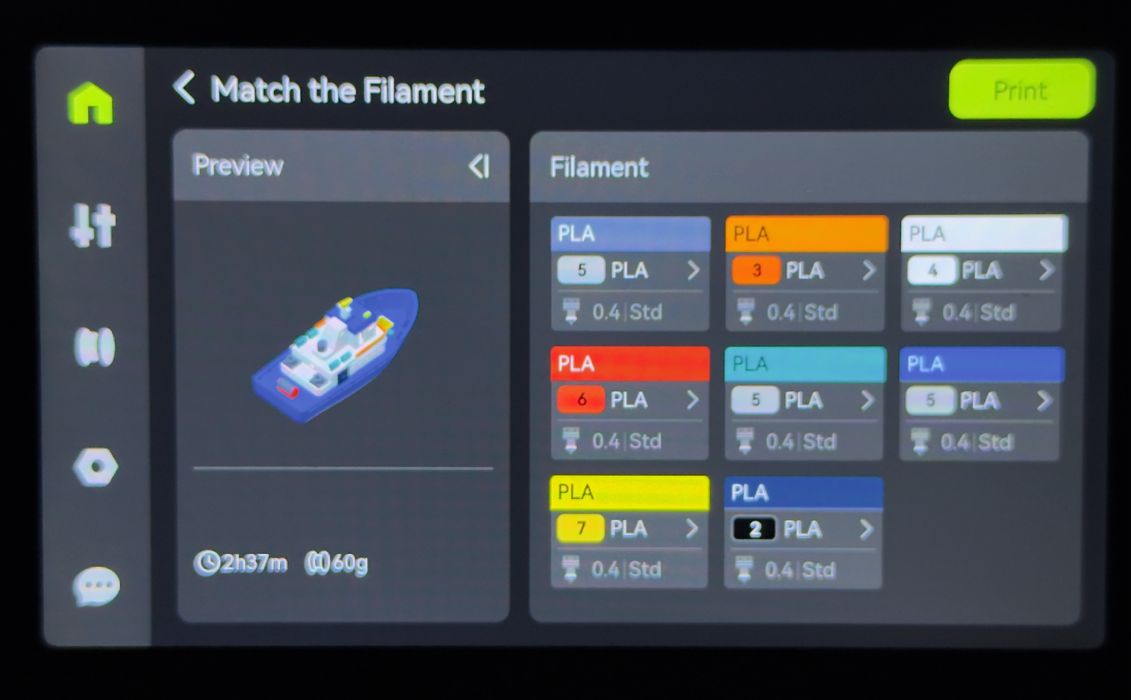
I tried another pre-made print job, this one a multicolor boat. On the touchscreen I noticed they provide a color matching panel, where you can make sure the right spool is assigned. It seems to do a reasonable job of guessing, so usually you don’t to fiddle around with color matching.
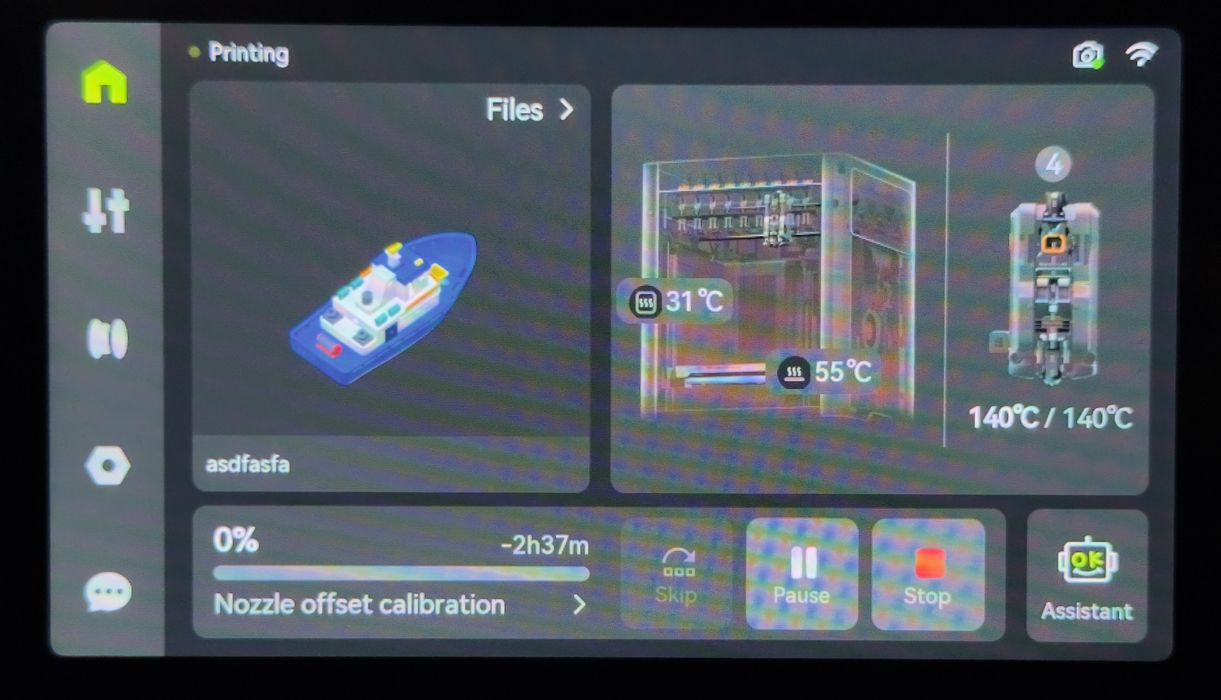
During print jobs you’ll see the usual Bambu Lab monitor panel, although there are some slight changes because of the nine toolheads. You’ll see status of switching, and which toolhead and color is currently active.
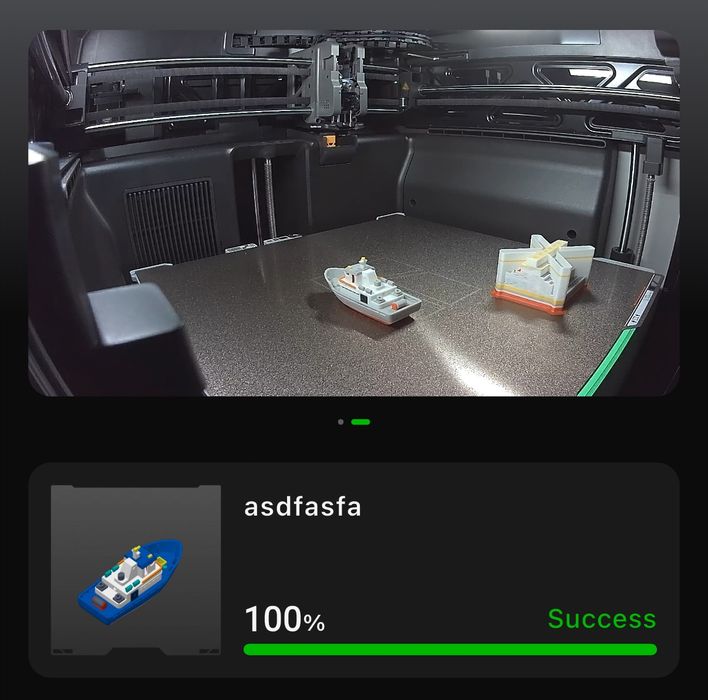
The mobile app also shows status, and the onboard webcam has a terrific high resolution view of the current job.
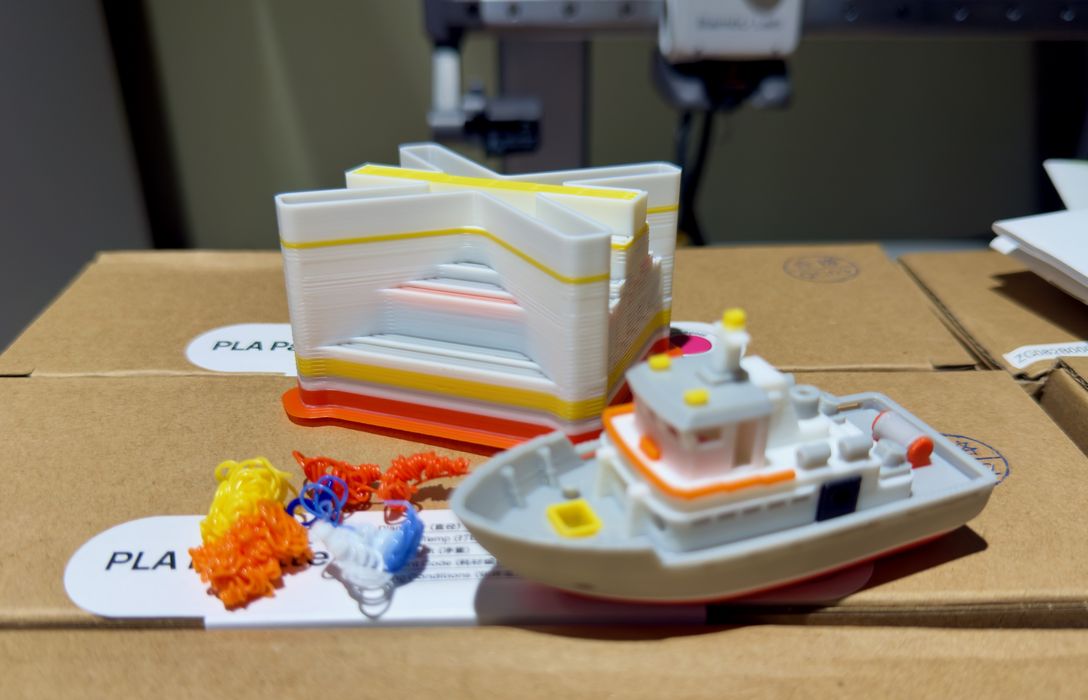
My multicolor test boat finished perfectly, and I inspected the waste produced. Normally this boat would have generated mountains of waste during all the color switches, but not with SwapTek. There was only a small handful of waste produced — it really works!
This is part two of a four part series, please read parts one, three and four.
Via Bambu Lab